
Your new Bella 6 Litre pressure cooker cuts cooking time by up to 70% while locking in nutrients and flavors—no wonder it’s transforming kitchens nationwide. If you’ve ever hesitated before using your Bella pressure cooker how to use it properly, you’re not alone. Many home cooks feel intimidated by those 11 pre-set buttons and pressure-release valves. This guide delivers exactly what you need: a clear, step-by-step walkthrough of every function, safety protocol, and cooking technique. You’ll discover how to master rice preparation, perfect meat textures, and leverage the delay timer for effortless meal planning—all with confidence that comes from understanding your appliance inside out.
Unlike traditional cooking methods, pressure cooking uses sealed steam to elevate internal temperature and pressure. The Bella 6 Litre model automates this process through its 11 specialized functions, eliminating guesswork while delivering restaurant-quality results. Whether you’re preparing weeknight dinners or weekend feasts, knowing precisely how to use your Bella pressure cooker how to use transforms it from a countertop curiosity into your most valuable kitchen tool. Let’s unlock its full potential together.
Master the 11 Pre-Set Functions for Perfect Results

Sauté and Browning: Build Flavor Foundations
Press the Sauté button to brown meats or soften vegetables before pressure cooking—essential for developing deep flavors. The first press activates low heat for gentle cooking; press again for high heat to sear steaks or chicken thighs. The dedicated Browning function creates that professional golden crust on proteins without burning. Always start by sautéing onions and garlic to build your flavor base, then brown meats while the pot stays hot. This sequence prevents sticking and ensures complex taste development in dishes like beef shin ragu or chicken with chorizo.
Critical tip: After browning, deglaze the pot with ¼ cup broth to lift stuck bits—this prevents the “Burn” error and enriches your sauce. Never skip this step when cooking meats.
Pressure Cook vs Automatic Settings
The Pressure Cook button gives you manual control—set custom times using +/- buttons for high-pressure cooking. This is ideal for non-standard recipes or adjusting for altitude. For consistent results with common dishes, use the automatic functions: Rice sets 3 minutes for white rice, Brown Rice jumps to 15-20 minutes, and Soup or Stew modes calculate optimal pressure and timing internally. When you press Rice, the display immediately shows the preset time—no adjustments needed for perfect grains every time.
Pro insight: For risotto, use the Risotto/Steam function. It maintains precise pressure to create creamy textures without constant stirring, unlike traditional methods.
Slow Cook and Warm: Flexible Temperature Control
Switch to Slow Cook for low-and-slow dishes like pulled pork or winter soup with ham hock. It offers both low and high settings—use high for faster results or low for tenderizing tough cuts overnight. The Warm function automatically maintains food at safe serving temperature (165°F) for up to 4 hours after cooking completes. This is invaluable for entertaining, keeping your celeriac and Stilton soup ready without overcooking or drying out.
Time-saver: Start dinner in Slow Cook mode before work, then switch to Warm as you head home—no last-minute kitchen stress.
First-Time Use: Critical Safety Checks

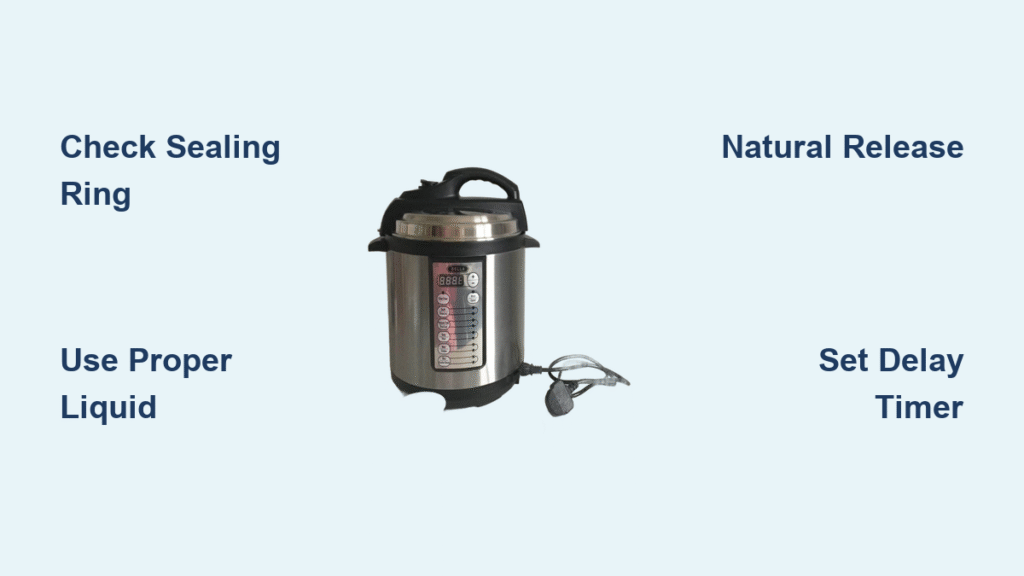
Verify Proper Sealing Before Every Cook
Before locking the lid, ensure the sealing ring is correctly seated in the lid groove and the pressure release valve moves freely. The resource emphasizes: “Always ensure proper sealing before starting pressure cooking.” If the lid won’t lock smoothly, check for food debris in the sealing area or a twisted ring. Never force the lid closed—this compromises safety and prevents proper pressure buildup. The anti-block shield should click audibly into place; if it doesn’t, reposition it before proceeding.
Visual cue: The float valve must sit flush with the lid when cool. If it’s elevated, pressure remains inside—never attempt to open.
Liquid Requirements and Fill Limits
The Bella pressure cooker how to use requires minimum liquid to create steam: always add at least 1 cup of liquid for pressure cooking. Never exceed the ⅔ fill line for most foods, or the ½ line for beans, grains, or foamy liquids. Overfilling causes clogs in the pressure release system and triggers safety shutdowns. For rice dishes, use the internal pot markings—fill rice to line 1 and water to line 1 for perfect 1:1 ratios with white rice.
Critical mistake: Adding dairy or thick sauces before pressure builds. These can scorch at high heat—always add them after cooking completes.
Perfect Rice and Grains in 3 Minutes
Water Ratios and Natural Release Protocol
For flawless white rice, rinse until water runs clear, then add to the pot with water at the line 1 mark. Press Rice and let it cook for exactly 3 minutes. Crucially, allow a 10-minute natural pressure release before quick-releasing remaining steam. Skipping natural release makes rice gummy or unevenly cooked. For brown rice, use line 1 for rice but line 2 for water (1:2 ratio), then select Brown Rice for 15-20 minutes with a 15-minute natural release.
Troubleshooting: If rice is crunchy, you likely used insufficient water or interrupted the cooking cycle. Too-wet rice means excess liquid or inadequate steam release.
Avoid Common Rice Errors
Never skip rinsing rice—the starch causes foaming that triggers “Burn” errors. Always deglaze after sautéing aromatics before adding rice. For sticky results, use the Rice function’s automatic timing—manual settings often undercook grains. And never open the lid immediately after cooking; the residual heat finishes the process during natural release.
Pro tip: Add a teaspoon of oil to the water when cooking white rice—it prevents sticking without affecting texture.
Meat Mastery: Timing and Technique
Chicken and Poultry Precision
For whole chicken (1.5kg), place on the trivet with 1 cup broth, press Chicken, and cook 25-30 minutes. The resource notes: “For crispy skin, transfer to a pre-heated grill for 5 minutes after pressure cooking.” For chicken breasts, stack four with ½ cup broth and cook 8-10 minutes in Chicken mode, followed by a 5-minute natural release. This prevents dryness while ensuring full doneness.
Key insight: Always brown chicken thighs first using Browning—this seals juices and creates richer flavor in dishes like pot roast chicken with rosemary.
Beef, Lamb, and Tough Cuts
Brown brisket chunks for 10 minutes using Browning, then pressure cook 40-45 minutes on Meat mode. The high pressure breaks down connective tissue into fork-tender results. For lamb shanks, sear both sides, add 1 cup red wine and aromatics, then cook 35-40 minutes on Meat. The resource confirms: “The meat falls off the bone every time” with these settings.
Warning: Never cook frozen meat—thaw completely first. Uneven temperatures cause undercooked centers or error messages.
Delay Timer: Effortless Meal Planning
Set-and-Forget Cooking Sequence
The Delay Timer postpones cooking up to 2 hours—perfect for steel-cut oats or Asian-style pulled pork. Press DELAY TIMER repeatedly to set your desired wait time, then select your cooking function (e.g., Soup). The display shows the countdown, then automatically starts cooking. Maximum delay is 2 hours for food safety; the resource warns against using it for dairy or seafood due to spoilage risks.
Pro application: Prep Boston-style baked beans in the morning—add soaked beans, treacle, and aromatics, set 2-hour delay, and return to fully cooked beans.
Critical rule: Never use delay for recipes requiring initial browning—sauté functions can’t be delayed. Brown first, then set delay for pressure cooking phase.
Essential Safety Protocols Every User Must Know
Pressure Release Methods Decoded
Natural release (10-15 minutes) lets pressure drop gradually—mandatory for meats, beans, or foamy foods to prevent eruptions. Quick release involves turning the valve to Venting with a long spoon—use only for vegetables or rice to halt cooking instantly. The resource identifies three visual cues that signal safety: the float valve drops, steam stops, and the lid twists easily. Never force the lid open if resistance remains.
Danger zone: Never submerge the lid or housing in water—wipe with a damp cloth only. The electronics aren’t waterproof.
Prevent Top Safety Hazards
Overfilling causes 80% of pressure cooker accidents—adhere strictly to the ⅔ fill line. Always check the sealing ring for cracks before use; replace every 12-18 months as the resource advises. Clean the pressure release valve after bean dishes with a pipe cleaner to prevent clogs. And never pour cold water into a hot pot—it causes warping and seal failure.
Urgent reminder: If the display shows “Burn,” immediately cancel cooking, quick-release pressure, and stir in extra liquid. This means food is stuck to the pot base.
Your Bella pressure cooker how to use journey starts with mastering these fundamentals. Begin with simple rice or chicken recipes to build confidence with the Rice and Chicken functions, then progress to layered dishes like South Indian vegetable curry with paneer. Remember the golden rules: always use minimum liquid, never overfill, and respect natural release times for meats. Properly maintained, your Bella 6 Litre unit will deliver restaurant-quality meals in half the time for years. The key to pressure cooking success isn’t complexity—it’s understanding how to use your Bella pressure cooker how to use its automated intelligence while respecting its safety protocols. Tonight’s dinner could be your first perfectly timed risotto, ready before you finish setting the table.


