
Steam trapped inside your pressure cooker while dinner burns—that sinking feeling when the valve stays locked and the lid won’t budge. When your pressure cooker not releasing pressure, you’re not just delaying dinner; you’re facing a critical safety hazard. Whether you own a stovetop model or an electric Instant Pot, understanding why pressure refuses to drop could prevent serious injury. Let’s cut through the confusion with actionable fixes verified by manufacturer guidelines and thermal physics principles.
Diagnose Your Pressure Release Failure Symptoms
Valve Stuck in “Up” Position After Cooking Cycle Ends
Your float valve remains stubbornly elevated long after the timer finishes, signaling trapped pressure. This isn’t just inconvenient—it means the lid’s safety lock remains engaged. Critical visual cue: If the indicator pin hasn’t dropped completely, steam is still building inside at 12+ psi (over 239°F/115°C). Never force the lid open in this state.
Zero Steam Output When Switching to Venting Mode
Moving the valve to “Venting” should produce immediate hissing steam. Complete silence indicates a total blockage in the release pathway. Pro tip: Place your hand 6 inches away from the valve—if you feel no heat or hear no sound after 30 seconds, the vent pipe is fully obstructed by food debris or starch buildup.
Steam Escaping From Lid Edges Instead of Valve
When pressure leaks around the rim rather than through the designated valve, your sealing ring has likely shifted position. Danger sign: This extrusion creates uneven pressure distribution, causing the lid to lock unpredictably. If you see steam escaping here, immediately turn off the heat source—this indicates compromised safety mechanisms.
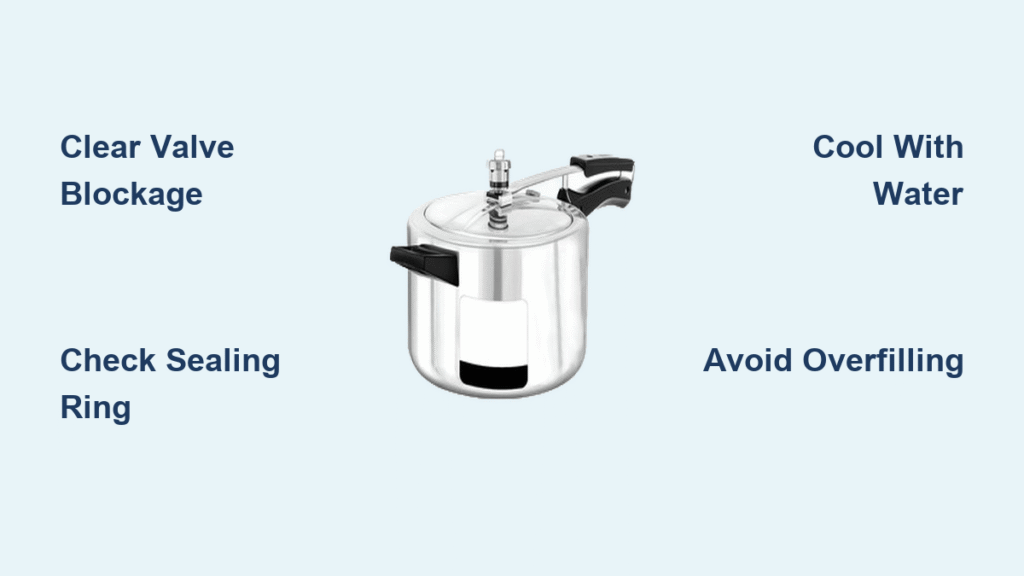
Eliminate Blockages Causing Pressure Cooker Not Releasing Pressure
Clearing Food Debris From Steam Release Valve
Starchy foods like beans or oatmeal foam up during cooking, then harden into cement-like plugs as they cool. Immediate action steps:
1. Turn off heat source and unplug electric units
2. Use a wooden chopstick to gently probe the anti-block shield (never metal—it can scratch components)
3. Remove the valve assembly and rinse under hot water
4. For stubborn clogs, soak parts in vinegar for 10 minutes before scrubbing with a soft brush
Common mistake: Forcing the valve with excessive pressure. If debris won’t budge after two gentle attempts, switch to cooling methods—never risk damaging internal seals.
Fixing Sealing Ring Extrusion Blocking Vent Pathway
A misaligned silicone gasket can bulge into the steam channel during high-pressure cooking. Verification test: After depressurizing, inspect the ring for:
– Permanent deformation (kinks or twists)
– Food residue trapped in the groove
– Cracks near the valve opening
Solution: Replace rings every 12-18 months. When reinstalling, ensure the tab aligns with the lid’s indicator mark. A properly seated ring should sit flush with no gaps near the valve housing.
Correcting Over-Filled Cooker Emergencies
Exceeding the 2/3 fill line (or 1/2 for foaming foods) causes contents to block the pressure release system. Emergency protocol:
1. Immediately remove from heat
2. Allow 15 minutes of natural pressure release
3. If valve still won’t drop, apply cold water method (stovetop only)
4. Once safe, discard excess liquid before restarting
Time estimate: Natural release adds 10-20 minutes to cooking time but prevents 80% of blockage issues.
Execute Emergency Pressure Release Correctly
Stovetop Model Cold Water Protocol

Never immerse electric units in water—this causes electrical hazards. For stovetop cookers only:
1. Place cooker in sink with drain open
2. Run tepid water over the curved lid surface (not the valve)
3. Maintain flow for 30-60 seconds until pressure indicator drops
4. Critical: Keep water away from the steam vent—direct contact can warp components
Why this works: The metal lid contracts faster than the trapped steam, reducing pressure below the release threshold. Stop immediately when the float valve drops—overcooling can create vacuum locks.
Electric Pressure Cooker Cooling Procedure
Instant Pot-style units require different handling due to electronics:
1. Unplug completely (don’t just press “Cancel”)
2. Wrap a cold, damp towel around the metal portion of the lid
3. Avoid contact with control panels or handles
4. Wait 5-10 minutes for thermal contraction
5. Check valve position every 2 minutes
Warning: Never use ice directly on the lid—rapid temperature shifts can crack ceramic-coated pots. The towel method safely accelerates natural cooling without thermal shock.
Prevent Future Pressure Cooker Not Releasing Pressure

Weekly Steam Release Valve Maintenance
Blockages develop from residual starch after just 3-4 uses. Your 2-minute weekly routine:
– Remove the anti-block shield by twisting counterclockwise
– Rinse valve components under hot running water
– Verify free movement by blowing through the vent pipe
– Reassemble only when completely dry
Pro tip: Keep a dedicated pipe cleaner in your pressure cooker storage spot—it easily dislodges hidden debris in the vent bore.
Pre-Cooking Safety Checklist
Run this verification before every use:
– ✅ Minimum 1 cup water-based liquid (½ cup for stovetop)
– ✅ Steam valve moves freely side-to-side
– ✅ Sealing ring seated without twists in the groove
– ✅ Contents below 2/3 fill line (1/2 for beans/rice)
Critical oversight: Using oil-based liquids alone. Pressure cookers require water molecules to generate steam—cooking with pure oil prevents proper pressure buildup and release.
High-Altitude Pressure Release Adjustments
At elevations above 3,000 feet, atmospheric pressure drops significantly. Required modifications:
– Extend natural release time by 5 minutes per 1,000 feet
– Reduce cooking time by 5% to prevent over-pressurization
– Monitor float valve drop visually—don’t rely solely on timer
Why this matters: Lower ambient pressure means steam escapes faster, but residual heat keeps generating pressure longer. Ignoring this causes repeated release failures.
Critical Safety Reminders for Stuck Pressure Cookers
NEVER:
– Force a stuck lid with tools or excessive twisting
– Immerse electric units in water
– Re-latch the lid while the pot is still warm
– Ignore persistent valve sticking (replace faulty parts immediately)
ALWAYS:
– Confirm the float valve has dropped completely before opening
– Allow 10+ minutes for natural cooling after quick release
– Replace sealing rings showing any cracks or odor retention
– Keep hands clear of steam vents during release
Key Takeaways for Reliable Pressure Release
When your pressure cooker not releasing pressure, remember: 90% of failures stem from preventable blockages or overfilling. Your immediate response must prioritize safety—remove heat sources first, then apply controlled cooling methods. Implement weekly valve maintenance and strict fill-level compliance to avoid emergencies. Most importantly, never compromise on seal ring replacement; that $10 part protects your hands from 240°F steam blasts. With these protocols, your pressure cooker will deliver safe, efficient cooking without kitchen standoffs. Keep this truth visible near your cooker: Proper pressure release isn’t optional—it’s the difference between a perfect meal and a dangerous accident.


