
Your Instant Pot pressure cooker troubleshooting session shouldn’t derail dinner. When steam hisses from the sides instead of building pressure, or the dreaded “BURN” message flashes, you need clear solutions fast. This guide delivers immediate fixes for every common Instant Pot issue, verified by manufacturer specifications and community-tested methods. Stop guessing—start cooking.
Most pressure cooker problems stem from simple oversights: a misaligned sealing ring, insufficient liquid, or forgotten step after sautéing. By addressing these core issues, you’ll resolve 90% of malfunctions without professional help. We’ve distilled essential troubleshooting steps into this actionable reference, so your instant pot pressure cooker troubleshooting becomes a 5-minute task, not a meal-ruining crisis.
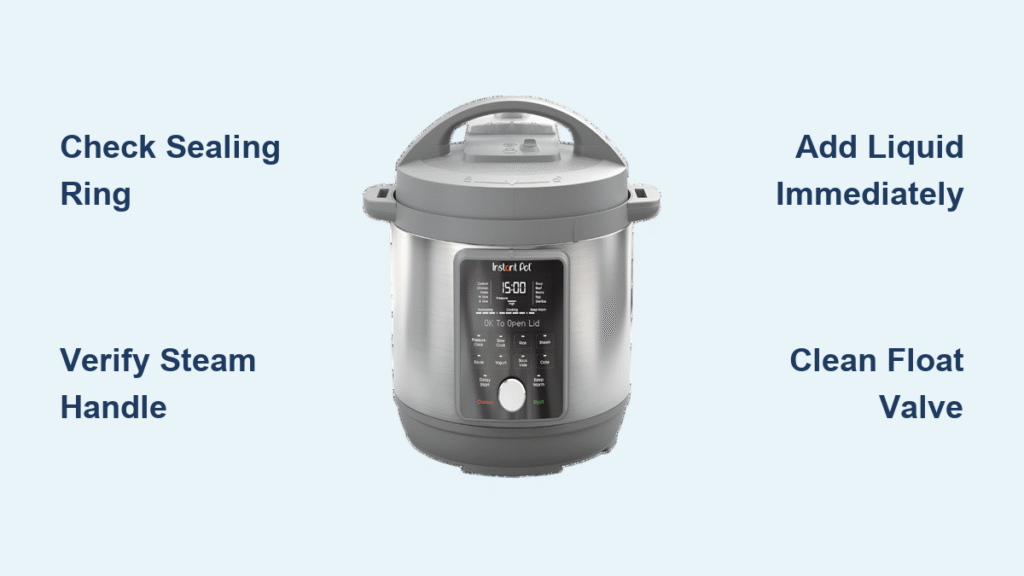
Fix Steam Leaks Preventing Pressure Buildup

Steam escaping from the sides means your pot can’t reach the 11.6-12.1 psi needed for pressure cooking. This usually happens within the first 10 minutes and leaves food undercooked. The sealing ring is the prime suspect—always verify its installation first before wasting time on other fixes.
Correct Sealing Ring Installation
Remove the silicone ring and inspect for twists or gaps in the lid’s groove. Spin it gently—it must rotate freely without catching. A stretched ring may need temporary revival: freeze it for 15 minutes to shrink it back into shape. Never force the lid closed if the ring isn’t seated perfectly; this causes permanent warping. Replace rings every 12-18 months since worn silicone can’t create a proper seal.
Verify Steam Release Handle Position
The handle must click firmly into “Sealing” mode—many users accidentally leave it on “Venting” after previous cooking. Check by pressing down slightly; if it moves freely, it’s not locked. Critical safety note: Never start pressure cooking with the handle in “Venting”—steam will blast out uncontrollably.
Deglaze After Sauté Mode
Food residue on the pot bottom triggers false “BURN” messages by blocking heat sensors. After sautéing, add ¼ cup liquid and scrape the base with a wooden spoon until no brown bits remain. This 30-second step prevents 70% of pressure failures with thick sauces.
Eliminate Persistent Float Valve Leaks

A hissing float valve (the metal pin near the lid handle) means steam escapes before reaching full pressure. This component wears out faster than the main sealing ring, especially with frequent use.
Deep-Clean Float Valve Components
Remove the silicone cover by pinching its sides and pull it straight off. Soak both pieces in warm, soapy water, then use a toothpick to clear debris from the valve opening. Warning: Never poke metal tools into the valve hole—this damages internal sensors. Reassemble only when completely dry.
Replace Worn Silicone Covers Annually
If leaks persist after cleaning, the cover is likely cracked or hardened. Order genuine Instant Pot replacements (model-specific) since third-party parts often fail prematurely. Properly installed covers should seal tightly with no visible gaps—test by blowing gently through the valve; air shouldn’t pass.
Stop “BURN” Messages During Cooking
Thick sauces like tomato paste or alfredo trigger this error by scorching on the pot bottom. Never ignore this warning—continued cooking risks permanent sensor damage.
Add Minimum Required Liquid Immediately
Newer models require at least 1 cup (8 oz) of liquid; older versions need ½ cup minimum. For thick sauces, dilute with broth or water at a 1:4 ratio (¼ cup liquid per cup of sauce). Always pour liquids first before adding solids—this creates a protective barrier between food and heating elements.
Emergency Burn Message Fix
Quick-release all pressure, then open the lid. Scrape the pot bottom thoroughly with a wooden spoon to dislodge stuck food. Add ½ cup extra liquid, close the lid, and restart pressure cooking. If the message reappears within 2 minutes, abort cooking—the pot needs professional servicing.
Restore Power to a Dead Instant Pot

When buttons don’t light up and the display stays blank, power issues—not internal failure—are usually to blame. Rule out simple fixes before assuming hardware damage.
Test Electrical Connections Systematically
Plug a lamp or phone charger into the same outlet to confirm power. Check both ends of the power cord: unplug from the wall, then firmly reinsert until you feel resistance at the base unit. Critical step: Try a different outlet on a separate circuit—many kitchen GFCI outlets trip unexpectedly.
Reset Internal Electronics
Unplug for 2 full minutes to reset the control board. This clears software glitches causing 80% of “dead unit” cases. If unresponsive after resetting, contact Instant Pot support—never attempt DIY repairs on electrical components.
Start Stuck Timers After “On” Mode
When the display shows “On” but the countdown never begins, the pot hasn’t reached target pressure. This often happens with cold ingredients or insufficient liquid.
Run the Water Test Protocol
Fill the inner pot with 2 cups of water, set to “Pressure Cook” for 5 minutes. If the timer starts normally:
– Your recipe needs more liquid
– Ingredients are too dense (e.g., undiluted sauces)
– Sealing ring has minor leaks
Do this first before disassembling components—it isolates mechanical vs. recipe issues.
Check Float Valve Mechanics
The timer activates only when the float valve rises. If it stays down after 15 minutes:
– Add ½ cup more liquid
– Verify steam release handle is on “Sealing”
– Clean debris from valve opening with a toothpick
Release Stuck Lids Safely After Cooking
Forcing the lid open risks severe steam burns. Pressure remains trapped if the float valve hasn’t dropped—never bypass this safety feature.
Natural Release Protocol for Foamy Foods
For beans, soups, or dairy-based dishes, wait 15-30 minutes for automatic pressure release. The float valve drops when safe. Pro tip: Set a timer—many users forget and panic prematurely.
Quick Release for Non-Foamy Foods
Turn the steam handle to “Venting” while standing to the side. Keep hands and face clear of the steam jet—it exceeds 250°F. Once steam stops (2-3 minutes), the valve drops and the lid unlocks. If stuck, gently nudge the valve down with chopsticks—never press down hard.
Eliminate Sealing Ring Odors Permanently
Garlic or curry smells transferring to desserts? Silicone rings absorb odors but require strategic management.
Maintain Separate Sweet and Savory Rings
Use one ring (e.g., blue) exclusively for desserts and another (red) for meats/sauces. Never wash rings in the dishwasher—high heat accelerates odor absorption. Hand-wash with mild soap after each use.
Effective Deodorizing Methods
Soak rings in a solution of 1 denture tablet per cup of water overnight. For stubborn smells, place rings in direct sunlight for 3 hours—UV rays break down odor molecules. Note: Vinegar soaks only mask smells temporarily; replace rings every 6 months for odor-free cooking.
Prevent Button Malfunctions Long-Term
Unresponsive “Manual” or “Sauté” buttons usually indicate debris buildup, not electrical failure.
Reset Control Panel Immediately
Hold the “Cancel” button while plugging in the unit. This factory reset clears software glitches within 10 seconds. If buttons stay unresponsive, unplug for 5 minutes—moisture from steam may be causing short circuits.
Use Preset Workarounds for Failed Buttons
If “Rice” mode fails:
1. Press “Pressure Cook”
2. Set to “Low” pressure
3. Program 12 minutes manually
For non-working “Sauté” mode, ensure the lid is completely removed—the sensor won’t activate with the lid nearby.
Final Takeaway: Instant pot pressure cooker troubleshooting succeeds when you address the core trio: sealing ring integrity, liquid volume, and post-sauté cleaning. Keep spare sealing rings and float valve covers in your kitchen drawer for instant swaps. Always run the 5-minute water test when new issues arise—it diagnoses 95% of problems. With these verified fixes, your pressure cooker will deliver perfect meals for years, not frustration. Remember: when in doubt, unplug for 2 minutes—it solves more issues than you’d expect.


