
Your Instant Pot sits silent on the counter—no cheerful beep, no glowing display, no comforting hiss of pressure building. Whether it’s completely dead or stuck showing “On” for eternity, this common frustration can derail dinner plans and leave you scrambling for alternatives. The good news: 90% of instant pot pressure cooker not starting issues stem from simple fixes you can handle in minutes.
This guide walks you through proven troubleshooting steps that restore your Instant Pot to working order. You’ll learn to diagnose both failure modes—complete power failure and the dreaded “On” loop—and get specific fixes for each scenario. No prior technical skills needed—just follow these field-tested procedures to reclaim your countertop powerhouse.
Dead Instant Pot: Power Failure Troubleshooting
Immediate Outlet and Cord Checks
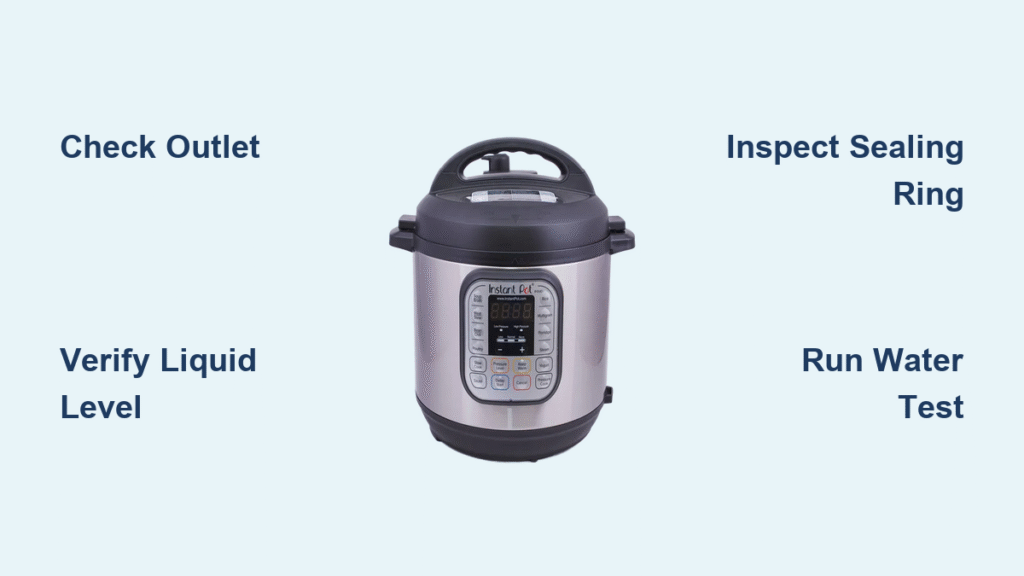
Start with the most overlooked culprit: your electrical supply. Plug a working lamp or phone charger into the same outlet—if nothing powers on, the problem isn’t your Instant Pot. Reset any tripped breakers in your home’s electrical panel or press the reset button on GFCI outlets (common in kitchens).
Now inspect the power cord from end to end. Look for kinks, cuts, or melted spots near connectors. If you own a Duo-EVO, Pro, or similar model with a detachable cord, unplug both ends and firmly reseat them. A loose connection here mimics a completely dead unit. Critical warning: If you smell burnt electronics during this check, unplug immediately and stop troubleshooting—this indicates internal damage requiring professional service.
Pro tip: While plugged in, gently wiggle the cord near the Instant Pot base. If the display flickers or lights momentarily, replace the cord immediately. Genuine Instant Pot cords cost $15-$20 through official parts stores.
Internal Electrical Failures
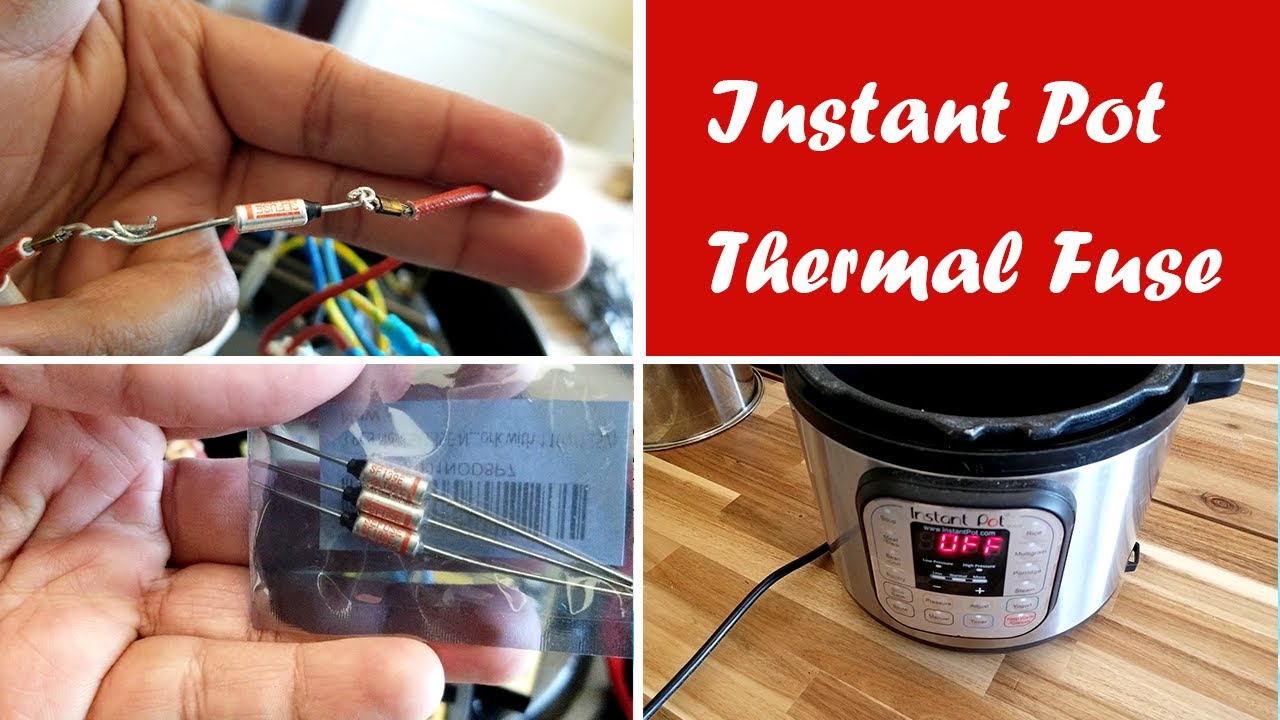
When the outlet and cord test fine but your instant pot pressure cooker not starting issue persists, the internal thermal fuse likely blew. This safety component cuts power if the unit overheats—often from blocked vents or stovetop placement accidents. Unlike visible cord damage, there are no external signs of fuse failure.
Critical action point: Do not attempt DIY repairs on internal components. The tamper-evident screws on the base void your warranty instantly. Contact Instant Pot support with your serial number—they’ll confirm if your unit qualifies for free replacement under the 12-month appliance warranty.
“On” Display Stuck But Timer Never Starts
Liquid Level and Content Fixes
When your Instant Pot displays “On” but never transitions to countdown mode, insufficient liquid is the prime suspect. Pressure programs require minimum 1 cup (240 ml) of thin liquid—water, broth, or juice—to generate steam. Thick sauces, yogurt, or purees won’t create proper pressure.
Simultaneously check your fill level: Never exceed 2⁄3 full (1⁄2 full for rice or beans). Overfilling prevents pressure buildup, trapping your unit in limbo. Cold ingredients add 5-10 minutes to pressurization time—let frozen meats sit at room temperature for 15 minutes before cooking.
Pro tip: If attempting yogurt or cheesecake, add ½ cup extra water to the base pot (not the inner pot) to ensure adequate steam generation without altering your recipe.
Lid Assembly Critical Errors
Three lid mistakes cause 80% of “On” loop failures:
- Sealing ring issues: The silicone ring must sit fully in its groove. Spin it—it should glide smoothly without catching. A twisted or missing ring leaks steam endlessly.
- Steam release position: Ensure the valve points squarely to SEALING, not venting. Even experienced users miss this subtle misalignment.
- Incomplete locking: Rotate the lid clockwise until you hear a distinct click. The arrow on the lid must align perfectly with the base arrow.
Quick diagnostic: Press the float valve with your finger. It should move 3 mm up and down freely. Sticking indicates food debris under the silicone cap—remove the cap with tweezers, rinse under warm water, and reinstall.
Rapid Diagnostic Sequence for Instant Pot Not Starting
5-Minute Visual Inspection Protocol
Before disassembling components, perform these field-proven checks:
- Sniff test: A burnt electronics odor means stop immediately—unplug and contact support
- Shake test: Gently shake the base. Rattling suggests foreign objects or loose components
- Sight test: Look through the steam release valve—daylight should be visible. Use a toothpick to clear blockages
Pro tip: Freeze your sealing ring for 5 minutes to restore elasticity before reinstalling. Replace rings showing cracks or persistent odors after 12-18 months.
Official Water Test Procedure
When basic checks pass, run Instant Pot’s definitive diagnostic:
- Add exactly 1 cup water to inner pot
- Set to Pressure Cook for 1 minute
- Timer should start within 15 minutes (6-8 qt models)
Interpret results:
– Normal countdown (5-10 min): Unit works—adjust your recipe liquid
– Still over 15 min: Heating element failure—contact support
– Never starts counting: Proceed to sensor diagnostics
Sensor Errors and Display Code Decryption
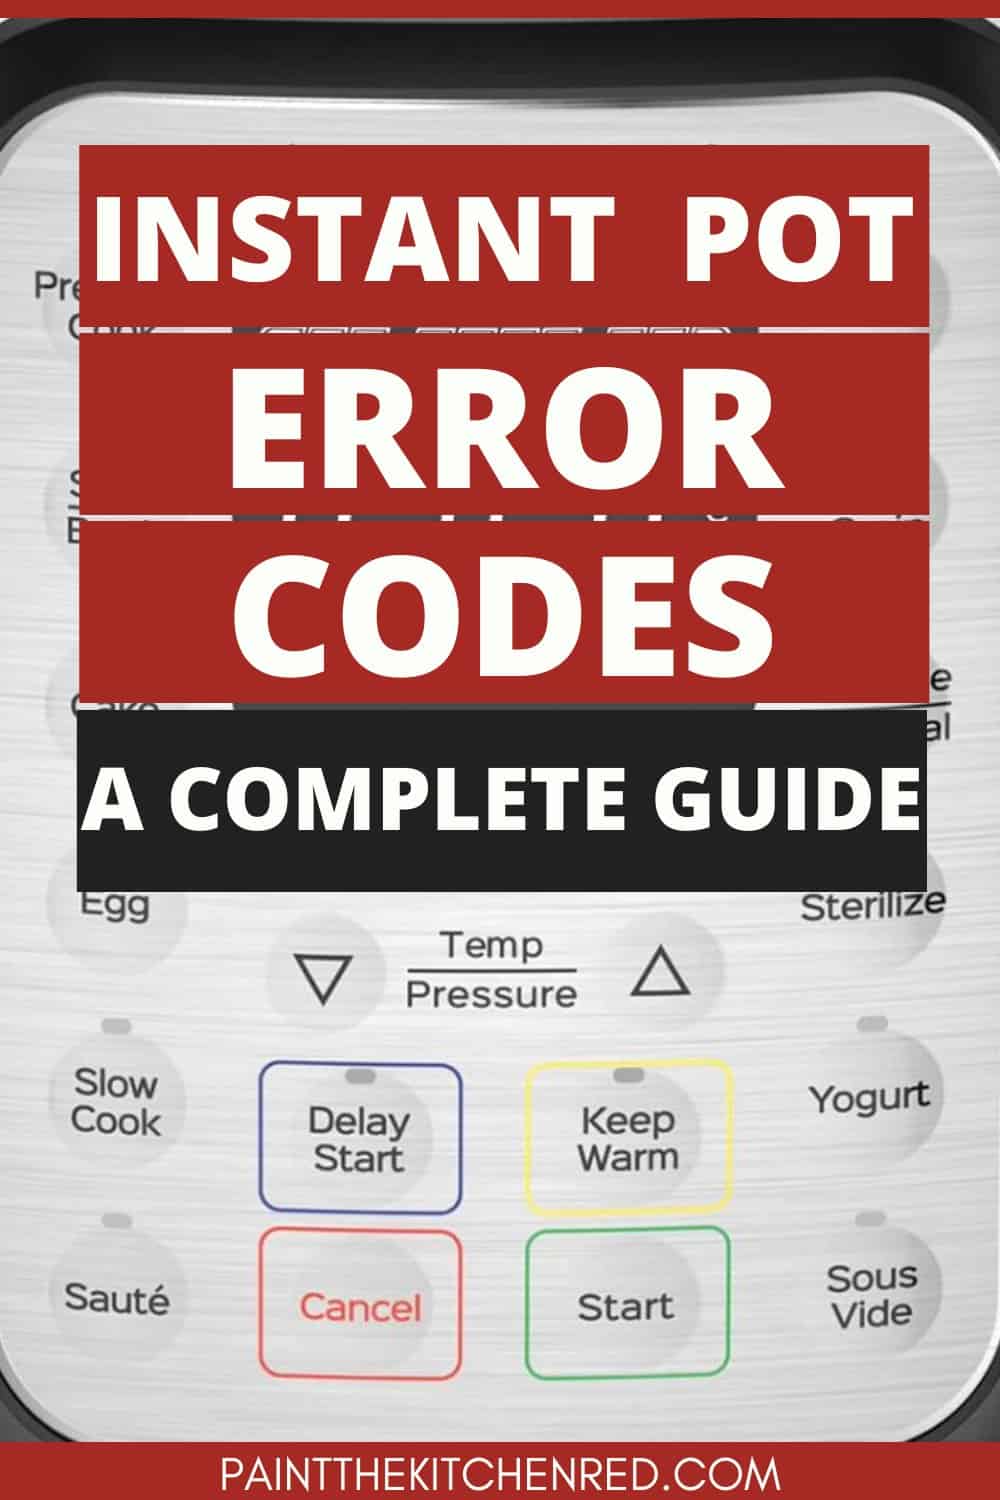
Instant Pot Error Message Translation
Your unit communicates through specific codes—here’s what they mean:
| Display | Real Meaning | Immediate Fix |
|---|---|---|
| C7 | Missing inner pot | Insert pot; remove debris under it |
| PrSE | Pressure sensor blocked | Clean sensor port with soft brush |
| Burn | Over-temperature detected | Add ½–1 cup thin liquid, deglaze pot, restart |
Critical note: “Burn” errors often stem from insufficient liquid or food particles stuck to the pot bottom. Always deglaze thoroughly after sautéing—add ¼ cup liquid and scrape the base with a wooden spoon before pressure cooking.
Pressure Sensor Deep Clean
The pressure sensor sits near the steam release valve. Carefully remove the silicone cap using tweezers (don’t pull by the stem). Rinse under warm water while gently scrubbing with a soft-bristled toothbrush. Reinstall ensuring the cap sits flush—any gap disrupts pressure readings.
Pro tip: After cleaning, run the water test again. If “PrSE” reappears, the sensor is likely damaged—contact support for warranty replacement.
Preventive Maintenance to Avoid Future Failures
Essential Weekly Maintenance (5 Minutes)
- Rinse steam release valve under tap after each use
- Verify float valve moves freely by pressing with finger
- Wipe inner pot bottom before inserting to ensure flat contact
Monthly Deep Maintenance (15 Minutes)
- Remove sealing ring and wash in warm soapy water
- Clean pressure sensor port with soft brush
- Inspect power cord for hidden damage near connectors
Replacement Schedule for Critical Parts
- Sealing ring: Replace every 12-18 months or when odors persist
- Power cord: Immediately if frayed or stiff
- Float valve silicone cap: When visibly worn or torn
Safety Red Flags Requiring Immediate Action
Critical Stop Conditions
- Liquid in base unit: Unplug immediately and invert for 24 hours—never test operation as this creates fire hazard
- Melted base: Usually from accidental stovetop placement—replace entire unit
- Electronics smell: Indicates internal component failure—discontinue use
Warranty protection: Register your Instant Pot at instantpot.com with receipt. The 12-month appliance warranty covers all electrical failures—but opening the base voids coverage instantly due to tamper-evident screws.
Final Steps When Instant Pot Still Won’t Start
Support Escalation Pathway
If all diagnostics fail, follow this proven support sequence:
- Document everything: error codes, water test results, serial number (found on base)
- Photograph visible damage and error displays
- Visit instantpot.com/support with your symptom log
- Under warranty? Expect replacement within 5-7 business days
Backup strategy: Many users keep a $80-$140 basic model as insurance while primary units get serviced. This eliminates downtime and allows task-specific optimization (e.g., Ultra for yogurt, Pro for sauté).
With these systematic checks, you’ll resolve most instant pot pressure cooker not starting issues without professional help. Remember: when the water test fails despite proper liquid and lid assembly, support is your fastest path back to pressure-cooked perfection. Implement the weekly maintenance routine to prevent 95% of startup failures—your Instant Pot will reward you with years of reliable service when treated right. Keep this guide handy, and dinner disasters become nothing more than a minor speed bump in your culinary adventures.


