
Your Vinod pressure cooker can transform weeknight dinners from a 2-hour chore into a 20-minute triumph. But skip the safety steps, and that shiny new pot becomes a kitchen hazard waiting to happen. This guide cuts through the confusion with exact procedures from your cooker’s engineering specs—no guesswork, just guaranteed results. You’ll master whistle counting, pressure release timing, and fill limits that prevent messy blowouts. By the end, you’ll confidently cook perfect rice, tender meats, and creamy beans while saving 70% cooking time.
Pre-Use Safety Inspection
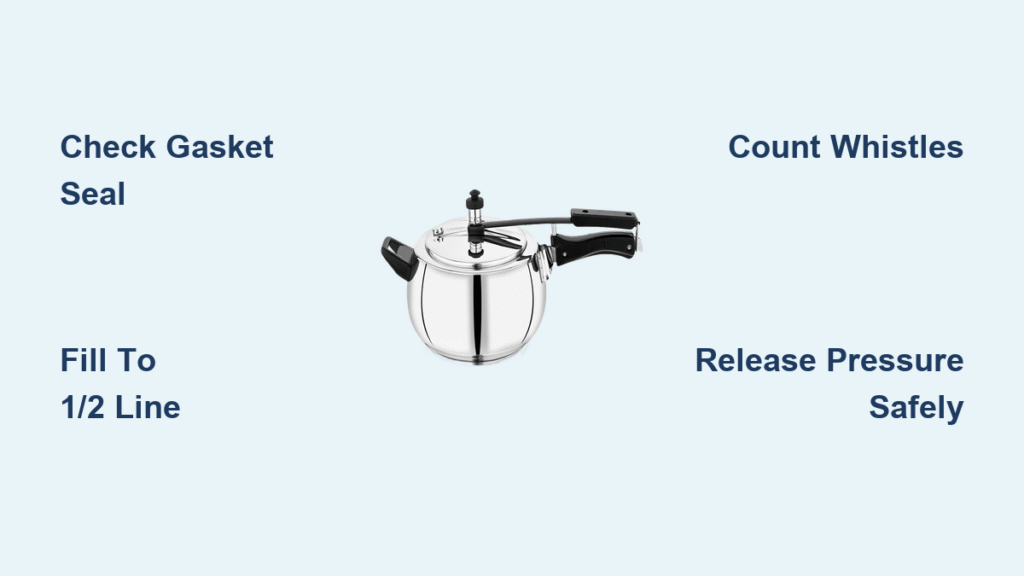
Check Critical Components First
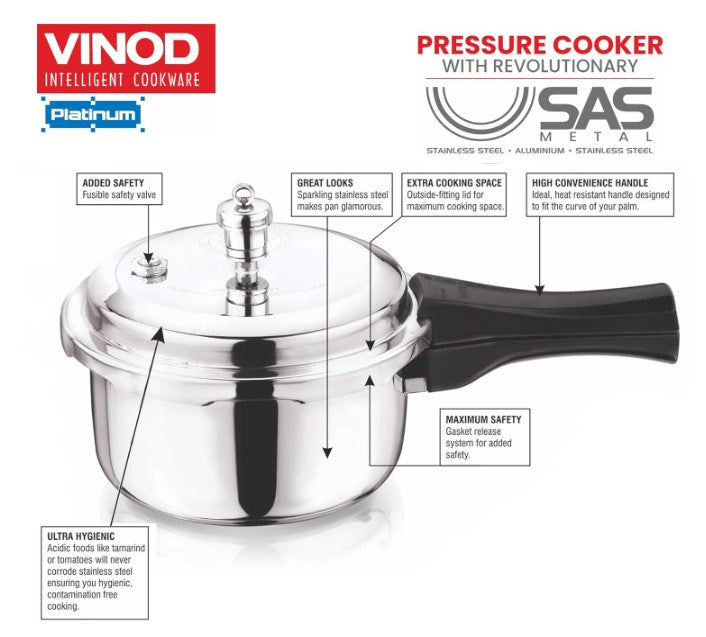
Grab your cooker immediately and inspect three non-negotiable parts before adding ingredients. Press the rubber sealing ring (gasket) between your fingers—it must feel supple and resilient, not brittle or cracked. Any stiffness means replace it now; a compromised gasket causes dangerous steam leaks. Next, hold the lid up to light and peer through the pressure release valve. If you spot crumbs or grease, flush it with warm water until completely clear. Finally, wiggle the safety valve—it should move freely without resistance. Blockages here disable critical pressure control.
Verify Your Model Details
Never assume all Vinod cookers operate identically. Locate your model number stamped near the handle base, then email Vinod customer service for the exact manual. Induction-compatible models require full magnetic base contact, while older versions need specific heat adjustments. Skipping this step risks misaligned lid locking or incorrect whistle timing—both trigger undercooked meals or safety failures.
Initial Wash Protocol
Disassemble every removable part: gasket, whistle, and safety valve. Wash each in warm, soapy water with a non-abrasive sponge—never steel wool, which scratches stainless steel surfaces. Rinse until water runs clear; soap residue reacts with steam to create chemical-tasting dal. Dry thoroughly with a microfiber cloth, as moisture warps the gasket over time. Reassemble only when completely dry.
Essential Setup Steps
Assemble Components Correctly
Seat the gasket evenly into the lid’s groove without twisting—it must form a perfect circle. A misaligned gasket causes 90% of steam leaks. Place the whistle firmly on the steam vent; it should resist gentle wiggling. For induction models, test magnetic attraction across the entire base with a fridge magnet. Weak spots mean uneven heating and hotspots that burn rice.
Fill Limits You Must Respect
Vinod’s engineering demands strict fill boundaries to prevent clogs and explosions. Solid foods like potatoes max out at the 2/3 line—never higher. For expanding ingredients (rice, beans, lentils), stop at the 1/2 mark. Crucially, always add at least 250ml (1 cup) liquid; less creates dangerous dry-heat conditions. Tape these rules inside your cabinet:
– Rice/beans: Fill only to 1/2 capacity
– Meat/vegetables: Maximum 2/3 full
– Minimum liquid: 1 cup water or broth
Step-by-Step Cooking Process
Prepare Ingredients Properly
Cut potatoes to uniform 1/4-inch thickness and chicken into 1-inch cubes. Uneven sizes mean mushy edges with raw centers. Soak beans overnight—this reduces cooking time by 25% and prevents explosive expansion that clogs valves. Never add frozen food directly; thawed ingredients ensure consistent pressure buildup.
Add Liquid Correctly
Pour liquid first—water, broth, or curry base—to create the steam foundation. For rice dishes, use 1.5 cups liquid per cup of rice. Remember: pressure intensifies flavors, so reduce salt by 25% initially. Season after cooking to avoid over-salted meals.
Secure Lid Safely
Close the lid with both hands, rotating until you hear a distinct double “click” from the locking handles. Test the seal by gently lifting the lid—it shouldn’t budge. If it shifts, reopen, realign the gasket, and lock again. An improper seal causes gradual steam loss, preventing whistle activation and ruining your meal.
Heat Application Technique
Start on medium heat (gas/electric) or induction power level 5-6. Pressure builds in 10-15 minutes—listen for gentle hissing. When the first sharp whistle blows, immediately reduce heat to low-medium. High heat after pressure buildup creates dangerous spikes; you want steady, spaced whistles—not continuous screaming.
Count Whistles Accurately
Track whistles religiously using this foolproof method: “One-potato, two-potato…” Each “potato” equals one whistle cycle (1-2 minutes). Key benchmarks:
– White rice: 3 whistles (6 minutes)
– Brown rice: 6 whistles (12 minutes)
– Chicken curry: 4-5 whistles (8-10 minutes)
– Rajma/beans: 8-9 whistles (16-18 minutes)
Pressure Release Methods
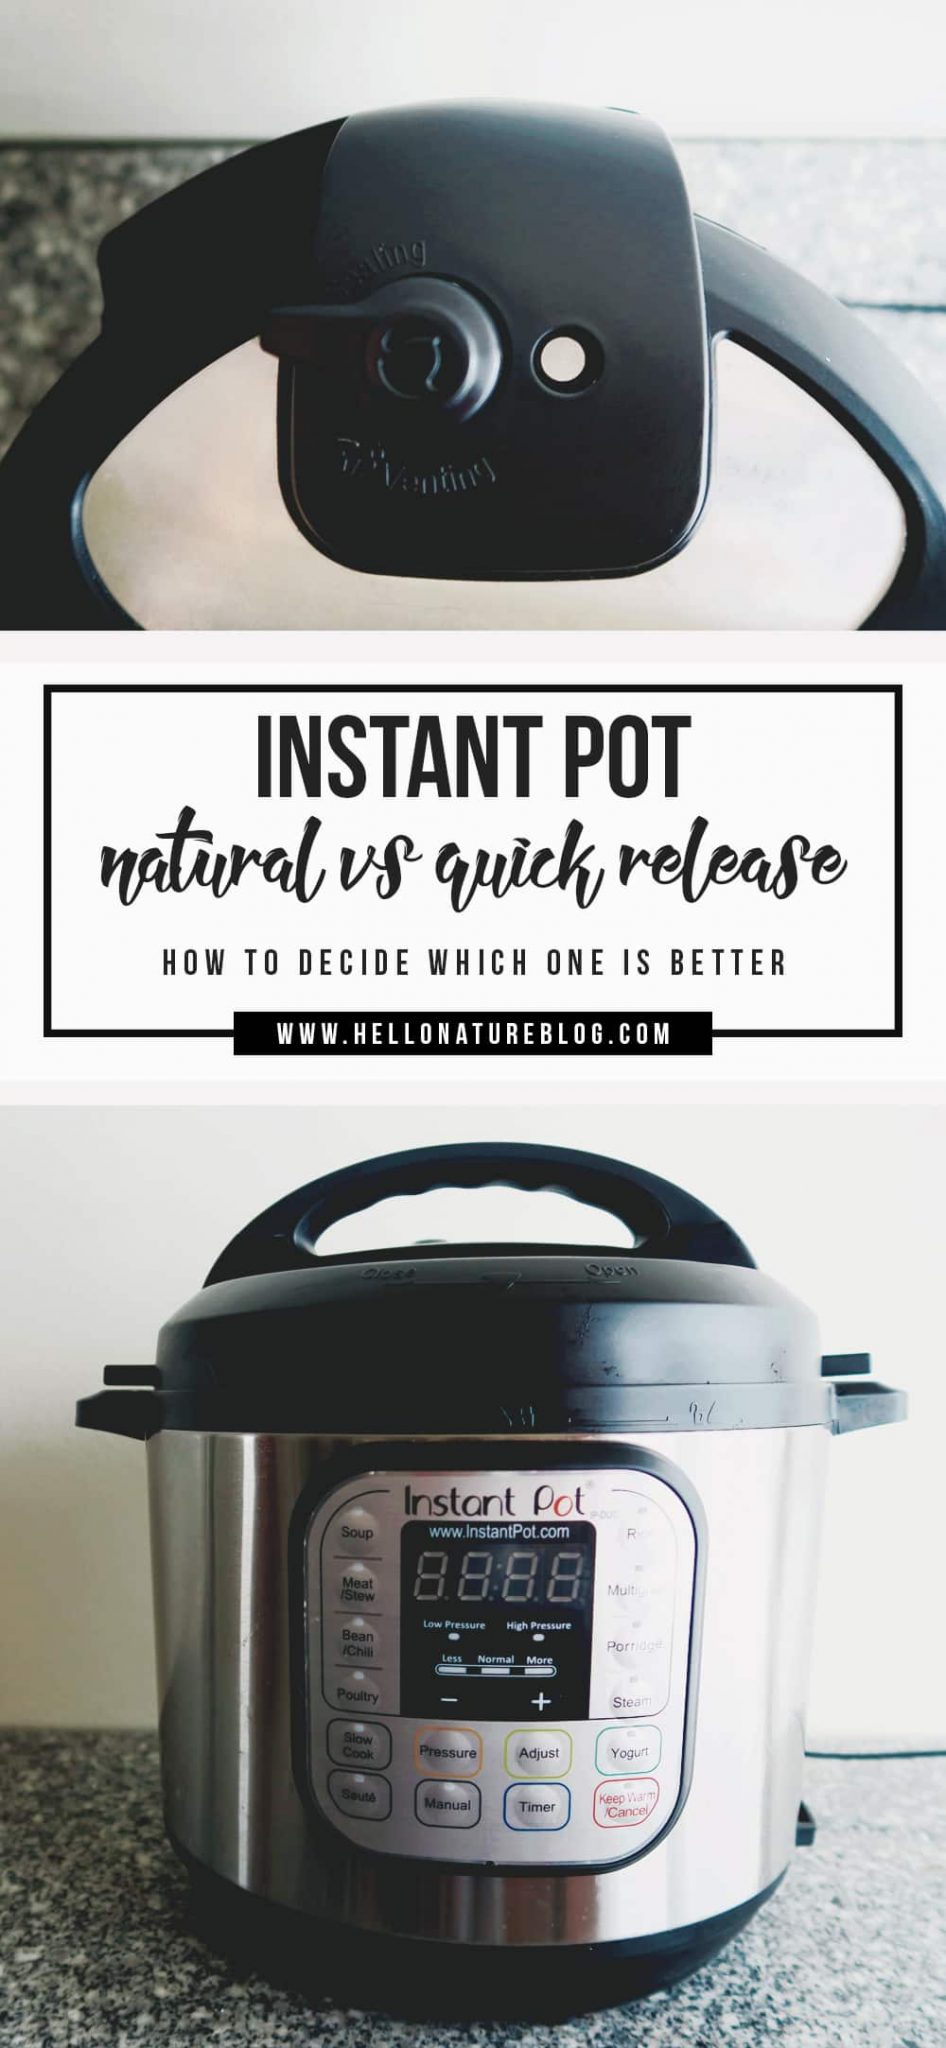
Natural Release for Meats
Turn off heat and walk away for tough cuts like lamb or large beans. Natural release (15-20 minutes) finishes cooking gently as pressure drops. Never force the lid open—wait until the float valve sinks completely. Opening too soon releases steam violently, spraying hot liquid.
Quick Release for Vegetables
Only use quick release if your manual permits. With tongs, nudge the whistle valve sideways—never touch it bare-handed. Steam exits at 121°C (250°F), causing instant third-degree burns. This method stops cooking instantly, perfect for crisp-tender broccoli but disastrous for meats.
Common Mistakes to Avoid
Overfilling Disasters
That “extra half-cup” of rice seems harmless until it erupts through the valve. Stick to the 1/2 fill rule for beans—overflow creates a clogged safety valve, the #1 cause of pressure cooker explosions. Cook in batches if needed.
Wrong Heat Settings
High heat after the first whistle risks pressure spikes that melt safety valves. Once whistling starts, dial back immediately. You should hear rhythmic whistles every 60-90 seconds—not a constant shriek.
Frozen Food Fiasco
Tossing frozen chicken directly causes uneven thawing. Ice pockets create pressure inconsistencies while raw centers remain unsafe. Always thaw completely first.
Cleaning Like a Pro
Immediate Post-Cooking Care
Fill the pot with warm, soapy water while still warm (not hot). This loosens stuck-on bits effortlessly. After 15 minutes, scrub with a non-scratch sponge. Never plunge a hot cooker into cold water—it warps the base and ruins heat distribution.
Deep Clean Weekly
Remove the gasket and soak in hot water with 1 tbsp baking soda. Use a soft toothbrush to clean valve interiors—food debris here causes 70% of pressure issues. Rinse until water runs clear; residue attracts bacteria.
Storage Smart
Store with the lid inverted on the pot to prevent gasket compression. For long-term storage, lightly coat metal surfaces with vegetable oil to prevent corrosion. Never stack heavy pots inside—it dents the sealing rim.
Troubleshooting Quick Fixes
Pressure Won’t Build
Check these in order:
1. Is the gasket seated evenly? (Reposition if twisted)
2. Did you add minimum 250ml liquid?
3. Is the lid locked with a double “click”?
4. Is the pressure release valve clear of debris?
Constant Steam Leakage
Replace the gasket immediately—it’s worn beyond repair. If new, check lid alignment; even a 2mm gap causes leaks. Never force a misaligned lid closed.
Whistle Stuck Quiet
Food particles jammed the steam passage. Remove the whistle, soak in hot vinegar water for 10 minutes, then clear holes with a toothpick. Test with water before cooking.
Beyond Basic Cooking
Recipe Adaptation Formula
Convert any stove-top recipe:
– Liquid: Reduce by 25% (pressure intensifies flavors)
– Time: Cut by 60-70% (e.g., 60-minute stew = 18-24 minutes)
– Seasoning: Start with 75% of salt/spices (adjust after cooking)
Energy Savings Reality
Vinod’s triply construction (aluminum core sandwiched between stainless steel) uses 65% less gas than open-pot cooking. For daily dal preparation, that’s ₹200 monthly savings on fuel bills—a real budget game-changer.
Unexpected Uses
- Sterilize: Baby bottles or canning jars in 5 minutes
- Desserts: Chocolate lava cakes in 5 whistles
- Yogurt: Perfect incubation at 43°C (110°F)
- Stock: Rich bone broth in 45 minutes (vs. 8 hours)
Maintenance Schedule
| Component | Check Frequency | Replacement Timeline |
|---|---|---|
| Gasket | Weekly | 12-18 months |
| Safety Valve | Monthly | When damaged |
| Whistle | Monthly | When clogged repeatedly |
| Pot Interior | Each use | When deeply scratched |
Final Safety Reminders
Your Vinod pressure cooker isn’t a mystery box—it’s precision engineering demanding respect. Master these fundamentals once, and you’ll unlock tender roasts, perfect rice, and creamy beans in half the time. Remember: never force the lid open, always count whistles, and replace worn gaskets immediately. After three successful meals using these steps, you’ll instinctively recognize safe whistle rhythms and proper pressure release. Keep this guide handy until then. Your kitchen’s hardest-working appliance awaits—use it right, and it’ll deliver flawless meals for years.


