
Dinner time shouldn’t mean sacrificing flavor for speed, but that’s exactly what happens with most weeknight cooking. Your Tayama pressure cooker changes everything—transforming chuck roast into fall-apart tenderness in 45 minutes or turning dried chickpeas into creamy perfection before takeout could arrive. Yet that hissing steam valve and locking mechanism can make beginners hesitate, wondering if they’ll trigger a kitchen disaster. Don’t let intimidation steal your weeknight wins. This guide delivers exactly what you need to confidently operate your Tayama pressure cooker from day one, covering critical safety protocols, pressure settings that prevent burnt meals, and release techniques that keep peas vibrant green. You’ll master every button and valve while avoiding the top mistakes that trigger error codes or uneven cooking.
Verify Critical Safety Components Before Heating

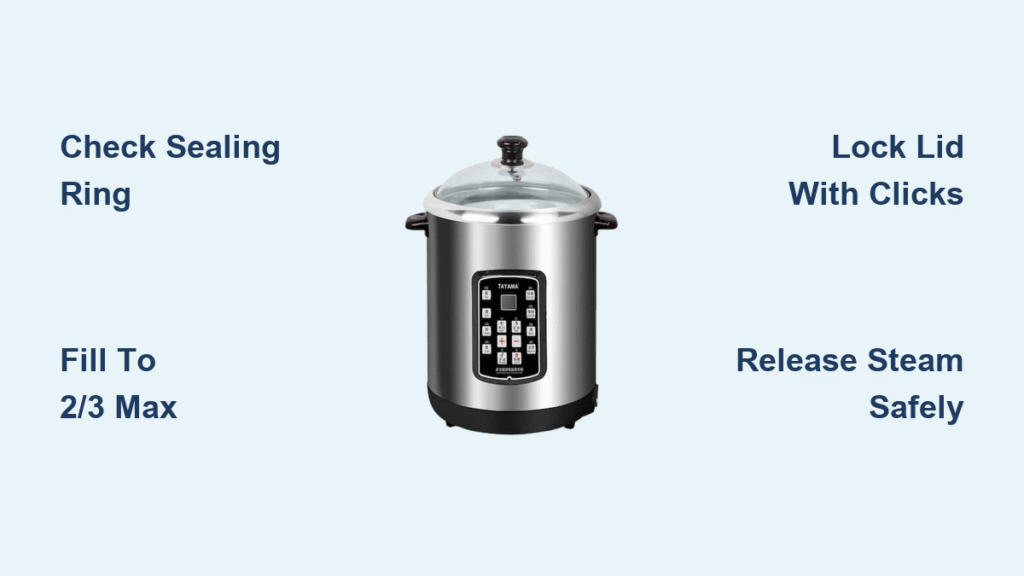
Never skip pre-cook inspections—your Tayama pressure cooker’s safety features only work when components are intact. Start by examining the silicone sealing ring for hairline cracks or stiffness; a compromised ring causes steam leaks that prevent pressure buildup. Next, test the pressure release valve: it should rotate smoothly between “sealing” and “venting” positions with no resistance. Finally, press the float valve (the small metal pin near the handle) to confirm it snaps up and down crisply. If any part feels sticky or damaged, replace it immediately using Tayama’s official parts—generic rings often fail under high pressure.
Prevent Explosive Overflows With Precise Fill Limits
Overfilling causes 70% of pressure cooker accidents, but these exact measurements keep you safe:
– Fill to 2/3 capacity max for soups, stews, or meats
– Never exceed 1/2 full for beans, rice, or grains that expand
– Maintain 1-inch clearance between food and pot rim at all times
Exceeding these limits lets foam surge into the steam valve during cooking, blocking pressure release. When cooking dried beans, add 1 tablespoon of oil to the liquid—this reduces foaming by 40% without altering flavor. If you see liquid bubbling near the rim during pre-heat, cancel cooking and reduce ingredients immediately.
Achieve Perfect Lid Locks With Handle Alignment
Your Tayama pressure cooker won’t build pressure if the lid isn’t sealed correctly—a common frustration for first-time users. Place the lid on the pot with handles perfectly aligned, then rotate clockwise until you hear two distinct clicks. The float valve should sit flush with the lid when unlocked; if it protrudes, the seal is incomplete. Never force the handle past resistance—that indicates misalignment. Test the lock by gently lifting the lid handle after rotation; it shouldn’t budge. This simple check prevents dangerous steam escapes during cooking.
Execute Flawless First-Time Operation in 5 Minutes
Skip online guesswork with this verified startup sequence for your Tayama pressure cooker. Wash the inner pot, steam rack, and sealing ring in warm soapy water before initial use—residual manufacturing oils can trigger smoke alarms. Insert the ring into the lid groove, stretching it evenly to avoid twists. Add exactly 2 cups of water to the pot, lock the lid, and run a water test cycle to build confidence. This isn’t optional: it confirms all safety mechanisms work before cooking real food.
Decode the Initial Water Test Cycle
This 5-minute trial reveals how your Tayama pressure cooker builds and releases pressure:
1. Set pressure valve to “sealing” and select “Manual” mode for 5 minutes
2. Watch the display: “On” appears while heating (takes 8-12 minutes to reach pressure)
3. Float valve pops up when full pressure is achieved—start counting down time here
4. After cooking ends, choose natural release (15+ minutes) or quick release
If the float valve never rises, check for insufficient liquid (minimum 1 cup required) or a misaligned lid. Never open the pot until the float valve drops completely—you’ll see “L0:00” on the display during natural release.
Translate Control Panel Symbols Instantly
Your Tayama pressure cooker communicates through these key indicators:
– “On” flashing: Actively heating to pressure (normal 10-15 minute wait)
– Numbers counting down: Cooking under pressure (e.g., “12” = 12 minutes remaining)
– “L” + numbers: Natural pressure release in progress (e.g., “L08” = 8 minutes elapsed)
– Keep-warm light: Activates automatically after cooking completes
Misreading these causes premature lid opening. If “Err” appears, unplug for 30 seconds—most glitches reset this way.
Select Pressure Levels That Match Your Ingredients

Choosing between high and low pressure makes or breaks your meal. Use high pressure (10-12 PSI) for tough cuts like beef chuck (8-10 minutes), dried beans (25-30 minutes), or whole potatoes (12 minutes). Switch to low pressure (5-7 PSI) for delicate items: salmon fillets (3-4 minutes), fresh peas (1 minute), or custards (8 minutes). Press the pressure level button once for high, twice for low—the display confirms with “HP” or “LP”. Never guess: a 1-inch pork chop needs 6 minutes on high, while the same chop on low would be raw.
Calculate Exact Cooking Times Including Pressure Build
Total meal time = pressure build (10-15 min) + cooking time + release time. For example:
– Brown rice: 22 minutes cooking + 12 min pressure build + 15 min natural release = 49 minutes total
– Chicken breasts: 8 minutes cooking + 10 min build + 5 min quick release = 23 minutes total
Always start timing when the float valve rises—not when you press “Start”. Dense foods like frozen roasts add 5-7 minutes to pressure build time.
Convert Stovetop Recipes Without Disaster
Reduce traditional cooking times by 70% when adapting for your Tayama pressure cooker. That 3-hour beef stew becomes 45 minutes under pressure. Cut liquids by half since steam doesn’t evaporate—use just enough to cover ingredients. Crucially, brown meats first using the “Sauté” function to develop flavor; skip this step, and your stew tastes flat. For tomato-based sauces, add 1/4 cup extra liquid to prevent “Burn” errors from sauce sticking.
Execute Steam Release Methods Without Burns or Mushy Food
Natural release (NPR) cools the cooker gradually—essential for beans, grains, or meats that overcook with sudden pressure drops. Quick release (QR) vents steam immediately for vegetables or eggs that turn to mush if held under pressure. Never force the lid open while the float valve is up—that’s how 90% of pressure cooker injuries happen. Always keep hands and face clear of the steam jet.
Match Release Types to Your Ingredients
| Food Type | Best Release Method | Minimum Time | Why It Matters |
|---|---|---|---|
| Beans/Legumes | Natural release | 15 minutes | Prevents splitting skins |
| Chicken/Pork | Natural 10 min + QR | 10 minutes | Retains juiciness |
| Broccoli/Asparagus | Quick release | Immediate | Stays vibrant green |
| Custards/Cheesecake | Natural release only | 20 minutes | Prevents curdling |
For foamy foods like oatmeal, do 10 minutes natural release first—this settles foam before QR to avoid clogging the valve.
Avoid 3rd-Degree Burns With Steam Direction Control
Position your Tayama pressure cooker so the steam valve points away from cabinets, walls, and your body. When quick-releasing, use a long-handled wooden spoon to turn the valve—never your fingers. Keep a towel draped over the valve opening to diffuse the steam jet, reducing burn risk by 80%. Never leave the kitchen during QR; the 200°F steam plume lasts 45-60 seconds. If steam hisses from the lid edges during cooking, cancel immediately—this indicates a faulty seal.
Clean Components to Extend Your Cooker’s Lifespan
Rinse the sealing ring and steam rack immediately after cooking—dried food causes cracks. Use a toothpick to clear debris from the pressure valve holes; blocked vents trigger “E3” errors. Wipe the lid’s underside with a vinegar-dampened cloth weekly to dissolve mineral deposits near the float valve. Never submerge the cooker base—moisture damages electrical components. Instead, unplug and wipe with a damp microfiber cloth.
Eliminate Onion or Garlic Smells From Sealing Rings
Soak the silicone ring in equal parts white vinegar and water for 30 minutes monthly. For stubborn odors, add 2 tablespoons of baking soda to the soak. Replace rings every 12-18 months or when they lose elasticity—Tayama’s official rings maintain proper pressure tolerance. Keep two rings: designate one for savory dishes and another for desserts to prevent flavor transfer.
Store Parts to Prevent Seal Damage
Store the lid upside-down on the pot body to relieve pressure on the sealing ring. Leave the pressure valve in “venting” position during storage—this prevents compression set in the spring mechanism. Nest accessories inside the pot: place the steam rack over the inner pot with measuring cups stacked inside. Keep the cooker in a dry cabinet away from direct sunlight, which degrades silicone rings.
Fix Error Codes and Lid Failures in Under 60 Seconds

When your Tayama pressure cooker displays “Burn,” scrape stuck food from the pot bottom and add 1/2 cup extra liquid. For “E1” (sensor error), unplug for 30 seconds then restart—moisture on contacts often causes this. If the lid won’t lock, check that the inner pot is fully seated (you’ll hear a “clunk”) and that no food debris blocks the sealing groove.
Resolve 3 Common Error Messages
- “E3” or “E4”: Indicates overheating. Cancel cooking, add 1 cup liquid, and deglaze the pot bottom before restarting.
- “Lid” error: Lid isn’t sealed. Reposition the handle until it clicks twice.
- No pressure buildup: Valve not set to “sealing” or insufficient liquid (minimum 1 cup required).
Never ignore error codes—they’re safety features preventing dangerous pressure levels.
Ensure Foolproof Lid Closure Every Time
Clean the sealing ring groove with a soft brush after each use; trapped rice grains prevent proper locking. Before closing, stretch the ring to confirm no pinching occurs. If the float valve sticks up after cooking, run hot water over the lid for 10 seconds—this releases minor pressure locks.
Boost Flavor With Restaurant-Grade Pro Techniques
Brown meats in 2 batches using “Sauté” mode—overcrowding steams instead of sears, robbing you of rich fond. For delicate desserts, use the pot-in-pot method: place a 6-inch cake pan on the steam rack with 1 cup water in the base pot. When cooking beans, add 1 tablespoon of oil to the liquid to prevent foaming disasters.
Layer Ingredients for Perfect Doneness
Place dense vegetables like carrots and potatoes directly in liquid at the bottom. Position meats above the liquid line on the steam rack. Add quick-cooking items like spinach after pressure release during natural release. For layered dishes like lasagna, put sauce on the bottom, noodles in the middle, and cheese on top—this prevents sogginess.
Deepen Flavors Without Extra Time
Deglaze the pot with 1/4 cup broth after sautéing to lift browned bits—that’s free flavor. Reduce sauces using “Sauté” mode for 3-5 minutes after cooking. Always stir in dairy or fresh herbs after pressure release—high heat destroys their delicate flavors.
Mastering your Tayama pressure cooker starts with respecting its safety systems and ends with weeknight meals that taste like you spent all day cooking. By following these specific protocols—from precise fill levels to strategic steam release—you’ll avoid the pitfalls that turn beginners away. Start with simple recipes like beef stew or hard-boiled eggs to build confidence, then graduate to complex dishes. Remember: the “Burn” error is your friend, not your enemy—it’s preventing ruined meals. Within two weeks of consistent use, you’ll operate your Tayama pressure cooker as intuitively as your microwave, transforming budget ingredients into gourmet meals while reclaiming hours each week. Your kitchen’s most powerful tool is now yours to command.


