
Steam billows from your pressure cooker as you lift the lid—revealing fork-tender broccoli in under three minutes instead of ten. This isn’t luck; it’s precision pressure steaming. You’re about to unlock why your electric cooker transforms weeknight dinners into culinary wins while preserving nutrients better than boiling. Forget soggy vegetables or wasted time: we’ll cover both pressureless and pressurized methods, vegetable-specific timing hacks, and critical safety checks—so you never wonder how to use pressure cooker for steaming again.
Whether you’re meal-prepping Sunday or rescuing Tuesday’s dinner rush, pressure steaming delivers restaurant results in half the time. You’ll learn to prevent common pitfalls like waterlogged carrots or escaped steam, master zero-minute techniques for delicate greens, and even cook multiple vegetables simultaneously. Let’s turn that intimidating appliance into your most reliable kitchen ally.
Pressureless vs Pressurized Steaming
Choose Your Steaming Method
Pressureless steaming works like a traditional steamer but with military-grade precision. Your cooker releases steam continuously through the vent—zero pressure builds, so you can lift the lid anytime to check doneness. This method shines for delicate items like spinach or fish that overcook in seconds. Models like the Vitavit® Premium feature dedicated steam regulators for exact control, matching conventional steaming times while eliminating guesswork.
Pressurized steaming transforms your cooker into a high-speed steam chamber. As pressure climbs past 15 PSI, temperatures exceed 250°F—slashing cooking times by 70%. But here’s the critical nuance: vent positioning dictates your outcome. Seal the valve for intense pressure cooking, or leave it vented for gentler traditional-style steaming. Always pair this with the correct pressure release method to avoid mushy disasters.
When to Use Each Method
- Pressureless for: Checking doneness mid-cook (e.g., asparagus), beginners mastering timing, or fragile foods like dumplings
- Pressurized for: Meal-prepping dense veggies (potatoes, beets), energy efficiency, or cooking frozen foods without thawing
Essential Equipment Setup
Required Components Checklist
Water amounts make or break success:
– Standard 6-quart cookers: 1 cup minimum (never below “Min” line)
– Large 8-quart models: 2 cups minimum to prevent scorching
– Hawkins Futura: Just ½ cup thanks to its efficient design
Elevation tools keep food dry and evenly cooked:
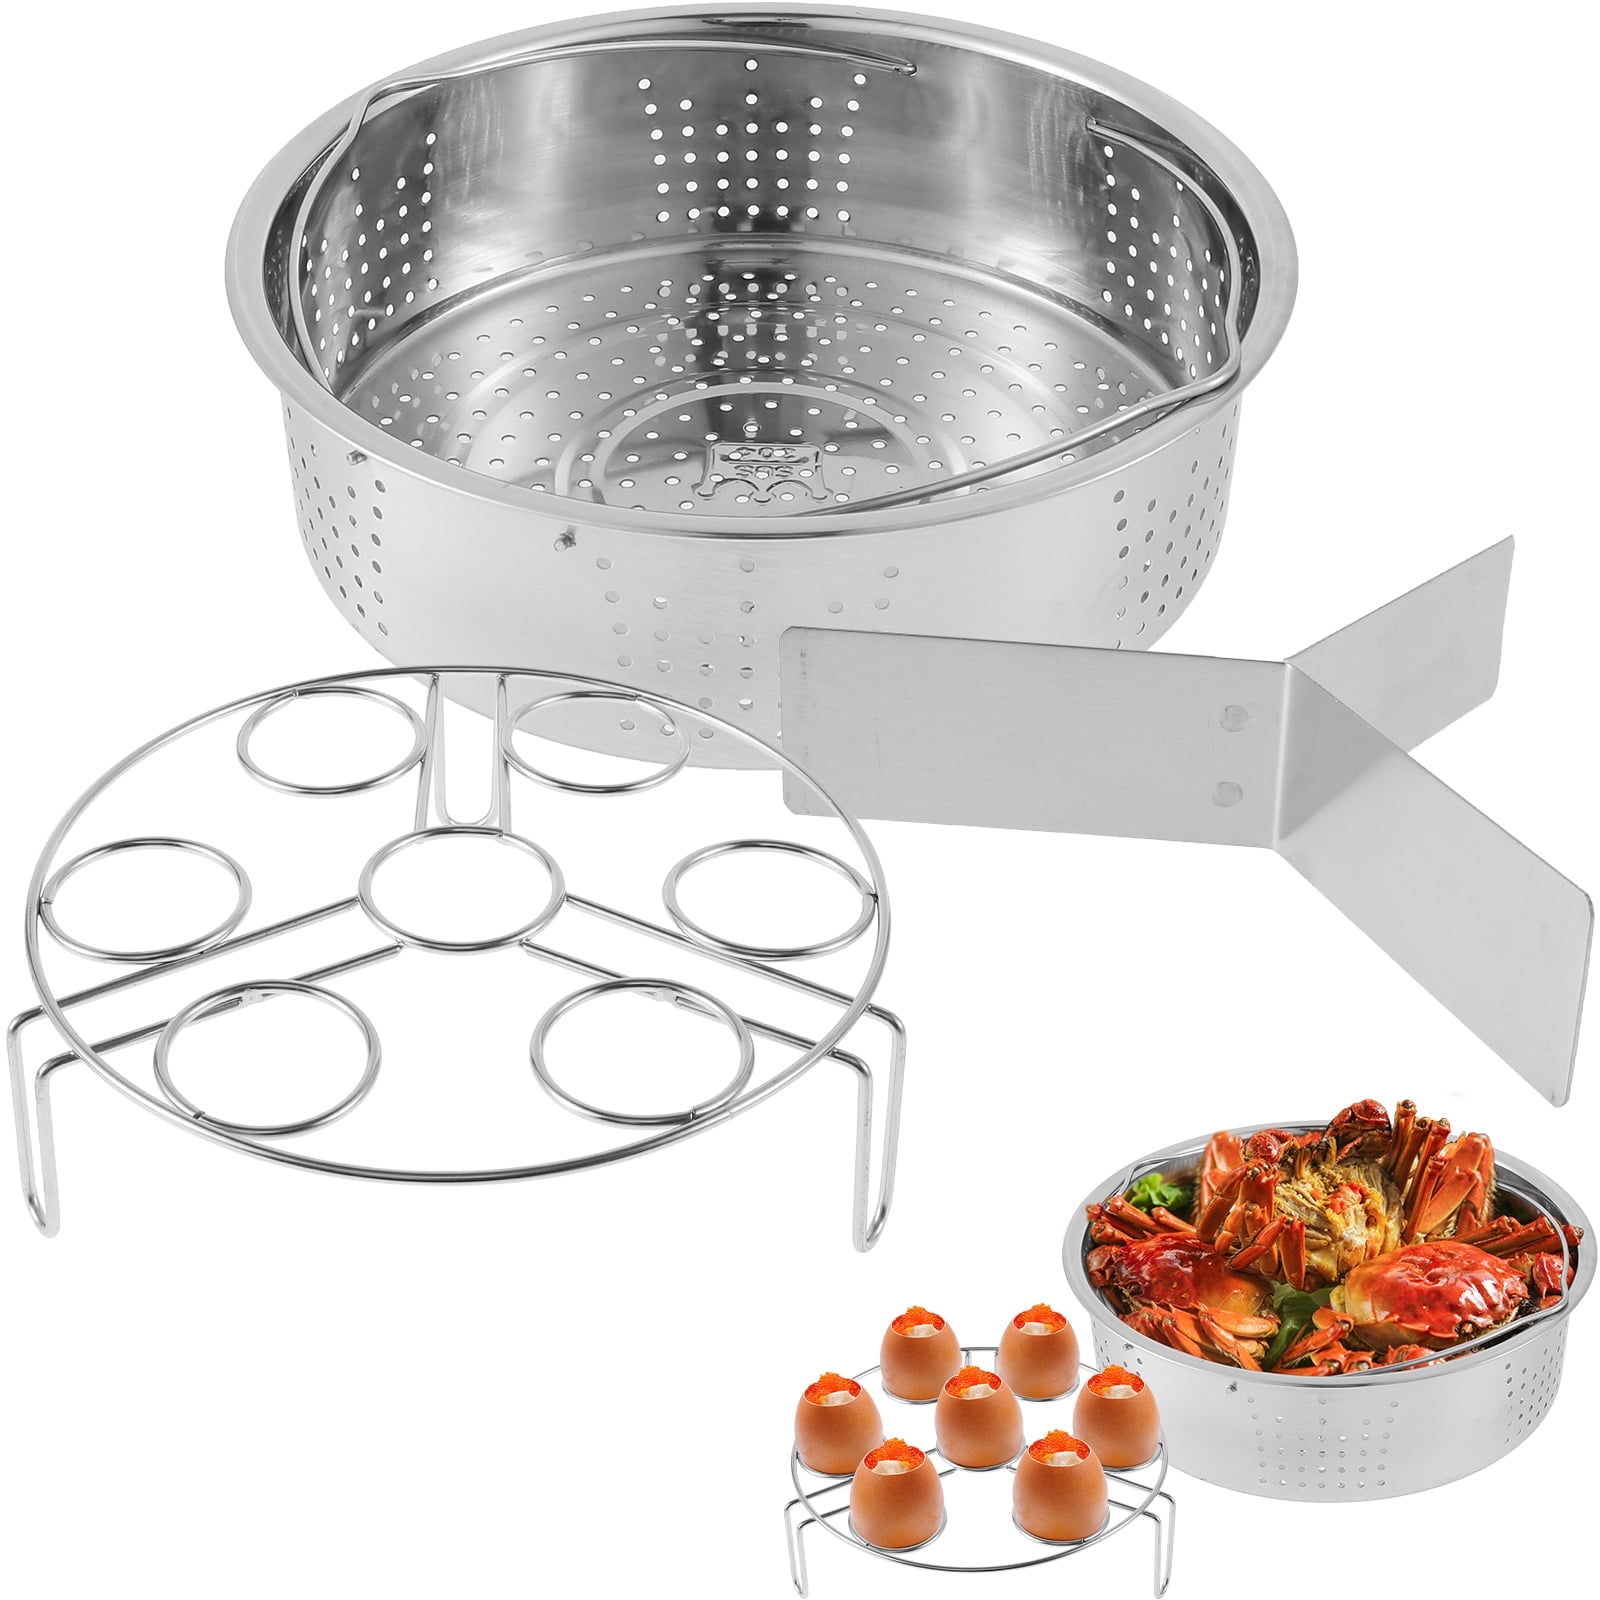
– Steamer basket: Ideal for peas or green beans (prevents small items from falling through)
– Trivet/rack: Standard with Instant Pots—perfect for whole potatoes or corn
– Grid insert: Hawkins’ included option for layered cooking
Critical rule: Any platform must have gaps for steam circulation. Solid surfaces trap moisture, causing uneven cooking. Test by placing a coin on your rack—if it wobbles, steam can’t flow.
Step-by-Step Pressureless Steaming
Water and Food Placement
Pour water to the “Min” line—never let food touch liquid. Position veggies in a single layer on your steamer basket. For leafy greens like kale, loosely pile them to allow steam penetration. Overcrowding causes steaming to slow by 40%, so use multiple batches for large quantities.
Cooking Process
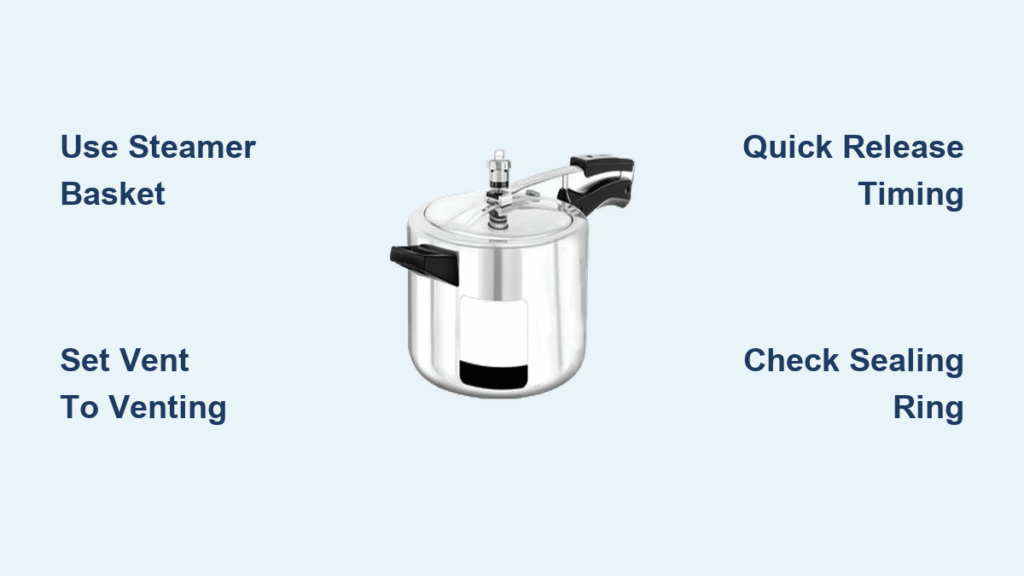
Set your vent to “venting” position. Heat on High until steam flows steadily (about 3 minutes). Since no pressure builds, open the lid anytime with tongs to test tenderness. Remove food immediately when done—residual steam continues cooking even after heat stops. For spinach, this means pulling it out after 30 seconds; delicate greens cook faster than you think.
Pressurized Steaming Method
Electric Model Setup
Add precise water amounts to the inner pot. Place food on your rack above water level—if liquid touches food, it boils instead of steams. For Instant Pot Duo Evo Plus models, skip the “Steam” button entirely; use “Pressure Cook” mode since it can’t steam under pressure.
Function Selection Guide
- Steam button: Full-blast continuous heat with no pressure buildup—best for broccoli or fish
- Pressure Cook program: Rapid pressure creation for dense items like beets or potatoes
Pro tip: For frozen veggies, add 1 extra minute to cooking time but never add extra water—frozen items release moisture as they thaw.
Pressure Release Timing
Quick Pressure Release (QPR): Flip valve immediately after cooking. Use for green beans or carrots to stop cooking instantly. Delaying QPR by 30 seconds turns crisp-tender veggies to mush.
Natural Pressure Release (NPR): Wait 10-15 minutes for pressure to drop. Ideal for spaghetti squash or artichokes—the gentle finish prevents fiber separation.
Vegetable Timing Charts

Zero-Minute Method (Delicate Greens)
Kale, collards, or mustard greens need zero minutes on the timer. The pressure-building phase alone cooks them perfectly. Seal the vent, start cooking, and execute immediate QPR when the timer beeps. Oversteaming turns vibrant greens to olive drab in seconds.
2-Minute Vegetables (Tender-Crisp)
- Green beans: Cut into 2-inch pieces, steam 2 minutes with QPR
- Potato chunks: ½-inch cubes, steam 2 minutes with NPR
- Carrot coins: ¼-inch thick, steam 2 minutes alongside potatoes
Warning: Cut carrots larger than potatoes—they cook slower. Smaller pieces = faster doneness.
6-Minute Vegetables (Dense Items)
- Spaghetti squash halves: Steam 6 minutes with NPR for effortless strand separation
- Whole beets (medium): Steam 6 minutes, then slip skins off with fingers
- Artichoke hearts: Trimmed and cleaned, steam 6 minutes with NPR
Vegetables to Skip
Asparagus: Pressure blasts shatter tender tips—use pressureless steaming instead.
Broccoli florets: Only attempt with zero-minute method + immediate QPR.
Snow peas: Steam pressure destroys their delicate texture—opt for stovetop.
Troubleshooting Steam Issues

Normal vs Problem Steam
Expected: A pencil-thin steam stream from the valve during cooking. Gentle “tick-tock” sounds indicate proper pressure regulation.
Danger signs:
– Geyser-like steam around lid edges → Stop cooking immediately
– Steam escaping pre-pressurization → Worn sealing ring
– Continuous hissing after cooking → Misaligned lid
Quick Fixes for Common Problems
Lid steam leaks: Remove and reposition the sealing ring—ensure it sits flush in the groove without twists. Annual ring replacement prevents 90% of leaks.
Pre-pressure steam escape: Test ring integrity by submerging it in water; bubbles indicate cracks. Never force a lid closed—if it doesn’t lock smoothly, inspect components.
Advanced Multi-Vegetable Cooking
Timing Coordination Strategy
Cook carrots and potatoes together by strategically sizing cuts:
– Carrots: Cut into 1.5-inch chunks (slower cooking)
– Potatoes: Dice into ½-inch cubes (faster cooking)
Both finish perfectly in 2 minutes under pressure.
Layer Cooking Method
Place dense veggies (beets) on the bottom rack. After 4 minutes of cooking, add delicate items (zucchini) to an upper basket. Seal and cook 2 more minutes—then QPR. This prevents overcooking without extra batches.
Maintenance and Safety Essentials
Pre-Cooking Safety Check
- Lid alignment: Rotate until you hear a distinct click—no gaps visible
- Sealing ring: Run finger along inner edge for nicks or food debris
- Water verification: Confirm levels with a measuring cup—never eyeball
- Vent test: Move valve between sealing/venting positions to ensure smooth movement
Post-Cooking Best Practices
Always use silicone-tipped tongs to remove food—metal can scratch non-stick pots. Never leave a cooling cooker unattended; trapped steam can re-pressurize if valves clog. After cooking, remove the sealing ring and rinse it separately to prevent odor buildup.
Efficiency Hacks and Meal Prep
Batch Cooking Strategy
Steam 4 cups of mixed vegetables (broccoli, carrots, snap peas) using NPR for 2 minutes. The natural release keeps them warm for 15 minutes while you prep proteins—perfect for grain bowls. Store portions in airtight containers for 4 days of ready-to-eat sides.
Flavor Enhancement Tips
- Corn on the cob: Steam 2 minutes for sweeter, plumper kernels than boiling
- Brussels sprouts: Halve and steam 3 minutes—finish under broiler for caramelized edges
- “Baked” Camembert: Steam 4 minutes for molten cheese center without oven preheat
Storage and Reuse Techniques
Save broccoli stems and cauliflower leaves—they make freezer-ready soup stock. Steam vegetable scraps (onion ends, carrot peels) for 5 minutes, then freeze in broth cubes. For meal prep, steam potatoes and carrots together, then toss with olive oil and herbs for instant roasted-veggie salads.
Mastering how to use pressure cooker for steaming turns dinner chaos into calm efficiency. Start tonight with 2-minute green beans—by Friday, you’ll be batch-steaming a week’s worth of veggies during your morning coffee. Your pressure cooker isn’t just an appliance; it’s your ticket to faster, healthier meals without sacrificing flavor. Now go lift that lid and smell the victory.


