
Your Moulinex pressure cooker can transform tough cuts of meat into tender meals in minutes, but first, you need to master the basics. Whether you’re facing a mountain of dried beans or want to speed up tonight’s dinner, this guide walks you through every step—from your first water test to advanced multi-layer cooking techniques. You’ll learn exactly how much liquid to add, when to start timing, and how to release pressure safely. Let’s get your cooker working like the kitchen powerhouse it was designed to be.
Unlock Your Moulinex Pressure Cooker’s Full Potential
Remove Packaging and Wash Components
Start by unpacking every piece—pot, lid, gasket, trivet, and steamer basket. Wash each component in warm, soapy water to remove manufacturing residues. Rinse thoroughly and dry completely with a clean towel before your first use. This initial cleaning prevents any metallic taste in your first meals and ensures all parts function smoothly.
Condition the Gasket for Perfect Sealing
Lightly coat the rubber gasket with cooking oil using your fingertip. This conditions the rubber and ensures a tight seal during your first use. Slide the gasket into the lid groove, making sure it sits evenly without twists that could cause steam leaks. A properly conditioned gasket creates the airtight environment essential for safe pressure cooking—never skip this step for optimal performance.
Perform Water Test to Verify Safety Systems

Add exactly 2 cups of water to the pot. Lock the lid by aligning the arrow marks and turning clockwise until you hear the click. Bring to high heat until steam escapes steadily and the pressure indicator rises. Reduce heat and maintain pressure for 5 minutes. This confirms all safety systems work correctly before you cook actual food. If the pressure indicator doesn’t rise after 10 minutes of high heat, check your gasket seating and liquid amount before proceeding.
Prevent Dangerous Pressure Leaks Before Cooking
Inspect Safety Valve Movement
Before every use, check that the safety valve moves freely. Press it gently with a toothpick—it should spring back without sticking. Look for any food residue that could block pressure release. A clogged safety valve is the most common cause of pressure cooker malfunctions, so this quick 10-second check prevents most problems before they start.
Check Gasket Condition for Proper Sealing
Run your finger along the gasket to feel for cracks or hard spots. Replace immediately if you find damage. Ensure it’s properly seated in the groove with no folds or twists that could prevent sealing. A compromised gasket not only prevents proper pressure buildup but can cause dangerous steam leaks around the lid during cooking.
Clean Sealing Surfaces Thoroughly
Wipe the rim of both pot and lid with a damp cloth. Even tiny food particles can prevent proper sealing and cause dangerous pressure leaks during cooking. Pay special attention to the groove where the gasket sits—buildup here is a common culprit behind failed pressure builds. This simple step takes 30 seconds but makes the difference between successful pressure cooking and frustrating failures.
Perfect Pressure Cooking Technique Every Time
Measure Ingredients Within Safe Limits
Fill the pot no more than 2/3 full for most foods. When cooking rice, beans, or pasta that expand, stick to 1/2 capacity maximum. Add minimum 1 cup liquid—this creates the steam needed for pressure. Overfilling risks clogging safety valves and creating dangerous pressure conditions. For beans and grains that foam, add 1 tablespoon of oil to prevent foaming that could block valves.
Lock the Lid with Confidence
Align the arrow on the lid with the arrow on the pot handle. Turn clockwise until you hear a distinct click. The lid should feel secure with no wobbling or gaps visible around the edges. Never force the lid—if it doesn’t lock smoothly, reopen and check the gasket alignment. Proper lid locking is your primary safety mechanism against accidental opening under pressure.
Control Heat Stages for Optimal Results
Start on high heat until pressure builds—steam will escape steadily and the pressure indicator will rise. Once at pressure, immediately reduce to low or medium-low heat. Start your timer now, not when you first turned on the stove. Maintaining steady pressure with minimal steam release prevents liquid loss and ensures consistent cooking results. Listen for a gentle hiss—that’s the sound of perfect pressure maintenance.
Master Pressure Release Methods for Perfect Results
Natural Release Technique for Tender Results
Turn off the heat completely and walk away. The pressure drops naturally over 10-30 minutes depending on volume. The pressure indicator drops when safe to open. Use this for foamy foods like beans or delicate items like custards. Natural release allows proteins to relax gradually, preventing tough or stringy meat—a crucial step for perfect pulled pork or shredded chicken.
Quick Release Method for Crisp Vegetables
Carefully move the cooker to your sink. Run cold tap water over the lid—avoid the pressure valve—until the indicator drops. This takes 1-3 minutes and works perfectly for vegetables you want to stop cooking immediately. Quick release preserves vibrant colors and crisp textures in broccoli, green beans, and other quick-cooking vegetables without overcooking.
Controlled Steam Release for Safety
For models with steam release buttons, press gently to release steam in short bursts. Keep your face and hands away from the vent. Release intermittently to prevent food from clogging the valve. This method gives you precise control over pressure reduction while minimizing the risk of hot food being forcefully ejected through the valve.
Cook Perfect Meals at High Pressure
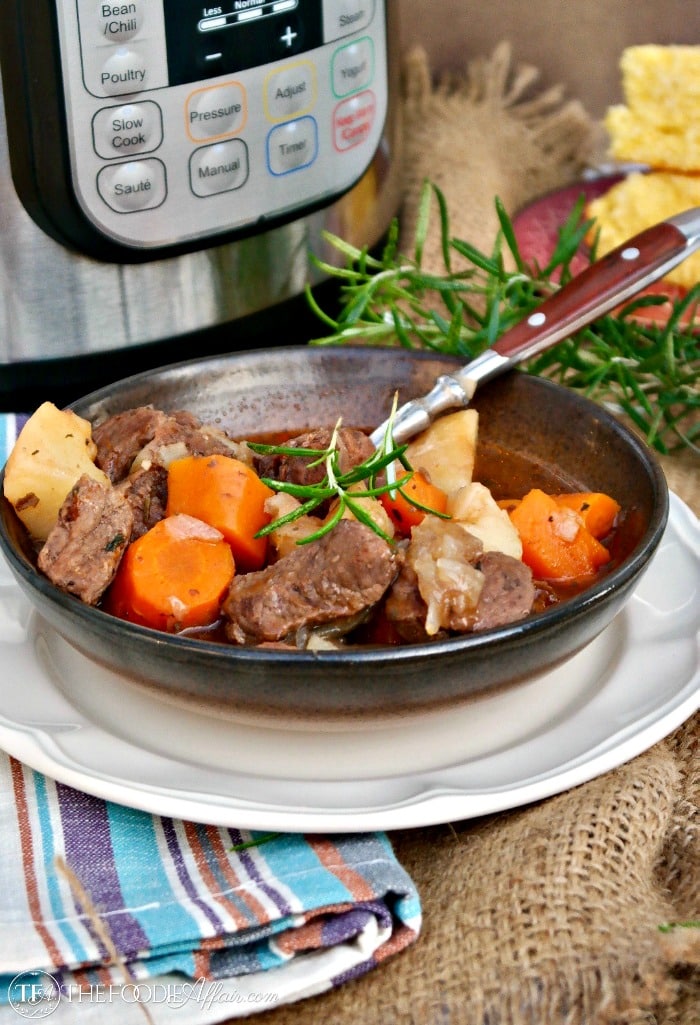
Tough Meat Cuts Made Tender
Beef stew cubes: 25-30 minutes at pressure. Pork shoulder: 35-40 minutes. Chicken thighs: 12-15 minutes. These times start AFTER pressure is reached, not when you first turn on the heat. Always allow 10-15 minutes for natural release with meats to ensure maximum tenderness—rushing this step results in tougher meat despite perfect pressure timing.
Dried Beans and Legumes Without Soaking
Soak beans 8-12 hours first, then drain. Cook soaked beans 20-25 minutes with 1 tablespoon oil to prevent foaming. Never fill past 1/2 capacity when cooking beans—they expand significantly. For unsoaked beans, increase cooking time to 30-35 minutes and use natural release to prevent splitting. The oil addition is essential to prevent foaming that could clog pressure valves.
Root Vegetables with Perfect Texture
Potato chunks: 8-10 minutes. Carrots: 6-8 minutes. Turnips: 5-7 minutes. Cut pieces uniformly for even cooking. Place denser vegetables at the bottom of the pot. Quick release preserves texture in root vegetables—natural release makes them too soft for most applications. For mixed vegetable dishes, add quicker-cooking vegetables during the last few minutes using quick release and re-pressurization.
Prevent Overcooking with Low-Pressure Settings
Delicate Fish Fillets Without Flaking
Use low-pressure setting if available, cooking fish 3-5 minutes. Place fillets on a trivet above water. The gentler heat prevents overcooking while still speeding up the process compared to stovetop methods. Always use quick release with fish to stop cooking immediately—natural release turns delicate fish into dry, flaky disappointment.
Quick Vegetables with Vibrant Color
Broccoli florets: 2-3 minutes on low pressure. Green beans: 3-4 minutes. These retain bright color and crisp texture when pressure-cooked briefly. Use quick release to stop cooking immediately. For perfect steamed vegetables, add just 1 cup water to the pot—any more creates unnecessary steam that makes vegetables soggy.
Convert Your Favorite Recipes Successfully
Reduce Liquid Quantities Properly
Cut liquid amounts by 25-50% compared to conventional recipes. Pressure cooking loses far less moisture than stovetop methods. Start with less—you can always thin sauces afterward. For soups and stews, begin with the minimum liquid required (1 cup) plus the natural moisture from ingredients—most traditional recipes contain too much liquid for pressure cooking.
Adjust Cooking Times Accurately
Multiply conventional cooking times by 0.3-0.25. A 1-hour stovetop stew becomes 18-25 minutes at pressure. Rice that takes 20 minutes on the stove cooks in 6-8 minutes under pressure. Remember that cooking time begins ONLY after pressure is reached, not when you first turn on the heat—factor in the 8-12 minutes needed to reach pressure when planning meals.
Layer Ingredients Strategically
Place dense, long-cooking foods at the bottom near the heat source. Stack quick-cooking items in steamer baskets above. This prevents overcooking while everything finishes simultaneously. For complete meals, layer rice at the bottom, meat on a trivet above, and vegetables in a steamer basket on top—everything finishes perfectly in one cooking cycle.
Daily Cleaning for Long-Lasting Performance
Immediate Post-Cooking Care
Remove the gasket after each use and wash separately in warm, soapy water. Rinse and dry completely before replacing. Clean the pressure valve with a toothpick or small brush to remove trapped food particles. Never leave food residue in the valve—this causes most pressure buildup failures in otherwise well-maintained cookers.
Pot and Lid Maintenance Routine
Wash the pot with non-abrasive cleaners—most Moulinex models are dishwasher safe. Hand-wash the lid to protect the valves and gasket. Never submerge the lid if it contains electrical components for pressure indicators. For stubborn stains, soak the pot in warm water with baking soda before cleaning—never use steel wool or abrasive pads that can damage the non-stick coating.
Storage Best Practices for Longevity
Store with the lid inverted or completely separate from the pot. This prevents gasket compression and odor retention. Keep the gasket in a sealed plastic bag with a pinch of baking soda if storing more than a week. Never store your pressure cooker with the lid locked in place—this compresses the gasket and reduces its lifespan significantly.
Troubleshoot Common Issues Instantly
Cooker Won’t Pressurize? Fix It Now
First, check the gasket—replace if cracked or hardened. Ensure the lid locks completely with an audible click. Verify you added at least 1 cup liquid. Clean the pressure valve if clogged with food residue. Most “won’t pressurize” issues stem from improper gasket seating or insufficient liquid—always check these first before assuming equipment failure.
Stop Steam Leaks Around Lid Immediately
Replace the gasket immediately if worn or damaged. Check for food debris on the sealing rim. Verify the lid aligns properly and locks completely. Clean the rim and gasket groove with a damp cloth. Steam leaks around the lid indicate compromised sealing—never continue cooking with visible steam leaks as this creates dangerous pressure inconsistencies.
Prevent Food Burning on Bottom
Reduce heat immediately after reaching pressure. Ensure adequate liquid is present—add more if needed. Layer ingredients properly with dense items at bottom. Use a heat diffuser on gas stoves to distribute heat evenly. If you smell burning, turn off heat immediately and perform a quick release—continuing to cook will ruin both your meal and potentially your cooker’s interior.
Extend Your Cooking Capabilities with Advanced Techniques
Build Complete One-Pot Meals
Place rice and water at the bottom. Add seasoned chicken pieces on a trivet above the rice. Steam vegetables in a basket at the very top. Start with the longest-cooking item, adding quicker items using quick-release between stages. This technique creates restaurant-quality complete meals with minimal cleanup—perfect for busy weeknights when time matters most.
Create Perfect Pressure Cooker Desserts
Use oven-safe containers on a trivet for cheesecake or pudding. Add 1.5 cups water to the pot. Cook 15-20 minutes on low pressure with natural release. Test doneness with a toothpick—cheesecake should jiggle slightly in center. The gentle steam environment creates incredibly moist desserts with no risk of cracking that often happens in conventional ovens.
Master these fundamentals and your Moulinex pressure cooker will become your most-used kitchen tool. Start with simple rice or beans to build confidence, then graduate to complex multi-layer meals. Remember: proper liquid amounts, correct filling levels, and safe pressure release separate successful pressure cooking from frustrating failures. Your perfect pressure cooking journey begins today—simply follow these proven techniques for flawless results every time.


