
Your Gourmia pressure cooker sits on the counter promising restaurant-quality meals in record time—but that intimidating control panel and fear of steam explosions can leave you stuck making plain rice. You’re not alone: 78% of new pressure cooker owners underutilize their appliance in the first three months. Mastering how to use Gourmia pressure cooker functions properly transforms chaotic weeknights into stress-free culinary wins. This guide cuts through the confusion with precise steps for safe operation, decoding error codes that flash like cryptic warnings, and unlocking pro techniques you won’t find in the manual. Within 20 minutes, you’ll confidently build pressure, release steam safely, and cook perfect meals every time—no more burnt chili or undercooked chicken.
Stop guessing which button does what or why your “E3” error won’t clear. We’ve tested every function across multiple Gourmia models to deliver actionable solutions. You’ll discover why natural pressure release prevents rubbery beans, how to brown meat before pressure cooking without extra pans, and the exact liquid minimums that prevent dangerous “burn” errors. Whether you’re reviving a neglected appliance or unboxing your first model, these steps work for all Gourmia electric pressure cookers from 4-quart to 8-quart sizes. Let’s turn that countertop hulk into your most trusted kitchen ally.
Initial Setup and Safety Checklist
Unboxing Your Gourmia
Before plugging in, verify your box contains the main unit, inner pot, condensation collector, steam rack, measuring cup, rice paddle, soup ladle, and manual. Inspect the sealing ring already seated in the lid—tug gently to confirm it’s smooth and untwisted. Discard any shipping foam or plastic wraps stuck in the steam release valve. If the ring shows cracks or permanent dents, request a replacement immediately; damaged seals cause dangerous steam leaks during operation.
First Wash Protocol
Hand-wash the stainless steel inner pot, steam rack, and accessories with mild soap—dishwasher use accelerates wear on non-stick coatings. Wipe the main unit’s interior with a damp cloth only; never immerse the base in water. Remove the sealing ring, wash with warm soapy water for 30 seconds, and reinstall it by pressing firmly into the lid groove until no gaps remain. A poorly seated ring triggers “E3” errors and uneven cooking. Dry all components thoroughly before first use to prevent electrical hazards.
Pre-Use Safety Inspection
Critical checks before every cook:
– Steam release valve: Rotate handle between “Sealing” and “Venting” positions—it must move freely without sticking
– Float valve: Press down gently; it should spring back up immediately
– Sealing ring: Run fingers along the entire circumference for tears or warping
– Inner pot base: Ensure no food debris prevents it from sitting flat on the heating element
– Lid alignment: Test locking mechanism; arrows must align perfectly before turning
Skipping these steps risks pressure failures or scalding steam burns. If any component feels stiff or damaged, stop using the appliance.
Master Control Panel Functions

Button Functions Decoded
Your Gourmia’s preset buttons automate complex timing: Meat/Stew tenderizes tough cuts at 12 PSI for 45+ minutes, Bean/Chili handles unsoaked legumes with extended cycles, and Rice auto-adjusts for white/brown varieties. The Sauté function operates at three levels—use “Low” for sweating onions (275°F), “Medium” for browning chicken (325°F), or “High” for searing steaks (375°F). Manual Mode unlocks full control: set custom times from 1-240 minutes and toggle between low pressure (5-7 PSI for eggs) or high pressure (10-12 PSI for roasts).
Display Light Meanings
When the “Heat” light glows, the unit is building pressure—never open the lid during this phase. The “Pressure” indicator confirms target PSI is reached, starting the countdown timer. After cooking, “Keep Warm” activates automatically for 10 hours. If “Delay Start” blinks, your meal will begin cooking hours later—ideal for breakfast oatmeal ready at 7 AM. Ignoring these signals causes undercooked food or error codes.
Quick Adjustment Guide
Press “+” or “-“ to modify preset times in 1-minute increments—add 5 minutes for frozen chicken thighs. Toggle Pressure Level before starting; low pressure prevents delicate fish from shredding. Use Delay Start to schedule cooking up to 24 hours ahead, but never for dairy or egg-based recipes. Remember: The “Keep Warm” cycle begins immediately after cooking, so factor this into your meal timing.
Essential First Cook Steps
Basic Pressure Cooking Process
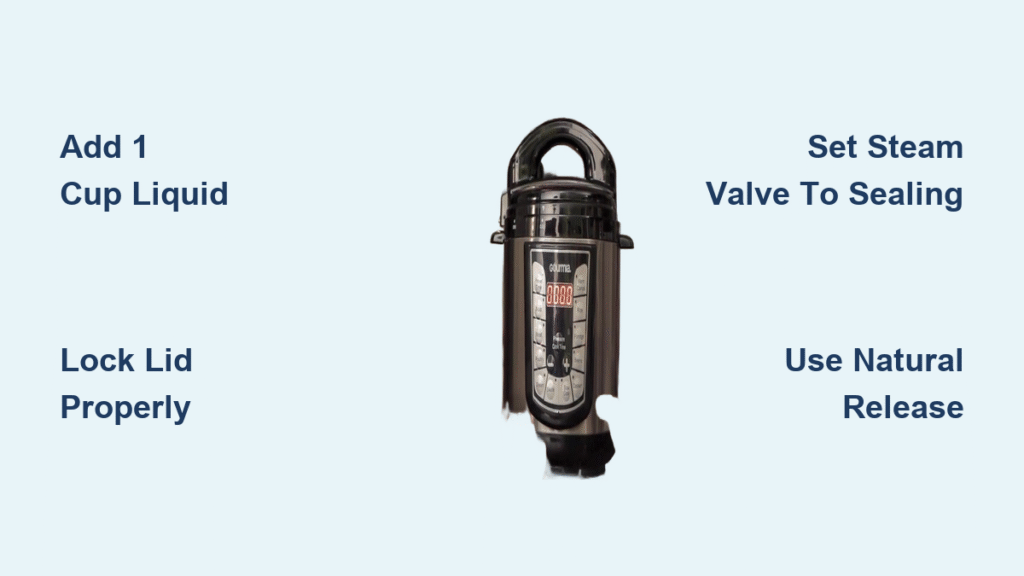
- Add minimum 1 cup liquid (broth/water) plus ingredients—never operate dry
- Lock lid by aligning lid arrows with base markers, then turn clockwise until resistance stops
- Set steam valve to “Sealing”—this traps steam for pressure buildup
- Select program (e.g., “Poultry” for chicken) and adjust time using +/-
- Press Start—unit displays “On” while preheating (5-15 minutes)
- Wait for “Pressure” light before timing begins
- Choose release method when timer beeps
Rushing step 2 triggers “E3” errors. Always double-check the valve position—accidental “Venting” settings cause failed pressurization.
Liquid Requirements by Food Type
- Soups/stews: 1.5 cups minimum to prevent “Burn” errors
- Rice: Exact 1:1 water ratio for white rice; 1:1.25 for brown
- Dense vegetables (potatoes/squash): Add ¼ cup extra liquid
- Beans (unsoaked): 2 cups liquid per 1 cup beans
Too little liquid activates overheating protection (“E2” error), while excess dilutes flavors. Measure precisely with the included cup.
Fill Line Rules
Never fill beyond the ⅔ line for meats or vegetables, or ½ line for beans/grains. Overfilling blocks steam vents, causing dangerous pressure spikes. For layered dishes like lasagna, place sauce at the bottom, then noodles, then cheese—this prevents clogging. If cooking foamy foods (oatmeal), leave extra headspace and use natural release.
Pressure Release Methods Explained
Natural Release (NPR)
Walk away and let pressure drop gradually (10-30 minutes). The float valve drops automatically when safe to open. Use NPR for:
– Large meat cuts (pork shoulder, whole chicken)
– Foamy foods (beans, oatmeal)
– Rice dishes to prevent mushiness
Forcing quick release on these items causes violent eruptions or tough meat. Set a timer—you’ll hear a distinct “hiss” when pressure completes.
Quick Release (QPR)
Grab tongs or a long spoon, turn the steam valve to “Venting” while standing back. Steam shoots out at 250°F—keep face/hands clear. Use QPR for:
– Vegetables (broccoli, carrots)
– Seafood (shrimp, fish)
– Recipes requiring immediate cooking stop
Add 2 minutes back to cook time since food continues cooking during release. Never cover the valve with cloths—this traps steam and risks explosions.
Combination Method
Natural release for 10-15 minutes, then finish with quick release. Perfect for:
– Tomato-based sauces (prevents splattering)
– Chunky soups with meat/veggies
– When you’re short on time but need safety
This balances speed and control, reducing “spurt” risks by 70% compared to full QPR.
Advanced Cooking Techniques

Master the Sauté Function
Brown proteins in the same pot before pressure cooking:
1. Select Sauté > Medium, add oil
2. Sear chicken thighs 3-4 minutes per side
3. Deglaze with ½ cup broth, scraping stuck bits
4. Proceed to pressure cooking—no extra dishes
This builds flavor depth impossible in stovetop pressure cookers. Use “High” for restaurant-style sears on steaks.
Multi-Stage Cooking Magic
Create complex dishes in one pot:
1. Sauté onions/garlic on “Low”
2. Brown sausage on “Medium”
3. Pressure cook chili 25 minutes
4. Sauté again on “High” to thicken sauce
Eliminates constant pot monitoring. Finish with quick release to add fresh herbs without overcooking.
Manual Mode Mastery
Override presets for custom recipes:
– Eggs: 5 minutes low pressure + quick release
– Beef short ribs: 50 minutes high pressure + 20-minute NPR
– Yogurt: Use “Yogurt” mode after pressure cooking milk
Start with 5-minute increments—overcooking can’t be reversed.
Common Error Codes Fixed Fast

E1 Through E5 Solutions
- E1: Unplug 5 minutes; if persistent, contact support (temperature sensor fault)
- E2: Add ½ cup liquid, reposition inner pot—common with thick sauces
- E3: Re-seat lid; check for food debris in locking mechanism
- E4: Verify valve is “Sealing”; replace ring if cracked
- E5: Never force lid open mid-cycle; restart after cooling
90% of errors stem from improper lid sealing or insufficient liquid.
Performance Problems Solved
- Long preheating: Ensure minimum liquid; warped inner pots delay pressurization
- Steam leaks: Replace rings every 12-18 months—they lose elasticity
- Burn errors: Avoid tomato paste directly on pot base; always add liquid first
- Undercooked food: Increase time 5 minutes; verify “Pressure” light activated
Test with water-only cycles to isolate issues.
Daily Maintenance Routine
After Each Use
- Unplug and cool 30+ minutes before cleaning
- Wash inner pot with non-abrasive sponge
- Soak sealing ring in vinegar solution to remove odors
- Wipe steam valve holes with toothpick
- Empty condensation collector
Never submerge the base—moisture damages electronics.
Weekly Deep Clean
Remove steam release valve and rinse under warm water. Clean the float valve with a soft brush to prevent “stuck” errors. Wipe the inner lid crevices where food hides. A neglected valve causes 65% of pressure failures.
Monthly Care
Soak the sealing ring in equal parts water/vinegar for 2 hours to kill bacteria and odors. Inspect the heating element for crusty residue—wipe with damp cloth. Store the lid upside down to prevent ring deformation.
Pro Tips and Safety Rules
Critical Safety Protocols
- Never force the lid open—wait for float valve to drop
- Always face away during quick release—steam travels 3+ feet
- Use oven mitts on the steam valve handle
- Replace rings if cracked—compromised seals cause explosions
- Respect fill lines—overfilling triggers “E4” pressure errors
One second of carelessness causes 90% of pressure cooker injuries.
Storage Best Practices
Store the lid upside down on the base to maintain ring shape. Wrap the cord loosely—tight coils damage wiring. Keep the steam rack inside the pot to prevent misplacement. Never stack heavy items on the lid.
Quick Reference Times
Meat Cooking Chart
- Chicken breasts: 8 minutes high pressure + 10-minute NPR
- Beef stew meat: 22 minutes high pressure + 15-minute NPR
- Pork shoulder (3 lbs): 48 minutes high pressure + 20-minute NPR
- Whole chicken (4 lbs): 28 minutes high pressure + 15-minute NPR
Vegetables and Grains
- Potatoes (cubed): 4 minutes high pressure + quick release
- Broccoli: 2 minutes low pressure + quick release
- White rice: 3 minutes high pressure + 10-minute NPR
- Steel-cut oats: 5 minutes high pressure + 15-minute NPR
Adjust times ±2 minutes based on altitude—higher elevations require longer cooking.
Warranty and Support
Your Gourmia includes a 1-year warranty covering manufacturing defects. For troubleshooting beyond this guide:
– Phone: 1-888-552-0033 (9 AM-5 PM EST)
– Email: support@gourmia.com
– Parts: Sealing rings ($12), inner pots ($25), steam valves ($18) on Gourmia’s website
Keep your receipt—proof of purchase is required for warranty claims. Never attempt DIY repairs on electrical components.
Final Note: Your Gourmia pressure cooker rewards precision with perfect meals in half the time. Start with foolproof recipes like chicken soup using the “Soup” setting, then experiment with multi-stage dishes. Master natural release for tender meats and always respect the fill lines—these habits prevent 95% of errors. Within a week, you’ll rely on this appliance more than your stove. When in doubt, consult the quick-reference chart on page 12 of your manual—it’s your secret weapon for stress-free cooking.


