
Your Breville pressure cooker sits unopened on the counter, gathering dust while you struggle with slow stovetop meals. That intimidating appliance actually holds the key to restaurant-quality dinners in under 30 minutes—without the guesswork. Unlike traditional cooking methods, Breville’s sealed system traps steam to reach 250°F (38°F above boiling), slashing cooking times by up to 70% while locking in nutrients and flavors. This guide cuts through the confusion with precise, manufacturer-verified steps so you can confidently transform tough cuts into tender masterpieces and pantry staples into gourmet meals. You’ll learn exactly how to avoid common safety pitfalls, leverage the right functions for perfect results, and unlock why professional chefs consider this your most versatile kitchen tool.
Perform Your Critical First Water Test
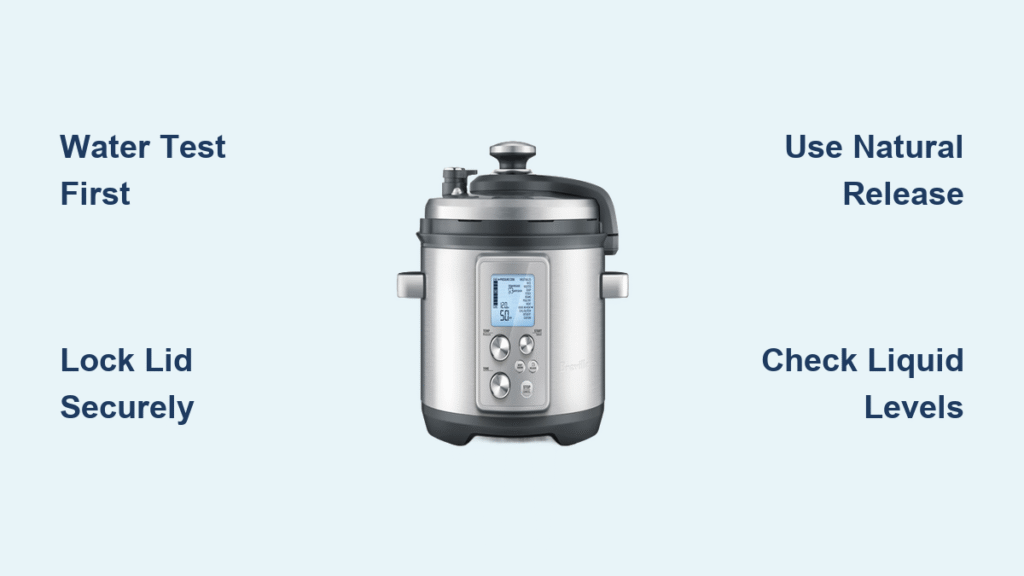
Before cooking real food, validate your Breville pressure cooker’s operation with this manufacturer-recommended safety check. Skipping this step risks improper sealing or pressure buildup during actual cooking, potentially triggering safety mechanisms that interrupt your meal preparation.
Execute the 5-Minute Validation Sequence
- Fill the inner pot to the minimum fill line with cold water—never exceeding two-thirds capacity to allow room for expansion
- Securely lock the airtight lid by aligning arrows and rotating until you hear the definitive click
- Confirm the steam release valve is positioned to “Seal” before starting
- Set the timer for 3-5 minutes using any pressure function
- Observe the pressure indicator rise as steam builds inside the sealed chamber
- Allow automatic pressure release or follow manual release instructions
Watch for consistent steam emission during release—this confirms your unit’s thermal sensors and pressure valves function correctly. If the indicator doesn’t rise within 5 minutes or leaks excessively, consult your manual before proceeding.
Verify Safety Components Every Single Use
- Inspect the steam release valve—remove debris with a damp cloth to prevent blockages
- Confirm minimum liquid levels—always add at least 1 cup of liquid for pressure functions to prevent scorching
- Check lid alignment—ensure arrows match perfectly before locking to maintain airtight integrity
Activate the Right Cooking Function for Perfect Results

Breville pressure cookers feature specialized pre-programmed functions that automate temperature and pressure settings. Using the wrong setting wastes energy and ruins textures—here’s how to match functions to your ingredients based on Breville’s engineering specifications.
Sauté Function: Build Flavor Foundations
Always brown meats and vegetables before pressure cooking using this 320°F dry-heat function. The high temperature creates fond (those delicious browned bits) that dissolve into rich sauces during pressure cooking. Sear chicken for 3-5 minutes per side or onions for 2 minutes—never add liquid during this phase as it creates steam that prevents proper browning.
Steam Function: Preserve Delicate Textures
Ideal for vegetables, fish, and dumplings, this setting uses built-in steam baskets to cook food above liquid. The sealed environment prevents nutrient loss while ensuring even cooking—add exactly 1 cup water below the basket. Steam broccoli for 0 minutes (relying on heat-up time), carrots for 1-2 minutes, or fish fillets for 3-4 minutes for restaurant-perfect results.
Slow Cook vs. Pressure Cook: Time Control Mastery
- Slow cook: Maintains 195°F for 4-8 hours—perfect for overnight oats or pulled pork that falls apart with a fork
- Pressure cook: Reaches 250°F under high pressure, cooking meals 70% faster—essential for last-minute weeknight dinners
- Pro tip: Start with pressure cook for grains and beans, then switch to slow cook for hands-off simmering
Five Foolproof Cooking Applications
Breville pressure cookers excel at specific culinary tasks where traditional methods fall short. These applications leverage the appliance’s unique ability to concentrate flavors while reducing cooking time—always follow minimum liquid requirements to prevent error messages.
Stocks and Soups in Record Time
Transform bone scraps and vegetable trimmings into crystal-clear stocks in 30 minutes. Fill the inner pot two-thirds full with bones and aromatics, add water to the max line, and cook for 30 minutes on high pressure. The sealed environment traps volatile flavor compounds that evaporate in open-pot cooking, yielding intensely flavorful broth ready for straining and freezing.
Grains and Rice Without Guesswork
Cook all grains in one-third the conventional time while preserving nutritional value. Use Breville’s precise thermal control for perfect white rice, brown rice, quinoa, or creamy risotto. Always maintain the 1:1 liquid-to-grain ratio minimum—adding insufficient liquid triggers burn warnings as the pot overheats.
Beans and Vegetables From Dry to Done
Eliminate overnight soaking for dried beans while retaining maximum nutrients. Combine 1 cup dried beans with 3 cups water and cook on high pressure—black beans finish in 25 minutes, chickpeas in 35 minutes. For vegetables like potatoes or collard greens, the pressurized steam penetrates fibers faster than boiling, preserving vibrant colors and textures.
Meats That Melt in Your Mouth

Achieve fall-off-the-bone tenderness in tough cuts like brisket or short ribs in under 90 minutes. Always use the Sauté function first to sear meats, then add liquid before pressure cooking. The high-pressure environment breaks down collagen into gelatin 3x faster than braising, yielding succulent results impossible with conventional methods.
Desserts That Impress Without Effort
Bake flawless cheesecakes and custards using the precise temperature control. Place springform pans on the included trivet with 1.5 cups water in the base, then cook for 25 minutes followed by 10 minutes natural release. The even, moist heat prevents cracking while cutting baking time in half compared to oven methods.
Execute the Perfect Cooking Sequence

Follow this manufacturer-specified sequence every time to prevent errors and ensure consistent results. Deviating from these steps causes common issues like “Burn” notifications or incomplete cooking.
Add Ingredients With Strategic Layering
Place liquids at the bottom (minimum 1 cup), followed by dense ingredients like meats, then delicate items like vegetables on top. Never fill beyond two-thirds capacity—food expands significantly under pressure. For rice dishes, layer grains above liquids to prevent starch buildup that triggers scorching.
Lock, Select, and Time With Precision
- Close and lock the lid until it clicks securely into place
- Select the appropriate function using the control panel (e.g., “Stew” for soups, “Braise” for meats)
- Set cooking time based on ingredient density—use shorter times for vegetables, longer for tough meats
- Press start and monitor pressure indicator rise
Release Pressure Safely Every Time
- Natural release: Let pressure drop slowly over 10-20 minutes—essential for meats and grains to prevent mushiness
- Quick release: Manually turn steam valve to “Vent” after cooking—use only for vegetables to stop cooking instantly
- Never force-open the lid while pressure indicator is raised—wait for full release confirmed by lid unlocking
Critical Safety Protocols You Must Follow
Breville pressure cookers have multiple safety mechanisms, but user error causes most accidents. These non-negotiable practices prevent dangerous steam eruptions and appliance damage.
Never Skip These Pre-Cook Checks
- Clear the steam release valve of food particles before each use—blockages cause dangerous pressure spikes
- Verify liquid levels—less than 1 cup of liquid risks overheating and triggers automatic shutdowns
- Confirm lid alignment—mismatched arrows prevent proper sealing, causing steam leaks during operation
Avoid These Costly Mistakes
- Opening the lid while under pressure (wait for full release indicator)
- Overfilling beyond two-thirds capacity (food expands 30-50% under pressure)
- Using insufficient liquid for pressure functions (always meet minimum requirements)
- Ignoring the “Burn” notification (scraping the pot bottom after sautéing prevents this)
Your Breville pressure cooker transforms from intimidating appliance to indispensable kitchen ally when you master these manufacturer-verified techniques. Start with the water test to build confidence, then progress to one-pot meals that previously demanded hours of attention. Remember: always maintain minimum liquid levels, use natural release for tender meats, and never force the lid open mid-cycle. Within a week of practice, you’ll consistently create restaurant-quality stocks, perfect grains, and fall-apart meats while cutting cooking time by two-thirds. The sealed environment that once seemed complex now becomes your secret weapon for nutrient-dense, flavor-packed meals with minimal cleanup—proving that precision engineering and smart technique make pressure cooking not just safe, but utterly indispensable.


