

That first sizzle when your Aldi pressure cooker seals shut signals the start of something magical—transforming cheap cuts into gourmet meals in under 30 minutes. Yet many boxes end up buried in cabinets because users fear explosions or confusing controls. If you’ve ever stared at those mysterious symbols on your Ambiano or Crofton cooker wondering how to use Aldi pressure cooker functions safely, you’re not alone. This guide cuts through the confusion with exact steps for flawless operation, from initial setup to perfect risotto. You’ll master every button, avoid common pitfalls like “Burn” errors, and unlock consistent results that make stovetop cooking obsolete.
Quick Setup Before First Use
Skip this critical step and you’ll taste factory residues in your first meal. Immediately unpack your cooker and remove all components: the stainless steel inner pot, silicone sealing ring, and steam rack. Wash each in warm, soapy water using a non-abrasive sponge—never steel wool that scratches surfaces. Rinse thoroughly to eliminate soap film, then air-dry completely. Moisture trapped in crevices breeds mold and compromises seals. While drying, inspect the sealing ring under bright light. Run your finger along its entire circumference feeling for hairline cracks or warping. Even minor damage prevents airtight closure, causing dangerous steam leaks during pressurization. If defective, contact Aldi’s customer service with your receipt—most models include a spare ring in the box. Finally, position the base unit on heat-resistant countertops, ensuring 8 inches of clearance from walls. Steam release valves require unobstructed space to vent safely; crowding against cabinets risks scalding or electrical damage.
Required Parts and Accessories
Your Aldi pressure cooker arrives with six essential components, each serving a precise function. The inner stainless steel pot (not non-stick) withstands high-pressure cooking without warping—never use it on stovetops. The silicone sealing ring creates the airtight seal that builds pressure; replace it annually or if odors linger after cleaning. Steam rack/trivet elevates foods above liquid for steaming vegetables or poaching eggs without submersion. The condensation collector snaps under the lid’s vent to catch water droplets during cooking—empty it after each use. Most kits include a measuring cup calibrated for rice-to-water ratios and a rice paddle with heat-resistant coating. Missing parts? Check Aldi’s seasonal “Special Buys” section for replacements or contact customer service with your model number (found on the base).
Decoding Control Panel Symbols

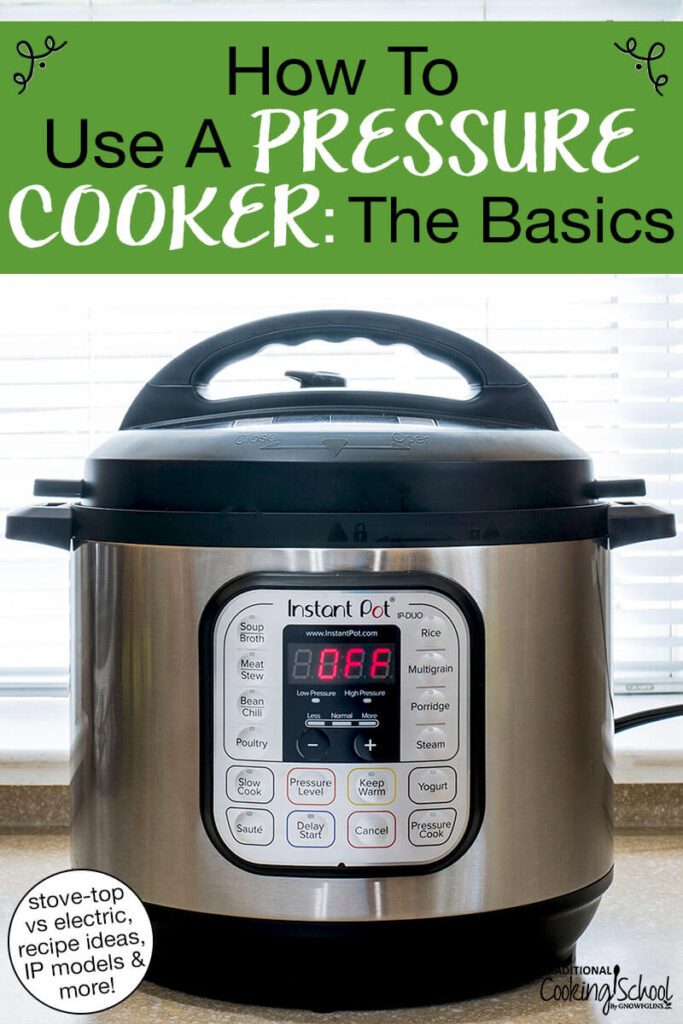
Aldi’s cookers use intuitive icons instead of text labels—a blessing once you know their meanings. The rice bowl icon defaults to 5 minutes for white rice but adjusts via +/- buttons for brown rice (22 minutes). Press meat for beef roasts or pork shoulder (default 25 minutes), ideal for shredding. Bean/chili handles dried legumes at 25 minutes—never skip soaking to prevent foaming. Soup simmers broths for 15 minutes, while steam cooks broccoli or fish fillets in 3 minutes. The slow cook function mimics crockpots at 150°C for 4+ hours. Crucially, sauté browns meat directly in the pot before pressure cooking—use it for deglazing stuck bits with wine or broth. After cooking, keep warm maintains 75°C for 10 hours. Toggle pressure level between High (12 PSI for meats) and Low (7 PSI for delicate foods like cheesecake) using the dedicated button.
Essential Safety Checks
Skipping these three checks risks steam burns or failed cooking cycles. First, verify the sealing ring is seated perfectly in the lid’s groove. Press down firmly starting at the valve, moving clockwise until it sits flush with no gaps—tilted rings cause leaks. Second, test the steam release valve by sliding it between “Sealing” (closed) and “Venting” (open) positions. If stiff, remove the plastic cap and rinse under warm water; debris jams cause dangerous over-pressurization. Third, confirm lid alignment by matching the lid’s arrow with the “Unlock” symbol on the base. Rotate clockwise until you hear a distinct click—the cooker won’t pressurize without this audible lock. If the float valve (small metal pin) rises prematurely, cancel cooking immediately: this indicates improper sealing.
Fill Limits and Liquid Requirements
Overfilling causes clogged vents and explosive steam release—Aldi’s manual specifies strict limits. For dense foods like stews, fill the inner pot no higher than the ⅔ line (marked inside). With expanding ingredients like rice, beans, or oatmeal, stop at ½ full to prevent foam blockages. Crucially, always add minimum liquid: 1 cup for 3-quart models, 1.5 cups for 6-quart, 2 cups for 8-quart units. Water, broth, or thin sauces work; avoid thick tomato pastes or purees that scorch. When layering, place dense items (potatoes, carrots) below the liquid line and delicate foods (peas, spinach) on the steam rack above. Never pack ingredients tightly—steam needs circulation space to cook evenly. Ignoring these rules triggers “Burn” errors or uneven results.
Setting Cooking Time and Pressure
Follow this sequence for foolproof operation: Press your recipe’s preset button (e.g., “Meat” for ribs), then adjust time using +/- buttons in 1-minute increments. For custom dishes, manually set time after selecting pressure level. Choose High pressure for tough meats, beans, or stocks (reduces cooking by 70%); select Low pressure for eggs, fish, or custards to prevent overcooking. Press Start, and the display shows “On” during preheating. This critical phase—where the cooker builds pressure—takes 5-20 minutes depending on food volume. The timer only counts down after reaching full pressure, indicated by the float valve rising. Never force-open the lid during preheating; wait for the audible signal.
Natural vs Quick Release Methods
Your release method determines texture—choose wrong and rice turns mushy or meats dry out. Natural release lets pressure drop slowly over 10-30 minutes (display shows “L0:01” counting up). Use this for meats, beans, or foamy foods like oatmeal to prevent liquid eruption. Quick release involves turning the valve to “Venting” with a long-handled spoon—keep hands and face clear as steam jets 10+ feet. Reserve this for vegetables, rice, or delicate fish to stop cooking instantly. For mixed dishes (e.g., chicken with potatoes), try the combination method: natural release for 10 minutes, then quick release residual pressure. This prevents broth from spraying out while avoiding overcooked veggies.
Cleaning After Each Use
Neglecting these steps breeds mold and ruins seals. Remove the sealing ring immediately after cooking and wash it separately in soapy water. Soak weekly in 1:1 vinegar-water solution to eliminate odors—never leave it in the lid to dry. Clean the steam release valve by popping off its cap and rinsing under warm water; use a toothpick to dislodge food particles in the valve hole. Wash the inner pot with non-abrasive sponges—stainless steel tolerates metal utensils but avoid scouring pads that scratch. Wipe the heating element with a damp cloth only when the base is cool; submerging it in water destroys electrical components. Always dry all parts thoroughly before storage to prevent water spots or mildew.
Troubleshooting Common Issues
Why Your Cooker Displays “Burn” Message
Food stuck to the pot bottom triggers this error. Cancel cooking, perform quick release, then stir ingredients while adding ½ cup extra liquid. Scrape the base clean with a wooden spoon before restarting. Prevent recurrence by using sauté mode to deglaze after browning meat.
Steam Leaking From Lid Edges
A misaligned or worn sealing ring causes leaks. Reposition the ring firmly into the lid groove, checking for twists. If leaks persist, replace the ring—Aldi sells spares for under $10. Never operate with visible leaks.
Lid Won’t Unlock After Cooking
Trapped pressure or a stuck float valve blocks opening. First, ensure the steam valve is fully on “Venting.” If pressure remains, gently tap the float valve with a spoon handle to release it. Never force the lid.
Undercooked Food Despite Timed Settings
Insufficient liquid or altitude affects results. Add ½ cup water, reseal the lid, and cook 2-5 extra minutes. At high elevations, increase time by 5% per 1,000 feet above sea level.
Time Conversion Chart from Stovetop
| Traditional Method | Pressure Cook Time | Release Method |
|---|---|---|
| Beef stew (2 hrs) | 35 minutes | Natural 15 min |
| Chicken breast | 8-10 minutes | Quick release |
| Dried beans (2 hrs) | 25-30 minutes | Natural 20 min |
| Brown rice (45 min) | 22-24 minutes | Natural 10 min |
| Potatoes (30 min) | 12-15 minutes | Quick release |
Pro Tips for Better Results
Brown meats first using the sauté function—this builds flavor depth while preventing “Burn” errors from stuck bits. Deglaze with ¼ cup wine to lift caramelized residues. For foolproof rice, use the pot-in-pot method: place rice in a heatproof bowl on the steam rack with 1 cup water below, cooking 12 minutes on High. Layer ingredients strategically—put quick-cooking items like shrimp on top of chicken so they don’t overcook during natural release. Prevent liquid spray by leaving 1 cup space below the max fill line when cooking soups with dairy or tomatoes.
Maintenance Schedule
After every use: Wash removable parts, wipe base exterior, and empty condensation collector. Weekly: Soak sealing ring in vinegar solution and test steam valve movement. Monthly: Descale mineral buildup in the inner pot with 1:1 vinegar-water simmer. Annually: Replace the sealing ring (Aldi sells kits for $8-12) and inspect the power cord for fraying.
Mastering your Aldi pressure cooker starts with simple wins: hard-boiled eggs in 5 minutes or steamed artichokes in 8. As confidence grows, tackle complex dishes like pulled pork or cheesecake using the sauté and slow-cook functions. Remember that pressure cooking is forgiving—you can always add time but never reverse overcooking. With these precise steps, your Ambiano or Crofton cooker will become your most-used kitchen tool, turning weeknight dinners into restaurant-worthy meals with zero guesswork. The real secret? Consistent results begin the moment you verify that sealing ring is perfectly seated.


