
You just unboxed your new Nesco pressure cooker and now you’re staring at the digital display, wondering where to begin. Unlike traditional stovetop models, your Nesco combines pressure cooking, slow cooking, and sautéing in one countertop appliance—making it incredibly versatile once you understand the basics. This guide cuts through the confusion with precise, step-by-step instructions for safely operating your Nesco pressure cooker from day one.
Discover exactly how to use a Nesco pressure cooker to transform tough cuts of meat into tender masterpieces in under an hour, cook perfect rice every time, and even brown ingredients before pressure cooking—all with minimal supervision. Whether you’re a beginner or upgrading from a stovetop model, these actionable techniques will have you confidently preparing restaurant-quality meals in no time.
First Setup: Unbox to First Cook
Verify Components and Inspect Before Use
Before plugging in your Nesco pressure cooker, thoroughly inspect all components. Your box should contain the main cooking unit, removable non-stick inner pot, locking lid assembly, silicone sealing ring, pressure release valve, condensation collector, measuring cup, rice paddle, and user manual. Run your finger along the inner pot’s rim to check for shipping damage or dents that could compromise the seal—these tiny imperfections cause most “steam leaking” issues beginners encounter.
Perform the Critical Water Test
Don’t skip this essential step: add exactly 3 cups of water to the inner pot, lock the lid securely, and run a 5-minute high pressure cycle. During this test, watch for the pressure indicator pin to rise (signaling proper pressurization) and listen for the distinct shift from “preheating” to active pressure cooking. This simple test verifies your unit seals correctly and prevents disastrous first attempts with actual food. Discard the test water completely—you’re now ready for real cooking.
Control Panel Mastery: No More Guesswork

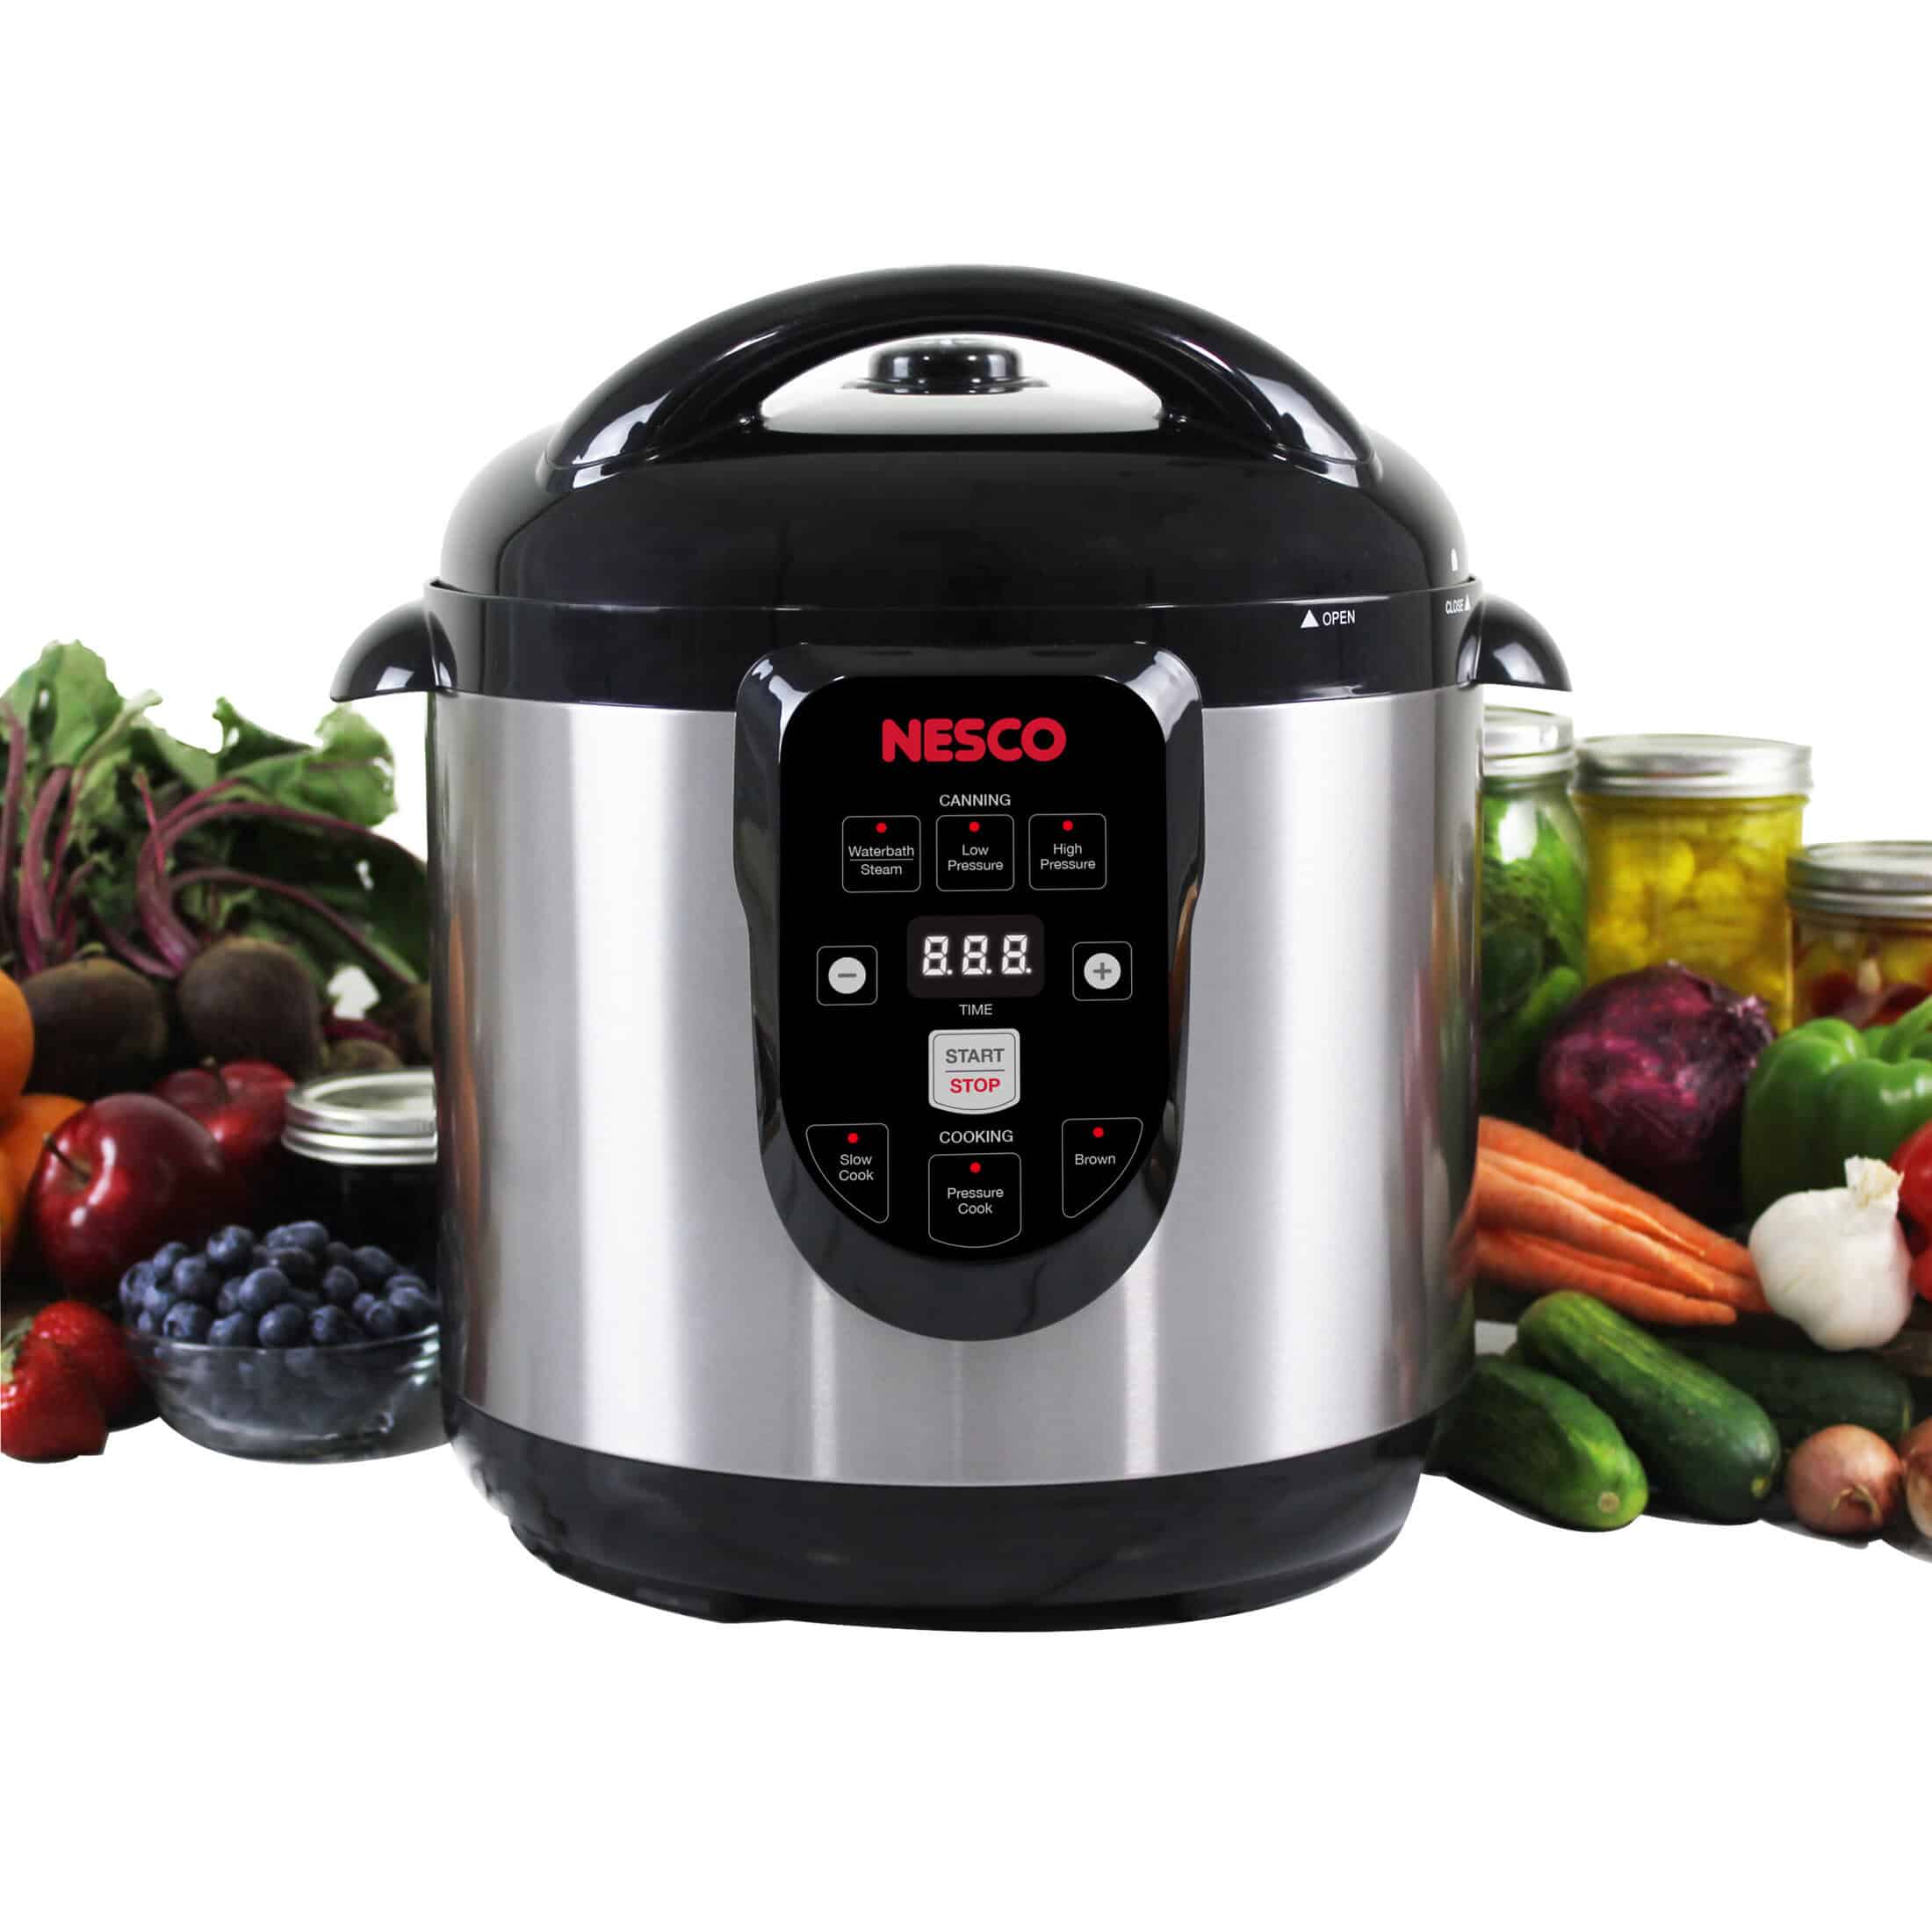
Decode Button Functions in 60 Seconds
Your Nesco’s digital control panel becomes intuitive when you understand these critical functions: Press “Menu/Function” to cycle through cooking modes (pressure cook, slow cook, steam, sauté). Use “Pressure Level” to toggle between low (4-6 PSI for delicate foods) and high (8-12 PSI for meats and beans). The “Time Adjustment” buttons change cooking duration in 1-minute increments up to 4 hours. Never use “Delay Start” with dairy or seafood—this feature works best for soups and stews you want ready when you arrive home.
Read Display Indicators Like a Pro
The digital display shows four vital pieces of information simultaneously: remaining cooking time, pressure level (Low/High), current temperature, and cooking phase. Pay special attention to the LED indicators—they signal when pressure has been reached (solid light), when keep-warm mode activates (flashing light), and when error codes appear. When the display shows “On” during preheating (which takes 5-15 minutes), resist the urge to open the lid—this is normal as the unit builds initial pressure.
Core Cooking Process: Foolproof Every Time
Add Ingredients Without Common Mistakes
Fill ingredients only in the removable inner pot—never directly in the outer housing. Follow these fill-line rules: Maximum 2/3 full for soups and stews, but only 1/2 full for expanding foods like rice or beans. Crucially, always include at least 1 cup of liquid (water, broth, or sauce) for proper pressure buildup—this is the #1 mistake beginners make when their unit won’t pressurize. If cooking frozen meats, add 50% more cooking time to compensate.
Lock the Lid for Perfect Sealing
First, ensure the silicone sealing ring sits evenly in the lid’s groove—no twists or gaps. Next, align the “Close” arrow on the lid with the arrow on the pot’s handle. Turn clockwise until you hear a solid click. Finally, verify the pressure release valve points to “Sealing”—not “Venting.” A quick visual check: the pressure indicator pin should be down when the lid is properly locked. If steam leaks during cooking, the sealing ring is likely misaligned or damaged.
Pressure Release Mastery: Control Your Cooking
Choose Between Natural and Quick Release
Natural release (NPR) lets pressure drop gradually over 10-30 minutes without intervention—perfect for large meat cuts or soups that foam. During NPR, food continues cooking gently. Quick release (QPR) takes just 1-3 minutes: use a long wooden spoon to turn the valve to “Venting” (never your hands—steam burns instantly). QPR stops cooking immediately, ideal for vegetables or seafood. For mixed dishes, try the combination method: wait 10 minutes after cooking, then quick-release remaining pressure.
Recognize When It’s Safe to Open
Your Nesco is safe to open only when two conditions are met: the pressure indicator pin has dropped completely, and the display shows “Lid Unlock.” Never force the lid open—even if the timer ends, pressure may still be building. If the lid won’t unlock, check that the pressure release valve is fully in “Sealing” position (it may have shifted during cooking). This safety feature prevents 99% of pressure cooker accidents.
Cooking Functions Deep Dive: Beyond Basic Pressure Cooking

Pressure Cook Perfect Rice in 8 Minutes
Add 1 cup rice and 1¼ cups water to the inner pot (25% more liquid than stovetop recipes). Secure the lid, set to high pressure for 3-5 minutes, then allow 10 minutes natural release. The key to fluffy rice? Never skip the natural release phase—this lets steam redistribute evenly. For brown rice, increase pressure time to 15-20 minutes with 15 minutes natural release.
Sauté Before Pressure Cooking for Maximum Flavor
Keep the lid open during sauté mode to brown meats or soften onions directly in the cooking pot. Select “Sauté” and choose Low, Medium, or High heat. Stir frequently to prevent burning—this builds incredible flavor through the Maillard reaction. Once browned, deglaze the pot with ½ cup liquid to capture the fond (those delicious browned bits), then proceed with pressure cooking. This technique transforms simple ingredients into complex dishes.
Safety Features You Must Know: Avoid Costly Mistakes
Recognize and Respond to Error Codes
Your Nesco displays specific error codes when issues occur: E1 indicates temperature sensor failure (contact support), E2 means pressure switch malfunction (requires service), and E3 signals overheating (add more liquid and check sealing). If “Lid” flashes, clean food debris from sealing surfaces. Never ignore error codes—continuing to operate with these issues can damage your unit permanently.
Follow the Essential Safety Checklist
Never fill above maximum lines—this causes dangerous steam blockage. Check the sealing ring for cracks before each use (replace every 12-18 months). Position the unit at least 12 inches from cabinets during steam release. Always use pot holders for the hot inner pot—its handle gets extremely hot. Most importantly, never force the lid open while pressurized; wait for the automatic lock to disengage. These simple habits prevent 95% of pressure cooker incidents.
Cleaning and Maintenance Routine: Extend Your Cooker’s Life
Clean After Every Use in 5 Minutes
Unplug and cool completely before cleaning. Remove the inner pot and wash with warm soapy water (dishwasher safe on top rack). Detach the sealing ring and wash separately—this prevents lingering odors. Wipe the lid’s interior with a damp cloth, focusing on the steam release valve area. Empty the condensation collector and rinse thoroughly. A toothbrush works perfectly for cleaning around the pressure valve.
Prevent Common Maintenance Issues
Soak the sealing ring monthly in a baking soda solution (1 tablespoon per cup of water) to eliminate stubborn odors. Descale mineral buildup by running a steam cycle with a 1:3 vinegar-to-water solution. Store the unit with the lid inverted to prevent sealing ring deformation. Replace the sealing ring immediately if it develops cracks, loses elasticity, or retains food odors after cleaning—this is the #1 cause of failed pressure builds.
Mastering how to use a Nesco pressure cooker unlocks incredible kitchen efficiency—cutting cooking times by 70% while developing deeper flavors. Start with simple recipes like chicken or rice to build confidence with pressure release techniques, then advance to layered dishes using the pot-in-pot method. Remember that the water test isn’t just for setup; repeat it whenever you replace parts or notice sealing issues. With proper care following these guidelines, your Nesco pressure cooker will deliver perfectly cooked meals for years while saving you hours each week. The key to success? Always respect the pressure release phase—rushing this step ruins more meals than any other mistake. Now that you know exactly how to use a Nesco pressure cooker, you’re ready to transform even the toughest ingredients into tender, flavorful dishes with minimal effort.


