
That blinking “OFF” screen on your new Instant Pot can feel like a puzzle. You’re not alone—thousands of new owners search “how to set Instant Pot pressure cooker” daily, frustrated by unresponsive buttons or steam leaks. This guide cuts through the confusion with exact steps, safety checks, and model-specific fixes so you cook your first meal confidently. Skip the guesswork: we’ll transform you from overwhelmed to pressurizing in 20 minutes.
Grab your trivet and measuring cup. Let’s get cooking.
Unbox and Clean Without Damaging Your Instant Pot
Wash Only These 5 Critical Parts (Skip the Base Unit)
- Inner pot – Remove the stainless-steel bowl; wash in dishwasher or sink. Never leave it wet before inserting—it causes “Burn” errors.
- Silicone sealing ring – Pop it out of the lid groove. Rinse under warm water (no soap) and dry completely. A damp ring won’t seal.
- Steam release handle – Pull straight up to detach. Run water through its holes to clear factory dust. Pro tip: Use a toothpick to dislodge debris from the valve seat.
- Lid body – Hand-wash the plastic rim where the ring sits. Soapy water near the pressure sensors can cause malfunctions.
- Trivet and accessories – Scrub the metal trivet and utensils (they often arrive with oily residue).
NEVER immerse the base unit—water destroys the heating element. Wipe it with a damp cloth only.
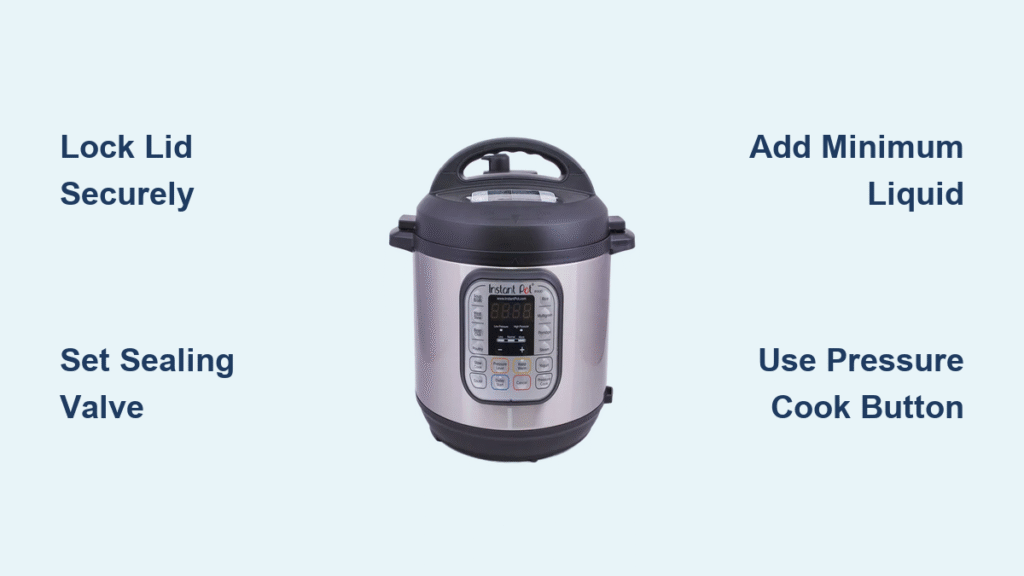
Decode Your Control Panel in 60 Seconds
Pressure Cook vs. Manual Button: What’s the Difference?
- Pressure Cook (newer models) or Manual (older models) is your primary button for custom pressure cooking. Press it, then use +/- to set time. Ignore all other preset buttons for your first meal—they’re distractions.
- Sauté mode isn’t just for browning: It’s critical for deglazing. Press Sauté → Normal, add ¼ cup broth after browning meat, and scrape the pot bottom before pressure cooking. Skip this, and you’ll get “Burn” errors.
- Steam release handle positions matter:
- Sealing (knob upright): Required for pressure cooking. Steam stays trapped.
- Venting (knob sideways): Releases steam immediately. Use only after cooking.
Why Your Timer Isn’t Starting? 3 Instant Fixes
If you press Pressure Cook but the display shows “On” forever:
1. Check valve position: It must be on Sealing (not Venting).
2. Verify sealing ring: Remove and reseat it—twists prevent sealing.
3. Add minimum liquid: 1 cup for 6-qt pots, 1.5 cups for 8-qt. No liquid = no pressure.
Run the 5-Minute Water Test (Avoid Costly Mistakes)
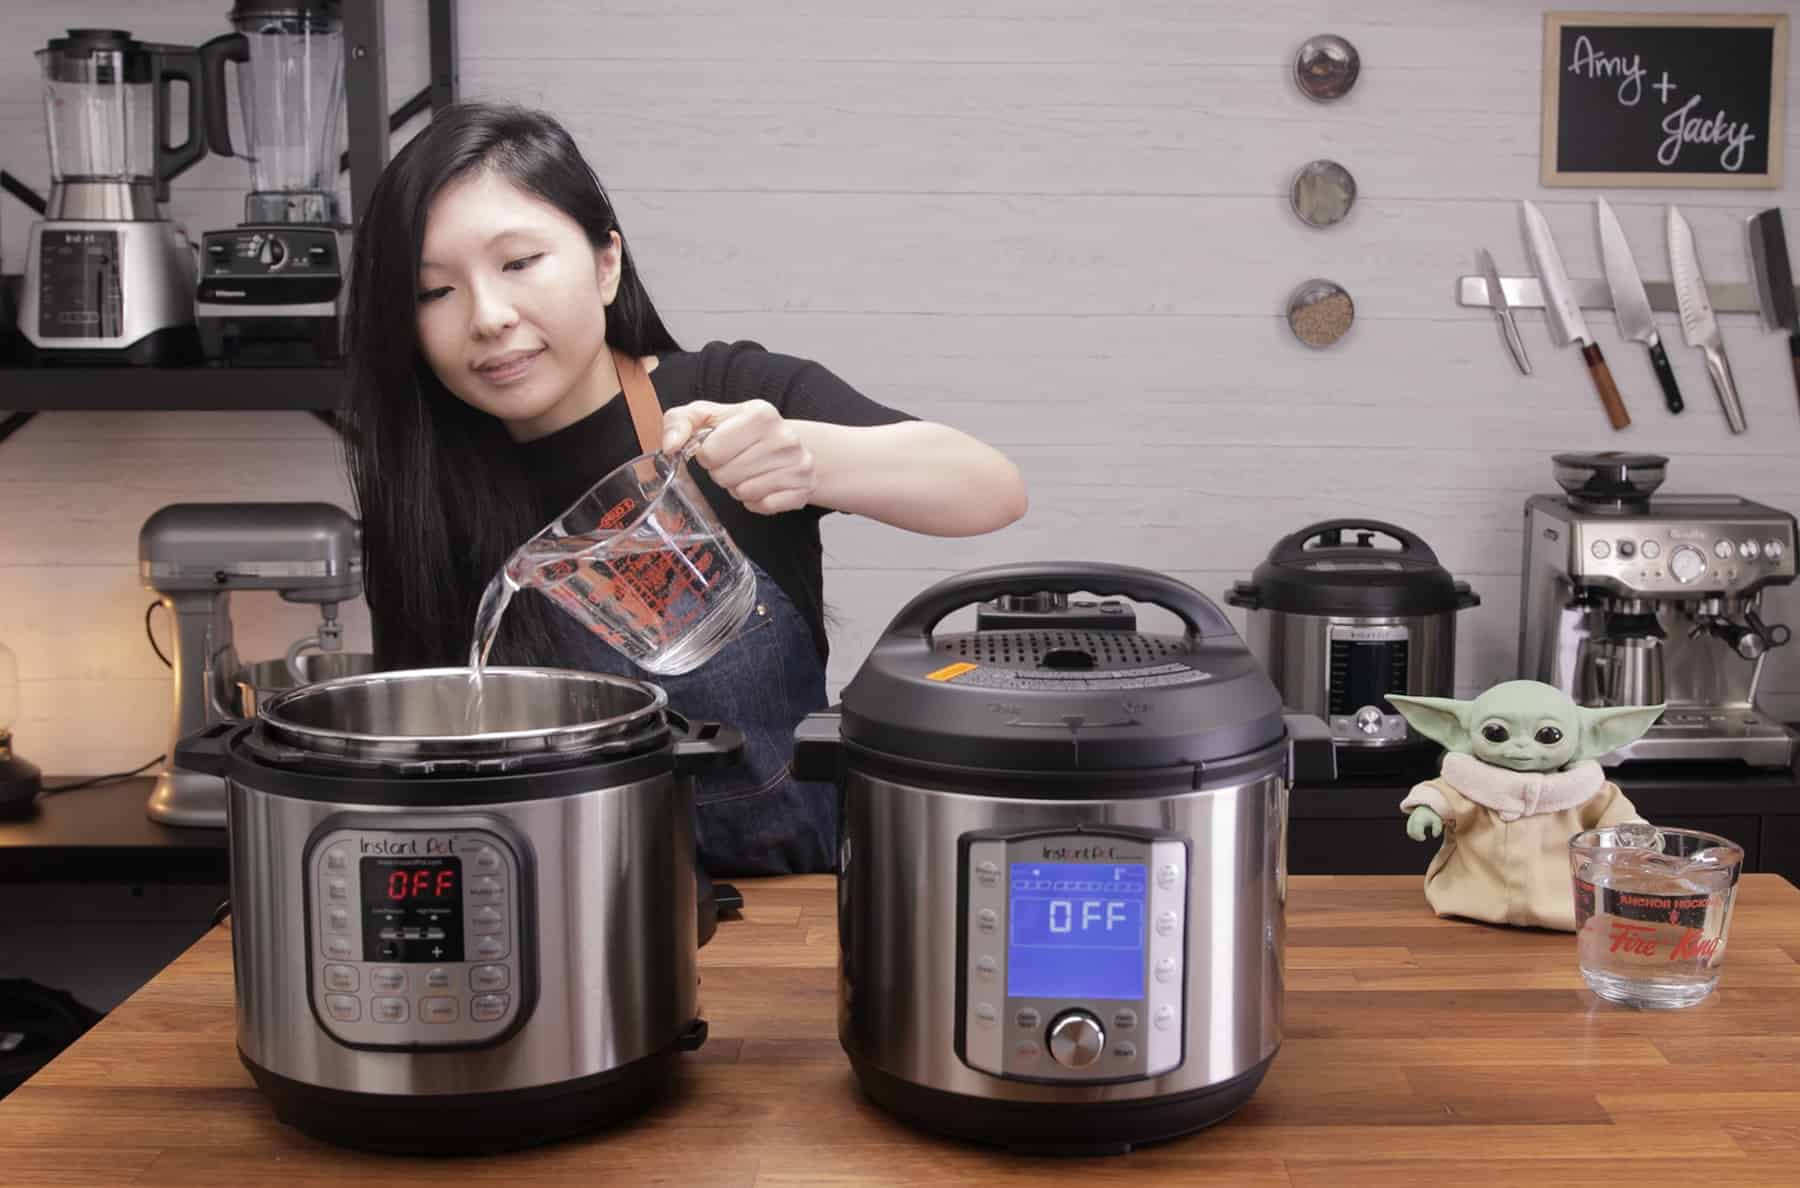
This test confirms your Instant Pot seals properly before you ruin dinner. Skip it, and leaks or failed pressurization will waste your ingredients.
- Pour 3 cups cool water into the inner pot (hot water causes erratic heating).
- Lock the lid clockwise until it chimes. No chime? Lid isn’t sealed—realign and twist harder.
- Flip steam valve to Sealing.
- Press Pressure Cook → set to 5 minutes with +/-.
- Watch for these signs:
– Display flashes On for 5–15 minutes (normal heating phase).
– Float valve (silver pin) pops up → timer starts counting down. - When timer ends: Quick Release by turning valve to Venting (use a long spoon handle—steam burns instantly).
- Lid opens ONLY when float valve drops. If stuck, rinse the valve under warm water to clear debris.
If pressure never builds: Recheck valve position, add more water, or replace a worn sealing ring.
Set Manual Pressure Cooking in 4 Foolproof Steps
Why Recipes Fail: Ignoring Fill Lines and Liquid Rules
- Minimum liquid: 1 cup (6-qt) or 1.5 cups (8-qt). Thick sauces or stews need extra broth.
- Max fill lines:
- 2/3 full for soups, meats, veggies.
- 1/2 full for rice, beans, or pasta (they expand violently under pressure).
- Doubling recipes? Double ingredients—but add only 1–2 extra minutes to cooking time.
Step-by-Step Setup
- Add food + liquid (e.g., 1 cup broth + chicken). No liquid = instant “Burn” error.
- Insert inner pot—dry the bottom first (water on the heating element causes errors).
- Lock lid clockwise until it chimes. No chime? Force it gently—it must click.
- Press Pressure Cook → set time → Sealing valve position.
- Wait for pressure: Float valve rises → timer starts. Never open during this phase!
- Release pressure per recipe:
– Natural Release (NPR): Wait 10–20 mins (for meats/beans—prevents foam eruptions).
– Quick Release (QR): Turn valve to Venting (for veggies/eggs—stops overcooking).
Sauté, Steam, and Slow Cook Without Errors

Sauté Mode: Avoid the #1 Mistake (Burn Errors)
- Lid MUST be off. Press Sauté → Normal, add oil, brown meat.
- DEGLAZE IMMEDIATELY: Pour ¼ cup broth/water and scrape all browned bits off the pot bottom. This step prevents 90% of “Burn” messages.
- Press Cancel when done. Do not skip—residual heat keeps cooking.
Steam Mode: Perfect Veggies Every Time
- Add 1 cup water to pot.
- Place trivet + veggies (e.g., broccoli) above water line.
- Press Steam → set 0 minutes for crisp-tender results (time starts when pressure builds).
- QR immediately after cooking—delayed release makes veggies mushy.
Slow Cook Mode: Venting Is Non-Negotiable
- Turn steam valve to Venting before pressing Slow Cook.
- No pressure builds—this is normal. Use “More” for stew-like thickness.
- Never use “Sealing” position—it converts to pressure cooking.
Pressure Release: Never Force the Lid Open
Which Method to Use (And When)
| Food Type | Release Method | Why It Matters |
|---|---|---|
| Beans, lentils, full pots | Natural Release (NPR) | Prevents foam explosions through the valve |
| Chicken, beef roasts | NPR 10–15 mins | Keeps meat tender; QR makes it tough |
| Eggs, fish, veggies | Quick Release (QR) | Stops cooking instantly to avoid rubbery results |
Critical safety rule: If the float valve is up, pressure is still inside. Never force the lid open—you’ll get scalded. Wait 5 more minutes.
Model-Specific Setup Secrets
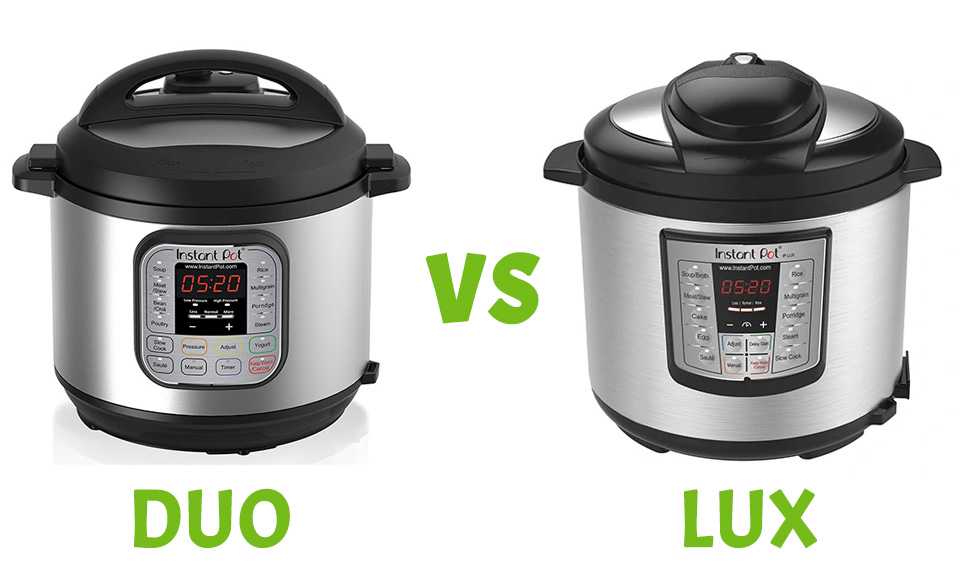
DUO vs. LUX Series: Critical Differences
- DUO Series (most common): Has Low/High pressure buttons. Use Low for delicate foods like eggs.
- LUX Series: No Low pressure. Default is High—reduce cook time by 15% for sensitive recipes.
- DUO Crisp models: Ignore the air fryer lid for pressure cooking. Use only the standard lid.
Pro tip: LUX owners—press Pressure Cook twice to toggle between High/Low (it’s hidden!).
Fix These 5 Errors Before They Ruin Dinner
Burn Message? Do This Now
- Press Cancel to stop cooking.
- Carefully open lid (only if float valve dropped).
- Deglaze: Add ½ cup liquid, scrape bottom thoroughly.
- Restart cycle. Skipping deglazing guarantees repeat errors.
Steam Leaking From Lid?
- Twisted sealing ring: Remove and reseat it—align the tab with the lid handle.
- Worn ring: Replace if it feels loose or has cracks (lasts 18–24 months).
Lid Won’t Open?
Wait. The float valve must drop. If stuck:
– Unplug the pot.
– Run warm water over the lid’s top for 30 seconds.
– The valve will drop—then open.
First 3 Recipes That Actually Work
Foolproof Hard-Boiled Eggs
- 1 cup water + trivet + 6 eggs.
- Pressure Cook 5 mins High → NPR 5 mins → ice bath. Yolks never gray.
10-Minute Shredded Chicken
- 1 cup broth + 1.5 lbs chicken breasts.
- Pressure Cook 10 mins High → NPR 10 mins → shred. Juicy every time.
Perfect White Rice (No Mush)
- 1 cup rice + 1¼ cups water.
- Rice button (12 mins Low) → NPR 10 mins → fluff. Use “Less” for sushi rice.
Pre-Cooking Checklist: Do This Every Time
– [ ] Inner pot dry and seated
– [ ] Sealing ring clean and fully snapped in
– [ ] Steam valve on Sealing
– [ ] Minimum 1 cup liquid added
– [ ] Fill ≤ 2/3 (or ≤ 1/2 for grains)
– [ ] Lid locked until it chimes
– [ ] Correct program selected (Pressure Cook > presets)
Lock the lid, set the timer, and walk away—your Instant Pot handles the rest. No more guessing, no more errors. Your first perfectly cooked meal is 10 minutes away.


