
That new pressure cooker sitting on your counter promises restaurant-quality meals in minutes—but only if you set it up correctly. One overlooked seal inspection or incorrect liquid measurement can turn dinner plans into kitchen disasters. Whether you’re unboxing an Instant Pot for the first time or reviving a vintage stovetop model, mastering the precise setup sequence prevents steam leaks, burn errors, and undercooked meals. This guide delivers the exact steps tested by culinary technicians, from critical safety checks to troubleshooting common mistakes, so you can pressure-cook with confidence from day one.
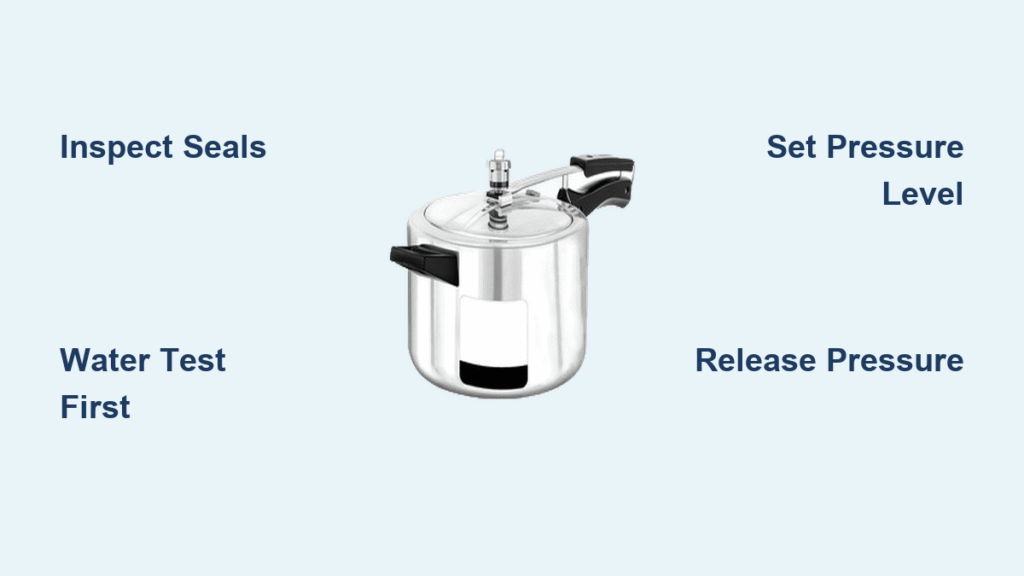
Identify and Inspect Every Component Before First Use
Electric and stovetop models require different startup procedures, but both demand meticulous component verification. For electric units like Instant Pots, remove the base unit, stainless-steel inner pot, lid with silicone sealing ring, steam release valve, condensation collector, and trivet. Stovetop versions need inspection of the pot body, lid with locking handles, pressure regulator (rocker), sealing ring, over-pressure plug, and cooking rack. Wash all removable parts in warm soapy water (or dishwasher if labeled safe), but never immerse the electric base—wiping with a damp cloth suffices. Crucially, examine these elements every time you cook.
Critical Pre-Use Safety Checks You Can’t Skip
Spot these hazards before adding ingredients:
– Sealing ring integrity: Run fingers along the entire silicone ring; any cracks, tears, or uneven seating guarantees steam leaks
– Steam vent clearance: Shine a flashlight into the vent pipe—food debris here causes dangerous pressure buildup
– Float valve mobility: Press the metal pin on electric lids; it must spring back smoothly (stovetop locks should drop freely when cool)
– Heating element condition: Verify the electric base interior is completely dry and crumb-free to prevent electrical faults
Skipping these checks risks scalding steam burns or failed pressurization. A warped ring or clogged valve transforms your efficient cooker into a potential hazard—always inspect before every use.
Execute the Mandatory Water Test Before Cooking Food
Never skip this 5-minute validation run—it confirms seal integrity, teaches timing cues, and builds confidence. For electric models, place the inner pot in the base with 3 cups cool water, lock the lid clockwise until it chimes, and turn the steam valve to Sealing. Select Manual/Pressure Cook for 5 minutes. When the float valve rises (5-15 minutes later), the timer starts. After beeping, perform Quick Release by turning the valve to Venting with an oven-mitted hand. Open slowly once the pin drops. Stovetop units need ½ cup water; lock the lid, set regulator to High, and heat on HIGH until the rocker moves steadily. Immediately reduce heat to maintain gentle rocking for 2 minutes, then remove from heat. Natural cooling should leave minimal water loss—if you see significant evaporation, replace the sealing ring.
Troubleshooting Failed Water Tests Immediately
If electric units never pressurize: Recheck valve position (must be Sealing, not Venting) and ensure the ring sits flush in its groove—no twists allowed. Stovetop models losing excessive water indicate a compromised seal; inspect the ring for warping and clean vent holes with a toothpick. Violent rocking on stove-top means heat is too high—reduce burner incrementally until motion slows to one gentle rock per second. Passing this test proves your cooker is safe for food; failing it requires component replacement before proceeding.
Follow the 7-Step Universal Setup Sequence for Every Recipe

This workflow applies whether you’re cooking ramen or pot roast. First, inspect and clean seals and valves—no exceptions. Second, add minimum liquid (1 cup for electric, ½ cup for stovetop) to prevent burn errors. Third, load ingredients below fill lines—never exceed ⅔ full for soups or ½ full for beans/rice. Fourth, lock the lid until arrows align or clicks engage (stovetop requires twisting until handles lock). Fifth, configure pressure: Electric models use Manual/Pressure Cook mode with High setting (95% of recipes); stovetop requires HIGH heat until rocking begins, then immediate heat reduction. Sixth, start cooking—remember timers count down only after full pressure (float valve rises). Seventh, release pressure correctly: Natural Release (NPR) for meats/beans (10-30 minutes), Quick Release (QR) for veggies (manual venting).
Choosing Between Quick Release and Natural Release
Natural Release (NPR): Let the cooker cool untouched—ideal for foamy foods like beans or large meat cuts. The float valve drops naturally in 10-30 minutes, preventing texture damage. Quick Release (QR): Turn the valve to Venting with oven mitts (electric) or lift the regulator with a spoon (stovetop)—use only for delicate items like vegetables. Critical rule: Never use QR for starchy foods (rice, oatmeal); steam can erupt violently, spraying scalding liquid. Stand back from the vent during QR—steam travels 3+ feet.
Set Exact Pressure Levels for Perfect Results

Most recipes require High pressure (13-15 psi, 250°F), but delicate foods like custards need Low (3 psi, 220°F). Electric cookers auto-regulate once you select the setting—choose High unless specified otherwise. Stovetop models demand active heat management: after initial HIGH heat brings the rocker to motion, reduce burner to the lowest level maintaining gentle rocking—about one rock per 2-3 seconds. Too much heat causes violent rocking (overcooking risk); too little stops rocking (undercooking). Watch the regulator, not the clock—consistent motion matters more than exact temperature.
Avoid Overfilling Catastrophes with Fill Line Rules
Maximum fill limits prevent dangerous steam blockage:
– 2/3 full for soups, meats, or vegetables (e.g., 6 quarts max in 8-quart pot)
– 1/2 full for expanding foods like rice, beans, or pasta (they double in volume)
Minimum liquid requirements are non-negotiable:
– Electric: 1 cup (240 ml) thin liquid (broth, water)
– Stovetop: ½–1 cup depending on manufacturer specs
Exceeding these triggers “Burn” errors in electric units or causes stovetop steam vents to clog. Visual cue: When loading food, the surface should sit well below the top ridge inside the pot—not near the rim.
Calculate Total Cooking Time Including Pressure Phases
Pressure cooking isn’t just “10 minutes”—add all phases to avoid dinner delays. For electric models: Pre-heat/sauté (3-10 min), Come to pressure (5-15 min), Actual cook time (recipe-specific), Natural release (10-30 min if needed). Stovetop shaves 2-5 minutes off pre-heat but requires constant rocking monitoring. Example: A 20-minute chicken stew needs 8 min to pressurize + 20 min cooking + 15 min NPR = 43 total minutes. Start timing after the float valve rises—not when you press “Start.”
Fix 4 Critical Setup Mistakes Before They Ruin Dinner

| Problem | Immediate Solution | Prevention Tip |
|---|---|---|
| Never reaches pressure | Check valve position; add ½ cup liquid; reseat sealing ring | Always verify ring seating with finger sweep |
| Constant steam leak | Replace torn ring; clean vent with toothpick; reduce fill level | Inspect ring for warping before each use |
| “Burn” error (electric) | Deglaze pot with broth; add ½ cup liquid; avoid thick sauces on bottom | Sauté meats first, then add liquid before grains |
| Violent rocking (stovetop) | Lower burner 1 notch; wait 30 seconds before rechecking | Start at medium heat—avoid “High” after initial pressurization |
These fixes address 90% of first-time failures. If problems persist after two attempts, consult your manual—don’t force operation.
Maintain Your Cooker After Every Use for Longevity
Wipe the electric base with a damp cloth (never submerge!), hand-wash the sealing ring, and scrub the inner pot. Dry all parts thoroughly—trapped moisture breeds mold in valve mechanisms. Store the lid upside-down on the pot or remove the ring to prevent odor absorption. Replace silicone rings every 12-18 months (or when they crack, stretch, or retain smells)—a $15 part saves ruined meals. Monthly, flush the steam vent with a vinegar-water solution to dissolve mineral deposits.
First-Time Cooking Cheat Sheet: Start Timing After Pressure
| Food | High Pressure Time | Release Method | Key Visual Cue |
|---|---|---|---|
| White rice | 5-7 min | NPR 10 min | Steam stops escaping |
| Chicken breast | 8-10 min | QR or NPR 5 min | Float valve drops |
| Black beans (soaked) | 8-10 min | NPR 15 min | Lid unlocks automatically |
| Potato chunks | 5-7 min | QR | Fork slides in easily |
| Hard-boiled eggs | 5 min | QR + ice bath | Shells peel cleanly |
Pro tip: When uncertain, default to Natural Release for proteins and starches—rushing release causes tough meat or mushy grains. QR belongs exclusively to vegetables and quick-cooking items.
Mastering pressure cooker setup transforms intimidating technology into your most reliable kitchen tool. By following these exact steps—from water testing to release methods—you’ll consistently achieve tender meats, fluffy rice, and restaurant-quality results in half the time. The secret isn’t the appliance itself, but the precision of your setup: inspect seals religiously, respect fill lines, and never skip the water test. Within three uses, this sequence becomes second nature, unlocking faster, more flavorful meals with zero guesswork. Your pressure cooker’s full potential starts with these fundamentals—apply them once, and perfect pressure cooking becomes effortless forever.


