
You just finished cooking a rich beef stew in your multi-cooker, but now you’re staring at splattered sauce on the lid and a lingering garlic smell that won’t quit. That stubborn ring around the sealing gasket? It’s not just unsightly—it’s the leading cause of pressure failures and burnt food odors. The good news: proper how to clean multi cooker routines take under 15 minutes and prevent 90% of common malfunctions. This guide reveals the exact techniques professional kitchen technicians use to keep Instant Pots, Ninja Foodi systems, and other multi-cookers odor-free and performing like new for years. Skip these steps, and you’ll face cracked seals, mineral buildup, and dreaded “burn” errors within months.
Most users make one critical mistake: rushing the cleanup while the unit is still hot. But never skip the cooling period—it’s your safety lifeline. Electric models need 30 minutes minimum (60 minutes after pressure cooking) before disassembly. Why? The heating plate retains enough heat to cause second-degree burns, and residual steam trapped in the lid vents can scald you before you realize it’s hot. Always confirm the float valve (that small metal pin on the lid) has dropped completely before touching any components. This isn’t just caution—it’s the #1 rule from Instant Pot’s service manual to avoid voiding your warranty.
Disassemble Components Without Damaging Your Unit

Remove Inner Pot and Accessories Correctly
Lift the inner pot straight up—no twisting required. Forcing it sideways can warp the pot base, causing uneven heating. Immediately transfer leftovers to storage containers; never scrape food directly into your sink. Stainless steel and non-stick surfaces scratch easily when dragged against porcelain or granite. Before washing, remove all accessories: the steam rack (check for hidden food in crevices), the sealing ring (pull it straight out of the lid groove), the condensation collector cup (slide it from the rear slot), and the anti-block shield (that small metal disc under the lid).
Detach the Lid Safely
Most electric models have a hinge release button near the handle—press it firmly while lifting the lid. If resistance occurs, stop immediately. Forcing a stuck lid usually means residual pressure remains. Stovetop models simply lift off once the pressure indicator drops, but always wear oven mitts—the lid weighs 2-3 lbs and retains heat. Never submerge the entire lid in water; electronics in the handle can short-circuit.
Clean Critical Components Step by Step
Wash the Inner Pot to Prevent Permanent Stains
For stainless steel pots: Rinse with warm water first to loosen debris. Apply mild dish soap to a soft sponge and scrub in circular motions. For stuck-on residue like rice or chili, fill the pot with hot water and 1 tsp soap, soak 15 minutes, then gently scrape with a silicone spatula. Pro tip: Never use steel wool—it creates micro-scratches where bacteria hide.
For non-stick surfaces: Skip soap entirely. Rinse with warm water, then wipe with a vinegar-dampened cloth. If food is stuck, fill with water and 2 tbsp baking soda, simmer 5 minutes on “Steam” mode, then wipe clean. Critical warning: Replace the pot immediately if you see scratches—the coating flakes into food and ruins your next meal.
Deep Clean the Sealing Ring in 4 Minutes
That silicone gasket absorbs odors like a sponge—curry today means fish tomorrow if not treated. After rinsing under warm water:
1. Soak in equal parts white vinegar and water for 10 minutes
2. Scrub crevices with an old toothbrush
3. For stubborn smells, rub baking soda paste (2 tbsp + drops of water) onto the ring
4. Air-dry completely before storage
Never use bleach—it degrades silicone. Replace rings every 12-18 months, or if they develop cracks or permanent odors. Pro tip: Keep two rings color-coded—one for savory dishes, one for desserts—to prevent flavor transfer.
Scrub the Lid Interior Without Damaging Valves
Exterior: Wipe with a microfiber cloth dampened with vinegar solution. Never spray liquid directly on the lid—moisture seeps into electronics.
Interior deep clean:
– Remove the anti-block shield by pressing down and twisting counter-clockwise
– Scrub the shield and lid underside with a soft-bristle brush
– Clean the steam release valve using a bottle brush inserted through the vent pipe
– Rinse all parts under running water—never immerse the lid body
Air-dry all components for 30 minutes before reassembly. Moisture left in valve channels causes mold and pressure failures.
Wipe the Base Unit to Avoid Electrical Hazards
Turn the unplugged unit upside down over trash and tap firmly—this dislodges crumbs stuck near the heating plate. Critical step: Wipe surfaces with a cloth wrung until almost dry. Excess moisture near the control panel causes fatal shorts. For the heating plate, first wipe with a dry cloth to remove debris, then use a vinegar-dampened cloth for stubborn spots. Never spray cleaners directly—drips seep under buttons.
Fix Stubborn Problems in Under 10 Minutes
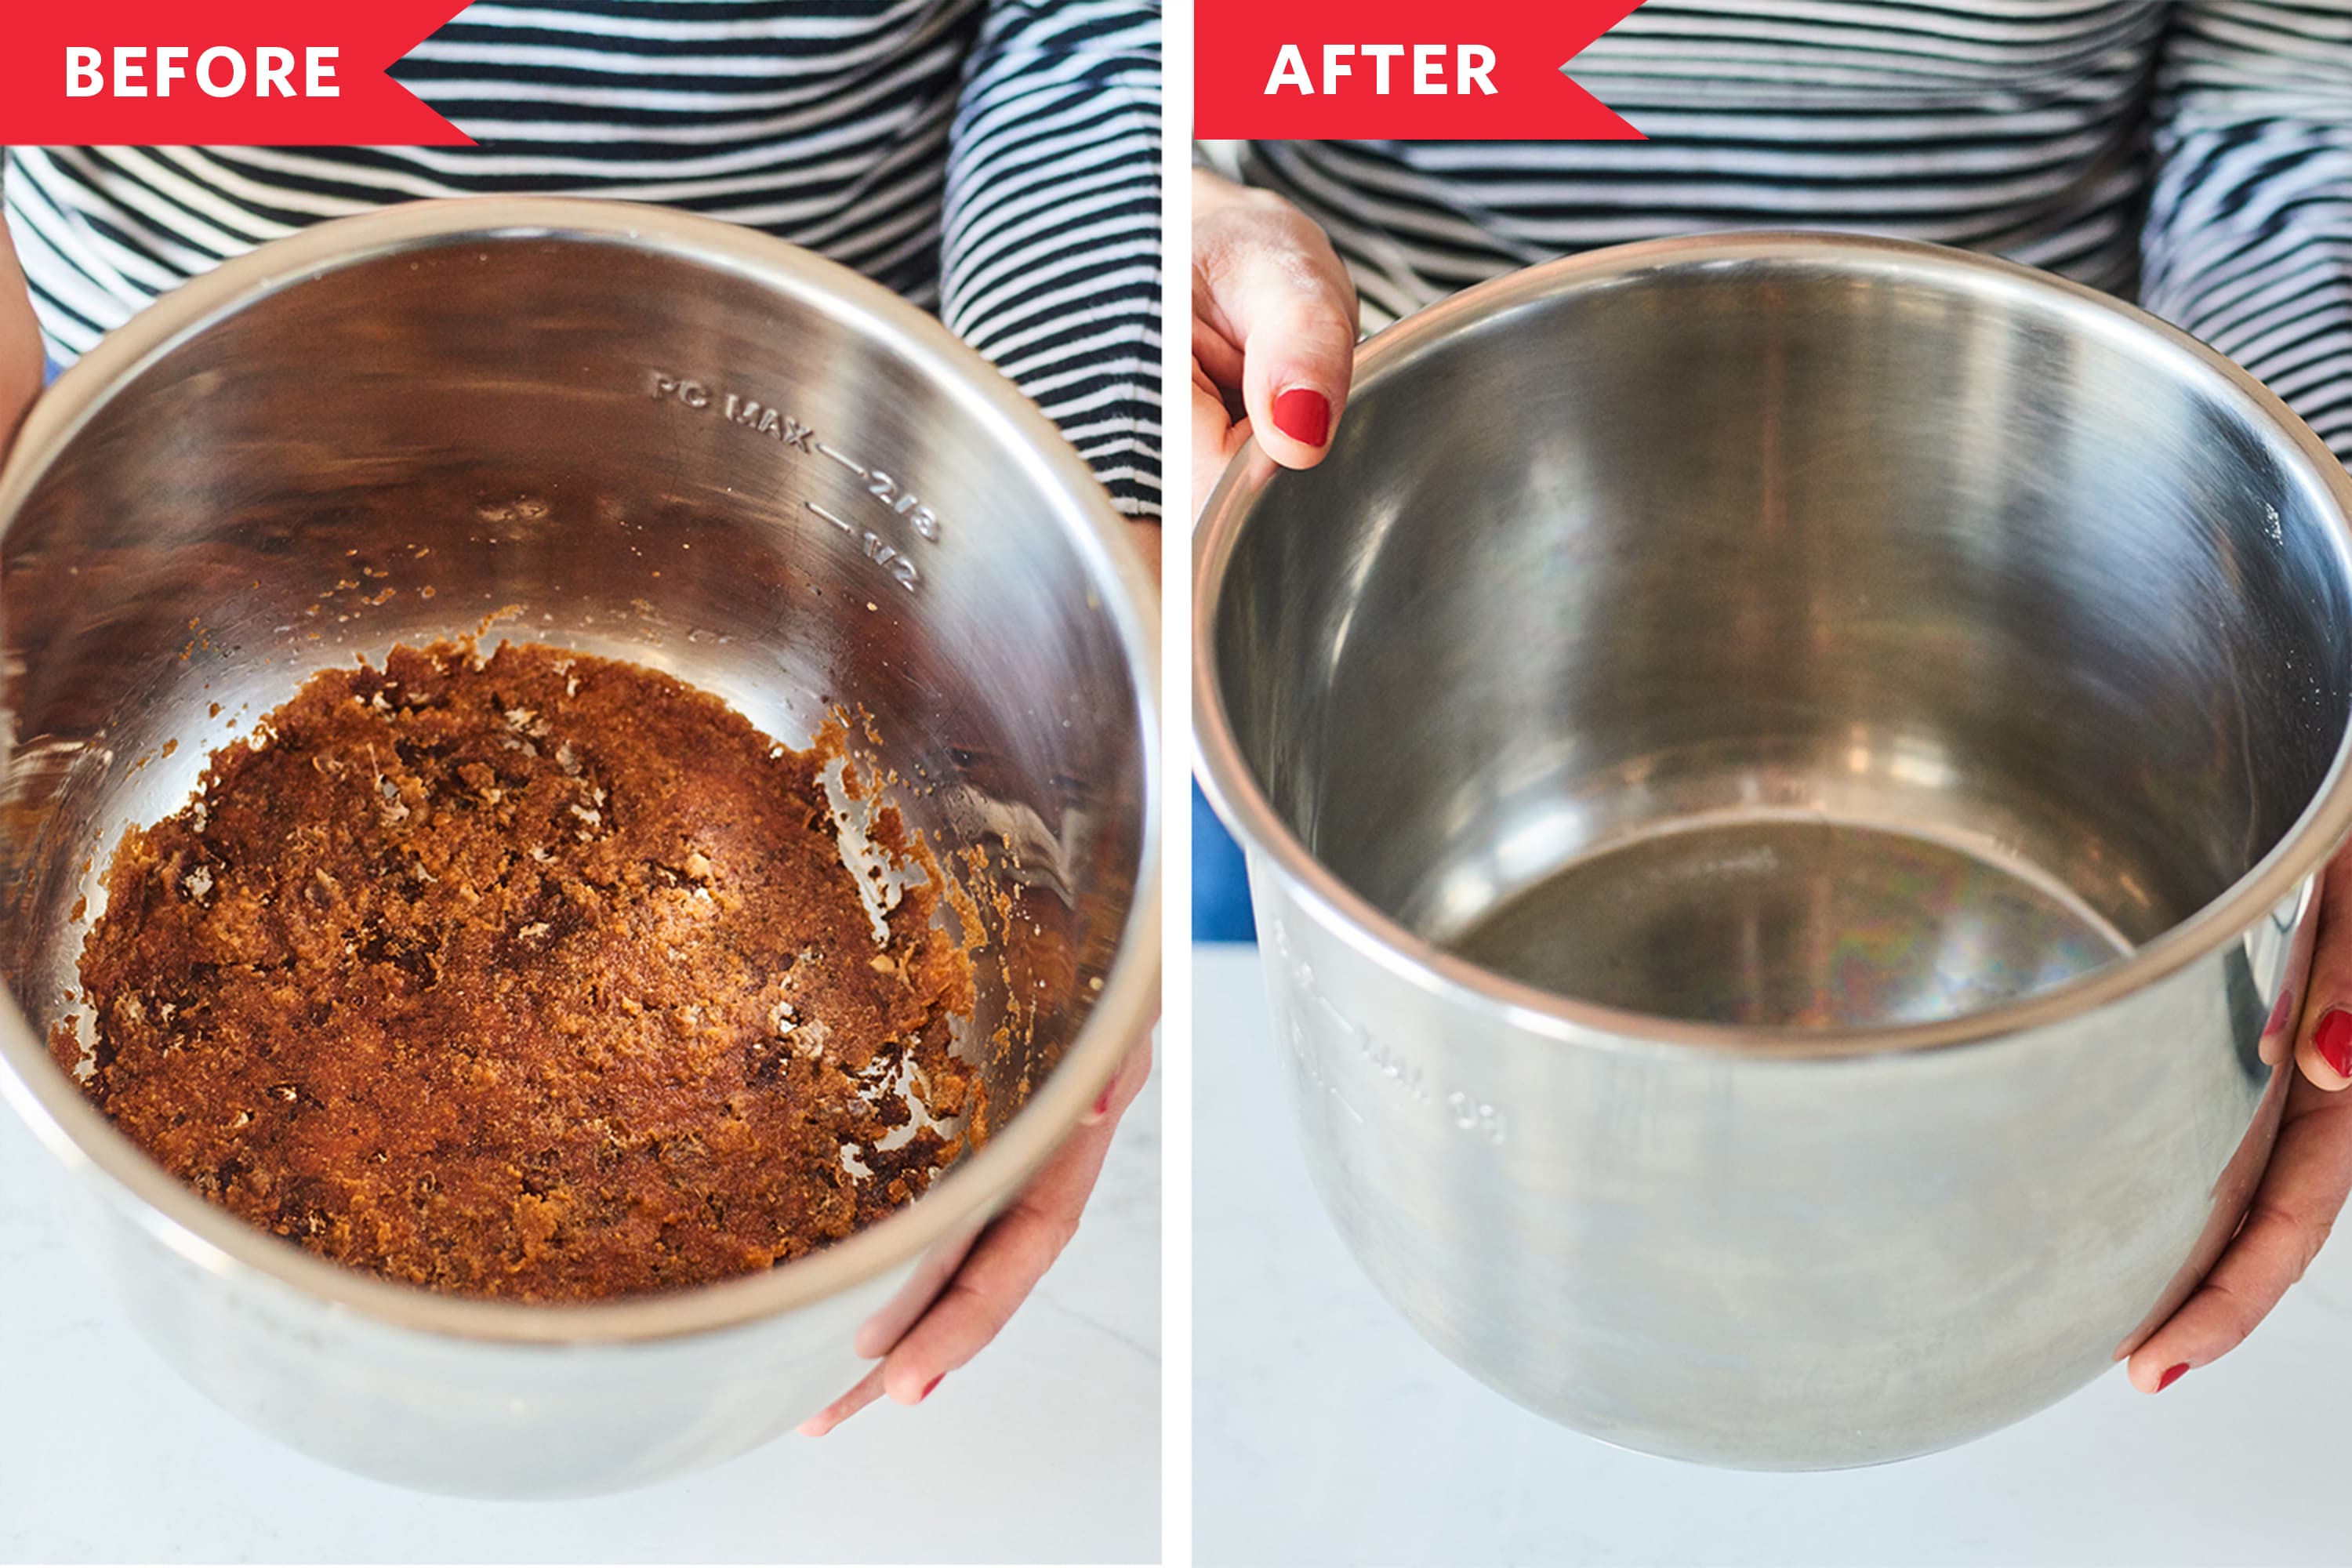
Remove Burnt-On Residue Without Scratching
For severe burns:
1. Add 1 cup water + ½ cup white vinegar to the inner pot
2. Run “Steam” mode for 5 minutes
3. Let pressure release naturally for 15 minutes
4. Wipe clean with a silicone spatula
Never use metal scrapers—they destroy non-stick coatings. If residue persists, repeat with 2 tbsp baking soda added to the solution.
Eliminate Lingering Odors Like a Pro
That “last night’s soup” smell? It’s trapped in microscopic pores of the sealing ring. Try this:
– Steam deodorizing: Fill pot with water + lemon slices + 1 tbsp cloves, run “Steam” 5 minutes
– Overnight fix: Place 2 tbsp activated charcoal in the pot, seal with lid, discard next day
Freezer test: If the ring still smells after cleaning, freeze it for 2 hours. Persistent odor means replace it—don’t risk contaminating your next meal.
Weekly and Monthly Maintenance That Prevents Costly Repairs
Descale Mineral Buildup in 15 Minutes
Hard water leaves white crust that insulates the heating plate, causing “burn” errors. Every 7 days:
1. Fill inner pot with 1 cup vinegar + 1 cup water
2. Run “Steam” cycle for 2 minutes
3. Natural release for 10 minutes
4. Discard solution, rinse pot, wipe heating plate
Stovetop models: Simmer the solution for 5 minutes instead. Skip this, and mineral deposits can permanently damage the heating element.
Monthly Anti-Block Shield Inspection
This tiny disc prevents clogs during pressure release—yet 80% of users never check it. Once monthly:
1. Remove the shield (press down and rotate counter-clockwise)
2. Soak in vinegar solution for 5 minutes
3. Clear vent holes with a toothpick wrapped in cloth
4. Reinstall only when completely dry
A blocked shield causes dangerous pressure surges. If you hear hissing during cooking, stop immediately and inspect this part.
Component Care Cheat Sheet
| Part | Safe Cleaning | Danger Zone | Replacement Signal |
|---|---|---|---|
| Non-stick pot | Baking soda paste, silicone tools | Steel wool, bleach | Visible scratches |
| Sealing ring | Vinegar soak, top-rack dishwasher | Direct heat, bleach | Permanent odor after cleaning |
| Heating plate | Vinegar-dampened cloth | Immersion, abrasive pads | Burnt spots or warping |
| Control panel | Microfiber cloth only | Liquids, sprays | Unresponsive buttons |
Store Your Multi-Cooker to Prevent Mold
After air-drying all parts for 2+ hours:
1. Place sealing ring slightly ajar on the lid (never store compressed)
2. Wrap the power cord loosely around base hooks—sharp bends crack insulation
3. Store lid upside down on the pot for air circulation
4. Critical: Add a silica gel packet inside the pot if storing longer than a week
Moisture trapped in lid grooves breeds mold within days. Wipe these areas monthly with a vinegar-soaked cotton swab even during regular use.
Daily Cleaning Checklist (Under 12 Minutes)
After every cook:
– [ ] Unplug and cool 30+ minutes
– [ ] Remove inner pot and accessories
– [ ] Wash pot, sealing ring, and lid parts
– [ ] Wipe housing with vinegar-dampened cloth
– [ ] Air-dry all components completely
Pro tip: Keep a dedicated “cleaning kit” in your multi-cooker box—soft sponge, vinegar spray, and silicone spatula. This reduces cleanup time to 8 minutes flat.
Neglecting these steps guarantees burnt food errors, strange odors, and premature seal failure. But follow this routine, and your multi-cooker will deliver perfect results for 5+ years. That chili you made tonight? It won’t haunt your next batch of vanilla custard. Most importantly, you’ll avoid the #1 repair call technicians see: users trying to “quick-clean” hot units and causing irreversible damage. Your appliance deserves this 12-minute ritual—it’s the difference between a lifetime tool and a $100 paperweight.


