
Your Cuisinart pressure cooker sits on the counter, heating up but never reaching pressure as steam hisses steadily from the lid edges. This common failure turns your planned dinner into a frustrating delay, leaving food stuck at boiling temperature instead of pressure-cooking properly. Before you consider replacing your entire unit or abandoning pressure cooking altogether, this guide reveals exactly why your Cuisinart won’t build pressure and how to fix it safely.
Most pressure failures stem from simple issues you can resolve immediately with basic troubleshooting. This comprehensive Cuisinart pressure cooker troubleshooting guide walks you through every possible cause, from easy fixes like repositioning the sealing ring to recognizing when you need a complete lid replacement. You’ll learn to identify specific symptoms, perform safe diagnostic tests, and understand which components can be repaired versus replaced.
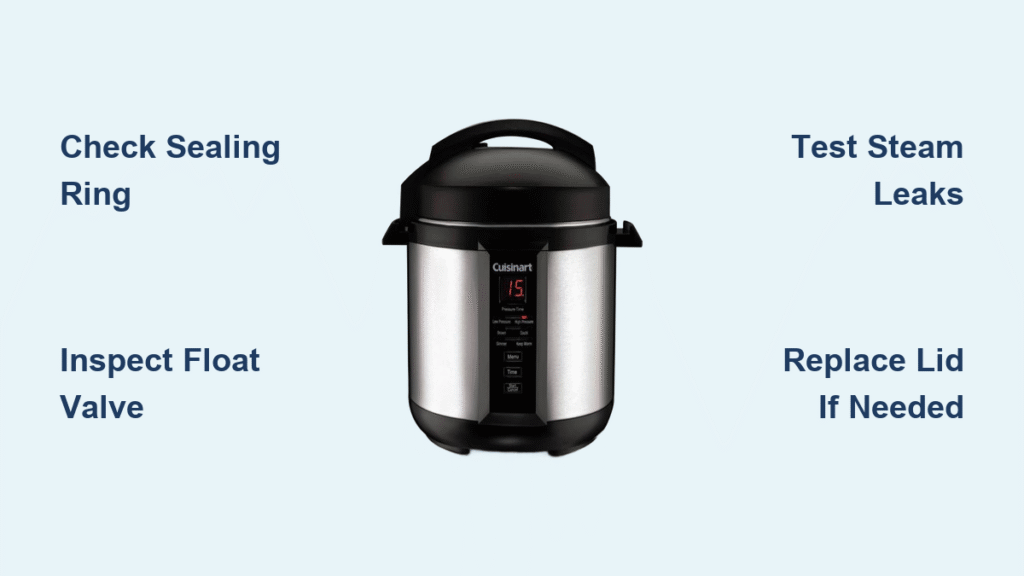
Pressure Cooker Won’t Seal Properly
Steam Escaping During Heating Cycle
When your Cuisinart pressure cooker heats up but never reaches pressure, continuous steam escaping from the lid edges signals a critical sealing failure. This persistent hissing means your unit cannot create the airtight environment required for pressure to build inside the cooking chamber. Unlike normal operation where steam releases only during depressurization, this constant escape indicates a fundamental problem with your cooker’s sealing mechanism.
What you’ll observe includes a never-ending hissing sound during the heating phase, visible steam leaking around the entire lid perimeter, and a timer that never transitions to countdown mode. Most importantly, your food remains at standard boiling temperature rather than reaching the higher temperatures needed for pressure cooking. This failure typically stems from either a compromised silicone sealing ring or float valve damage, both of which prevent the necessary airtight seal.
Quick Visual Inspection Steps
The mirror test provides the most reliable method to pinpoint steam leaks without risking burns. Hold a small hand mirror near the lid edges while your cooker heats up, watching for fogging on the mirror surface as you slowly move it around the entire lid perimeter. This technique safely identifies exact leak locations without getting close to hot surfaces.
Look for these specific patterns that indicate different problems: continuous steam escaping all around the lid points to sealing ring issues, while intermittent puffs suggest minor installation errors with the ring. Steam shooting directly from the valve area indicates float valve damage, which requires more serious intervention. Document exactly where the steam emerges to guide your troubleshooting approach.
Float Valve Failure Symptoms

Pin Damage Detection
The float valve’s small metal pin creates the critical pressure seal in your Cuisinart pressure cooker. When this pin becomes damaged or dislodged through excessive heat or pressure, it transforms the valve into a permanent pressure escape route. Unlike normal operation where the valve lifts only during depressurization, a damaged pin creates an open channel that prevents pressure buildup entirely.
Check your float valve by first performing a visual inspection for any missing or bent pin components. Next, test movement by gently pressing the valve with a clean utensil—it should move up and down smoothly without sticking. Most critically, observe steam patterns during operation: damaged pins create steam shooting directly upward from the valve opening rather than around the lid edges. If the float valve appears crooked, tilted, or shows visible pin damage, your cooker cannot build pressure safely.
When Lid Replacement Is Required
Unfortunately, float valve pin damage is permanent and irreparable since the pin is integrated into the lid assembly. Unlike the silicone sealing ring, which you can easily replace yourself, the float valve requires complete lid replacement as your only safe option. Attempting to repair or bypass this critical safety component creates dangerous risks.
Before ordering a new lid, verify your exact model number matches replacement parts specifications. Check if your unit remains under warranty, as manufacturing defects often cause premature float valve failure. Consider the cost comparison between lid replacement and purchasing a new unit, especially for older models. Never attempt to plug or disable the damaged float valve—this critical safety feature prevents dangerous pressure buildup even when it causes cooking failures.
Silicone Sealing Ring Problems

Detecting Seal Damage
The silicone sealing ring creates the essential airtight barrier between lid and cooking pot. Any compromise in this ring’s integrity—whether cracks, warping, or improper installation—results in pressure failure, even if all other components function perfectly. A damaged ring allows steam to escape around the lid perimeter rather than building pressure inside.
Perform a thorough ring inspection by checking for visible cracks or tears along the entire circumference. Test for warping by placing the ring on a flat surface—it should sit evenly without twists. Assess elasticity by gently stretching a section; the silicone should return to its original shape without staying deformed. Finally, verify proper fit by ensuring the ring seats completely within the lid groove without bulging or gaps.
Common Installation Errors
Most sealing failures actually stem from simple installation mistakes rather than damaged components. The most frequent errors include twisted installation where the ring isn’t seated flat, debris interference from food particles preventing proper contact, wrong positioning where the ring doesn’t fully seat in the groove, and dirty grooves with built-up residue that creates uneven surfaces.
Follow these steps for proper installation: completely remove the old ring, clean the lid groove with warm soapy water and a soft brush, dry thoroughly before installing the new ring, press firmly around the entire circumference to ensure even seating, and rotate the ring slightly to confirm smooth movement without catching. Always verify correct positioning before locking the lid.
Diagnostic Testing Sequence
Step 1: Power Supply Verification
Before assuming pressure failure, confirm your cooker receives proper power by checking that the display illuminates normally and the control panel responds to button presses. After 2-3 minutes of operation, feel the base carefully—you should detect gentle warmth indicating the heating element functions correctly. If the unit shows no signs of power, check the outlet, power cord, and circuit breaker before proceeding with pressure-specific diagnostics.
Step 2: Seal Condition Assessment
Perform a quick ring test by removing the silicone sealing ring completely and running your fingers along its entire surface. Look for hard spots, cracks, or permanent deformation that would prevent proper sealing. Gently stretch sections to test elasticity—damaged rings won’t return to their original shape. Replace immediately if you detect any compromise in the ring’s integrity, as even minor damage prevents pressure buildup.
Step 3: Valve Function Check
Test the float valve by pressing it gently with a clean utensil—it should move up and down smoothly without sticking or grinding sensations, returning to the down position when released. Examine the pressure release valve to ensure it sits flat on the lid and moves freely when lifted. Check the anti-block shield for food debris that might prevent proper closure, cleaning with warm water if obstructed.
Step 4: Steam Source Identification
Conduct methodical leak detection by filling your cooker with 2 cups of water and starting a pressure cooking cycle. Use the mirror test to identify exact steam sources, documenting whether leaks originate from valve areas, lid edges, or specific locations. This precise identification determines whether your problem stems from the sealing ring, float valve, or other components, guiding your repair approach.
Component Replacement Guidelines

Silicone Ring Replacement
Replace your sealing ring immediately when you detect visible cracks, permanent deformation after cleaning, loss of elasticity where the ring stays stretched, or after 18-24 months of regular use. Purchase exact model-specific replacement rings to ensure proper fit and function. Soak new rings in warm water for 10 minutes before installation and apply light cooking oil lubrication to prevent sticking. Always test with a water batch before cooking food to verify proper sealing.
Lid Assembly Replacement
Complete lid replacement becomes necessary when the float valve pin is damaged or missing, the lid locking mechanism fails, multiple components show failure, or safety valves display damage. Order replacement lids using your exact model number to ensure compatibility with all safety mechanisms. After installation, test all functions thoroughly before first use, and recalibrate if your model requires adjustment. Never operate your pressure cooker with a damaged float valve—this safety feature prevents dangerous pressure buildup.
Cleaning and Maintenance Protocol
After Each Use Routine
Follow these essential cleaning steps after every cooking session: allow the cooker to cool completely before handling, remove and wash the silicone ring with warm soapy water, clean the float valve area with a soft brush, check the vent pipe for food debris, and wipe lid grooves clean before drying thoroughly. This routine prevents the buildup of residue that causes most sealing failures.
Weekly Deep Cleaning
Perform comprehensive maintenance weekly by removing the sealing ring and soaking it in a vinegar solution (1 part vinegar to 3 parts water) to remove stubborn odors and residues. Clean the pressure release valve assembly, inspect float valve movement, check the lid locking mechanism for smooth operation, and verify all safety mechanisms function properly. This deep cleaning extends component life and prevents many common failures.
Safety Mechanism Understanding
Float Valve Safety Function
While float valve failure prevents cooking, it serves a critical safety purpose as your pressure cooker’s final defense mechanism. The damaged valve becomes a controlled pressure release point, ensuring dangerous pressure cannot build even when primary systems fail. This design protects users from catastrophic pressure cooker explosions by providing a fail-safe release path.
Never attempt to bypass this safety feature by plugging the float valve opening, disabling pressure release systems, using excessive force to create false seals, or ignoring visible damage during operation. These dangerous shortcuts compromise the multiple safety layers built into modern electric pressure cookers.
Prevention Strategies
Proactive Maintenance Tips
Extend component life by always cleaning the sealing ring after each use, avoiding overfilling beyond maximum fill lines, using adequate liquid amounts (at least 1 cup) for pressure generation, storing with the lid upside down to prevent ring compression, and replacing rings proactively every 12-18 months with heavy use. These simple habits prevent most pressure failures before they disrupt your cooking.
Usage Best Practices
Prevent common failures by keeping food away from valve areas, verifying ring positioning before each use, and performing monthly water-only pressure tests to identify problems early. Proper usage ensures your safety mechanisms remain functional while maximizing your Cuisinart pressure cooker’s performance and longevity.
Your Cuisinart pressure cooker can deliver years of reliable service with proper troubleshooting and maintenance. Most pressure failures originate from simple issues like dirty sealing rings or minor installation errors that you can fix immediately. Remember that float valve damage, while requiring professional replacement, actually protects you from far more dangerous situations. By following this systematic diagnostic approach and maintaining your unit regularly, you’ll prevent most pressure problems before they interrupt your cooking plans.


