
Picture this: it’s 6 p.m., you’re starving, and the beef stew you craved would normally take two hours. With a WMF pressure cooker, that same stew transforms into fork-tender perfection in just 25 minutes. This German-engineered kitchen powerhouse cuts cooking time by 70% while locking in nutrients and intensifying flavors like nothing else. Whether you’re eyeing the compact 2.5-liter model for quick weeknight meals or the family-sized 8.5-liter beast, mastering how to use WMF pressure cooker techniques unlocks restaurant-quality results in record time.
Your WMF cooker isn’t just fast—it’s scientifically precise. By creating an airtight seal that raises water’s boiling point above 100°C, it cooks food in its own juices without oxygen exposure. This means vibrant vegetables, fall-off-the-bone meats, and perfectly intact grains every time. Before we dive into operation, remember: this TÜV-tested appliance with CE and GS certification features a triple-layer safety system, so respect the process and you’ll enjoy decades of reliable service. Let’s get you confidently using your WMF pressure cooker from day one.
Critical Safety Checks Before First Use
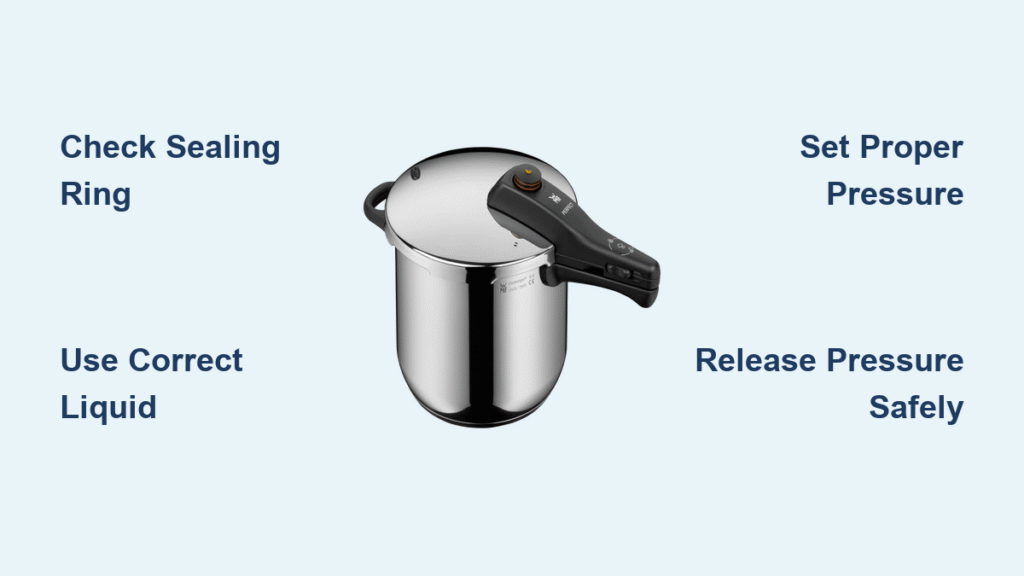
Never skip your WMF pressure cooker’s pre-flight inspection—this TÜV-certified safety system relies on three fail-safes working perfectly. Every model includes a primary pressure valve, secondary over-pressure release, and crucial residual-pressure safeguard that physically prevents lid opening under pressure. Before adding ingredients, verify these four non-negotiables:
- Sealing ring integrity: Check for cracks, stiffness, or lingering odors that compromise the airtight seal
- Rim cleanliness: Wipe the pot’s upper edge thoroughly to remove food particles
- Valve mobility: Ensure pressure valves move freely without blockages
- Indicator function: Confirm the visual pin (Perfect series) or color ring (Perfect Plus) operates smoothly
Pro warning: Forcing a misaligned lid causes steam leaks. If resistance occurs during closing, stop immediately—reposition components rather than applying pressure.
Identifying Your WMF Cooker’s Key Components

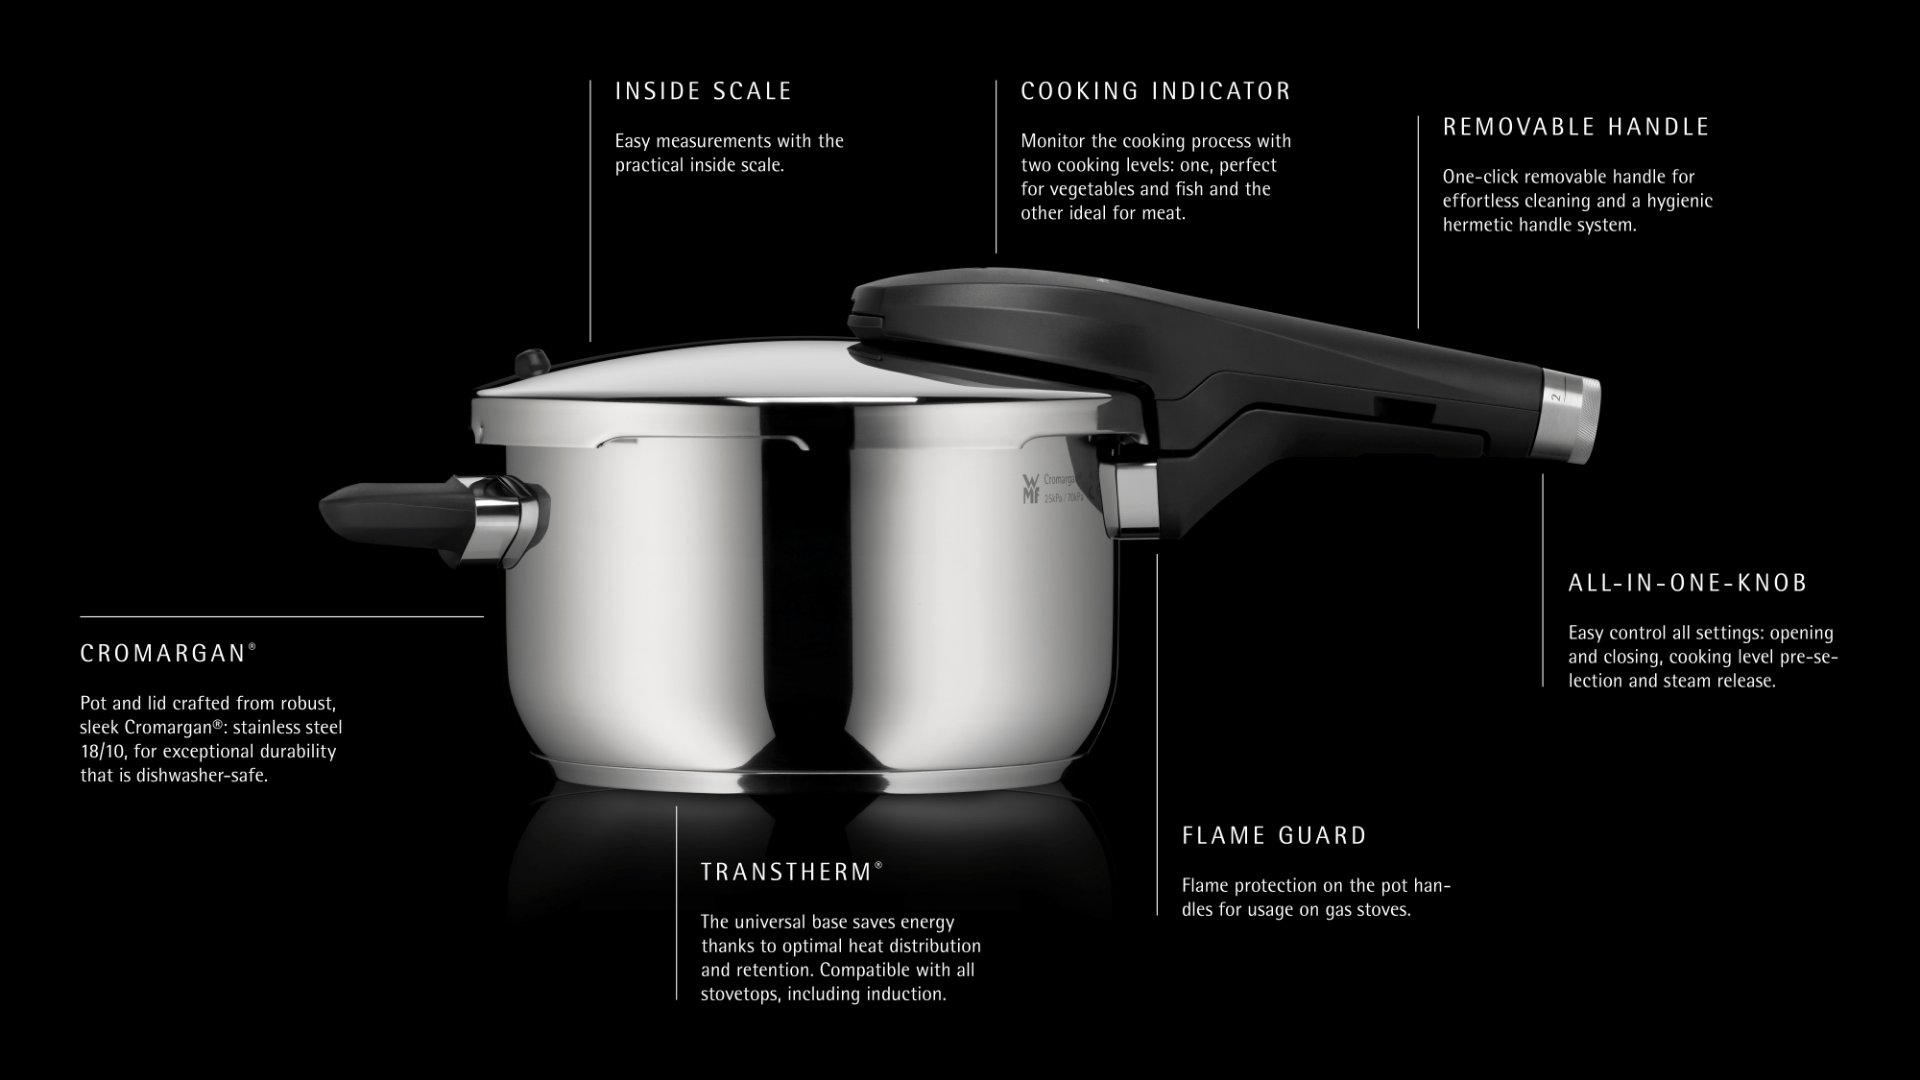
Your stainless steel WMF pressure cooker operates as a precision instrument, not just a pot. Understanding these components prevents operational errors:
- Pot body: Holds ingredients; matches hob size for optimal heat distribution
- Locking lid: Creates the critical airtight seal when rotated into position
- Sealing ring (gasket): Replace every 12-18 months; stores best loose to prevent deformation
- Pressure indicator: Visual pin or color ring showing full-pressure status
- Steam release dial: Sets pressure levels (1 or 2 bars) or initiates steam release
- Safety valves: Automatic pressure release mechanisms requiring monthly inspection
Smart storage tip: Always store the lid upside-down on the pot. This allows the gasket to air-dry fully while maintaining its shape—critical for consistent sealing performance.
Perfect Ingredient Prep for WMF Pressure Cooking
Success starts before ignition with precise liquid ratios and fill levels. WMF’s engineering demands strict adherence to these rules:
Liquid requirements are non-negotiable:
– Minimum 250ml (1 cup) thin liquid like water, broth, or wine to generate steam
– Maximum fill: ½ pot for foaming foods (beans, rice, pasta), ⅔ for everything else
Prep like a pro:
– Cut ingredients uniformly for even cooking—uneven pieces lead to mushy edges and raw centers
– Soak beans 8+ hours to prevent splitting during rapid pressure cooking
– Brown meats first in the pot to develop complex flavors before sealing
– Rinse starch-heavy grains like rice until water runs clear to avoid gummy textures
Critical mistake: Exceeding fill limits causes dangerous foam buildup. When cooking legumes, reduce liquid by 20% to accommodate expansion.
Sealing Your WMF Cooker: The Click-Test Method
Getting the lid perfectly sealed is your most crucial step. Follow this exact sequence:
- Clean contact points: Wipe both pot rim and sealing ring groove with a damp cloth
- Align markers: Match lid arrows with pot handle positions (varies by model)
- Lower and rotate: Gently twist clockwise until you hear the definitive click
- Verify seal: Lift the lid handle—zero movement confirms proper locking
Troubleshooting tip: If the lid won’t lock, inspect for rice grains or oil residue on the rim. Never force closure—reposition components until the natural click occurs.
Achieving Perfect Pressure on Any Stovetop
WMF cookers require specific heat management to build and maintain pressure safely:
- Initial high heat: Bring to full pressure on maximum setting (watch for indicator rise)
- Critical transition: Immediately reduce to lowest possible heat once pressure indicator activates
- Ideal steam signature: Gentle hissing—not violent jetting—means correct pressure maintenance
Visual indicators by model:
– Perfect series: Pressure pin fully extended upward
– Perfect Plus: Color ring fully visible through window
– Fusiontec: Steady steam release from valve
Heat adjustment hack: Note your exact hob setting that maintains “gentle hiss” during your first water test—it becomes your go-to setting for all future cooking.
Selecting the Right Pressure Level for Your Dish
WMF’s two-pressure system (Level 1 at ≈110°C, Level 2 at ≈119°C) demands strategic selection:
Level 1 (delicate foods):
– Fish fillets, leafy vegetables, custards
– Rice, quinoa, and quick-cooking grains
– Prevents overcooking of tender ingredients
Level 2 (tough ingredients):
– Beef chuck, pork shoulder, lamb shanks
– Dried beans, chickpeas, lentils
– Root vegetables and whole grains
Golden rule: Higher pressure ≠ faster cooking for all foods. Delicate items like salmon become dry in seconds at Level 2—always match pressure to ingredient density.
Pressure Release Methods: Texture Control Secrets

Your release method determines final texture—choose wisely based on food type:
Natural Release (10-20 minutes)
- Best for: Meats, legumes, and starchy foods
- Why: Gentle pressure drop continues cooking without shock
- Process: Turn off heat and walk away—never disturb the cooker
Quick Release (Instant)
- Best for: Vegetables, seafood, eggs
- Why: Stops cooking immediately to preserve texture
- Process: Turn steam dial away from “Seal” position—stand back!
Cold-Water Release (Emergency Only)
- Check manual first: Not approved for all WMF models
- Use case: Immediate pressure drop needed for safety
- Method: Run cold water over lid sides (never valves)
Safety imperative: Never force the lid open. Wait until the pressure indicator fully drops—this residual-pressure safeguard prevents 99% of accidents.
Foolproof Cooking Times for Common Dishes
Master these reference times (always adjust for ingredient size and freshness):
| Food | Quantity | Pressure Level | Time | Release Method |
|---|---|---|---|---|
| Chickpeas (soaked) | 250g | Level 2 | 12-15 min | Natural 10 min |
| Brown rice | 1 cup | Level 1 | 18 min | Natural 10 min |
| Beef stew cubes | 750g | Level 2 | 25 min | Natural 15 min |
| Salmon fillets | 500g | Level 1 | 3 min | Quick |
| Quartered potatoes | 1kg | Level 1 | 6 min | Quick |
Pro tip: Start with 2-minute reductions when adapting non-pressure recipes—overcooking happens 70% faster in sealed environments.
Fixing Top WMF Pressure Cooker Problems
Solve these common issues in seconds:
Steam leaking around lid?
– Reposition the sealing ring ensuring no twists
– Deep-clean the rim groove with a soft brush
– Replace gasket if cracked (standard replacement interval: 12-18 months)
Food undercooked?
– Confirm minimum 250ml liquid was used
– Verify heat was reduced after pressure built
– Add 2-3 minutes to cooking time next batch
Lid won’t open after cooking?
– Wait 5+ minutes—residual pressure needs full dissipation
– Never pry or force the lid mechanism
– Run cool water over the pot sides (if manual permits)
Maintenance Routine for Decades of Service
Extend your WMF cooker’s lifespan with these post-use steps:
After every cook:
– Wash all parts in warm soapy water (dishwasher-safe if marked)
– Clear valve assemblies using the included cleaning pin
– Air-dry components completely before storage
Monthly deep clean:
– Remove and inspect sealing ring for hidden food particles
– Flush pressure indicator mechanism with warm water
– Test safety valves by blowing through them
Replacement schedule:
– Sealing ring: Every 12-18 months or when odors persist
– Valve components: As needed if movement feels sticky
– Handle screws: Tighten if loose during use
First-Time Water Test: Your Safety Calibration
Before cooking real food, validate your cooker’s operation:
- Add 500ml water to empty pot (no ingredients)
- Seal lid and select Level 2 pressure
- Heat on high until pressure indicator activates
- Reduce heat and maintain pressure for exactly 5 minutes
- Perform natural release (turn off heat, wait 15 minutes)
- Verify lid opens smoothly with zero resistance
This test calibrates your specific hob’s low-heat setting while building confidence in the safety systems.
Space-Saving Storage Solutions
Maximize kitchen space while protecting your investment:
- Store lid upside-down on the pot body to maintain gasket shape
- Keep sealing rings loose in a ventilated container (never compressed)
- Nest smaller WMF models inside larger ones with soft cloth separators
- Avoid stacking heavy items inside the pot during storage
Critical reminder: Never store the cooker with the lid locked—this deforms the sealing ring and risks valve corrosion.
Mastering how to use WMF pressure cooker techniques transforms weeknight cooking from chore to joy. Start with simple recipes like steamed vegetables or brown rice to build confidence, then tackle complex dishes like osso buco or perfect risotto. Remember: this isn’t just fast cooking—it’s smart cooking that preserves 50% more nutrients while delivering restaurant-quality results. Treat your TÜV-certified appliance with these care protocols, and you’ll enjoy decades of reliable service while serving meals that taste like you spent hours, not minutes, in the kitchen. Your WMF pressure cooker is ready to become your most trusted kitchen ally—now go create something extraordinary.


