
That gleaming Hamilton Beach pressure cooker sitting on your counter isn’t just another appliance—it’s your ticket to restaurant-quality meals in half the time with half the effort. When you learn how to use Hamilton Beach pressure cooker properly, you’ll transform tough cuts of meat into fall-apart tenderness in under an hour and turn dried beans from pantry staple to dinner table in just 30 minutes. Most beginners waste months struggling with burn messages and improper pressure release, but this guide reveals the exact steps to master your pressure cooker from day one. You’ll discover why understanding liquid requirements and release methods makes all the difference between soggy disasters and perfectly cooked meals.
First-Time Setup Essentials

Unboxing and Initial Inspection
Carefully remove your Hamilton Beach pressure cooker from the box and check for all components: cooking pot, lid with sealing ring, steam release valve, and any included accessories. Verify the cooking pot sits flush in the base unit without wobbling, and test that the steam release valve moves smoothly between “SEALING” and “VENTING” positions. Before your first real meal, wash the removable cooking pot, lid, and silicone sealing ring with warm soapy water—never submerge the main unit in water as this damages electrical components.
Required First Test Run
Skip straight to cooking without this critical safety check at your peril. Add precisely 3 cups of water to the cooking pot, lock the lid with arrow marks aligned, and ensure the steam release valve is set to “SEALING.” Select HIGH pressure and set the timer for 2 minutes. As pressure builds over 8-12 minutes, you’ll hear the characteristic humming sound and see the float valve rise. After the timer completes, practice both natural release (waiting 10 minutes) and quick release (carefully turning valve to “VENTING” with an oven mitt). This water test familiarizes you with your specific model’s sounds, steam patterns, and operation without risking ruined food.
Basic Operating Steps
Loading Ingredients Correctly
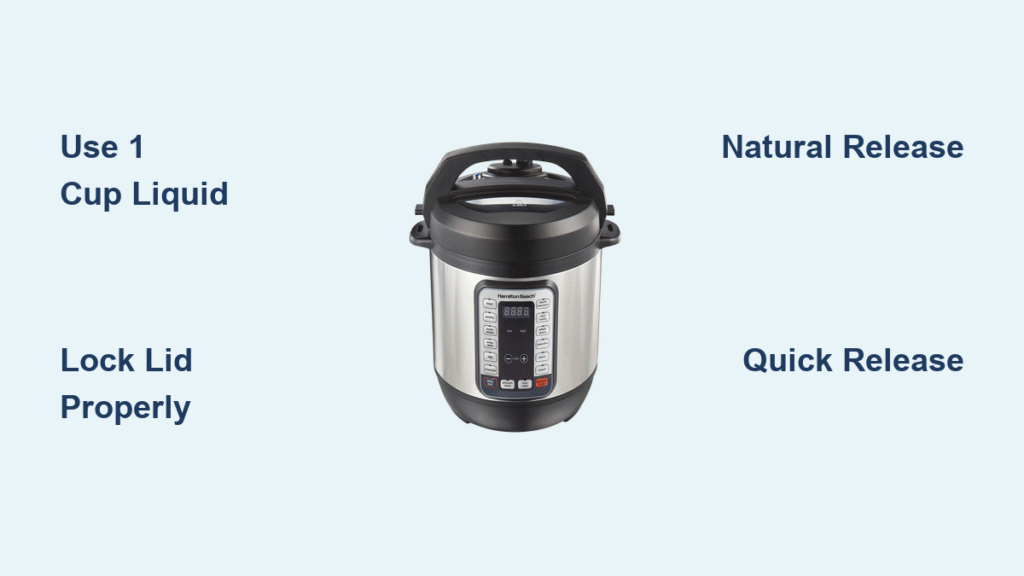
Your Hamilton Beach pressure cooker requires at least 1 cup of liquid—water, broth, wine, or even tomato sauce—to generate the steam needed for pressure cooking. For foods that expand significantly like rice or beans, fill the pot no more than halfway to prevent clogging the steam valve. All other ingredients should stay below the 2/3 fill line marked inside your cooking pot. Layer dense vegetables like potatoes at the bottom, place meat on top, and add delicate items like peas during the last few minutes.
Locking the Lid Safely
Proper lid sealing prevents dangerous steam leaks and ensures successful pressure building. Align the lid’s arrow with the pot’s indicator mark, then twist clockwise until you hear a distinct click. Double-check that the steam release valve points to “SEALING” for pressure cooking mode. If the lid doesn’t lock completely, the unit won’t start pressurizing—a critical safety feature. Never force the lid closed if it resists; instead, realign and try again to avoid damaging the locking mechanism.
Choosing Pressure Settings

HIGH vs LOW Pressure Applications
HIGH pressure (approximately 240°F) dramatically reduces cooking time for tough ingredients: use it for pot roasts, dried beans, soups, and stews that normally require hours of simmering. LOW pressure (around 235°F) better preserves delicate textures for eggs, custards, fish, and quick-cooking vegetables. Most Hamilton Beach models default to HIGH pressure for manual cooking, but switching to LOW gives you more control with sensitive ingredients that overcook easily under maximum pressure.
Programmed Mode Selections
Your Hamilton Beach pressure cooker likely features one-touch programs that automatically set pressure levels and cooking times. Press “BEANS” for perfectly cooked dried legumes in 30 minutes without pre-soaking, “MEAT” for tender roasts, or “RICE” for fluffy grains every time. These preset buttons take the guesswork out of pressure cooking, but remember they work best when you follow fill line guidelines—overfilling triggers “BURN” messages even with programmed settings.
Mastering Pressure Release
Natural Release Method
After the timer completes, leave your Hamilton Beach pressure cooker undisturbed for 10-30 minutes as pressure drops gradually. The float valve will sink when all pressure has released, signaling it’s safe to open. Natural release prevents toughening in large cuts of meat and keeps soups from foaming over—essential for dishes like pot roast or whole chicken that benefit from gentle resting under residual heat.
Quick Release Technique
For vegetables, seafood, or pasta that overcook in residual heat, immediate pressure release is crucial. Wearing a thick oven mitt, carefully turn the steam release valve to “VENTING” while tilting the lid away from your face. Steam will blast out forcefully for 30-60 seconds—keep hands and face clear to avoid burns. This method stops cooking instantly, preserving crisp-tender textures in green beans, broccoli, and delicate fish fillets.
Converting Traditional Recipes
Time Reduction Formula
Pressure cooking slashes traditional cooking times by 50-70%, but knowing exactly how to adjust recipes prevents disasters. Start by cutting stovetop cooking times in half: 20-minute simmered chicken breasts need just 8-10 minutes under pressure, while 2-hour beef stews cook perfectly in 35-40 minutes. Always account for 10-15 minutes of pressure-building time in your total meal planning—this “hidden” time counts toward cooking but isn’t included in recipe timers.
Liquid Adjustment Rules
The sealed environment prevents evaporation, so reduce liquids by half compared to stovetop recipes while maintaining at least 1 cup total liquid for proper pressure development. For soups and stews, use just enough liquid to barely cover ingredients rather than filling the pot. Remember that ingredients like vegetables and meat release additional moisture during cooking, further reducing the need for excess liquid that would create watery results.
Multi-Cooker Functions Beyond Pressure
Slow Cooking Capabilities
Your Hamilton Beach pressure cooker doubles as a slow cooker with True Slow™ technology offering LOW, MEDIUM, and HIGH heat settings. Transform tough cuts overnight by selecting SLOW COOK LOW for 8-10 hours or HIGH for 4-6 hours—perfect for when you want traditional crockpot results without buying another appliance. The programmable timer keeps food warm automatically after cooking completes, eliminating the risk of overcooking common with basic slow cookers.
One-Pot Meal Strategies
Maximize your pressure cooker’s versatility by layering ingredients strategically. Place potatoes and carrots on the bottom trivet, add seasoned chicken thighs above them, then nestle quick-cooking spinach on top. The intense steam circulates evenly, cooking everything simultaneously without turning vegetables to mush. This technique works beautifully for complete meals like chicken and vegetable medleys that normally require multiple pots and pans.
Troubleshooting Common Issues
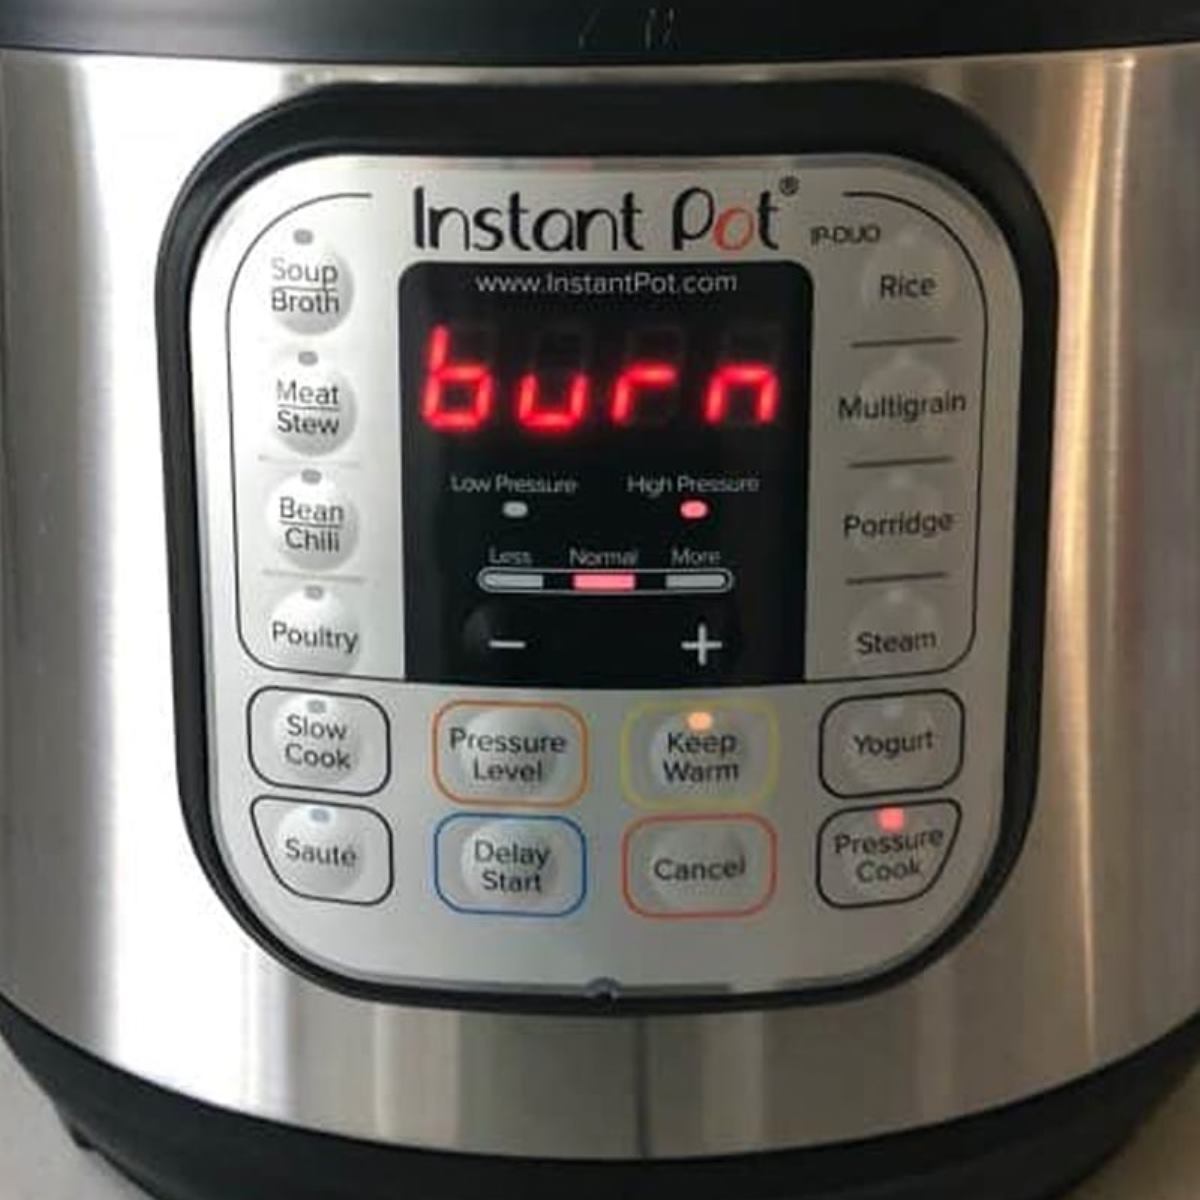
Preventing Burn Messages
The dreaded “BURN” display appears when food sticks to the pot bottom during pressure building. Cancel cooking, perform quick release, then check for scorched bits. Add ½ cup more liquid, scrape the pot clean thoroughly, and restart. Prevent this by always deglazing the pot after sautéing—add liquid and scrape the bottom to dissolve any browned bits before locking the lid for pressure cooking.
Foam Reduction Techniques
Beans and grains create foam that can clog the steam valve, causing dangerous pressure issues. Add 1 tablespoon of oil or butter to reduce foaming, and never fill past the halfway mark when cooking these foods. Rinse rice and beans thoroughly before cooking to remove excess starch that contributes to foam. For problem recipes, place a steamer basket between the food and the pot bottom to create a buffer zone.
Safety Protocols and Best Practices
Essential Safety Checks
Always verify at least 1 cup of liquid is in the pot before starting—this non-negotiable rule prevents overheating and burn messages. Check that the sealing ring sits properly in the lid groove without twisting, and clean the steam release valve weekly with a small brush to prevent clogs. Small amounts of steam escaping during cooking are normal and indicate proper pressure regulation, but continuous heavy leaking means the sealing ring needs replacement.
Opening the Lid Safely
Never attempt to open your Hamilton Beach pressure cooker until the float valve has fully dropped—this visual indicator confirms all pressure has released. If the lid resists opening, pressure remains inside; wait 5 more minutes before trying again. When opening, tilt the lid away from your face to avoid steam burns, and stir contents gently since residual heat continues cooking food for several minutes after release.
Perfect First Recipes to Try
Start with foolproof recipes to build confidence before tackling complex dishes. For beginner success, try the 15-minute chicken breast recipe: place 1 cup broth in the pot, add seasoned chicken breasts, cook on HIGH pressure for 8 minutes, then quick release. The 30-minute beef stew is another excellent starter—brown meat first using the sauté function, add broth and vegetables, cook 35 minutes on HIGH, then natural release for 10 minutes before finishing with quick release.
Mastering how to use Hamilton Beach pressure cooker transforms your cooking routine from stressful to streamlined. The secret lies in respecting liquid requirements and pressure release methods—get these fundamentals right, and you’ll consistently create restaurant-quality meals with minimal active cooking time. Within just a few uses, you’ll wonder how you ever managed without this versatile kitchen powerhouse.


