
Your Manttra pressure cooker transforms tough cuts into tender meals in minutes, but skipping safety steps risks dangerous steam leaks or ruined dinners. Every week, home cooks overfill pots or force lids open while pressure remains—mistakes that damage precision components. This guide gives you the exact model-specific steps to cook perfect rice in 5 minutes, beans without soaking, and fall-off-the-bone stews while keeping your kitchen safe. Whether you own a classic stovetop unit or electric Chef X-press, you’ll master pressure release techniques and ingredient layering that prevent common disasters.
Stop guessing about fill limits or pressure indicators. You’ll learn why 12 psi models need different handling than dual-pressure Smart Series units, how to spot a cracked sealing ring before it fails, and the one mistake that causes 90% of “no pressure” issues. By the end, you’ll use your Manttra confidently for everything from quick weeknight dinners to batch-cooked freezer meals.
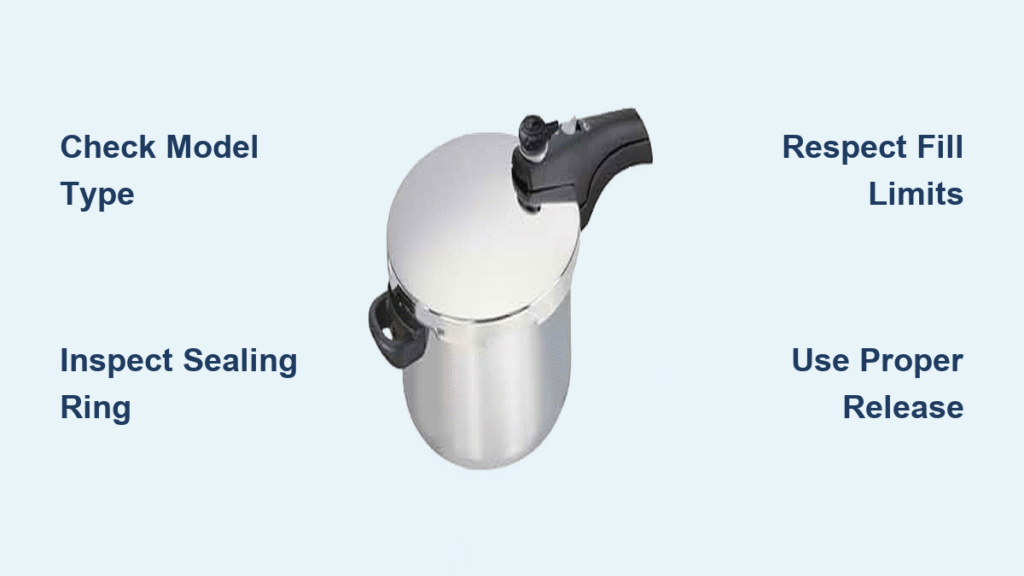
Identify Your Manttra Model Before Cooking
Stovetop Venting Models Need Strict Fill Limits
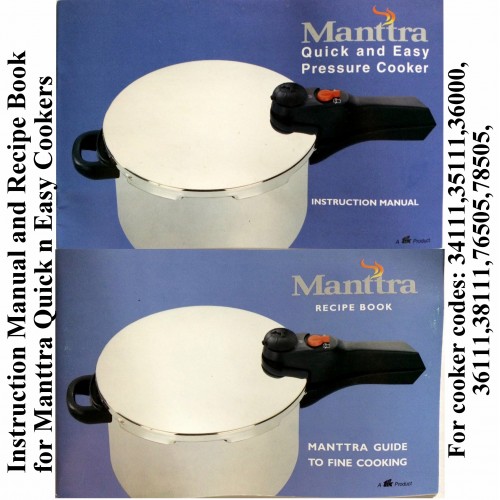
Check your base for single-pressure model numbers: 34111, 35111, 36311, 36111, 38311, 38111, 73505, 76595, 76505, 78505, 78595, 22111, 18511, 24111, 25111, 26191, 26111, 18191, 18111, 24100, 25100, 26100, 18200, 24101, 25101, 26101, 18101. These hit 12 psi maximum pressure with zero adjustments—overfilling by even ¼ cup risks dangerous steam leaks.
Smart Series Variants Require Pressure Switching
Dual-pressure models (24133, 25133, 26133, 26139, 18139, 18133, 34122, 35122, 36192, 36122, 38192, 38122, 73522, 76592, 78592, 76522, 78522, 24622, 25622, 26622, 18622) let you drop to 8 psi for delicate foods like fish or eggs. Flip the pressure regulator after sealing the lid but before heat application—never switch once pressure builds.
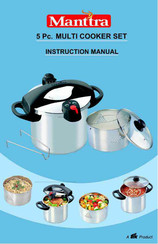
Electric Chef X-press Automates Critical Steps
Model 39001 eliminates timing errors with preset programs. Select “Rice” for automatic 5-minute cooking or “Beans” for unsoaked pulses, but always verify the sealing ring is seated—electric models fail silently if the lid isn’t fully locked, wasting hours of cooking time.
Essential Pre-Use Safety Checks That Prevent Accidents
Inspect Four Critical Components in 60 Seconds
Before adding ingredients, run this safety drill:
Sealing Ring: Feel for cracks or brittleness. Replace immediately if you spot permanent compression marks—even hairline fractures cause violent steam leaks.
Vent Pipe: Shine a light through the hole. If you can’t see daylight, clear debris with a pipe cleaner.
Pressure Valve: Wiggle it gently. If it sticks, soak in warm water for 10 minutes.
Lid Alignment: Place on a flat surface. Any wobble means warped metal—stop using the cooker.
Never Exceed These Fill Limits
Your safety depends on these rules:
– 2/3 full max for soups, stews, or meats (measure with a dry cup)
– 1/2 full max for rice, beans, or pasta—these expand violently under pressure
– Minimum 1 cup liquid for pressure buildup (no exceptions)
– Respect “Max Fill” lines if stamped inside your pot
Quick Assembly Steps for Foolproof Locking
Install the Sealing Ring Without Twists
- Turn the lid upside down and locate the groove
- Press the rubber ring into the groove, working clockwise
- Run your finger along the entire circumference—any lump means reposition it
Position the Pressure Valve Correctly
Push the valve onto its post until it clicks. Rotate it to “sealing” position; it should sit perfectly level. If it tilts, remove and reseat it—misalignment causes pressure failure.
Test Locking Before Adding Food
Close the empty cooker and try rotating the lid counterclockwise. If it moves even slightly, reopen and realign the sealing ring. Properly locked lids won’t budge.
Perfect Cooking Technique for Restaurant Results
Load Ingredients in This Exact Order
Stack foods for even cooking:
– Place meat or potatoes at the bottom (denser items need direct heat)
– Add 1–1.5 cups liquid—never less than 1 cup total
– Top with vegetables in a steamer basket for multi-level meals
– Critical: Leave 2 inches of space below the max fill line for steam expansion
Achieve Pressure Without Burning
For stovetop models:
1. Heat on medium until steady hissing begins (5–7 minutes)
2. Immediately reduce to low heat—high heat scorches food at 12 psi
3. Start timing only after hissing becomes consistent
For electric models:
1. Select pressure level (8 psi for veggies, 12 psi for meats)
2. Press start—the unit auto-adjusts heat once pressure hits
Exact Cooking Times After Pressure Builds
Start your timer only when full pressure is reached:
– White rice: 5–7 minutes
– Beef stew meat: 15–20 minutes
– Soaked beans: 8–12 minutes
– Quartered potatoes: 6–8 minutes
– Pro tip: At elevations over 2,000 feet, add 5% more time per 1,000 feet
Safe Pressure Release Methods That Avoid Burns
Natural Release Saves You from Steam Jets
- Turn off heat or unplug
- Walk away—don’t touch for 15–20 minutes
- Wait until the pressure indicator drops completely
- Test: Try rotating the lid—if it moves freely, pressure is gone
Quick Release Only When Recipes Specify
Never use for starchy foods like rice or beans:
1. Stand back and use oven mitts
2. Turn valve to “venting” with a long spoon handle
3. Keep hands clear—steam shoots 3 feet straight up
4. Wait 30 seconds after steam stops before opening
Daily Cleaning Routine to Prevent Odors
Cool Completely Before Handling
Thermal shock warps pots—wait 30–45 minutes. Never rinse a hot cooker with cold water.
Disassemble and Wash in 4 Steps
- Remove sealing ring and wash separately
- Clean vent pipe with a bottle brush
- Scrub inner pot with non-abrasive sponge
- Dry every part thoroughly—moisture breeds mold in the ring groove
Store to Eliminate Smells
Place the lid inverted on the pot or store it slightly ajar. Trapped moisture causes permanent food odors in rubber rings.
Fix Common Problems in Under 5 Minutes
Lid Won’t Close? Check These First
- Reinstall the sealing ring—90% of issues come from twists
- Wipe sealing surfaces with a damp cloth to remove food bits
- Ensure the lid aligns with body markers before rotating
No Pressure Buildup? Solve It Now
Add liquid if below 1 cup—this causes 70% of failures. If liquid is sufficient:
– Clear the vent pipe with a pipe cleaner
– Verify the lid clicks into place (listen for the lock sound)
– Check that the pressure valve sits level
Steam Leaking Around Lid? Replace Immediately
Do not cook if you see steam escaping from the rim. A damaged sealing ring can’t be repaired—order a replacement online before your next use.
Advanced Strategies for Multi-Pot Meals
Cook Complete Dinners Simultaneously
- Brown meat directly in the pot (use sauté function on electric models)
- Add 1 cup broth and place trivet over meat
- Load vegetables in a steamer basket on the trivet
- Time hack: Add veggies halfway through meat cooking time
Maximize Flavor Without Extra Steps
- Deglaze the pot after browning to capture fond
- Add aromatics (garlic, herbs) to the cooking liquid
- Reduce liquids by 25%—pressure cooking retains more moisture than stovetop
Master these fundamentals and your Manttra becomes your most reliable kitchen tool. Start with foolproof rice or potatoes to build confidence, then tackle multi-level meals. Remember: never exceed fill limits and replace sealing rings every 6–12 months—these two practices prevent 95% of safety issues. When in doubt, consult your model-specific manual at manttra.com before cooking.
Final Note: Always keep your receipt and manual for warranty claims—Manttra’s 90-day coverage requires proof of purchase. For replacement rings or valves, order directly from the manufacturer to ensure perfect fit. Your pressure cooker isn’t just a pot; it’s your ticket to restaurant-quality meals in half the time.


