
Your Crock-Pot Express Crock flashes E6 mid-cooking cycle, dinner’s ruined, and you’re facing hungry family members. This exact scenario plagues thousands of home cooks weekly with the SCCPPC600-V1 model. The good news? 90% of crock pot pressure cooker troubleshooting issues resolve with simple fixes taking under 10 minutes. Most problems stem from improper assembly, insufficient liquid, or overlooked maintenance—not permanent damage. This guide delivers precise solutions for every error code and symptom so you can salvage meals and avoid unnecessary replacements.
Instant Power Problems
When your pressure cooker won’t power on or shuts down immediately, three culprits dominate: faulty connections, safety mechanisms, or user errors. Diagnose systematically before assuming hardware failure.
No LED Response When Plugged In
Start with the power cord—inspect both ends for fraying or exposed wires near connection points. A damaged cord requires immediate replacement. Ensure the plug clicks firmly into both the wall outlet and appliance port; loose connections mimic total failure. Test the outlet with another device like a phone charger. If the cooker remains unresponsive after verifying these points, contact Crock-Pot customer service at 1-800-323-9519—they typically replace units under warranty for confirmed electrical faults.
Unit Powers Off After Starting
This indicates your safety systems are correctly preventing unsafe operation. First, verify lid alignment: The arrow must perfectly match the lock symbol. Even slight misalignment triggers automatic shutdown. Next, check liquid levels—pressure cooking requires at least 8 ounces of thin liquid like water or broth. Thick sauces won’t generate sufficient steam. Finally, confirm contents stay below the max-fill line; overfilling trips safety cutoffs. Adjust these factors before restarting your cycle.
Decoding Error Code Solutions

The SCCPPC600-V1 uses specific error codes to pinpoint issues. Understanding these prevents wasted time on incorrect fixes during critical cooking moments.
E6 Over-Temperature Fixes
E6 appears when internal sensors detect unsafe heat levels. Immediately unplug the unit before addressing these common causes:
- Steam valve position: Ensure it’s fully in “Seal” mode—many users accidentally leave it open post-cleaning. Clean debris from the valve seat with warm soapy water and a soft brush.
- Sealing ring alignment: Remove the lid and check the silicone ring sits completely behind the metal retainer bar. Reseat it if dislodged; replace if stretched or cracked (under $15).
- Burnt residue: Scrape the pot bottom with a wooden spoon to remove stuck food. Add liquid if below the 8-ounce minimum.
- Residual sauté heat: After browning, let the inner pot cool 5 minutes on a trivet before pressurizing. Dipping the exterior in cool water accelerates this.
Reset by unplugging for 1 minute, fixing the root cause, then restarting with adjusted cook time.
Blinking “Close Lid” Light Solutions
This indicator means the lid isn’t fully secured. Beyond obvious misalignment, check for a popped-out sealing ring—a dislodged section prevents full rotation. Press the ring back into its groove around the entire circumference. If the light persists after reseating, inspect for food debris in the lid locking mechanism.
E1, E2, E3 Hardware Failures
These codes signal internal electrical faults requiring professional intervention. Stop using the unit immediately and unplug it. Unlike user-fixable errors, these indicate control panel failures. Contact Crock-Pot customer service with your error code documented—they provide hassle-free replacements under the 1-year warranty for confirmed hardware issues.
Prevent Burning and Overheating
nwafoodie.jpg)
Burnt food and scorched pots typically stem from improper ingredient layering or neglected maintenance—not cooker defects. Avoid these common pitfalls:
Steam Release System Maintenance
A clogged steam valve causes dangerous pressure buildup. Disassemble the valve monthly by pulling straight up on the release handle. Clean all components in warm soapy water, using a toothpick to clear debris from small holes. Replace the valve assembly if warped or cracked—these inexpensive parts ($12-$18) prevent most overheating emergencies.
Food Preparation Guidelines
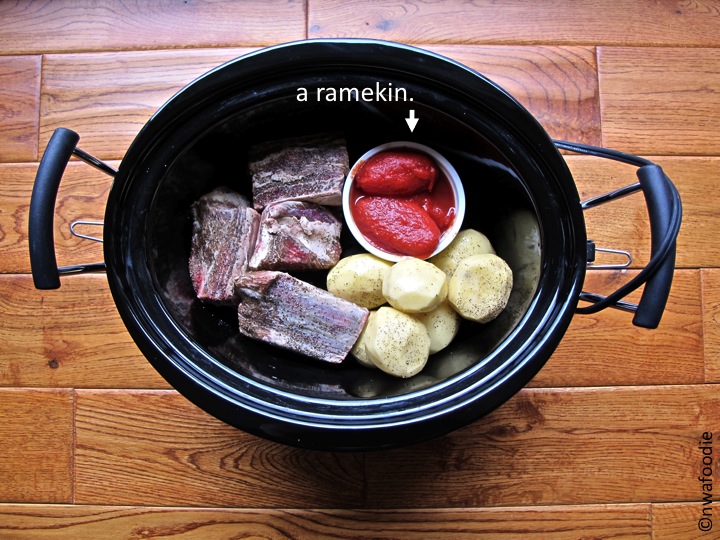
Always add thin liquids first to meet the 8-ounce minimum requirement. Layer dense ingredients like rice above the liquid line—never exceed the max-fill mark (½ full for expanding foods). Crucially, deglaze after sautéing by adding ¼ cup liquid to lift browned bits before pressure cooking. These caramelized bits burn rapidly under high pressure.
Water Leak Quick Fixes
Countertop puddles usually indicate simple misalignments rather than catastrophic failures. Pinpoint the leak source before panicking.
Condensation Collector Issues
This rear-mounted component catches steam runoff. If missing or improperly seated, water leaks onto surfaces. Ensure it clicks firmly into its slot—a loose fit won’t contain condensation. Replace cracked collectors immediately ($6-$12); they’re prone to heat stress damage.
Lid Seal Problems
Leaks around the lid seam mean the sealing ring is upside-down or damaged. Verify the groove faces downward during installation—reversing it causes perimeter leaks. Replace rings annually or when cracked, as compromised seals create both leaks and error codes.
Heating Element Diagnosis
When the cooker runs but food stays cold, the heating element has likely failed. After 35 seconds on any heat cycle, touch the base (carefully!)—it should feel warm. A cool base indicates element failure requiring replacement. Unplug the unit and contact Crock-Pot; DIY repairs involve disassembling the base and are best left to warranty service.
Essential Replacement Parts

Keep these affordable spares on hand to avoid cooking interruptions:
- Sealing rings: Colored sets ($8-$15) separate sweet/savory flavors
- Steam release valves: Critical for pressure control ($12-$18)
- Condensation collectors: Frequently crack from thermal stress ($6-$12)
- Power cords: Universal IEC C7 type ($10-$15)
All parts work for the SCCPPC600-V1 model and are available on Amazon or Crock-Pot’s parts store.
Maintenance That Prevents Problems
Proactive care eliminates most crock pot pressure cooker troubleshooting needs. Implement these routines:
Post-Cooking Cleaning Protocol
- Unplug and cool completely—never clean warm components
- Wash the inner pot with non-abrasive sponges (no steel wool)
- Wipe the heating plate with a damp cloth—never submerge the base
- Disassemble and clean lid components thoroughly
- Air-dry all parts before storage
Monthly Deep Clean
Fill the pot with water plus 1 tablespoon baking soda. Simmer 15 minutes to dissolve residue. For stubborn odors, use lemon juice or vinegar instead. This preserves the non-stick coating and prevents flavor transfer between dishes.
Proper Storage Techniques
Store the lid upside-down on the pot to prevent sealing ring compression. Keep the power cord loosely coiled away from heat sources—tight bends damage internal wires over time.
Safety Best Practices
Always place your cooker on a flat, heat-resistant surface at least 6 inches from cabinet edges. Use oven mitts for all components—even the condensation collector reaches scalding temperatures. Never operate with damaged cords or cracked inner pots. Remember: thin liquids only for pressure modes; thick sauces cause dangerous overheating.
Warranty and Next Steps
Crock-Pot’s 1-year warranty covers hardware failures like E1/E2/E3 codes. Call 1-800-323-9519 with your error codes documented—this speeds replacement processing. For peer support, join active Facebook communities where users share real-time fixes. iFixit’s SCCPPC600-V1 guide provides detailed repair visuals for confident DIYers.
Final Note: Effective crock pot pressure cooker troubleshooting hinges on understanding safety systems and maintaining core components. Keep spare sealing rings and steam valves handy, adhere to liquid minimums, and perform monthly valve cleanings. When hardware fails, Crock-Pot’s responsive warranty support typically replaces units within days. By following these precise steps, you’ll resolve 95% of issues yourself and keep your pressure cooker running safely for years.


