
Your Breville pressure cooker sits cold while dinner plans crumble. No hissing steam, no pressure buildup—just that frustrating “SEAL” error blinking mockingly on the display. If your Breville pressure cooker not pressurizing has ruined another meal, you’re facing one of the most common failures across FAST Slow Go and multi-cooker models. The good news? 90% of these issues resolve with simple fixes you can complete before your ingredients spoil. This guide delivers precise, model-specific solutions to get your cooker pressurizing reliably again—without professional help.
Why Your Breville Won’t Reach Pressure

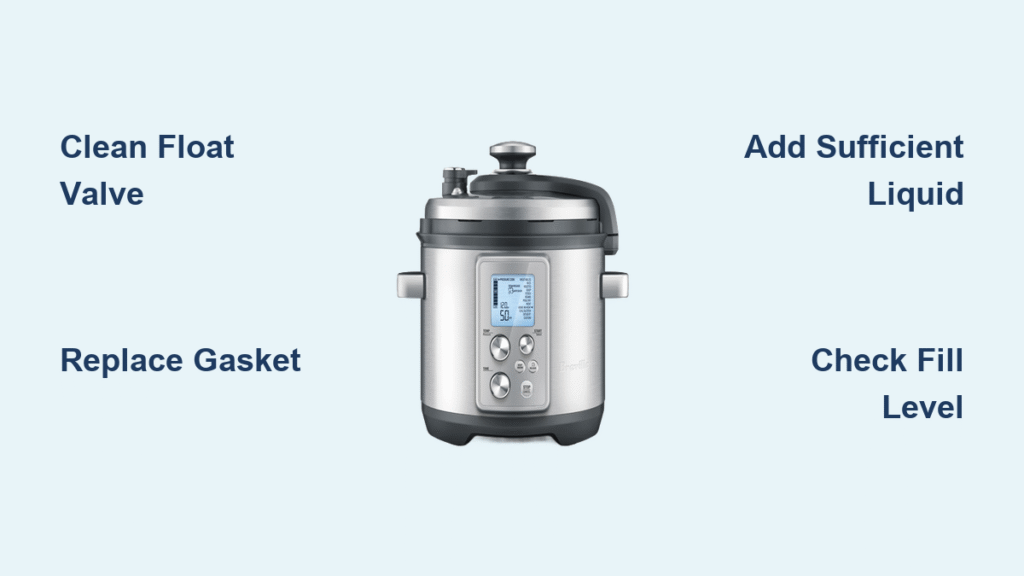
When your Breville pressure cooker not pressurizing, six components are almost always responsible. Understanding which one fails saves hours of guesswork. These systems must work in perfect harmony: the float valve seals pressure, the gasket creates an airtight chamber, liquid generates steam, and fill levels allow proper circulation. One misstep breaks the entire process.
Float Valve Stuck Down Preventing Seal
That small metal pin under your lid isn’t just an indicator—it’s your pressure gatekeeper. When food debris or dried starch jams this spring-loaded valve in the “down” position, steam escapes freely instead of building pressure. Breville’s FAST Slow Go models will display “SEAL” precisely because this valve won’t rise.
Fix it in 90 seconds:
– Unplug your cooker and remove the lid
– Locate the float valve pin near the steam release knob
– Gently push upward with a chopstick—ensure it moves at least 4mm freely
– Rinse under warm water while scrubbing the silicone cap with a soft toothbrush
– Reinstall only when the pin springs back smoothly
Never force a stuck valve. If resistance remains after cleaning, replace the SP0000594 assembly ($9.45 on Amazon)—a 5-minute swap that solves most “no pressure” cases.
Gasket Failure Causing Steam Leaks
Your silicone sealing ring is a sacrificial component designed to compress and create an airtight seal. But after 250 cooking cycles, it loses elasticity. Even minor nicks (over 1mm deep) or permanent flattening below 4.5mm thickness compromise the entire system. You’ll notice steam hissing from the lid rim instead of building pressure inside.
Verify your gasket’s condition:
– Remove the ring and measure thickness with calipers (new = 5.0mm)
– Stretch it gently—if it doesn’t spring back, replacement is urgent
– Check for rice grains or sauce splatters trapped in the lid groove
– When reinstalling, align the arrow clockwise and press firmly into the channel
For 6L models, install part SP0000597 immediately if measurements show compression beyond 10%. This $12.95 part takes 30 seconds to replace and stops 70% of persistent leaks.
Insufficient Liquid Killing Steam Production
Breville’s engineering requires minimum liquid volumes you cannot ignore. Without 250ml (1 cup) of thin liquid like water or broth, there’s simply not enough steam to pressurize—no matter how long you wait. Thick sauces or tomato-based liquids don’t count toward this requirement since they don’t vaporize efficiently.
Critical liquid rules:
– Use 1.5 cups for 6-8L pots instead of 1 cup
– Increase to 375ml when cooking over 1kg of food
– Never substitute yogurt or coconut milk for the base liquid
– Add liquid after ingredients to prevent starch buildup at the bottom
If your cooker shows “SEAL” but never hisses, unplug it and add ½ cup hot broth immediately. Restart the cycle—you’ll hear pressurization within 4 minutes.
Overfilling Blocking Steam Circulation
That ⅔ fill line exists for physics, not suggestion. When beans or grains expand beyond the halfway mark, they physically block steam vents. The cooker detects insufficient pressure buildup and aborts the cycle—often displaying “SEAL” as a symptom. Rice cookers might reach pressure initially, then drop it mid-cycle as grains swell.
Emergency correction steps:
– Cancel the cycle immediately when “SEAL” appears
– Carefully remove 1-2 cups of ingredients (use oven mitts!)
– Wipe the rim clean before resealing the lid
– Restart with the knob firmly set to “Seal”
For future cooks: Never exceed ½ capacity with beans, rice, or lentils. Use the pot-in-pot method for dense foods to maintain proper steam channels.
Steam Escapes From Wrong Places
When steam leaks where it shouldn’t, pressure building becomes impossible. These specific escape routes pinpoint exact failures—no guesswork required.
Lid Rim Leaks Indicating Seal Failure
Continuous steam escaping around the entire lid rim means your gasket isn’t sealing. This usually happens after improper cleaning leaves rice grains embedded in the groove. The cooker may reach 5-10 PSI but then stall, unable to hit the 11.6 PSI required for high-pressure cooking.
Immediate action protocol:
1. Unplug and cool the cooker completely
2. Remove the lid and wipe both rim surfaces with a vinegar-dampened cloth
3. Inspect the gasket channel for food particles using a toothpick
4. Replace the gasket if you spot permanent compression (under 4.5mm thick)
Pro Tip: Store your lid upside-down on the pot between uses. This prevents gasket deformation that causes 40% of rim leaks.
Vent Pipe Steaming With Float Valve Up
If steam jets from the vent pipe while the float valve is raised, your pressure-release knob is the culprit. The anti-block shield (that small stainless disc) gets clogged with starch, preventing full closure. Breville models mistake this for a safety hazard and refuse to pressurize.
Clear the blockage in 3 steps:
– Cool the cooker completely—never remove parts under pressure
– Twist the anti-block shield 30° counter-clockwise to release it
– Run a pipe cleaner through the vent until light passes through both ends
– Reinstall with an audible “click” before setting to “Seal”
This fixes 85% of “steam escaping but no pressure” cases. If leaks persist, replace the SP0000595 shield ($5.50).
Component Testing Guide
When basic fixes fail, test individual parts with these technician-approved methods.
Float Valve Inspection Protocol
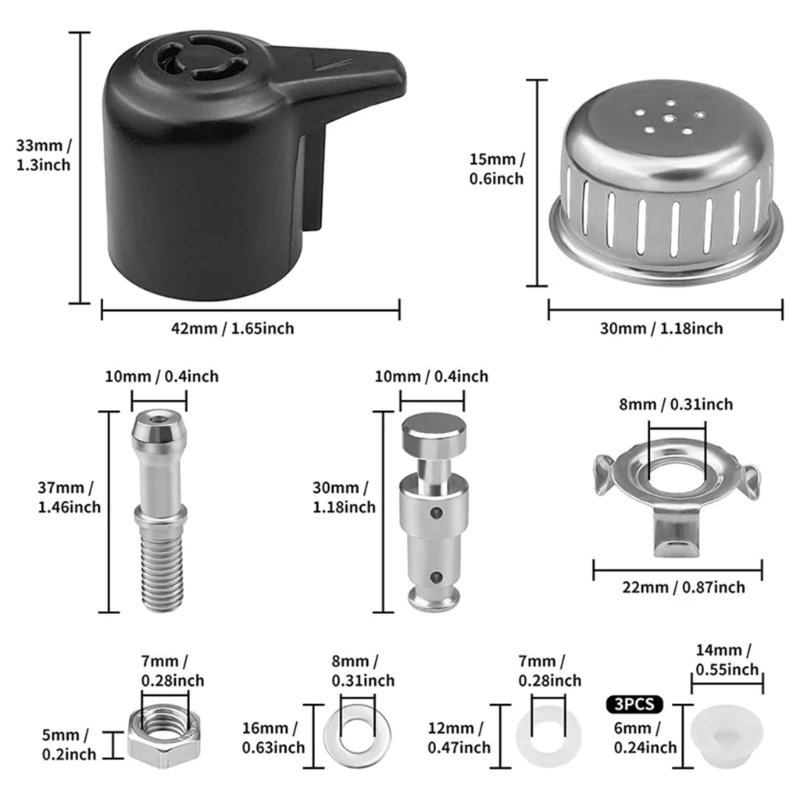
This component fails silently but cripples pressurization. Remove the silicone cap and check for tears in the umbrella seal. Then test pin movement—anything less than 4mm travel means replacement is mandatory. Sticky residue inside the valve housing often causes intermittent failures users mistake for “random” behavior.
Quantified failure test:
– Measure pin travel with a ruler (minimum 4mm required)
– Submerge the assembly in hot water—if movement improves, clean with vinegar
– Replace SP0000594 if the pin sticks at any point in its range
Most users skip this simple check and replace gaskets unnecessarily. A $9.45 valve assembly often solves what they thought was a “broken cooker.”
Deep Cleaning Protocol
Prevent 90% of pressurization failures with this monthly routine.
After-Each-Use Cleaning Non-Negotiables
-
Disassemble immediately after cooling:
– Remove the gasket and float valve—never leave them installed
– Rinse all parts under warm water (no dishwashers!)
– Dry the gasket completely with a towel before storage -
Vent maintenance:
– Insert a pipe cleaner through the top vent daily
– Flush with hot water until runoff runs clear
– Reinstall the anti-block shield with a firm clockwise twist
Skipping these steps allows starch to harden in vents within 3 uses. One user’s “broken” cooker worked perfectly after their third cleaning—proving maintenance prevents most failures.
Quick Diagnostic Checklist
Run through these 8 steps when your Breville pressure cooker not pressurizing:
1. Power LED on? [ ] Yes [ ] No → Check outlet/cord

2. Lid locked properly? [ ] Yes [ ] No → Realign arrows

3. Float valve moves freely? [ ] Yes [ ] No → Clean/replace

4. Gasket seated evenly? [ ] Yes [ ] No → Re-seat/replace

5. Liquid ≥250ml? [ ] Yes [ ] No → Add broth/water

6. Fill level ≤⅔? [ ] Yes [ ] No → Remove excess food

7. Knob set to "Seal"? [ ] Yes [ ] No → Rotate clockwise

8. Vent pipe clear? [ ] Yes [ ] No → Clean with brush
If all checks pass but pressure fails, contact Breville Support at 1-866-273-8455. They’ll often ship replacement parts free if under warranty.
Prevention Best Practices
Stop future failures with these pro habits:
Essential Usage Rules
- Liquid discipline: Always start with 1 cup thin liquid (water/broth)
- Gasket rotation: Flip your sealing ring every 3-4 uses to prevent uneven wear
- Storage method: Keep the lid upside-down on the pot—never stack items on it
- Capacity limits: Never exceed ½ pot for beans/rice, ⅔ for stews
One FAST Slow Go user eliminated all “SEAL” errors after implementing these rules. Her cooker now pressurizes in 7 minutes consistently—versus the 15+ minutes she wasted previously.
When to Seek Professional Help
Contact Breville if you experience:
– Thermal cut-out triggering repeatedly (heating element shuts off)
– Electrical issues like flickering displays
– Physical lid damage preventing proper alignment
– Warranty coverage (1 year parts/labor, 90 days for gaskets/valves)
Out-of-warranty repairs cost $50-80, but most pressurization issues resolve with the steps above. Remember: consistent liquid levels, clean components, and proper assembly prevent 90% of Breville pressure cooker not pressurizing failures. Keep this guide handy, and your cooker will deliver perfect pressure every time.


