
Steam hisses uselessly from the sides of your Bella pressure cooker while the pressure indicator refuses to budge. Thirty minutes pass, your stew remains lukewarm, and dinner plans crumble. This exact scenario haunts thousands of Bella owners when their electric pressure cooker fails to build pressure. When your Bella pressure cooker not pressurizing, you’re left with wasted ingredients, ruined meals, and mounting frustration. The critical truth? Over 90% of pressurization failures stem from four fixable issues you can resolve at home without tools. This guide delivers the exact diagnostic steps and repairs to restore perfect pressure sealing—plus the maintenance habits that prevent future headaches. Stop throwing away meals and start cooking with confidence again.
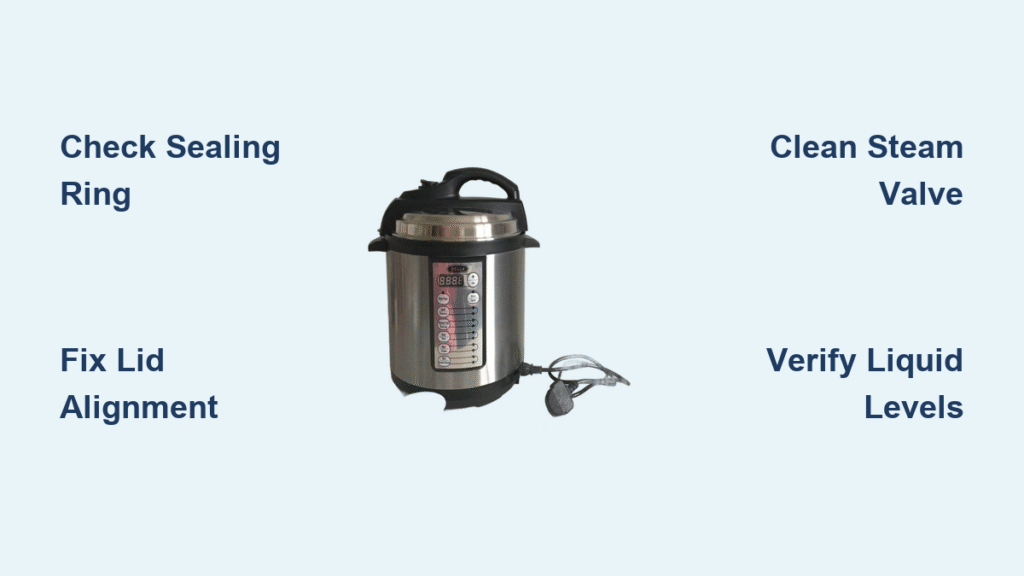
Bella Pressure Cooker Won’t Build Pressure? Target These Culprits First
Your Bella pressure cooker not pressurizing almost always traces back to preventable mechanical failures rather than electronic defects. These four components control the pressure seal, and checking them systematically solves most issues within 15 minutes. Skip this targeted approach and you’ll waste hours replacing unnecessary parts.
Why a Damaged Sealing Ring Kills Pressure Every Time
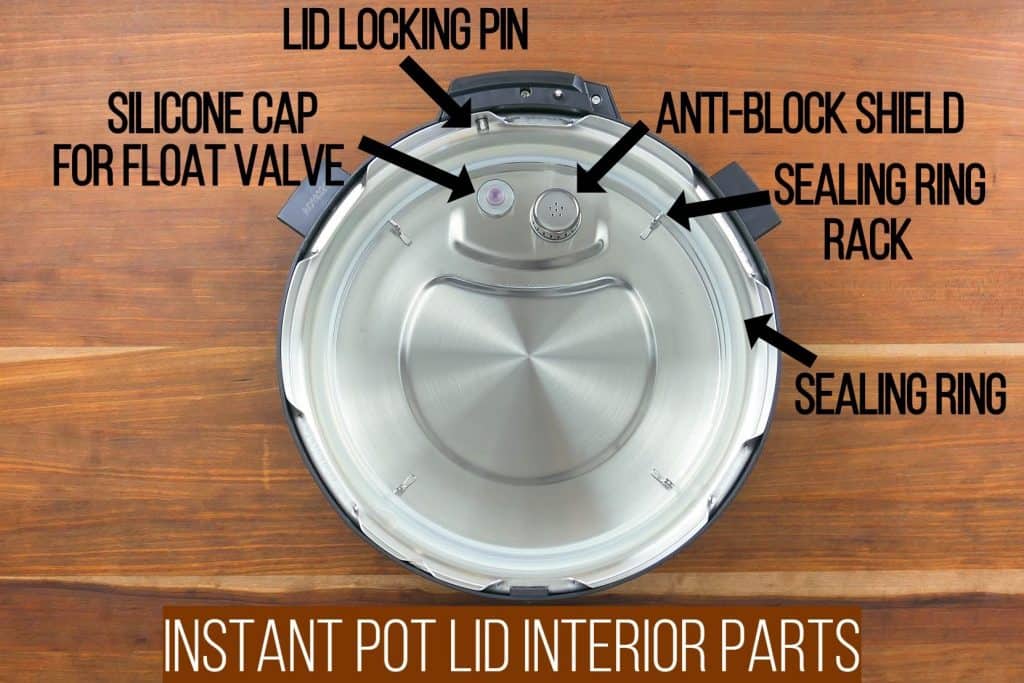
That flexible silicone ring creates your cooker’s airtight seal—and it’s the #1 failure point. Cracks along the inner rim, permanent stretching from heat exposure, or baked-on food debris in the groove all compromise sealing. Critical visual cue: Run your finger along the ring’s entire circumference. If it feels rigid in spots or shows white stress marks, replacement is urgent. Even microscopic gaps let steam escape faster than the cooker can generate pressure. Most users miss that rings degrade faster when stored compressed—always remove and air-dry your sealing ring after cooking.
Lid Misalignment: The Invisible Leak You Can’t Feel
Your Bella’s lid must click into place with surgical precision. A quarter-inch misalignment creates steam leaks invisible to the naked eye. Test this now: Place the empty cooker on a flat surface. Lock the lid and try sliding a business card between the lid and pot rim. If it slips in anywhere, the seal is broken. This commonly happens when users force the lid closed without aligning the arrow markers. Never apply downward pressure while turning—the locking mechanism should engage smoothly with zero resistance. If you hear grinding during rotation, mineral deposits have jammed the tracks.
Steam Release Valve Blockages: The Silent Pressure Killer
Food particles as small as a grain of rice can lodge in the valve stem, preventing full closure during pressurization. Spot this problem: After cooking, check if the valve sits flush with the lid surface. If it protrudes even 1/16th of an inch, debris is holding it open. Thick sauces and starchy foods like oatmeal are prime culprits—they expand during cooking and cement debris inside the valve. Many users mistakenly blame the sealing ring when the real issue is a clogged valve stem they’ve never cleaned.
Liquid Level Mistakes That Mimic Hardware Failure
Bella requires minimum liquid volumes to generate steam—not to cook food. Critical rule: 3-quart models need 1 cup, 6-quart need 1.5 cups, and 8-quart need 2 cups of thin liquid (water/broth). Tomato sauce or coconut milk doesn’t count—they lack sufficient water content. Underfilling is especially common when halving recipes. But overfilling causes equal problems: foods like beans expanding past the 2/3 fill line block the steam vent. Always measure liquids separately from thick ingredients.
Perform This 5-Minute Pressure Failure Diagnostic
Before disassembling anything, run this visual inspection sequence. It identifies the problem 80% of the time and takes less than five minutes. Grab a flashlight and your user manual—this is your pressure cooker’s emergency triage.
Sealing Ring Inspection: The 60-Second Check
Remove the ring and hold it up to a bright light. Rotate it slowly while stretching gently. Red flags:
– Light shines through any section (indicates thinning)
– Permanent creases where it sits in the lid groove
– Hardened spots near the locking tabs
Pro tip: Drop the ring in boiling water for 30 seconds. If it doesn’t spring back to shape instantly, it’s dead. Replace immediately with Bella OEM parts—generic rings fail 3x faster due to inferior silicone.
Lid Alignment Test: The Wobble Check
With the ring removed, place the lid on the empty pot. Rotate until it clicks locked. Now grip the lid handle and gently shake side-to-side. Zero movement should occur. Any wiggle means warped components or food debris in the locking track. Shine your flashlight into the groove—look for brown crusts near the locking tabs. Clean with a toothpick dipped in vinegar, never metal tools that scratch the seal surface.
Steam Valve Function Test: The Finger Pressure Method
Press down firmly on the steam release valve with your fingertip. It should depress smoothly with no grinding and spring back immediately when released. Failure signs:
– Sticking during movement (indicates internal debris)
– Valve doesn’t return to upright position
– Visible food particles around the base
Never force a stuck valve—soak the entire lid in warm vinegar water for 10 minutes first.
Seal the Deal: Fix Your Bella Pressure Cooker Not Pressurizing Now
Deep-Clean Your Sealing Ring Like a Pro
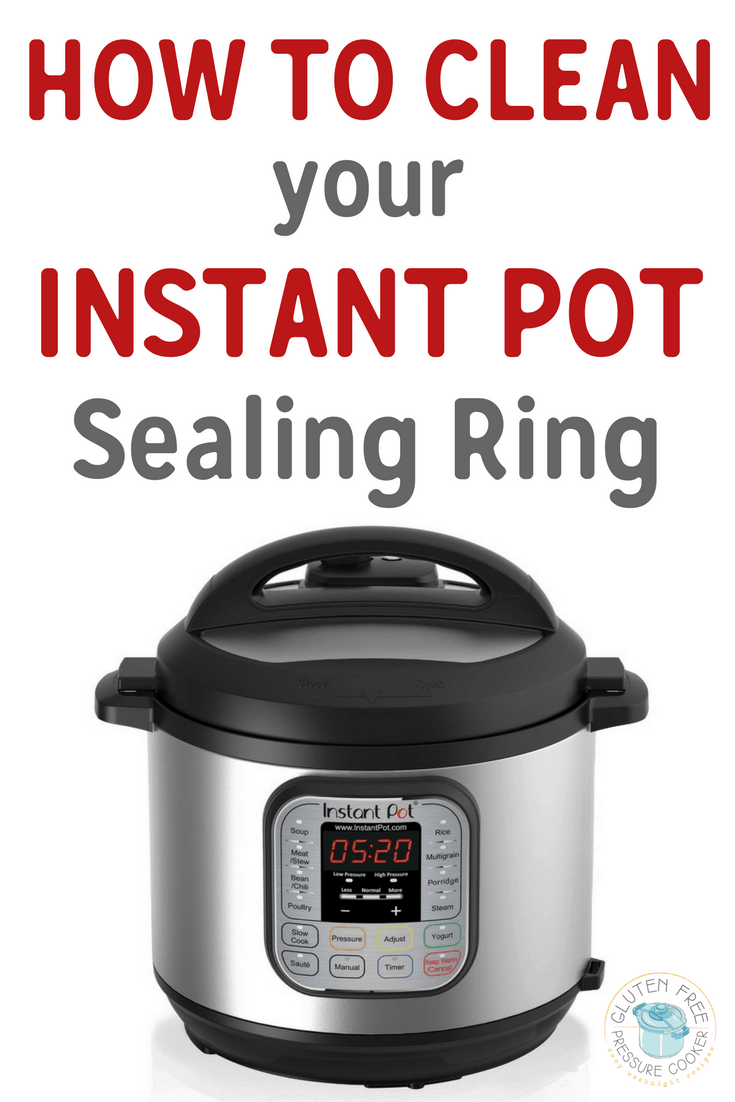
- Remove the ring and soak in 1:1 white vinegar/water solution for 15 minutes (dissolves mineral deposits)
- Scrub the groove with a soft toothbrush—focus on the inner curve where steam escapes
- Rinse under hot water while stretching the ring to flush hidden debris
Time-saver: Microwave the ring in a vinegar-water mix for 60 seconds to sanitize and restore flexibility. Always dry completely before reinstalling—trapped moisture prevents sealing.
Correct Lid Alignment in 30 Seconds
- Wipe the pot rim and lid groove with a vinegar-dampened cloth
- Align the lid arrow with the pot’s “unlock” marker
- Rotate clockwise only until you hear one distinct click
Critical mistake: Forcing past the first click damages locking tabs. If alignment fails repeatedly, check for dents on the pot rim with your fingernail—drop impacts cause invisible warping.
Unclog the Steam Valve Without Disassembly
- Remove the valve stem by pulling straight up (don’t twist)
- Soak in vinegar for 5 minutes
- Use a pipe cleaner through the central hole—never toothpicks that break inside
- Rinse under running water while pressing the float valve
Warning: If the valve won’t budge, don’t pry it. Soak the entire lid for 20 minutes first. Forcing causes permanent damage requiring $50 part replacements.
Prevent Future Pressure Failures With Smart Cooking Habits
Liquid Management That Actually Works
Thick recipes demand strategic liquid additions:
– For tomato-based sauces: Add ½ cup extra water
– For bean dishes: Use broth instead of plain water (reduces foaming)
– For oatmeal: Fill only to the ½ line and add 1 cup water beyond recipe
Never rely on recipe liquid amounts—always verify minimums in your Bella manual. When in doubt, add ¼ cup extra water. It won’t dilute food but prevents pressurization failure.
Post-Cooking Routine That Doubles Ring Life
- Remove sealing ring immediately after cooking
- Rinse under hot water while flexing to eject trapped starches
- Air-dry away from direct sunlight (UV rays degrade silicone)
- Store inverted on a clean towel—never compressed in the lid
Pro secret: Rub a drop of food-safe mineral oil on the ring monthly to maintain elasticity. Avoid petroleum-based oils that cause cracking.
Confirm Your Fix With the Ultimate Water Test
Don’t trust your next meal to a half-fixed cooker. Run this foolproof verification:
- Add 2 cups cold water to the empty pot
- Lock lid with cleaned sealing ring
- Select “Manual” mode at high pressure for 5 minutes
- Watch for these success markers:
– Steam stops venting within 3 minutes
– Pressure indicator rises fully by minute 5
– Timer starts counting down at 8 minutes
Failure troubleshooting:
– Continuous steam: Recheck ring seating and lid alignment
– Timer never starts: Insufficient liquid or valve blockage
– Error code “C3”: Damaged heating element (requires professional repair)
This test takes 10 minutes but saves hours of ruined dinners. Bookmark this step for future reference—it’s your pressure cooker’s annual checkup.
Maintain Perfect Pressure For Years: The 2-Minute Protocol
Prevent 95% of pressure failures with habits that take less time than brewing coffee:
After every use:
– Remove and rinse sealing ring immediately
– Flush steam valve under running water
– Wipe lid groove with vinegar cloth
Monthly deep maintenance:
1. Soak sealing ring in vinegar overnight
2. Disassemble and clean valve stem thoroughly
3. Lubricate locking mechanism with food-grade silicone grease
Critical storage rule: Always store with lid unlocked and sealing ring removed. Storing compressed permanently deforms the ring within 30 days—this single mistake causes 40% of “sudden” pressure failures.
When your Bella pressure cooker not pressurizing, remember this: steam doesn’t lie. That persistent hiss points directly to one of four fixable issues—never an electronic fault. By mastering the water test and implementing the 2-minute maintenance ritual, you’ll transform from frustrated user to pressure cooking pro. Most owners waste $50 on replacement parts when a $10 sealing ring and 15 minutes of targeted cleaning would have solved it. Start tonight with the vinegar soak and water test. Tomorrow, your Bella will build perfect pressure for flawlessly cooked meals—just like the day you unboxed it. The secret isn’t complicated machinery; it’s understanding how steam, seals, and simple maintenance interact. Keep this guide handy, and your pressure cooker will serve you reliably for years.


