
Your pressure cooker promised a weeknight dinner miracle, but now it’s hissing like a teakettle opera singer—or worse, sitting stubbornly cold while hungry mouths wait. When your Instant Pot flashes error codes or your stovetop model leaks steam uncontrollably, these aren’t random failures. Every symptom points to specific, solvable problems hiding in plain sight. This pressure cooker troubleshooting guide reveals exactly what to check, clean, and replace to rescue tonight’s dinner—no technician needed. You’ll learn why gaskets fail, how to decode “BURN” errors, and the one liquid measurement that prevents 80% of pressure issues.
Why Your Pressure Cooker Won’t Build Pressure (And Immediate Fixes)
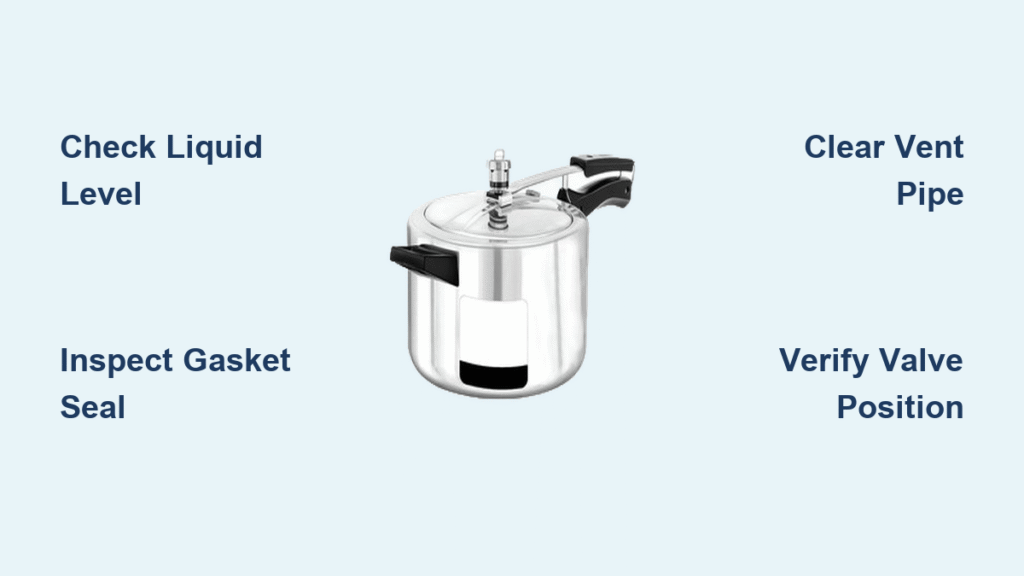
No Steam? Verify These 3 Critical Checks First
When your cooker sits silent with zero steam, the culprit is almost always preventable. Immediately check your liquid level—every pressure cooker requires at least one cup (240 ml) of thin liquid like water or broth to generate steam. Cooking beans or lentils? Add an extra half-cup since they absorb liquid aggressively. Next, confirm power delivery: plug a lamp into the same outlet to rule out electrical faults, then wiggle the cord to ensure full connection. For electric models, test the GFCI reset button—a tripped circuit often masquerades as cooker failure. If you still see no steam after these checks, your heating element may be faulty; contact manufacturer support with your model number.
Weak Steam But Float Valve Stuck Down? Lid Seal Failure
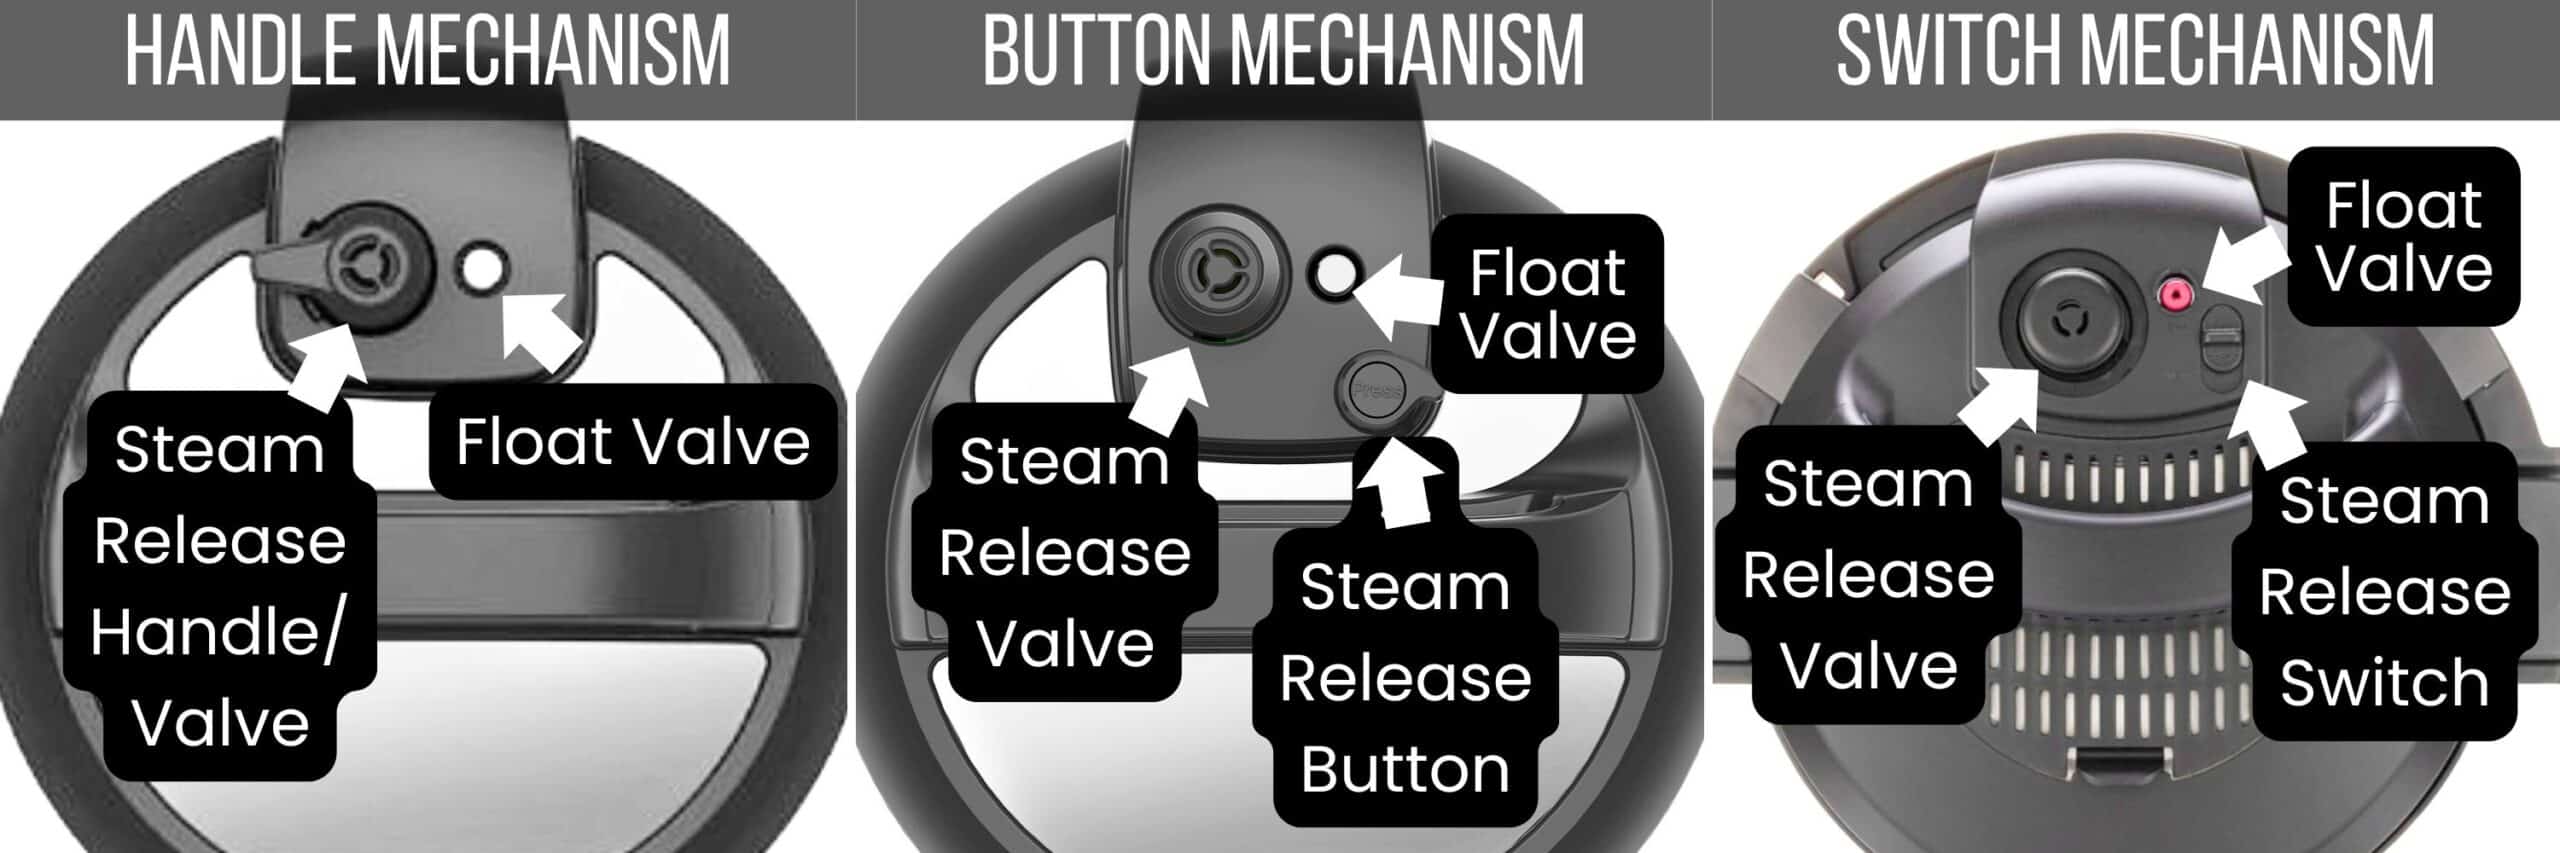
Seeing faint wisps but no pin lift means your lid isn’t creating an airtight seal. For stovetop models: align the lid’s arrow marker precisely with the handle, press down firmly, and twist clockwise 180 degrees until you feel resistance. Electric cookers? Remove the sealing ring and inspect it sideways—if the lip faces upward instead of downward into the pot groove, flip it immediately. A dislodged gasket causes 90% of this failure. Pro tip: Rinse the ring under cold water before reseating—it shrinks slightly for a tighter grip. If the pin still won’t rise after reseating, food debris likely clogs the vent pipe; remove the valve cap and flush with warm water.
Continuous Steam Leaks? Clear the Vent Pipe Now
When steam pours nonstop for over ten minutes, first confirm your valve position—many users accidentally leave it on VENTING instead of SEALING. If correctly set, remove the pressure weight or valve cap and hold it under running water. For stubborn blockages from rice or spice particles, insert a pipe cleaner through the vent pipe while gently wiggling. Never use sharp objects that could scratch the pipe interior. If leaks persist after clearing, your gasket may be stretched; temporarily freeze it for 15 minutes to shrink it, but order a replacement immediately—most last only 12-18 months with regular use.
Pressure Drops Mid-Cook? Stop These 3 Silent Killers
Stovetop Heat Too Low? Adjust Flame Like a Pro
If your cooker emits steam bursts every 30-60 seconds instead of maintaining steady pressure, your flame is too small. Increase heat to the smallest size that silences the valve—the flame should kiss the base without climbing the sides. Electric models rarely have this issue, but if yours loses pressure mid-cycle, check for “C7” error codes indicating poor contact between the inner pot and heating element. Remove and recenter the pot, ensuring it clicks into place. Critical visual cue: Rainbow-colored stains on the pot bottom signal overheating; scrub with Barkeeper’s Friend to restore heat conductivity.
Gasket Failure Signs You Can’t Ignore

Intermittent hissing during cooking almost always means a worn sealing ring. Inspect monthly by placing it on a flat surface—if it wobbles or shows cracks/flattening, replace it now. A failing gasket causes dangerous pressure drops that undercook food. Pro tip: After cooking, pull the ring from the lid groove and stretch it slightly; if it doesn’t snap back to shape, it’s time for a new one. Most manufacturers sell model-specific rings (e.g., Instant Pot’s “IP-Sealing-Ring-Blue” for 6-quart models).
Overfilling Ruins Pressure? Measure Twice
Filling beyond capacity prevents stable pressure buildup. For grains and beans, never exceed half the pot’s height—they expand up to triple their volume. Soups and stews? Stay below the two-thirds line. Overfilled pots also cause uneven cooking: mushy food at the bottom, raw chunks on top. If pressure drops mid-cycle, cancel cooking, quick-release steam, and remove excess food before restarting. Always measure ingredients against your cooker’s max-fill lines—they’re calibrated for safety, not convenience.
Stuck Lid After Cooking? Unlock Without Danger
Residual Pressure Hazard: Never Force the Lid
If the float valve remains raised after cooking, dangerous pressure still exists inside—forcing the lid could cause severe burns. Wait 15 minutes for natural pressure release before attempting to open. If impatient, use a wooden spoon to gently press the valve down for quick release. Critical safety rule: Always tilt the lid away from your face when opening—escaping steam exceeds 100°C (212°F) and can cause third-degree burns in seconds.
Vacuum Seal Trapped Lid? Break the Lock Safely
When the valve drops but the lid won’t budge, a vacuum seal has formed. Run cold tap water ONLY over the lid (not the base) for 30 seconds—the temperature difference breaks the seal. Never submerge the entire cooker. If still stuck, place a warm towel around the lid rim to expand the metal slightly. Warning: Warped sealing rings cause chronic sticking—replace immediately if the ring wobbles on a flat surface. This is especially common in older Prestige or Hawkins models.
Model-Specific Fixes That Actually Work
Instant Pot Error Code Decoder

– “BURN” error: Cancel cooking, quick-release pressure, then remove the inner pot. Add ½ cup water and scrape the bottom to deglaze stuck food. Restart with sauces layered on top of solids, never directly on the pot base.
– “LID” error: Clean the sensor window near the handle with a microfiber cloth, then close the lid clockwise until you hear a distinct click.
– “C7” error: Remove the inner pot and wipe the heating plate with a damp cloth. Reinsert the pot firmly until centered—misalignment tricks the cooker into thinking no pot is present.
Stovetop Cooker Lifesavers
For Prestige or Hawkins models leaking steam from the rim, flip the gasket so the lip faces downward—it’s likely installed upside down. If the lid spins without locking, align the arrow mark precisely with the handle, press down hard while twisting clockwise. Excessive whistling? Reduce heat until the weight rocks gently instead of dancing violently, then clear the vent pipe with a toothpick if it rattles erratically.
Preventive Maintenance That Stops 90% of Failures
Daily After-Use Rituals
Rinse the sealing ring under cold water after every cook—never hot water, which degrades silicone faster. Check for rice grains or spice particles lodged in the groove. Wipe the float valve and vent pipe with a damp cloth while still warm (but not hot) to prevent baked-on residue. Let all parts air-dry completely before storage—trapped moisture breeds mold.
Monthly Gasket Check You Must Do
Place the ring on a flat counter and press the center—if it wobbles or has permanent bends, replace it immediately. Inspect for tiny cracks near the inner lip; these cause slow leaks that sabotage pressure. Pro tip: Apply a tiny dab of food-safe mineral oil to the groove monthly to maintain flexibility—never use cooking oil, which attracts debris.
Non-Negotiable Safety Rules
- Minimum liquid rule: Always add ≥1 cup thin liquid—even for “dry” foods like chicken breasts. Thick sauces don’t count.
- Fill limits save lives: Grains/legumes max at ½ pot; everything else at ⅔. Exceeding these risks explosive steam release.
- Never force a lid: Residual pressure can turn your cooker into a missile. Verify float valve is fully down first.
- Steam direction matters: After quick-release, tilt lid away from face—steam travels upward at 250°F.
- Gasket replacement schedule: Swap every 12-18 months, or immediately if cracked. Old gaskets cause 60% of pressure failures.
Final Diagnostic Checklist: Before calling support, verify:
– [ ] ≥1 cup thin liquid added (water/broth)
– [ ] Food volume below fill lines (½ for beans, ⅔ for soup)
– [ ] Gasket clean, seated correctly, undamaged
– [ ] Valve set to SEALING (not VENTING)
– [ ] Vent pipe clear of debris
– [ ] Float valve moves freely
If all checked and cooker still fails, take a photo showing the problem and contact manufacturer support—they resolve issues 3x faster with visual proof. Keep your original gasket as a backup while waiting for replacements; a properly maintained pressure cooker should last decades, not disappoint you at dinner time.


