
Your pressure cooker sits silent on the stove—no comforting whistle, no steam release, just quiet disappointment. That missing whistle means zero pressure buildup, and without pressure, your dinner plans are stuck in limbo. Whether you’re facing tough beans that should’ve softened an hour ago or meat that’s refusing to become fork-tender, this guide walks you through diagnosing and fixing the problem fast. Discover why your pressure cooker not whistling is more than just an annoyance—it’s a critical signal your cooker isn’t functioning safely or effectively.
The whistle isn’t just background noise—it’s your cooker’s way of saying “dinner’s on track.” When internal temperature hits 122°C (251.6°F), pressure forces steam through a tiny vent, creating vibrations that produce that distinctive sound. No whistle equals no pressure, which means your food won’t cook properly. Understanding this mechanism is the first step to solving your pressure cooker not whistling crisis. Let’s dive into the specific fixes that will get your cooker singing again.
Why Your Pressure Cooker Won’t Whistle: Core Mechanics
Your silent cooker fails because it can’t reach the critical 122°C threshold needed for steam pressure buildup. This happens when steam escapes prematurely or heat can’t penetrate sufficiently. Unlike modern electric models with digital indicators, traditional stovetop cookers rely solely on that whistle to signal proper pressure—making it your most vital diagnostic tool.
Minimum Requirements for Whistle Activation
- Liquid: At least 1 cup (240ml) of water or broth must cover the bottom
- Fill level: Between 1/4 to 2/3 of cooker’s capacity with food and liquid combined
- Heat: Medium to medium-high heat essential (not low simmer or max blast)
- Sealed system: Airtight closure required with zero steam leaks
Pro Tip: Never use oil as your primary liquid—it creates a film that blocks vents and prevents proper pressure buildup, a common reason for pressure cooker not whistling.
Quick Visual Inspection: 2-Minute Fixes
Before disassembling components, perform these immediate checks. Most pressure cooker not whistling cases stem from oversights you can correct in under 120 seconds.
Check Liquid Level and Type
Look inside before heating—never start cooking with less than 1 cup of liquid. Short sessions (under 20 mins) need exactly 1 cup, while longer cooks require 1.5-2 cups. Crucially, use water or broth—not oil-based liquids—as your primary cooking medium. Oil residue clogs vents and insulates heat, preventing the 122°C threshold.
Verify Perfect Lid Closure
Try rotating your locked lid—it should feel completely immobile. Any movement means incomplete sealing. Food particles along the rim are the #1 culprit: wipe both lid and pot edges with a damp cloth, then relock until you hear distinct engagement clicks. Visual cue: The float valve (small metal pin) should sit completely flat against the lid when properly sealed.
Seal Failure: The Silent Pressure Killer
Your sealing ring creates the airtight chamber needed for pressure. When it fails, steam escapes silently through microscopic gaps—a leading cause of pressure cooker not whistling. Most users don’t realize seals degrade even when they look fine.
Spotting a Damaged Seal
Run your finger along the rubber ring:
– Cracks or tears (even hairline) let steam escape
– Hard, brittle texture (press with thumb—it should spring back)
– Warping preventing proper seating in the groove
– Food residue trapped in the ring’s crevices
Critical insight: Seals lose elasticity from heat exposure alone—replace them every 12 months regardless of appearance. A 2-year-old seal may look intact but won’t create sufficient pressure.
Cleaning vs. Replacement Protocol
Soak the seal in warm, soapy water for 10 minutes, then flex it gently to restore flexibility. If it doesn’t feel supple or shows any cracks, replace it immediately. Never force a stiff seal into position—this creates uneven pressure points that cause leaks. When installing a new seal, ensure it sits fully in the groove without twisting.
Vent and Whistle Blockages: The Steam Escape Route

Tiny food particles or mineral deposits can completely block your whistle mechanism. When steam can’t escape through the vent, pressure either builds dangerously elsewhere or fails to build at all—directly causing pressure cooker not whistling.
Clearing Blocked Vent Pipes: Step-by-Step
- Remove the whistle by twisting counterclockwise (most models) or lifting straight up
- Soak for 10-15 minutes in hot, soapy water to loosen debris
- Clear the center hole using a pipe cleaner or thin wire (dental floss works in a pinch)
- Rinse thoroughly and test airflow by blowing through the vent—steam should pass freely
- Reinstall firmly—a loose whistle won’t seal properly
Pro Tip: For stubborn mineral deposits from hard water, soak parts in equal parts white vinegar and hot water for 30 minutes before scrubbing with a soft brush.
Valve Position and Function: The Pressure Gatekeeper
Your pressure release valve must be in the correct position and move freely. A stuck valve prevents proper pressure regulation—the second most common reason for pressure cooker not whistling.
Testing Valve Movement in 30 Seconds
- Position check: Ensure valve is set to “Sealing” (not “Venting”)
- Movement test: Gently push the valve stem—it should spring back immediately
- Float valve inspection: This small metal pin must drop completely when cool. If stuck “up,” the cooker thinks it’s pressurized and won’t build pressure.
Critical fix: Remove sticky valves and rinse under warm water. Never force movement—this can break internal springs. If it doesn’t move freely after cleaning, replace it immediately.
Heat Source Problems: The Hidden Culprit

Sometimes the issue isn’t mechanical—it’s your stove. Inadequate or uneven heating prevents reaching the 122°C threshold needed for whistle activation, especially with pressure cooker not whistling on electric coils.
Heat Testing Protocol That Works
- Start cold: Place empty cooker on burner with 2 cups water
- Medium heat first: Wait exactly 5 minutes before adjusting
- Adjust incrementally: Increase slightly if no steam appears by minute 8
- Avoid maximum heat: This triggers safety vents and damages seals
- Burner switch test: Try a different burner if one seems weak
Gas vs Electric Reality Check: Gas provides instant heat control—ideal for pressure cooking. Electric coils need higher initial settings but respond slower. Never use induction without verified magnetic cookware—it won’t generate sufficient heat.
Water-Only Diagnostic Test: Isolate the Problem
Cut through the confusion with this definitive test. It determines whether your pressure cooker not whistling stems from food-related issues or mechanical failure.
Step-by-Step Testing
- Empty completely and rinse your cooker
- Add exactly 2 cups of fresh water (no food or oil)
- Assemble properly with clean seal and whistle
- Set timer for 10 minutes on medium heat
- Listen for whistle—should occur within 5-10 minutes
Results interpretation:
– Whistle within 10 minutes: Food was blocking vents or insufficient liquid
– No whistle: Mechanical failure requiring seal, valve, or whistle replacement
Pro Tip: Time this test with your phone—it’s the most reliable indicator of cooker health.
When to Replace vs. Repair: The Cost-Benefit Reality
Age and wear eventually overcome even perfect maintenance. Knowing when to retire your cooker prevents safety hazards with pressure cooker not whistling.
Replacement Indicators That Can’t Be Ignored
- Seal replacement: Every 12 months regardless of appearance
- Multiple failures: When seal, valves, and whistle all need work
- Metal warping: Lid no longer sits flat or locks securely
- Thread damage: Lid won’t tighten completely
Critical rule: If your unit is over 5 years old and needs multiple components, replacement is safer and more economical. Modern cookers have enhanced safety features older models lack.
Safety Red Flags: Stop Immediately
Some pressure cooker not whistling symptoms indicate dangerous pressure irregularities. These require immediate shutdown.
Critical Warning Signs
- Steam from sides: Seal failure creating unsafe pressure release
- Lid movement: Any rotation or lifting under pressure
- Continuous hissing: Valve stuck open, pressure not building
- Unusual sounds: Metal popping indicates structural failure
Emergency Protocol
- Turn off heat immediately
- Do not attempt to open
- Allow natural cooling (15-30 minutes)
- Check float valve has dropped before opening
- Inspect thoroughly before next use
Never ignore steam from the sides—this is an emergency leak that can cause severe burns.
Maintenance Schedule for Reliable Whistles
Prevent future pressure cooker not whistling failures with this simple routine:
Daily Care (2 minutes)
- Rinse lid and seal after each use
- Check vent hole for visible particles
- Ensure lid locks smoothly
Weekly Deep Clean (5 minutes)
- Remove and wash sealing ring thoroughly
- Clean whistle mechanism completely
- Test valve movement
Monthly Inspection (10 minutes)
- Replace seal annually regardless of condition
- Perform water-only pressure test
- Review manufacturer guidelines
Pro Tip: Store your cooker with the lid slightly ajar—this prevents seal warping from constant compression.
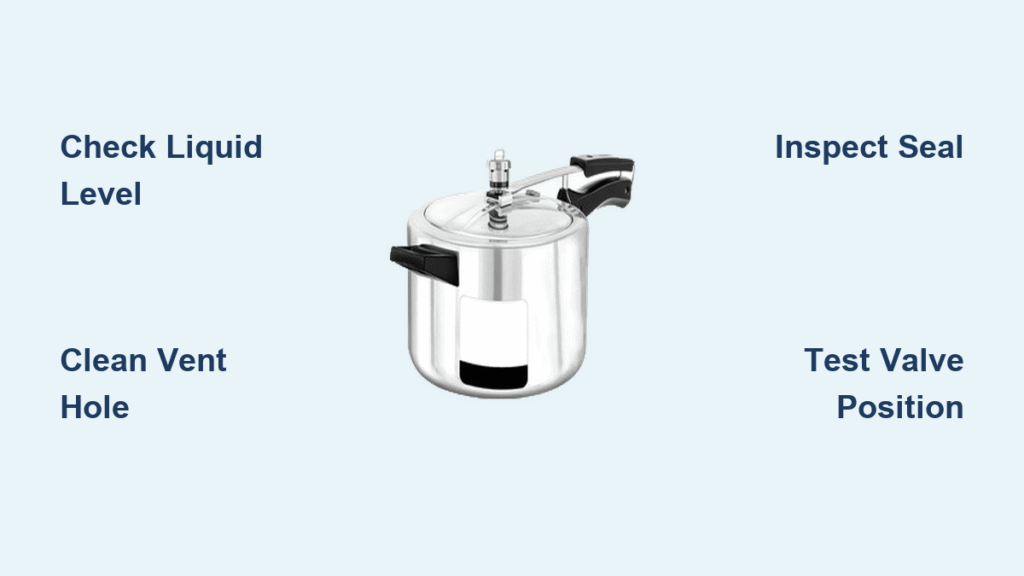
Quick Fix Summary: Your 5-Step Emergency Plan
When your pressure cooker not whistling ruins dinner plans:
1. Check liquid level—add water if below 1 cup (never exceed 2/3 capacity)
2. Clean vent hole with pipe cleaner or thin wire—focus on the whistle’s center hole
3. Inspect seal for cracks or hardness—replace if over 12 months old
4. Perform water test to isolate mechanical vs food-related issues
5. Verify valve position—must be set to “Sealing” with free movement
Most whistle failures resolve with these steps. When they don’t, your cooker has likely reached its replacement threshold. A new unit provides peace of mind and consistent performance—ensuring your meals cook perfectly with that reassuring whistle every time. Remember: that sound isn’t just noise—it’s the signature of safe, effective pressure cooking.


