

Your sleek Zojirushi rice cooker sits on the counter promising restaurant-quality rice with minimal effort. But those buttons and settings might seem confusing at first glance. Don’t worry—transforming ordinary grains into perfectly cooked rice is simpler than you think. Whether you’re a college student cooking for one or feeding a large family, mastering your Zojirushi will revolutionize your kitchen routine. This guide walks you through everything from your first test run to advanced techniques that turn your rice cooker into a complete meal-making machine.
Initial Setup Before First Use
Essential Accessories Checklist
Before cooking anything, locate these key items in your box:
– Rice measuring cup (not the same as US cups)
– Non-stick rice spatula for fluffing and serving
– Steam basket for vegetables and proteins
– Condensation collector (on select models)
– Instruction manual specific to your model
First Test Run Procedure
Manufacturing residues can affect taste and performance. Run this quick test:
1. Add 2 cups water to inner cooking pan
2. Insert pan and close lid until it clicks
3. Select “White Rice” and press start
4. Complete entire 45-60 minute cycle
5. Discard water, dry thoroughly
Pro tip: This initial cycle also confirms everything works correctly before you commit expensive rice to the process. Ensure the inner pan sits flat on the heating element without tilting, and verify the steam vent cap is securely attached.
Measuring Rice Correctly
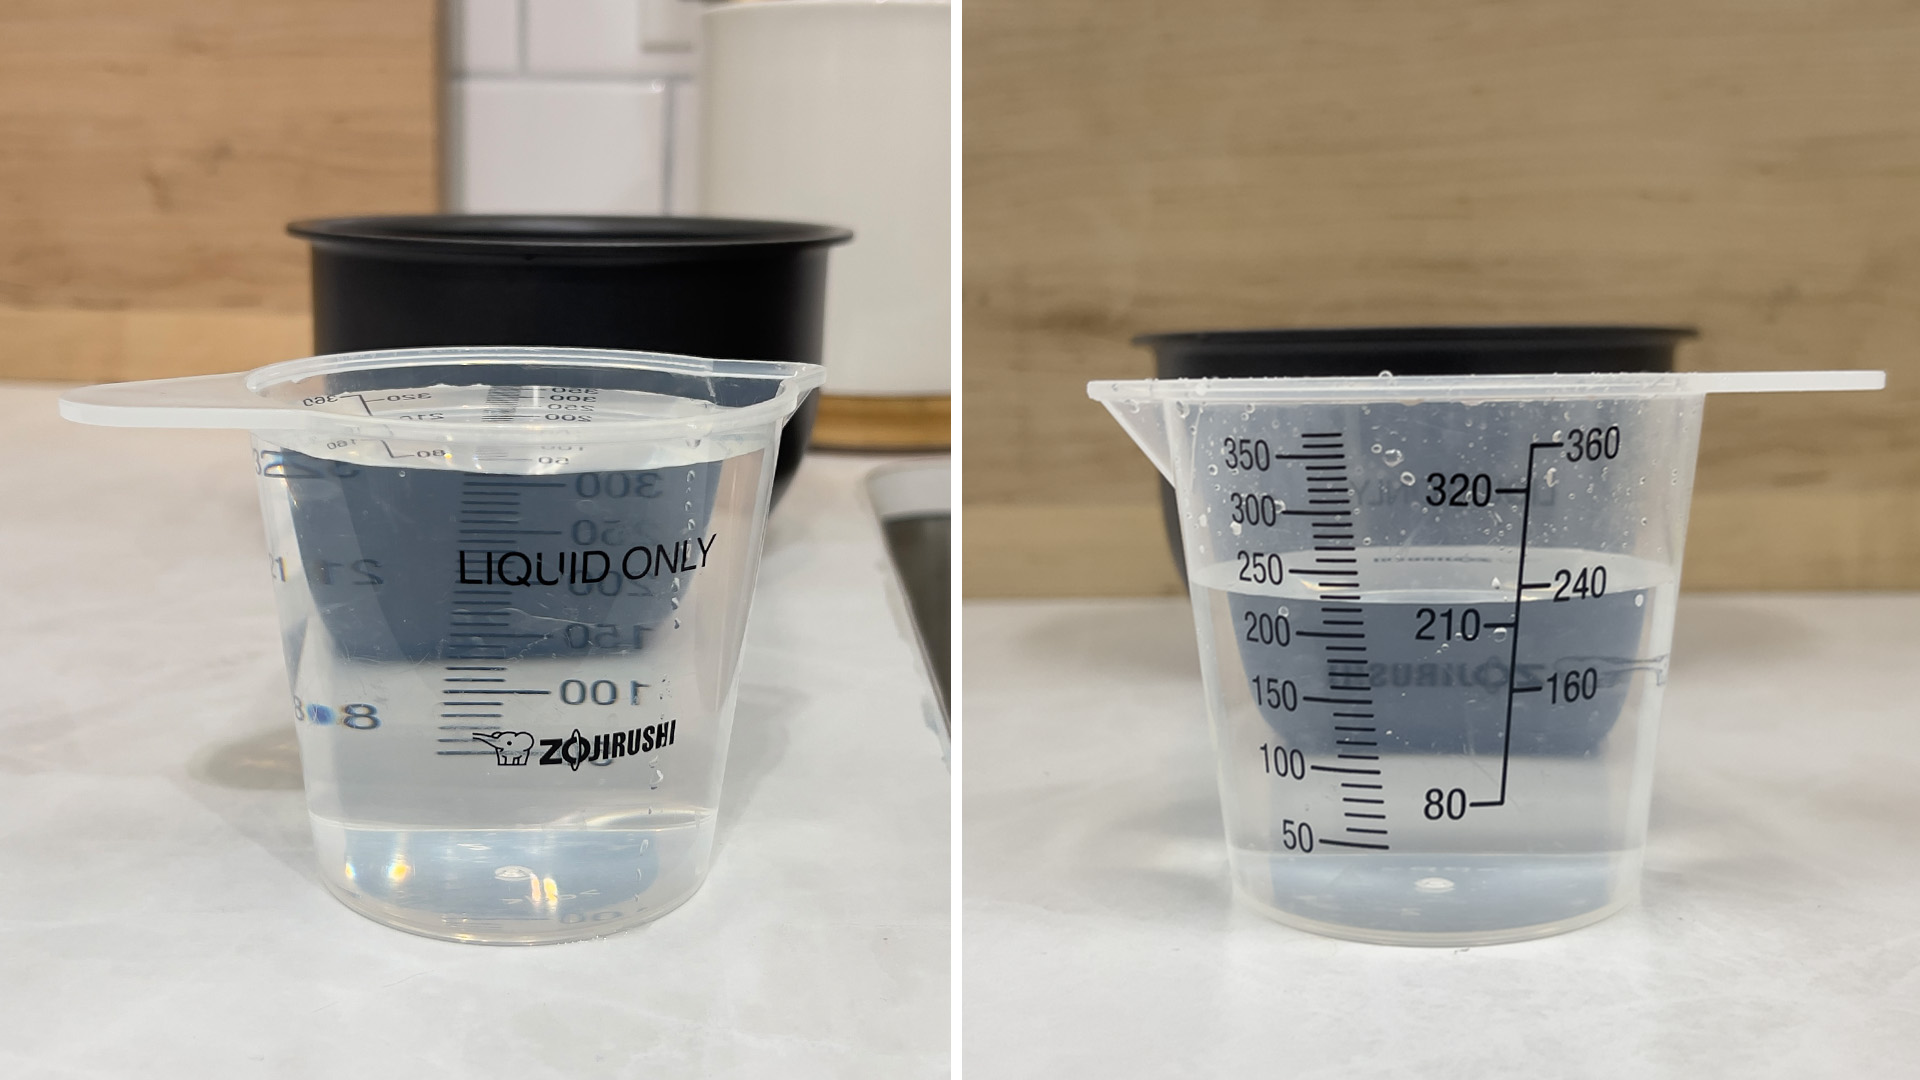
Using the Special Measuring Cup
Your Zojirushi cup equals 3/4 US cup—using standard measuring cups throws off ratios completely. Level each cup using the spatula’s straight edge, never packing or compacting the rice. Measure rice before washing to maintain consistent ratios, as draining affects volume.
Washing Rice Like a Pro
Skip this step and you’ll get gummy, starchy rice. Here’s the right way:
– Cold water only: Hot water starts cooking prematurely
– Gentle swirl: 3-4 rotations, then drain immediately
– 2-3 rinses until water runs mostly clear
– Strain 10-15 minutes for perfect water absorption
Common mistake: Over-washing sticky rice varieties removes the starch that creates the desired texture. For jasmine rice specifically, rinse minimally to preserve aromatic compounds.
Water Level Mastery

Reading the Inner Pan Markings
Those numbered lines inside your pan aren’t suggestions—they’re precision guides calibrated for optimal results.
White rice: Fill to the line matching your cup measure (1 cup rice = water to line 1)
Brown rice: Add 20-50% more water—aim halfway between your rice line and the next
Sushi rice: Use slightly less water than white rice for firmer texture
Mixed rice: Reduce water by 2-3 tablespoons per cup of added vegetables or proteins
Basic White Rice Cooking Steps
Simple White Rice Method
- Measure and wash rice using the special cup
- Add water to the correct line marking
- Wipe pan bottom dry—moisture affects heating contact
- Insert pan ensuring it sits flat without tilting
- Close lid until you hear the click
- Select “White Rice” or “Regular” setting
- Press start and walk away
- Steam 10-15 minutes after cooking completes
- Fluff gently with the provided spatula
Timing: 45-60 minutes total, depending on your model and quantity. Never skip the steaming period—this critical step allows moisture to distribute evenly throughout the rice.
Advanced Settings Explained
Brown Rice Perfection
The Brown Rice setting transforms tough grains into tender, nutty perfection:
– Pre-soak phase gradually hydrates the bran layer
– 85-95 minute cycle ensures complete cooking
– Results: Softer texture, better digestibility than stovetop methods
For wild rice, use a 1:2.5 water ratio on the brown rice setting, which extends cooking to 90-100 minutes. Consider mixing one part wild rice with three parts white rice to shorten cooking time while maintaining flavor.
Quick Cooking Mode
Need rice fast? The Quick Cook setting saves 10-15 minutes:
– Trade-off: Slightly less optimal texture
– Best for: Weeknight dinners when time is critical
– Avoid for: Special occasions or sushi rice
This setting works particularly well for basmati rice when you soak it for 20-30 minutes first and use a 1:1.25 water ratio for optimal results.
Sushi Rice Setting
This setting creates the perfect texture for sushi preparation:
– Firmer grains hold shape when rolled
– Immediately transfer to wooden bowl after cooking
– Season while warm with sushi vinegar mixture
Unlike regular white rice, sushi rice benefits from slightly less water to achieve that essential firm texture required for rolling.
Steam Cooking Function
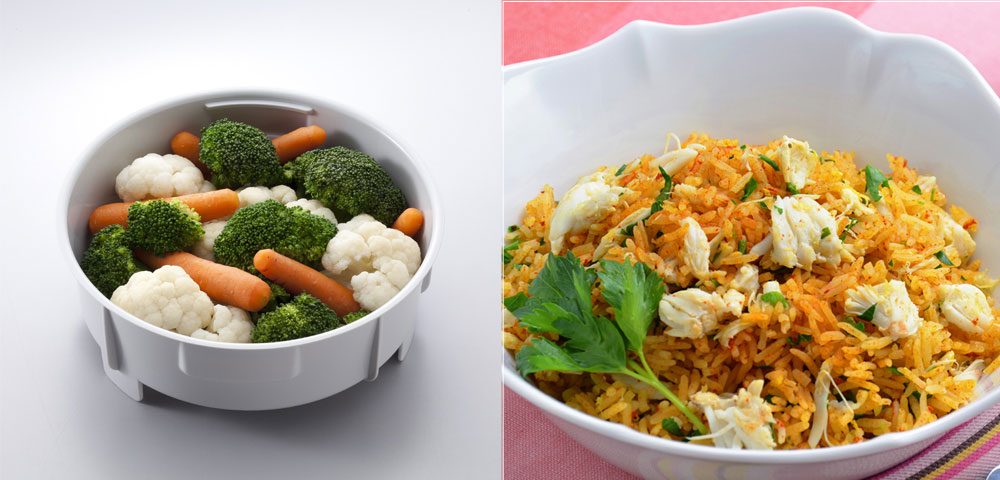
Using the Steam Basket
Your Zojirushi does double duty as a steamer:
Vegetables: 10-15 minutes for crisp-tender results
Fish fillets: 12-18 minutes depending on thickness
Dumplings: 15-20 minutes until heated through
Critical setup: Add 1-2 cups water to inner pan below the basket level. Food should never touch the pan bottom. For best results, fill the steam basket with items ensuring they don’t overlap, allowing steam to circulate evenly around each piece.
Timer and Delayed Cooking
Setting Delayed Start
The timer function lets you wake up to fresh rice or come home to dinner ready:
– Access timer by pressing “Timer” button repeatedly
– Set completion time, not start time
– Maximum delay: 12-13 hours depending on model
Safety rule: Use timer only for plain rice. Perishable ingredients like meat or dairy create food safety risks. Ensure your kitchen temperature remains below 77°F (25°C) when using extended timer delays to prevent bacterial growth.
Keep Warm and Reheat Functions
Extended Keep Warm Strategies
Your cooker automatically switches to Keep Warm after cooking:
– 12-hour maximum for best quality
– 140-150°F temperature prevents bacterial growth
– Fluff once after initial steam period
– Avoid lid opening which releases steam and dries rice
Some advanced models feature “Extended Keep Warm” for up to 24 hours, though this may cause slight drying of rice surface. For best results, stir occasionally and add small amount of water if needed.
Reheating Leftovers
Reheat function (select models) revives refrigerated rice:
– Add 1-2 tablespoons water per cup of rice
– 5-8 minute cycle restores moisture and heat
– Best results when rice comes straight from refrigerator
This method preserves texture far better than microwave reheating, which often creates hot spots and uneven moisture distribution.
Cleaning Your Zojirushi
Daily Cleaning Routine
Never immerse the base unit—electric components will be destroyed:
1. Unplug and cool completely
2. Remove inner lid and steam vent cap
3. Wash pan with soft sponge and mild detergent
4. Rinse thoroughly—soap residue affects taste
5. Air dry 1-2 hours with lid open
Weekly Deep Clean
Prevent clogs and odors with this routine:
– Steam vent cap: Soak in warm soapy water, use soft brush
– Condensation collector: Slide out, empty, rinse after each use
– Sensor area: Clean with cotton swab if needed
For persistent odors, create a paste with baking soda and water, apply to affected areas, let sit 30 minutes before washing. Never use abrasive cleaners that could damage the non-stick coating.
Troubleshooting Common Issues
Fixing Gummy or Mushy Rice
Problem: Excess water or inadequate washing
Solution: Reduce water by 2-3 tablespoons next time. Ensure thorough washing to remove surface starch. Verify your rice was properly drained after washing—this step is crucial for texture.
Rescuing Undercooked Rice
Problem: Hard centers or crunchy texture
Quick fix: Add 1-2 tablespoons water, close lid, use Reheat for 5-10 minutes. Alternatively, run a quick cook cycle for 5 minutes to finish cooking without overcooking the exterior.
Preventing Burnt Bottom Layer
Causes: Old non-stick coating or inadequate cleaning
Prevention:
– Clean pan bottom thoroughly before each use
– Fluff rice immediately after cooking cycle
– Replace inner pan if coating shows wear
If you notice burning, check if the inner pan is making proper contact with the heating element—any tilt or debris can cause uneven heating.
Advanced One-Pot Meals
Multi-Grain Combinations
Transform your rice cooker into a whole-grain powerhouse:
– Quinoa: Use 1:1.5 ratio (grain:water)
– Barley: Pre-soak 30 minutes, use 1:2 ratio
– Steel-cut oats: Use porridge setting, 1:3 ratio, 30-40 minutes
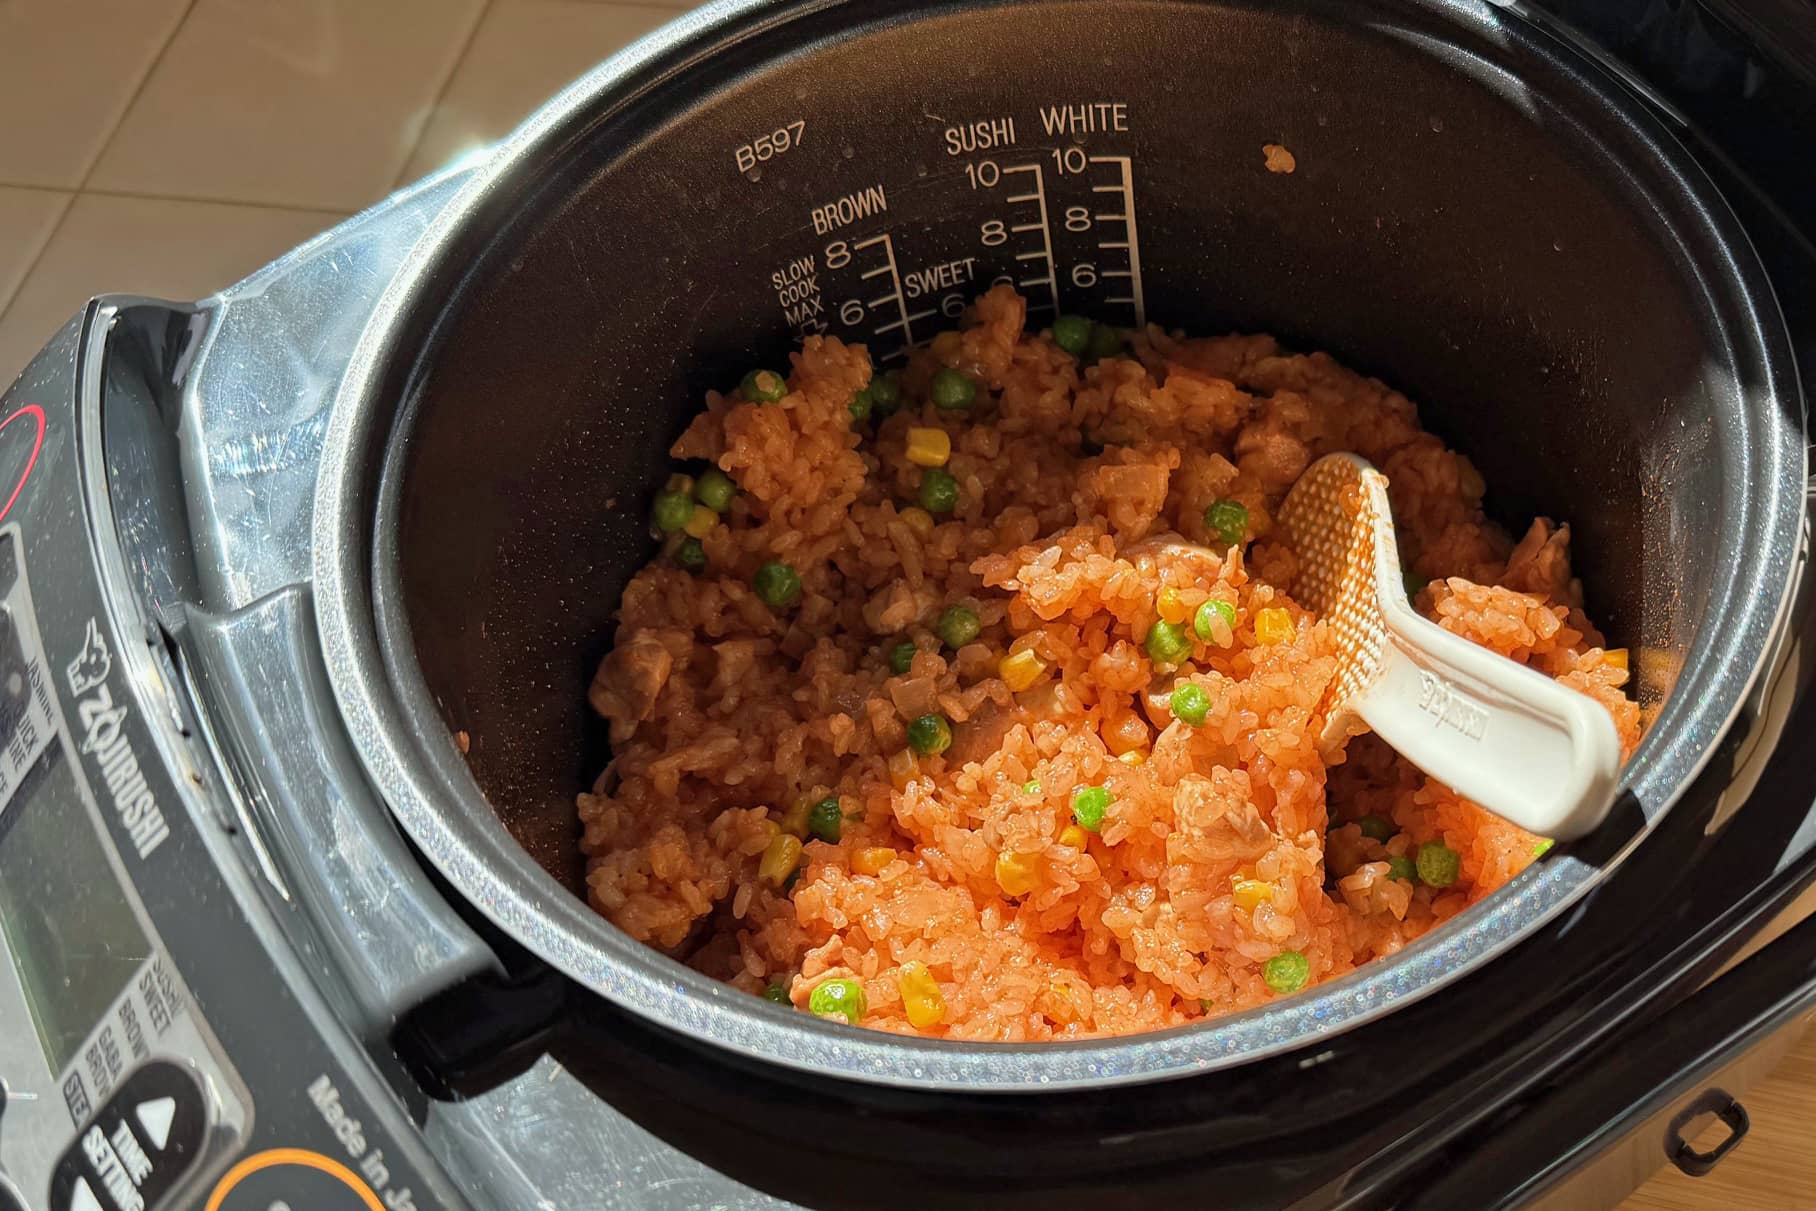
Complete Meal Method
Layer ingredients starting from the bottom:
1. Rice and water base layer
2. Proteins (chicken pieces, beans)
3. Vegetables on top
4. Mixed rice setting automatically adjusts
Popular combinations include chicken and vegetables, beans and rice, or curry over rice. The mixed rice setting automatically adjusts temperature and timing based on detected ingredients for perfect results every time.
Key Takeaway: Your Zojirushi rice cooker rewards attention to three fundamentals—proper measuring, adequate washing, and correct water ratios. Master these basics, then explore advanced settings to transform simple grains into restaurant-quality meals.
Start with basic white rice to build confidence, then gradually experiment with brown rice, steaming, and one-pot meals. Within weeks, you’ll wonder how you ever managed without this versatile kitchen companion. Remember to always use the special measuring cup that came with your Zojirushi rice cooker, as this single tool ensures perfect rice texture every time.


