
Your Tiger rice cooker eliminates stovetop rice anxiety with automated precision that delivers flawless results every time. Whether you’re preparing sushi-grade short-grain for tonight’s California rolls or nutty brown rice for meal prep, this appliance handles water ratios, timing, and temperature control without guesswork. Forget mushy disasters or burnt bottoms—master these exact steps to achieve restaurant-quality rice with zero monitoring. You’ll discover why Japanese households rely on Tiger cookers for perfect grains that stay warm for hours while you focus on other dishes.
Measure Rice With Tiger’s Precision Cup
Never Use Standard Measuring Cups
Tiger includes a dedicated rice cup calibrated specifically for its water markings—one Tiger cup equals 150ml (¾ US cup). Substituting standard cups throws off water ratios instantly, creating inconsistent texture. Always measure dry rice in this cup before rinsing, as volume changes after washing. For reference: 2 Tiger cups yield about 4 servings of cooked rice.
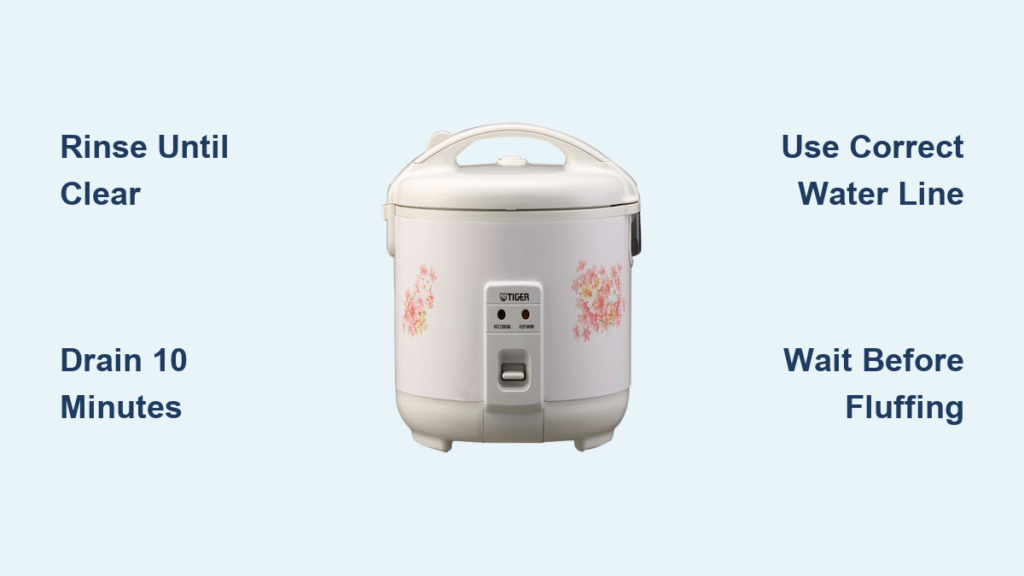
Rinse Until Water Runs Crystal Clear
- Transfer measured rice to the included inner pot
- Fill with cold water and swirl gently with fingertips
- Drain cloudy water immediately—don’t let rice soak
- Repeat rinsing 3-4 times until water appears transparent
Critical detail: Stop when you see individual grains suspended in water, not milky liquid. This removes excess starch that causes gumminess while preserving structural integrity. Skip this step for sushi rice if your recipe requires extra stickiness.
Drain for Exactly 10 Minutes
After final rinse, let rice sit uncovered in the inner pot for 10 minutes. This allows surface moisture to evaporate—never skip this. Residual water alters the precise rice-to-water ratio Tiger’s sensors expect, leading to uneven cooking. For brown rice, extend draining to 15 minutes to compensate for its higher moisture absorption.
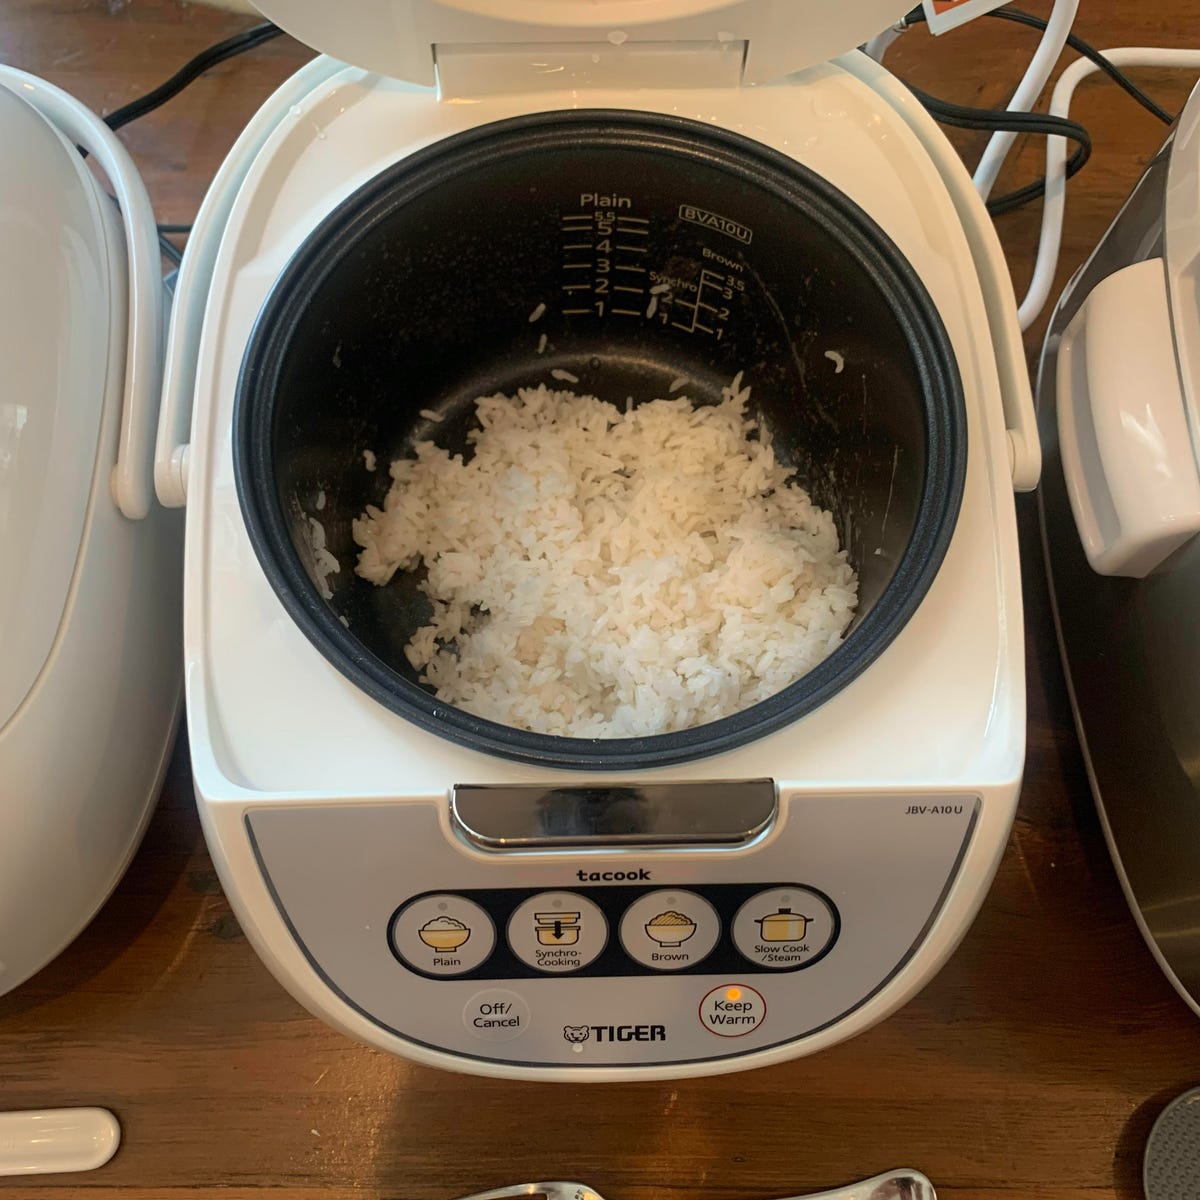
Set Water Levels Using Inner Pot Markings
White Rice: Match Cup Count to “White” Line
Fill water to the numbered line corresponding to your rice cups on the “White Rice” scale. The cooker automatically calculates the 1:1.25 ratio (rice:water). Example: 3 cups rice = fill to “3” on white scale. Pro tip: For older rice (over 6 months storage), add 1 extra tablespoon water per cup—aged grains absorb more moisture.
Brown Rice: Use Dedicated “Brown” Scale With Extra Water
Brown rice requires a 1:2 ratio due to its dense bran layer. Fill to the “Brown Rice” line matching your cup count—never use the white rice markings. Example: 2 cups brown rice = fill to “2” on brown scale. For black or red rice varieties, add 2 tablespoons extra water beyond the marked line.
Level Rice Before Adding Water
Gently shake the inner pot side-to-side on your counter to create an even rice layer. An uneven surface causes “hot spots” where bottom grains overcook while top grains stay hard. Run your palm flat across the surface to break up clumps—this ensures uniform water distribution during cooking.
Select the Correct Cooking Program

White Rice Setting for All Polished Varieties
Press “White Rice” for:
– Japanese short-grain (Koshihikari, Nishiki)
– Thai jasmine or Indian basmati
– Sushi rice (add vinegar after cooking)
This setting triggers a 45-minute cycle with optimized soaking time for tender, fluffy results. Avoid “Quick Cook” mode for these varieties—it sacrifices texture for speed.
Brown Rice Setting for Whole Grains Only
Choose “Brown Rice” or “Whole Grain” (varies by model) exclusively for:
– Japanese brown rice
– Black forbidden rice
– Wild rice blends
The extended 70-minute cycle penetrates the bran layer fully. Never substitute white rice settings—undercooked bran creates unpleasant crunchiness.
When to Use Keep-Warm Mode Strategically
The cooker automatically switches to keep-warm after cooking, maintaining 140°F (60°C) for 12 hours. For best texture:
– Serve white rice within 4 hours
– Brown rice within 2 hours
– Never restart cooking cycles—this dries out grains
Execute Flawless Cooking Cycles
Seal Lid Until You Hear the Click
Push down firmly on the lid handle until a distinct “click” confirms a steam-tight seal. A loose lid releases vapor, extending cook time by 15+ minutes and creating dry rice. Check for rice debris along the sealing ring—if present, wipe clean with a damp cloth before closing.
Never Lift Lid During Cooking
Steam escape when opening the lid drops internal temperature by 50°F (28°C) instantly. This interrupts the critical “steaming phase” where moisture redistributes, causing hard centers. Trust the automatic cycle—Tiger’s sensors adjust timing if minor heat loss occurs.
Recognize Completion by Indicator Light
When cooking finishes, the “Keep Warm” light illuminates—do not open immediately. The cooker continues residual steaming for 10 minutes (white rice) or 15 minutes (brown rice). Opening too soon releases trapped steam needed for perfect texture.
Rest and Fluff for Restaurant Results
Wait Exactly 10 Minutes Before Opening
This resting period allows:
– Moisture migration from wet bottom layer to drier top
– Grain structure stabilization (prevents disintegration)
– Final starch gelatinization for ideal chew
Critical exception: Brown rice requires 15 minutes rest—cutting this short yields hard centers.
Fluff With Cutting Motions, Not Stirring
Use the nonstick paddle in vertical slicing motions:
1. Insert paddle deep into the pot’s center
2. Lift straight up while twisting slightly
3. Repeat in 4 quadrants without horizontal stirring
Stirring crushes grains and releases excess starch, making rice gummy. For sushi rice, add vinegar mixture during fluffing using this technique.
Daily Cleaning That Preserves Nonstick Coating
Wash Inner Pot Within 30 Minutes
- Unplug and cool cooker 15 minutes
- Remove inner pot and rinse under warm water
- Use soft sponge only—no steel wool or abrasive pads
- Soak stubborn residue in rice vinegar solution (1:4 vinegar:water)
Warning: Scratched coatings cause rice to stick permanently—replace pots showing visible damage.
Clean Steam Vent Weekly
- Remove inner lid by pressing side tabs
- Soak vent cap in hot soapy water 10 minutes
- Scrub crevices with soft toothbrush
- Reassemble only when completely dry
Clogged vents trigger “burn” errors by trapping excess moisture.
Fix Common Cooking Failures

Mushy Rice? Check These Culprits
Cause: Incomplete rinsing or excess water
Solution: Rinse until water runs clear + reduce water by 2 tbsp next time
Prevention: Always drain rice 10 minutes after rinsing
Hard Centers? This Is Why
Cause: Lid opened during cooking or expired rice
Solution: Use fresher rice + never lift lid mid-cycle
Test: Press grain between fingers—if it cracks, rice is too old
Burnt Bottom Layer? Do This Now
Cause: Damaged nonstick coating or residual stuck rice
Solution: Replace inner pot immediately
Emergency fix: Soak pot overnight in water with 2 tbsp baking soda
Advanced Techniques for Perfect Results
Cooking Mixed Rice Varieties
Never combine white and brown rice in one cycle—their water ratios and times conflict. Instead:
1. Cook brown rice first using its dedicated setting
2. Start white rice 25 minutes before serving
3. Both will finish simultaneously using keep-warm mode
This prevents either variety from becoming overcooked.
Flavor Infusion Without Ruining Texture
Add seasonings only during the rest period:
– Toasted sesame oil: 1 tsp per 2 cups cooked rice
– Furikake: Sprinkle on top before fluffing
– Citrus zest: Fold in during final fluffing motions
Adding liquids during cooking throws off water ratios—always incorporate after the cycle completes.
Batch Cooking for Meal Prep
For 4+ servings:
1. Maintain exact 1:1.25 ratio (white rice)
2. Never exceed the “MAX” line on inner pot
3. Fluff in batches to prevent compaction
Pro tip: Portion cooled rice into airtight containers with parchment paper between layers to prevent sticking.
Your Tiger rice cooker transforms rice from a gamble into a guaranteed success when you follow these precise steps. The secret lies in respecting its engineered water ratios and never interrupting the automatic cycle—your role is perfect prep and patience during resting. Within weeks, you’ll instinctively know the exact rinse clarity, drain time, and fluffing technique for any rice variety. Soon you’ll be the one teaching others how to get consistently perfect results from this Japanese kitchen essential. Remember: the appliance handles science, but your attention to detail creates the magic.


