
Your Tefal rice cooker promises perfect rice with minimal effort—but only if you master its specific requirements. Skip a critical step like rinsing or resting, and you’ll end up with gluey mush or crunchy grains. This guide reveals exactly how to use your Tefal rice cooker correctly, from first-time setup to troubleshooting sticky situations. You’ll learn model-specific water ratios, why the 10-minute rest is non-negotiable, and how to avoid the #1 mistake that burns rice (hint: it’s not the water amount).
First-Time Setup: Critical Steps Before Cooking
Before adding rice, complete these non-negotiable steps. Remove all packaging materials, then wash the inner pot with warm soapy water—never skip this. Rinse thoroughly to eliminate soap residue that alters rice flavor. Wipe the exterior with a damp cloth, focusing on the heating plate where dust or debris causes hotspots and uneven cooking.
Run a water-only cycle immediately after cleaning. Fill the pot with 2 cups of water, close the lid securely, and activate the standard cook mode. This eliminates manufacturing oils that could impart chemical tastes to your food. Discard the water after the cycle completes. Your cooker is now food-safe and ready for rice.
Measure Rice Using Tefal’s Cup Only
Never substitute your kitchen measuring cup—Tefal’s included cup holds exactly 180ml, calibrated precisely for water level markings. Using standard cups (240ml) floods your cooker with 33% more rice than intended, causing boil-overs.
For perfect portions:
– 1 Tefal cup uncooked rice = 2 generous servings
– 2 cups = 4 adult servings
– 3 cups = 6 servings (max for most 5-cup models)
Check your model’s capacity sticker before filling. Overfilling past the “MAX” line triggers spillage during boiling and creates dense, undercooked rice. If cooking for one, use the smallest quantity your model supports—most 3-cup units handle ½ cup minimum.
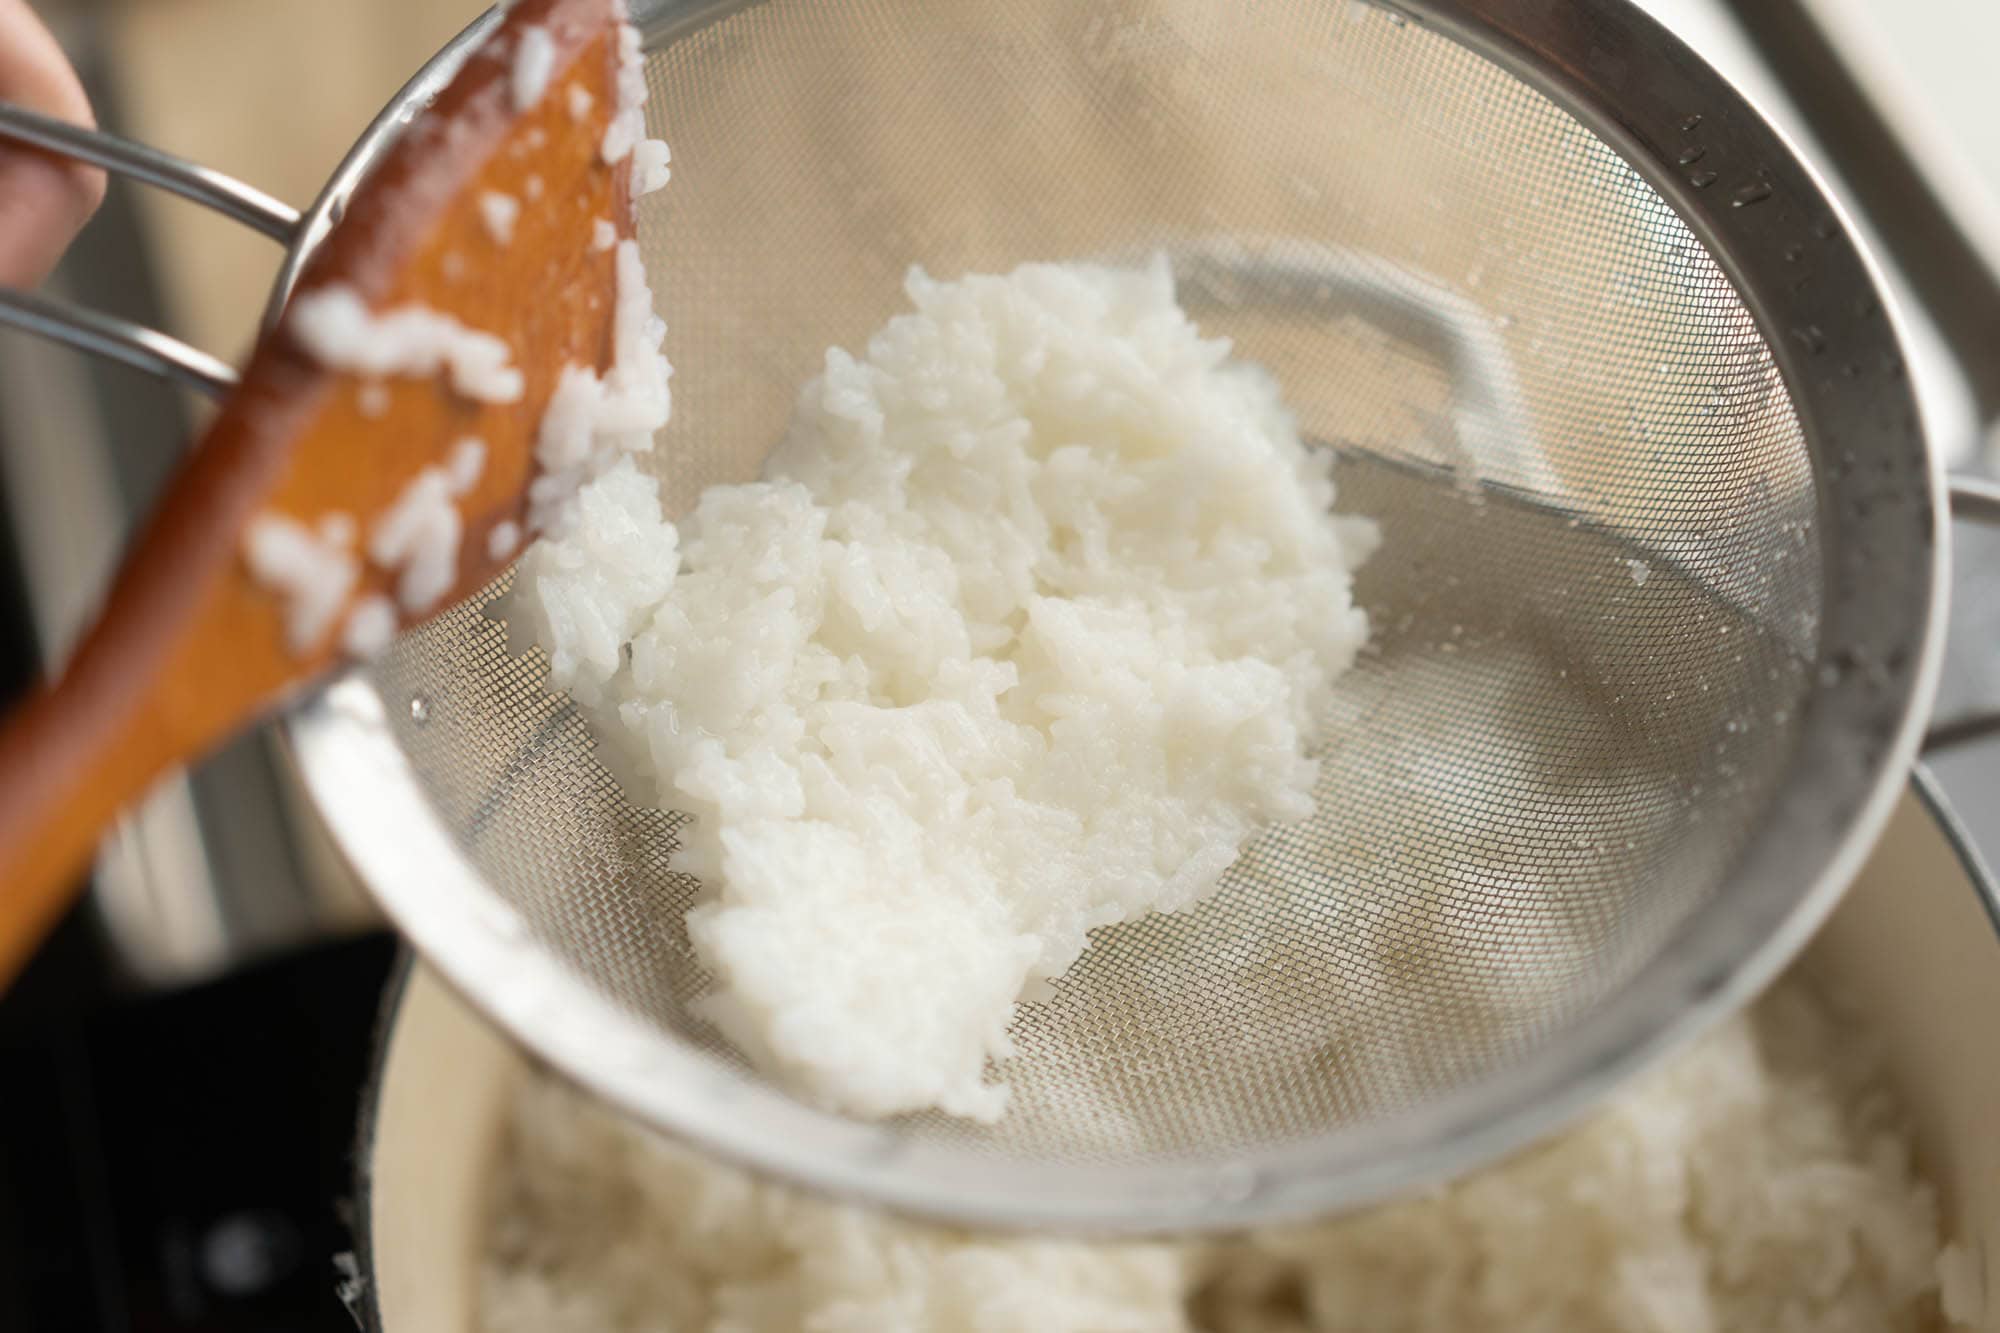
Rinse Rice for Perfectly Separate Grains
Place measured rice in the inner pot and cover with cold water. Swirl gently with your fingertips—aggressive scrubbing damages grains. Drain immediately while holding rice in place with your palm. Repeat until water runs mostly clear (2-3 rinses). Skipping this leaves excess starch that turns rice gummy.
Warning: Never soak rice longer than 10 minutes. Extended soaking absorbs too much water, causing mushiness even with correct ratios. Drain completely before adding fresh cooking water—residual water alters ratios.
Water Ratios for Every Rice Type

After rinsing, add fresh water using the inner pot’s engraved markings. These lines automatically adjust for rice quantity—match the cup count to the corresponding line (e.g., “2” for 2 cups rice). But adjust for rice variety:
- White rice: Fill to the marked line
- Brown rice: Add 20% more water (e.g., line “2” + ¼ cup)
- Sushi rice: Use 10% less water than white rice
- Jasmine/Basmati: Fill to line marked “−1” for ideal fluffiness
Critical tip: Older rice absorbs more water. If your rice is >6 months old, increase water by 5-10%. Newer rice may need slightly less.
Load and Lock for Even Cooking

Seat the inner pot firmly on the heating plate. Rotate it 15 degrees clockwise until you feel resistance—this ensures full contact. Any gap creates cold spots that leave rice crunchy at the bottom. Close the lid with a firm downward press until it clicks. If no click occurs, realign the lid; a loose seal releases steam, extending cooking time by 15 minutes.
Select Cooking Mode Correctly
Choose the program matching your rice type—using “White Rice” for brown rice guarantees undercooked grains. Standard options:
- White Rice: Default for long-grain white rice (25-40 mins)
- Quick Cook: 20% faster but sacrifices texture (use for 1-2 cups only)
- Brown Rice: Extended cycle for bran-rich grains (45-60 mins)
- Porridge: For congee or oatmeal (softer texture)
Press “Start” immediately after selecting. The indicator light turns red, and cooking begins. Never open the lid mid-cycle—steam loss resets the timer and creates hard layers.
Resting Time: The Secret Step Everyone Skips
When the cooker beeps and switches to “Keep Warm,” do not lift the lid. Let rice rest 10-15 minutes with the lid sealed. This allows residual steam to evenly distribute moisture—skip it, and you’ll get soggy top layers with dry, hard grains at the bottom. The “Keep Warm” function maintains 60°C (140°F) during this period, preventing bacterial growth.
Fluff and Serve Without Damage
Use only the included plastic paddle or silicone utensil. Metal scratches the non-stick coating, causing future sticking. Insert the paddle deep into the rice, then lift and fold gently from the bottom up. Repeat 3-4 times to separate grains without smashing them. Serve directly from the cooker—the base stays warm for 4 hours before texture degrades.
Steaming and Delayed Start Hacks
Simultaneous steaming: Add 1½ cups water to the pot, place food in the steaming basket above water level, and select “Steam” mode. Vegetables cook in 8-12 minutes while rice finishes below. Never fill the basket past ⅔ capacity—overcrowding steams unevenly.
Delayed cooking (digital models only):
1. Add rice/water as normal
2. Set current time on display
3. Program finish time (e.g., 6:30 PM)
4. Press “Start”
Critical warning: Rice shouldn’t soak >12 hours. Set delays for ≤10 hours to avoid spoilage.
Troubleshoot Common Rice Issues
Why Your Rice Burns at the Bottom
- Heating plate debris: Unplug, cool, and wipe with vinegar-dampened cloth
- Scratched inner pot: Replace immediately—damaged coating sticks
- Quick Cook overload: Never use Quick mode for >3 cups rice
Mushy Rice Fix
Reduce water 15% next time and verify you used Tefal’s cup. If using older rice, decrease soak time during rinsing.
Undercooked Centers
Increase water 10% and check lid seal—a warped lid (from dropping) releases steam. For brown rice, add 30 minutes soak time pre-cooking.
Clean for Long-Lasting Performance
Daily 5-minute routine:
1. Unplug and cool completely (never clean hot)
2. Wash inner pot with non-abrasive sponge
3. Wipe steam vent with toothpick to clear blockages
4. Dry heating plate thoroughly—moisture causes electrical faults
Monthly deep clean: Mix equal parts water/vinegar, run a 10-minute steam cycle to dissolve mineral deposits. Never immerse the base unit—water damage voids warranties. Store with lid ajar to prevent mold in the seal groove.
Master Special Rice Types
Brown rice success: Use Brown Rice mode + 25% extra water. Soak 30 minutes first for tender results. Expect 50 minutes total cook time.
Perfect sushi rice: Reduce water 10% from white rice ratio. After resting, mix in 2 tbsp sushi vinegar with cutting motions (not stirring). Spread on a wooden tray to cool for sushi prep.
Wild rice blends: Cook wild rice separately using Brown Rice mode, then mix with pre-cooked white rice. Combining them risks undercooked wild grains.
Safety Checklist You Must Follow
Electrical risks: Place on heat-resistant surfaces only. Unplug after cooking—Tefal units draw standby power. Discard if cord shows fraying (common after 3+ years).
Burn prevention: Keep 6 inches clear on all sides for ventilation. Use oven mitts on the lid handle—the steam vent releases 100°C (212°F) vapor.
Food safety: Discard rice left >12 hours on Keep Warm. Refrigerate leftovers within 2 hours. Reheat to 74°C (165°F) to kill bacteria.
Your Tefal rice cooker delivers restaurant-quality rice when you respect its engineering—proper rinsing, precise ratios, and mandatory resting transform ordinary grains into perfect results. Master these steps once, and you’ll never endure gummy or burnt rice again. For model-specific details, always consult your manual’s water ratio chart before cooking.


