
Nothing ruins a meal faster than poorly cooked rice—either a sticky, gummy mess or frustratingly crunchy grains. Your Oster rice cooker eliminates these kitchen nightmares with its precise temperature control and automatic settings, but knowing the right techniques transforms adequate rice into consistently perfect results. Whether you’re preparing a quick weeknight dinner or hosting a special meal, mastering your Oster rice cooker takes just minutes to learn and saves hours of frustration in the kitchen.
This guide delivers exactly what you need to know about how to use Oster rice cooker effectively—no confusing jargon, no unnecessary steps. You’ll discover precise water ratios for every rice variety, essential preparation steps most beginners miss, and professional tips that turn your appliance into a complete meal-making powerhouse. Every batch will come out light, fluffy, and delicious with these proven methods.
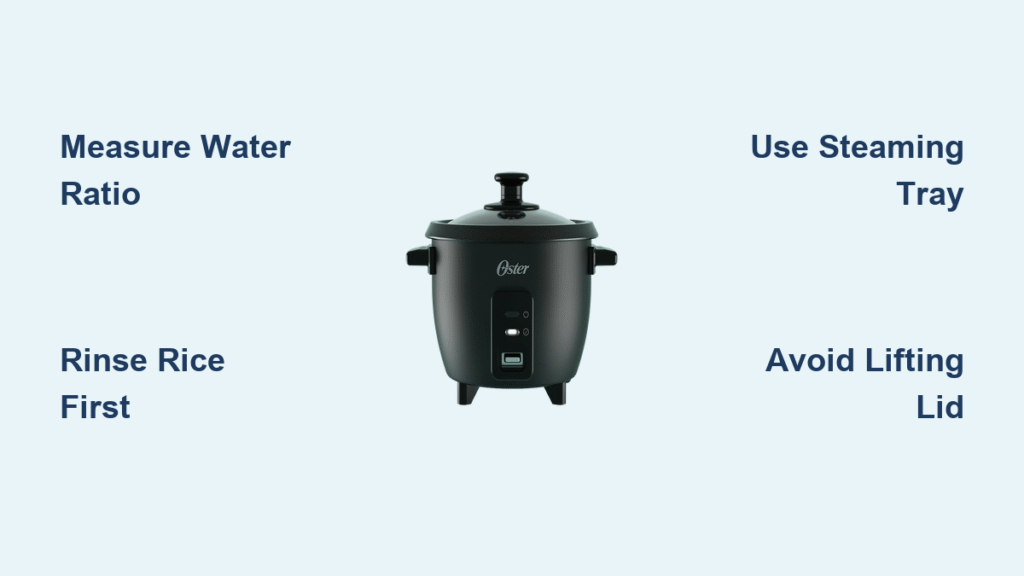
Measure Rice and Water Ratios for Perfect Texture

White Rice Formula That Never Fails
Use 1 cup of rice to 2 cups of water for standard white rice varieties like jasmine or long-grain. Your Oster’s included measuring cup actually equals 3/4 of a standard cup, so adjust accordingly: one rice-cooker cup requires 1.5 standard cups of water. This precise ratio ensures your rice absorbs just enough moisture without becoming mushy or undercooked.
Brown Rice Adjustments for Complete Cooking
Increase water to 2.25 cups per cup of brown rice to account for the tougher bran layer that requires more liquid and longer cooking time. Brown rice needs this extra hydration to become tender while maintaining its nutty flavor and chewy texture. The Oster’s automatic sensor detects when all moisture has been absorbed, preventing undercooked grains.
Specialty Rice Guidelines You Need to Know
- Basmati/Jasmine: Use 1.5 cups water per rice-cooker cup for those signature long, separate grains
- Sushi rice: Reduce to 1.25 cups water per rice-cooker cup for the proper sticky-but-not-gummy texture
- Wild rice blend: Increase to 2.5 cups water per rice-cooker cup as wild rice expands significantly during cooking
Pro tip: Rinse rice under cold water until it runs clear to remove excess surface starch. This prevents foaming during cooking and delivers fluffier results—especially crucial for Japanese and Thai varieties where individual grains matter.
Prepare Your Oster Cooker for Optimal Performance

Initial Setup Checklist Before First Use
Remove the inner pot and wash thoroughly with warm, soapy water—never skip this step. Dry completely before placing back in the base. Check that the heating plate is clean and free of manufacturing debris; these particles can burn during cooking and affect performance. A quick wipe with a damp cloth ensures proper heat transfer.
Position the Inner Pot Correctly
Place the inner pot into the cooker base, ensuring it sits completely flush. Twist gently to confirm proper contact with the heating element—this critical step prevents uneven cooking and potential damage to your appliance. If the pot doesn’t seat properly, your rice will have hot and cold spots, resulting in inconsistent texture.
Add Rice and Water in the Right Order
Add rinsed rice to the pot first, then measured water. Level the rice surface with a spoon—mounded rice cooks unevenly as the top layer receives less direct heat. Never exceed the maximum fill line indicated inside the pot; overfilling causes boil-overs and inconsistent cooking. The Oster’s non-stick coating works best when ingredients are properly distributed.
Start Cooking Process with Confidence
Close and Lock Lid Properly
Secure the lid completely until you hear the distinct click. Position the steam vent away from cabinets and walls—the released steam can damage surfaces over time. An improperly sealed lid causes dangerous boil-overs and results in undercooked rice as essential steam escapes during the cooking cycle.
Press Cook Button and Trust the Technology
Your Oster automatically detects moisture levels without requiring manual timing. The “Cook” light illuminates red, indicating active heating. No timer needed—the cooker intelligently switches to “Warm” when rice reaches perfect doneness. This sensor technology is why knowing how to use Oster rice cooker properly yields consistent results where stovetop methods often fail.
Avoid Lifting Lid During Cooking Cycle
Resist the temptation to peek—each lid lift releases 10-15 degrees of heat and adds 5-7 minutes to total cooking time. The automatic sensor compensates for minor heat loss, but frequent checking disrupts the precise temperature curve needed for perfect rice. Trust the process; your patience will be rewarded with uniformly cooked grains.
Steam Vegetables While Cooking Rice
Use the Steaming Tray Effectively
Place vegetables in the included steamer basket positioned above the rice. Add 1/4 cup extra water to compensate for steam generation—this prevents the cooker from switching to “Warm” prematurely. Broccoli, carrots, and snap peas work perfectly with this simultaneous cooking method, retaining more nutrients than boiling.
Timing Guidelines for Perfectly Steamed Vegetables
- Soft vegetables (zucchini, spinach): Add during last 5 minutes of rice cooking
- Hard vegetables (carrots, potatoes): Add halfway through cooking cycle
- Frozen vegetables: Add 3 minutes before rice finishes cooking
The genius of your Oster rice cooker is that the steamer sits completely above the rice, cooking both components simultaneously without mixing flavors or textures—a true time-saver for complete meals.
Troubleshoot Common Problems Like a Pro

Rice Too Wet or Mushy: Quick Fix
Cause: Excess water or insufficient draining after rinsing
Fix: Use 1/4 cup less water next time. Let rice rest on “Warm” for 10 minutes with lid slightly ajar to evaporate excess moisture—this simple step makes all the difference in texture.
Rice Undercooked and Crunchy: Immediate Solution
Cause: Too little water or using old, dried-out rice
Fix: Add 2-3 tablespoons hot water, close lid, and press “Cook” for 5-10 additional minutes. The Oster will restart the cooking cycle without resetting the entire process.
Rice Sticking to Bottom: Prevention Methods
Cause: Insufficient rinsing or scratched non-stick coating
Prevention: Always rinse rice thoroughly to remove surface starch. If your pot shows visible scratches, replace the inner pot—cooking in a damaged container leads to burning and ruined meals.
Foam Overflowing: Simple Solution
Cause: Starchy rice varieties or overfilling
Solution: Rinse rice until water clears completely. Fill pot no higher than 2/3 full. Add 1 teaspoon neutral oil to reduce foaming without affecting flavor.
Clean Your Oster Properly for Longevity
Immediate Post-Cooking Care Routine
Unplug the cooker and let cool for 15 minutes before handling—never rush this step as the inner pot remains extremely hot. Remove the pot carefully using oven mitts. Soak in warm water for 10-15 minutes for easier cleaning of any residual starch.
Wash Components Separately for Best Results
- Inner pot: Hand wash with non-abrasive sponge—never use steel wool
- Lid: Detach and wash separately; check steam vent for clogs using a toothpick
- Steamer tray: Dishwasher safe on top rack for convenience
Deep Clean Monthly for Optimal Performance
Wipe heating plate with damp cloth when completely cool. Clean condensation collector if your model includes one—this small component often gets overlooked but affects steam management. Never immerse the base unit in water; instead, wipe with a slightly damp cloth.
Maximize Your Cooker’s Potential Beyond Rice
Cook Perfect Quinoa and Oatmeal
Your Oster handles alternative grains with the same precision. Use the same 2:1 water-to-grain ratio for quinoa. For steel-cut oats, use 3:1 ratio and cook through the cycle twice—this produces creamy, restaurant-quality breakfast without constant monitoring.
Batch Cooking and Freezing Techniques
Cook extra rice and freeze in portion-sized containers for quick meals. Your Oster keeps rice warm for up to 12 hours without drying out—perfect for busy weeknights when dinner timing is unpredictable. Frozen rice reheats perfectly with a splash of water.
Flavor Enhancement Secrets
Replace water with broth for instant flavor depth. Add whole garlic cloves, fresh herbs, or spices directly to the pot—the closed cooking environment infuses rice thoroughly without overpowering flavors. Try lemon zest with basmati or soy sauce with jasmine for restaurant-quality results.
Critical safety reminder: Always use oven mitts when handling the hot inner pot, and never operate the cooker empty—this can damage the heating element and create fire hazards.
Your Oster rice cooker transforms from a simple appliance into a complete meal-making powerhouse with these techniques. Perfect rice becomes your new normal—not a lucky accident. Start with basic white rice to master the fundamentals, then experiment with grains, steaming, and flavor variations. The consistent results will make this humble cooker your most reliable kitchen companion, proving exactly how to use Oster rice cooker to its full potential for years to come.


