
Nothing beats the convenience of fluffy rice ready in under 20 minutes. A mini rice cooker transforms single servings from mushy stovetop disasters into restaurant-quality grains every time. Whether you’re fueling late-night study sessions or prepping healthy office lunches, mastering how to use mini rice cooker saves time, money, and counter space. In the next few minutes, you’ll discover exactly how to unlock your compact appliance’s full potential—from basic white rice to gourmet quinoa bowls—using precise techniques that turn beginners into confident home cooks.
Essential First-Time Setup
Unbox and Clean Components
Immediately remove all packaging materials from your new mini rice cooker. Wash the removable nonstick pot, measuring cup, and rice paddle with warm soapy water using a non-abrasive sponge—this crucial step eliminates manufacturing residues that could damage the PTFE coating or affect flavor. Rinse each piece thoroughly and dry completely before first use. Never skip this cleaning: trapped particles can cause uneven heating or compromise your cooker’s nonstick performance during how to use mini rice cooker operations.
Position Your Cooker Safely
Place your mini rice cooker on a stable, heat-resistant surface with at least 6 inches of clearance on all sides. The compact 6.3″ x 6.5″ x 8.5″ design fits perfectly on dorm desks or RV counters, but proper ventilation is non-negotiable—the steam vent releases significant moisture during cooking that could warp surfaces or cause burns if obstructed. Ensure hands are completely dry before plugging in, and never position near sinks or stovetops where water contact might create electrical hazards while learning how to use mini rice cooker safely.
Perfect White Rice Every Time
Measure Rice Accurately
Use only the provided measuring cup (not standard kitchen cups) for precision—this is critical when how to use mini rice cooker for single servings. One cup of uncooked rice yields approximately 2 cups cooked, ideal for one person. Level off measurements with a straight edge; heaping cups cause overflow messes that clog steam vents. For consistent results, always measure rice before rinsing since water absorption alters volume.
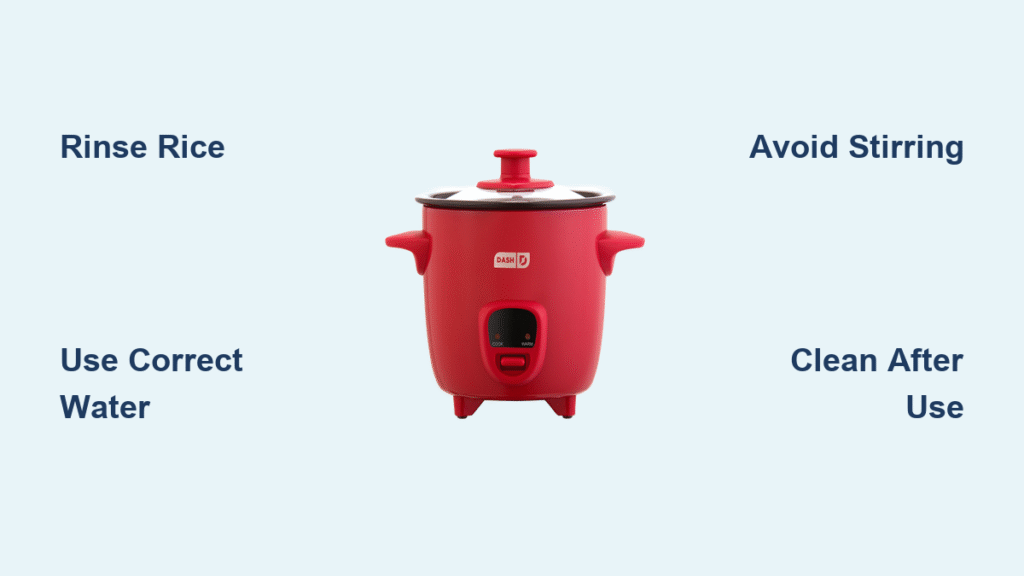
Rinse Until Water Runs Clear
Pour measured rice into a fine-mesh strainer and rinse under cold running water while gently agitating grains. Continue until water runs completely clear—typically 30-60 seconds—to remove excess starch that causes gummy, clumpy results. Skipping this step guarantees poor texture, especially with short-grain varieties. Pro tip: Swirl rice in the pot with water instead of a strainer if your model has a tight seal to prevent grain loss.
Add Water Using Correct Ratios
Transfer rinsed rice to the nonstick pot and add water using these tested ratios:
– Standard white rice: 1 cup rice to 1.5 cups water
– Softer texture: 1 cup rice to 2 cups water
– Firm texture: 1 cup rice to 1.25 cups water
Add ½ teaspoon salt per cup of rice if desired. Close the lid securely and press the cook button—your mini rice cooker automatically switches to Keep Warm when finished. Never exceed the 2-cup cooked capacity to avoid boil-overs during how to use mini rice cooker cycles.
Rice Variety Cooking Guide
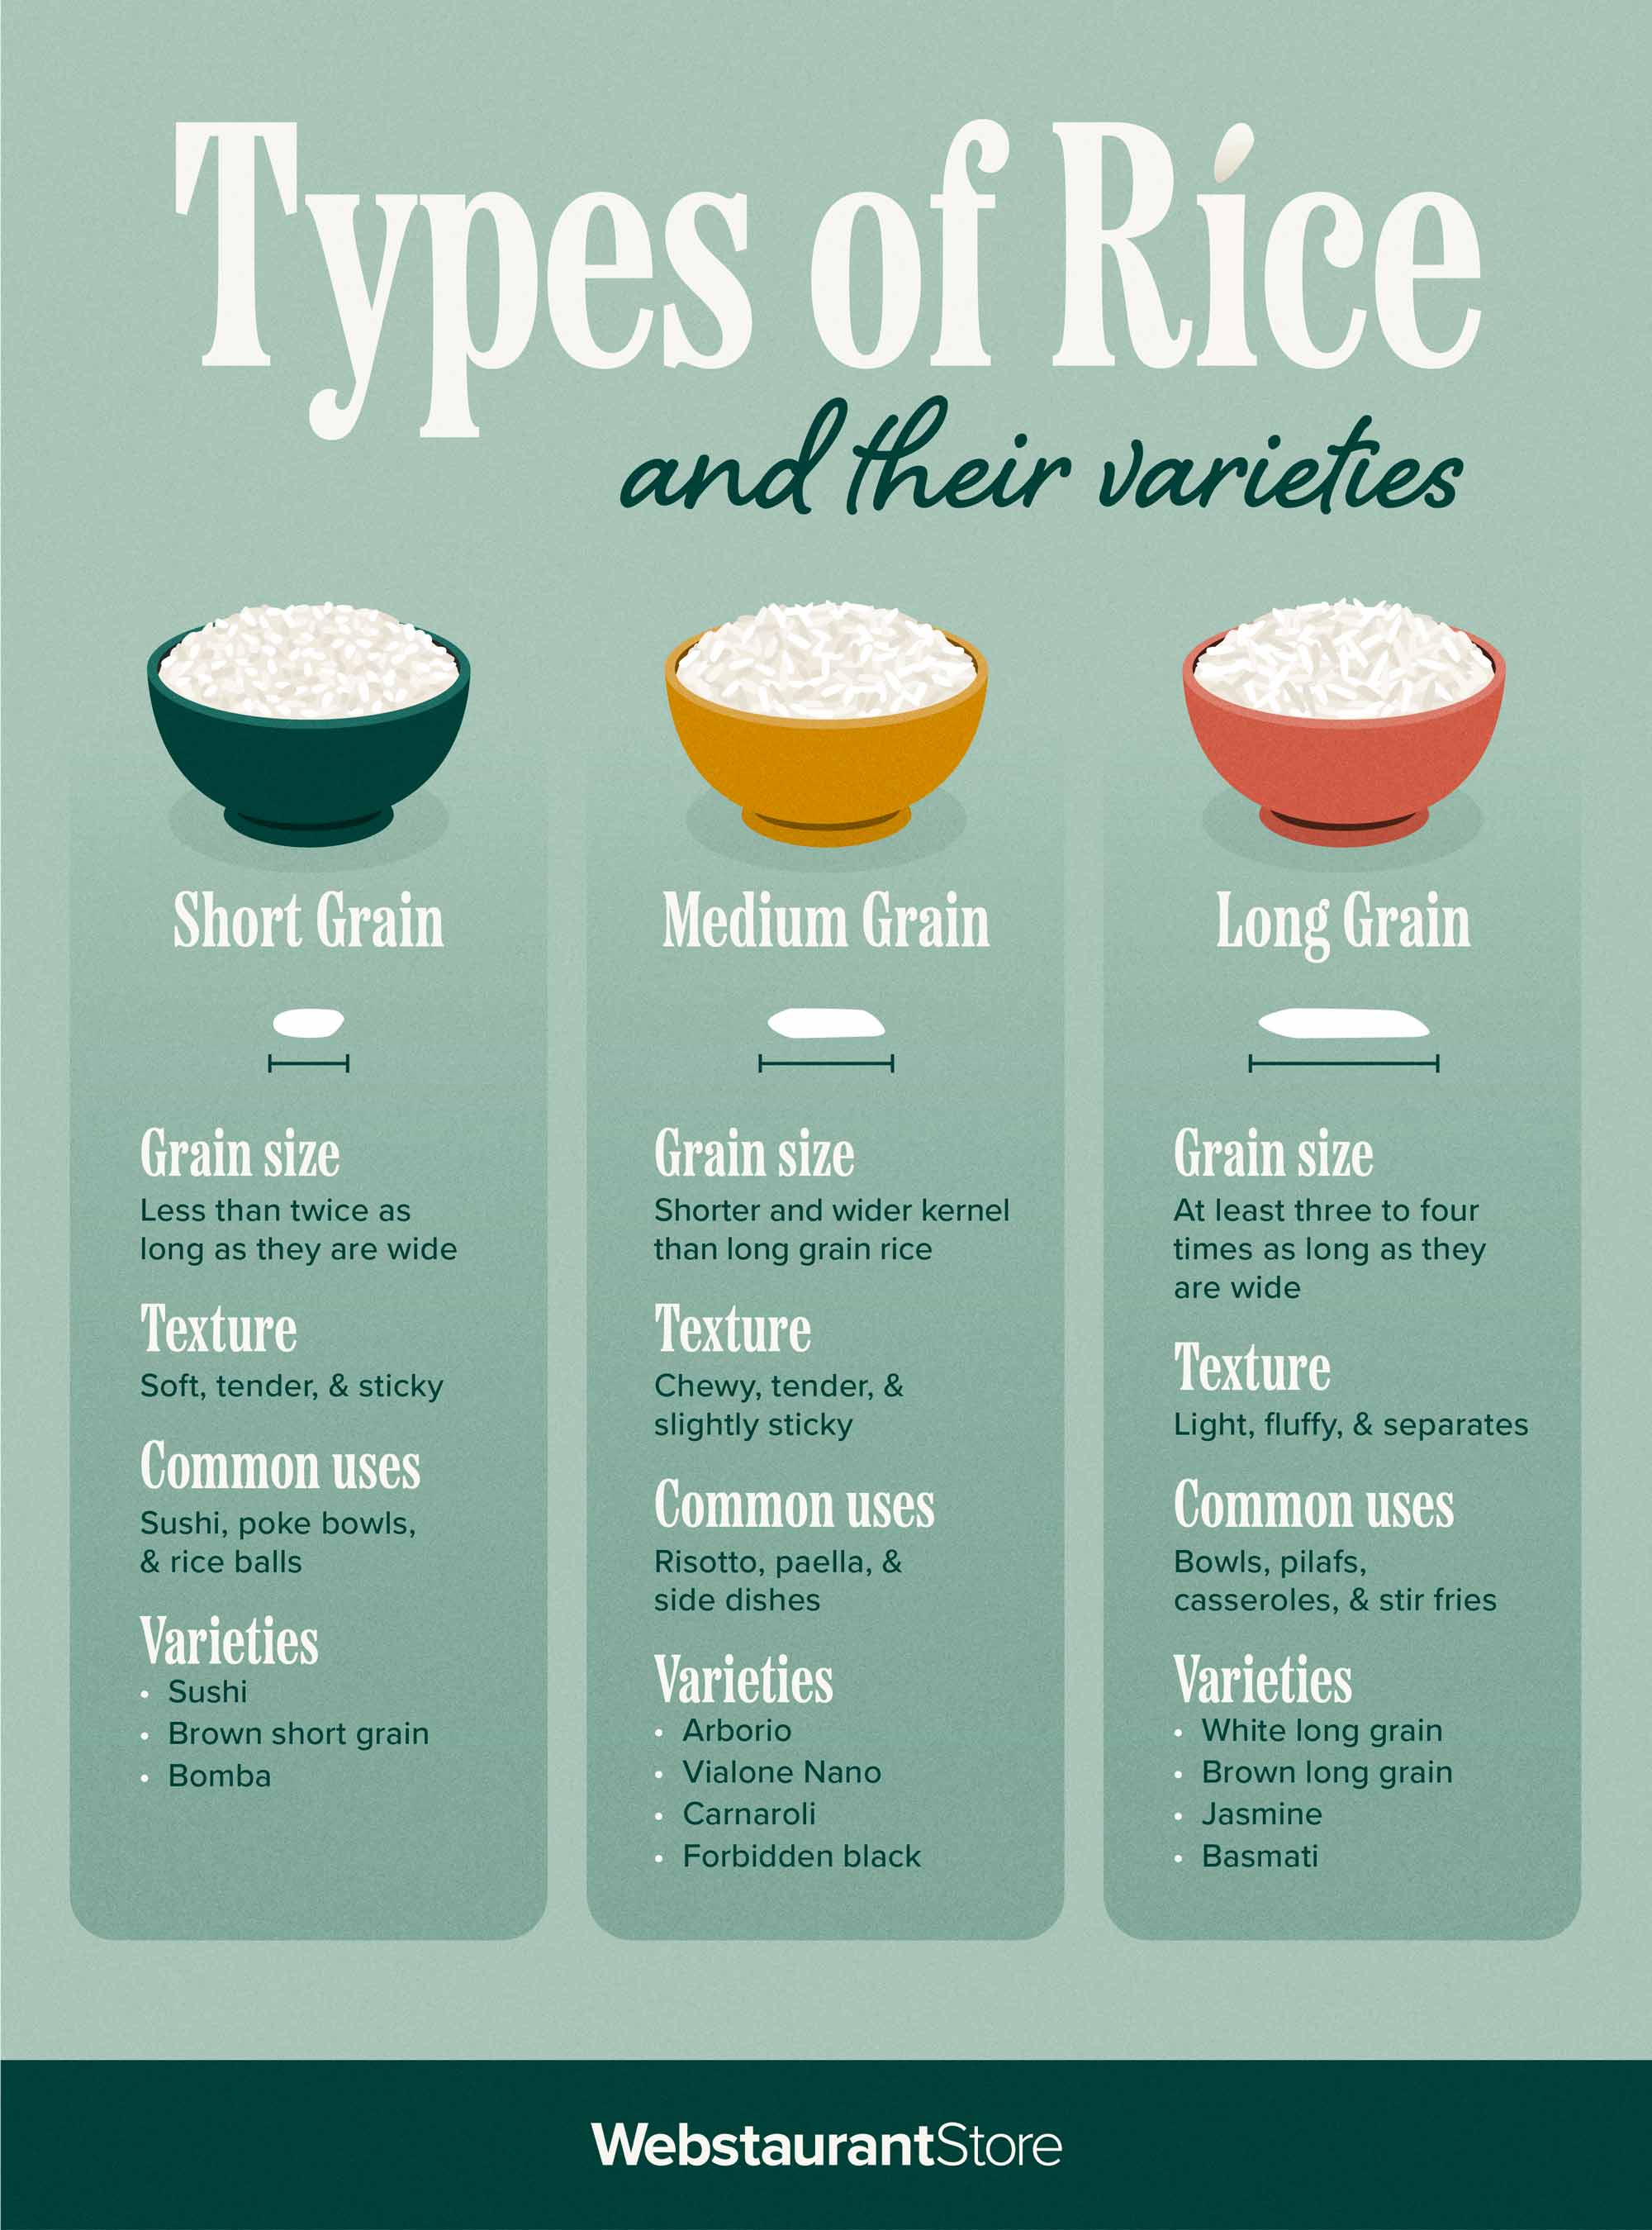
Short-Grain Special Handling
Short-grain varieties like Arborio or sushi rice contain higher amylopectin starch, creating naturally sticky results perfect for sushi rolls. Reduce water by 2-3 tablespoons compared to long-grain ratios and avoid stirring during cooking. These varieties excel when how to use mini rice cooker for Asian-inspired dishes but require extra rinsing to prevent excessive gumminess. Always let short-grain rice rest 5 minutes after cooking for optimal cohesion.
Long-Grain Perfect Fluff
Basmati and jasmine rice produce separate, fluffy grains ideal for pilafs. Use standard 1:1.5 water ratios and resist stirring—agitation releases starch that causes clumping. After the Keep Warm light activates, let rice rest 5 minutes before fluffing vertically with the rice paddle. For restaurant-quality results when how to use mini rice cooker with long-grain varieties, add a bay leaf or cardamom pod to the water.
Brown Rice Extended Method
Brown rice requires 1 cup rice to 2.25 cups water and 30-35 minutes total cooking time due to its fibrous bran layer. The nutty flavor and chewy texture make the wait worthwhile for meal prep containers that reheat beautifully. Unlike white rice, brown rice benefits from a 10-minute post-cook rest—this critical step allows residual steam to finish softening grains without creating mush during how to use mini rice cooker cycles.
Fix Common Cooking Problems Fast
Rescue Dry Rice Quickly
Overcooked rice happens to everyone. Sprinkle 1-2 tablespoons hot water over the rice, gently fold with the paddle (avoid mashing), and let the Keep Warm function steam for 3-5 minutes. The added moisture redistributes evenly without creating mush. Prevention tip: Reduce water by 2-3 tablespoons for firmer rice next time when how to use mini rice cooker.
Salvage Waterlogged Grains
Excess water leaves rice soupy and unappetizing. Remove the lid for 5-10 minutes, allowing steam to escape while the Keep Warm function continues gentle heating. Gently fold rice to expose wetter portions to air—never stir aggressively. For future batches when how to use mini rice cooker, verify your water-to-rice ratio matches the specific grain type’s requirements.
Prevent Sticking Every Time
Lightly oil the pot bottom with ½ teaspoon neutral oil before adding ingredients. This creates a protective barrier between grains and the heating element, especially crucial for sticky varieties. Never use metal utensils—they permanently scratch the PTFE coating. If rice sticks during how to use mini rice cooker operations, fill the pot with warm water immediately after cooking to loosen residue before cleaning.
Daily Maintenance Routine
:max_bytes(150000):strip_icc()/how-to-clean-a-rice-cooker-6831640-07-2e31a8c73086498da280015cb328fef5.jpg)
Post-Cooking Care Sequence
Unplug immediately after serving to prevent continued heating. Allow the cooker to cool completely (15-20 minutes) before handling—never store food in the cooking pot as trapped moisture breeds bacteria. Transfer leftovers to airtight containers; cooked rice stays fresh refrigerated for up to 5 days. This discipline ensures your mini rice cooker remains reliable when how to use mini rice cooker daily.
Deep Clean Without Damage
Remove the nonstick pot and wash with warm, soapy water using only non-abrasive sponges—metal scrubbers destroy the PTFE coating permanently. Wipe the exterior with a damp cloth; never immerse the base unit in water. For stubborn residue, fill the pot with warm water and let soak for 10 minutes before gentle cleaning. Always dry all components thoroughly to prevent mold growth when how to use mini rice cooker long-term.
Safety Guidelines Every User Needs

Prevent Burns and Damage
Always use the cool-touch handles when moving your hot cooker—the exterior stays warm but safe during normal operation. Never operate without the removable pot in place; direct contact between heating elements and food creates fire hazards. Keep the steam vent unobstructed during how to use mini rice cooker sessions, and never lift the lid immediately after cooking to avoid scalding steam burns.
Protect Nonstick Surfaces
Metal utensils scratch the PTFE coating permanently, releasing harmful compounds into food. Use only the provided rice paddle or silicone alternatives. Replace the pot immediately if visible scratches appear—damaged coatings compromise both performance and safety during how to use mini rice cooker operations. Never cook acidic sauces like tomato directly in the pot, as they accelerate coating degradation.
Maximize Your Investment
Weekly Menu Planning
Transform your mini rice cooker into a meal-prep powerhouse:
– Monday: White rice with steamed vegetables (add veggies during last 5 minutes)
– Wednesday: Brown rice stir-fry base (cook rice, then sauté proteins/veggies in pot)
– Friday: Pasta with marinara (use ½ cup orzo + 1 cup broth)
– Sunday: Steel-cut oatmeal breakfast (¼ cup oats + ¾ cup milk)
This strategic planning leverages how to use mini rice cooker for diverse meals while minimizing cleanup.
Portion Control Perfection
The 2-cup maximum capacity prevents food waste while ensuring satisfaction. Single users appreciate zero leftovers—no more science experiments in the fridge. For couples, prepare 1½ cups uncooked rice (3 cups cooked) and divide portions. When how to use mini rice cooker for grains like quinoa, remember ½ cup dry yields 1¼ cups cooked—perfect for single-serve power bowls.
Your mini rice cooker transforms from simple appliance to kitchen essential through consistent practice. Start with basic white rice this week, then gradually expand to quinoa and steel-cut oats. Within a month, you’ll master how to use mini rice cooker for flawless single servings—saving counter space while enjoying restaurant-quality meals anywhere. Remember to rinse grains thoroughly, respect water ratios, and protect that nonstick coating for years of reliable performance.


