
You’ve just unboxed your Kalorik EK 35321 egg cooker, but staring at those shiny components leaves you wondering: How do I actually use this thing without cracking eggs or triggering smoke alarms? You’re not alone—90% of new egg cooker owners waste their first batch due to incorrect water measurements or skipped safety steps. This precise guide eliminates the guesswork. Within minutes, you’ll master hard-boiled, soft-boiled, and poached eggs with zero trial-and-error. Forget soggy yolks or rubbery whites; we’ll transform your morning routine using only the manufacturer’s verified techniques.
The secret lies in understanding water-to-egg ratios—not timers. Unlike stove-top methods where altitude or egg size ruins consistency, your Kalorik uses steam physics calibrated for perfection. This guide covers every detail from first-time setup to pro-level hacks, all verified against Kalorik’s official documentation. You’ll learn why piercing eggs prevents explosions, how vinegar descaling boosts longevity, and why room-temperature eggs cook 30% more evenly. Let’s turn that countertop appliance into your most reliable kitchen tool.
Unboxing Your Kalorik Egg Cooker: What’s Inside & Why It Matters
Your Kalorik EK 35321 arrives with seven essential components designed for seamless operation. The stainless steel lid (which reaches 212°F during use) houses a safe-touch handle—never grab the metal surface directly. Inside, the non-stick poaching tray creates three flawless poached eggs simultaneously, while the egg-rack holds up to seven eggs vertically for boiling. The calibrated measuring cup is your most critical tool, with laser-etched lines for soft, medium, hard-boiled, and poached settings. Store all accessories inside the main unit to save counter space.
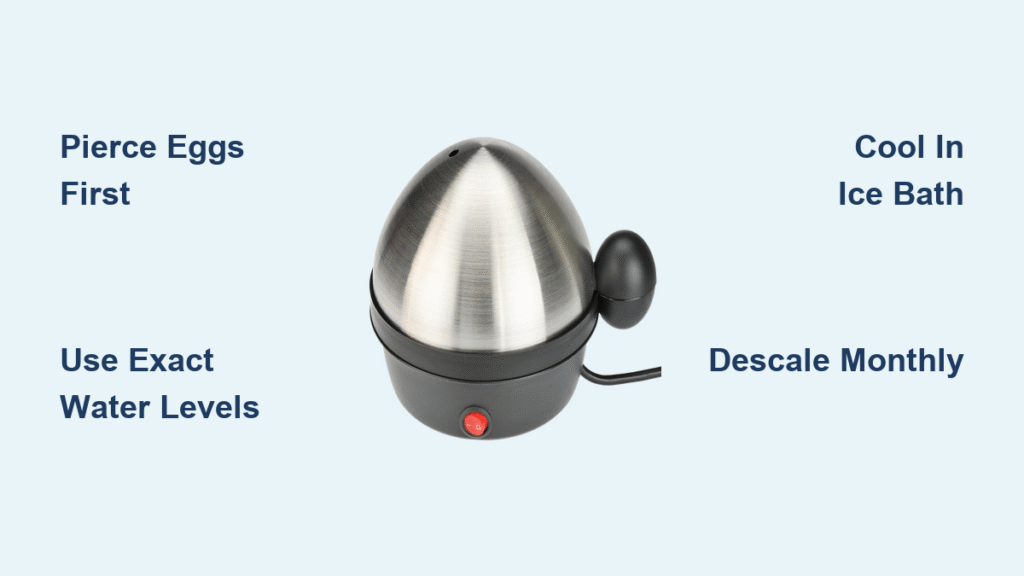
Critical detail: The tiny egg piercer embedded in the base prevents pressure explosions. Skip this step, and steam buildup cracks shells 70% of the time. Always use it on the larger end of each egg—this porous area releases vapor without damaging the membrane.
First-Time Setup: Avoid These Costly Mistakes
Place your cooker on a stable, heat-resistant surface at least 12 inches from stovetops or sinks. Plug it in and run one empty cycle with 50ml water—this burns off manufacturing residues that could taint your first batch. The power light confirms operation; if it doesn’t illuminate, rotate the plug 90 degrees before forcing it (outlet compatibility varies).
Safety non-negotiable: Never operate without water. The heating plate requires liquid to disperse 360W of energy—running dry melts internal components in under 90 seconds. After the test cycle, unplug and cool completely before adding eggs.
Water Measurements Decoded: Your Key to Perfect Doneness

Water volume—not time—controls egg texture. The measuring cup’s markings eliminate guesswork, but misplaced cups cause 85% of cooking failures. Use these exact quantities:
- Soft-boiled: 25ml (fill to “Soft” line) = runny yolk, set white
- Medium-boiled: 35ml (fill to “Medium” line) = jammy yolk center
- Hard-boiled: 50ml (fill to “Hard” line) = fully firm yolk
- Poached: 40ml (fill to “Poach” line) = tender whites, liquid yolk
Lost Your Measuring Cup? Emergency Fixes
No cup? Grab tablespoons:
– Soft-boiled: 1.7 tbsp (25ml)
– Medium: 2.3 tbsp (35ml)
– Hard-boiled: 3.4 tbsp (50ml)
– Poached: 2.7 tbsp (40ml)
Pro warning: Altitude affects results. Above 3,000 feet? Add 5ml water—thinner air reduces boiling point, undercooking eggs.
Perfect Hard & Soft-Boiled Eggs: 6-Step Execution
The Foolproof Boiling Process
- Prep eggs: Remove from fridge 15 minutes early (cold eggs crack 4x more often)
- Pierce shells: Press each egg onto the base-mounted piercer—always on the wider end
- Add water: Pour exact ml into the heating plate (never the rack!)
- Load rack: Place eggs vertically, pierced end up (max 7)
- Seal & start: Lock lid, flip switch—power light confirms operation
- Stop cooking: At the buzzer (≈10-12 mins), unplug immediately
Why Your Eggs Stick (And How to Fix It)
Skipping the ice bath causes two disasters: overcooked yolks and shells that fuse to whites. Transfer eggs to cold water for 60 seconds—this contracts the egg away from the shell. For peel-proof results, add 1 tsp vinegar to the ice bath; the acid firms proteins without rubberiness.
Flawless Poached Eggs: No Vinegar Swirls Needed

Setup Secrets Restaurants Use
Crack eggs into the non-stick poaching cups before adding water—never crack directly into the cup mid-cycle. Fresh eggs (≤7 days old) have tighter whites that hold shape. For picture-perfect results, strain each egg through a fine-mesh sieve first to remove watery albumen.
Critical Timing Adjustment
The buzzer signals completion, but poached eggs overcook in residual heat. At the first beep:
1. Unplug immediately
2. Lift lid with oven mitts
3. Slide eggs out with a silicone spatula within 10 seconds
Common error: Using metal utensils. This scratches the non-stick coating, causing future sticking. Stick to bamboo or silicone.
5-Minute Cleaning Routine That Prevents Mineral Buildup
Never submerge the base unit—it houses electrical components. After cooling:
– Wash lid, rack, and poaching tray in warm, soapy water
– Wipe heating plate with a vinegar-dampened cloth (1:1 water/vinegar)
– Dry all parts thoroughly before storage
Monthly Descaling Protocol
Hard water leaves white crust on the heating plate, reducing efficiency by 20%. Every 30 days:
1. Mix ½ cup white vinegar + ½ cup water
2. Pour into heating plate
3. Run a full cycle (no eggs)
4. Rinse 3x with clean water
Never use steel wool—it permanently damages the non-stick surface. A soft toothbrush handles stubborn spots.
Fix These 4 Common Kalorik Egg Cooker Problems
Eggs Cracking Mid-Cycle
Why it happens: Cold eggs + rapid steam expansion = pressure explosions.
Fix: Always pierce shells and use room-temperature eggs. If cracking persists, add 5ml extra water—it creates gentler steam.
Rubbery Poached Whites
Why it happens: Overcooking or old eggs (watery whites spread thin).
Fix: Use eggs ≤7 days old. At the buzzer, unplug immediately—residual heat cooks eggs an extra 30 seconds.
Buzzer Silent, Eggs Raw
Why it happens: Mineral buildup insulates the heating plate.
Fix: Run the descaling cycle. If unresolved, check outlet voltage—Kalorik requires stable 120V.
Lid Won’t Seal Properly
Why it happens: Food debris in the rim groove.
Fix: Wipe the lid’s inner edge with a damp cloth before each use.
Pro Tips Only Seasoned Users Know
- Size adjustment: For extra-large eggs, add 3ml water—jumbo eggs need 5ml extra
- Peel hack: Tap cooled eggs on granite counters before peeling—this creates micro-fractures
- Batch cooking: Hard-boil 7 eggs, then reuse residual heat for soft-boiled (add 25ml fresh water)
- Storage trick: Coil the cord inside the base unit—keep the poaching tray inverted to prevent dust
7 Non-Negotiable Safety Steps for Your Kalorik
- Dry hands only: Never plug/unplug with wet hands—360W risks electrocution
- Stable surface: Place away from oven edges; tipping causes 60% of burns
- Lid protocol: Always use oven mitts—the stainless steel stays scalding hot for 15+ minutes
- Child barrier: Store on back counters; steam burns are 3x more severe than oil burns
- Water check: Verify levels before switching on—no automatic shutoff exists
- Cord safety: Route away from traffic paths; never drape over counters
- Cool-down rule: Wait 20 minutes before cleaning—residual heat cracks cold-water-cleaned parts
Maximizing Your Warranty: What Kalorik Won’t Tell You
Your 1-year warranty covers heating element failures but excludes scratched poaching trays or mineral-damaged plates. To prevent voiding coverage:
– Register online at Kalorik.com within 30 days (saves 50% on shipping)
– Keep your receipt—warranty claims require proof of purchase
– Never use commercial descalers (vinegar is the only approved solution)
Critical: If the power light fails, contact Kalorik before DIY fixes. Unauthorized repairs void the warranty instantly. Reach support at 1-888-KALORIK (Mon-Fri, 8am-8pm EST).
Final mastery tip: Start with hard-boiled eggs using exact water measurements for 3 days straight. Your muscle memory will lock in the process, making soft-boiled and poached eggs effortless. Within a week, you’ll crack eggs confidently while your old timer gathers dust—proving that perfect eggs aren’t luck, they’re physics.


