
Tired of cracked shells, rubbery whites, or undercooked yolks ruining your morning routine? The Hamilton Beach egg cooker eliminates these frustrations with foolproof steam technology that delivers consistent results in minutes. This compact countertop appliance transforms egg cooking from a morning gamble into a guaranteed success—whether you need hard-boiled eggs for meal prep or delicate poached eggs for brunch.
In this complete guide, you’ll master exactly how to use Hamilton Beach egg cooker to achieve restaurant-quality eggs with minimal effort. We’ll reveal the precise water measurements that determine doneness, step-by-step instructions for every egg style, and pro techniques that prevent common pitfalls. By the end, you’ll never waste another egg or second juggling stovetop timers.
Setting Up Your Hamilton Beach Egg Cooker Correctly
Your egg cooker’s precision hinges on proper initial setup. Before first use, wash the egg holder and lid in warm, soapy water—these removable components contain the non-stick coatings essential for easy release. Crucially, never submerge the base unit; its integrated heating element requires only a quick wipe with a damp cloth. This prevents electrical hazards while removing manufacturing residues that could affect your first batch.
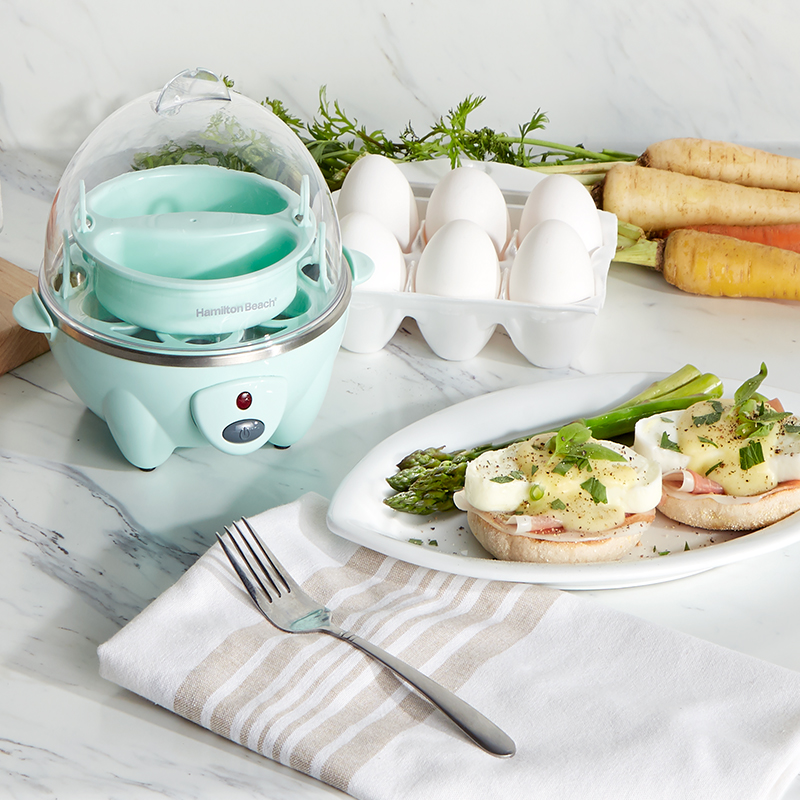
The appliance operates through a steam-based system where exact water volume directly controls cooking time. The transparent lid traps heat while letting you monitor progress without lifting, and the egg holder features dual functionality: seven slots for hard-boiled eggs or four individual compartments for poaching. Always ensure these components click securely into place—misalignment causes uneven steam distribution that leads to inconsistent results.
Achieve Flawless Hard-Boiled Eggs in 3 Steps
Measure Water to the Exact Line
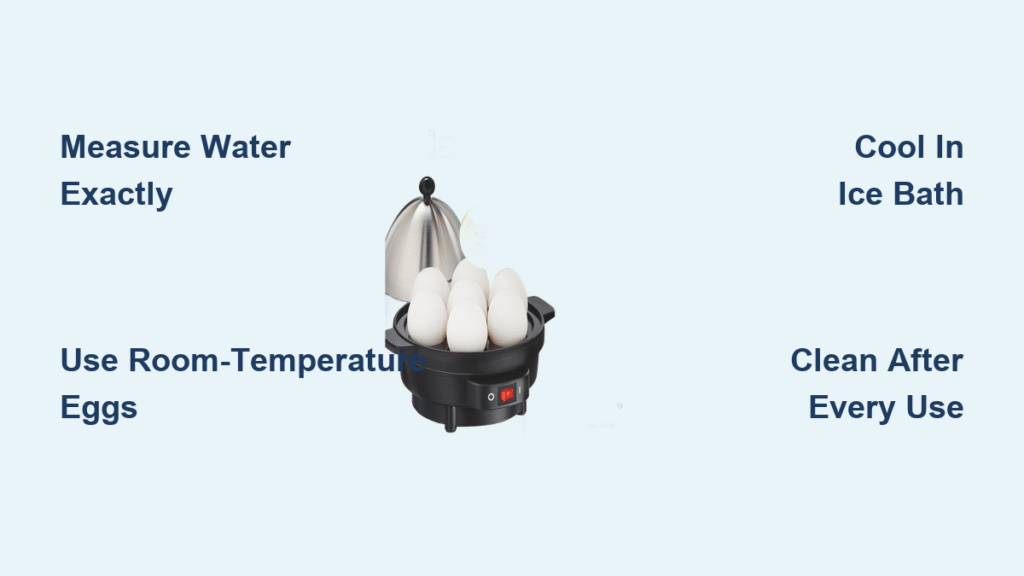
The secret to perfect hard-boiled eggs lies in the included measuring cup. Fill it precisely to the “Hard 7 eggs” line using cold tap water—never estimate. This specific 1/4 cup measurement creates optimal steam pressure for seven large eggs. Using too much water causes overcooking (resulting in green yolks), while too little yields runny centers. For medium eggs, reduce water by 10%; for extra-large, increase by 10% using the cup’s secondary markings.
Load Eggs and Start Cooking Cycle
Pour measured water into the center reservoir, then position the egg holder securely on the base. Gently place seven room-temperature eggs into each slot—critical tip: leave space between eggs for even steam circulation. Close the lid completely and press the ON switch. You’ll hear a soft click confirming activation. The cooker automatically runs for 12-15 minutes until the water fully evaporates, then emits a distinct beep signaling completion.
Stop Cooking Immediately After Beep
When the audible signal sounds, switch to OFF immediately—delaying even 30 seconds causes overcooking. Using oven mitts, lift the egg holder straight up (steam burns are common here). Transfer eggs to an ice bath for 5 minutes; this rapid cooling prevents the gray sulfur ring around yolks and makes peeling effortless. Store unpeeled eggs in a covered container for up to one week—peeling just before eating maintains moisture.
Cook Restaurant-Quality Poached Eggs Without Fail
Prepare Eggs Before Cooking
Bring eggs to room temperature for 15 minutes—cold eggs crack when hit with steam. Pro technique: crack each egg into a small bowl first to catch shell fragments, then slide it gently into the poaching compartment. Never crack eggs directly into the cooker; this prevents yolk breakage and ensures perfect shape. The four-compartment tray accommodates only four eggs max—overcrowding causes merging whites.
Use Precise Timing for Desired Yolks
Fill the reservoir with exactly 1 cup water (use a standard measuring cup). Close the lid and set your timer based on yolk preference:
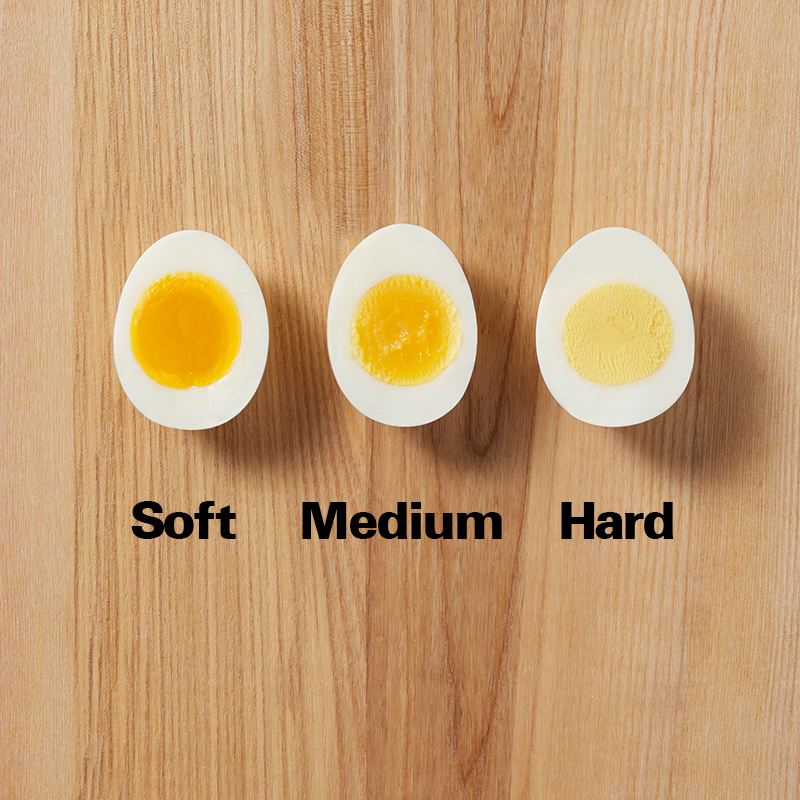
– 6 minutes: Runny yolk with silky whites (ideal for eggs Benedict)
– 7 minutes: Jammy center with fully set whites (perfect for salads)
– 8 minutes: Firm yolk for sandwich fillings (no runny mess)
Critical warning: Opening the lid during cooking releases steam and resets timing—trust the process! For consistent results, always use the same egg size within a batch.
Serve Poached Eggs Within 90 Seconds
When the timer beeps, use a slotted spoon to lift eggs immediately. Hold them over the cooker for 5 seconds to drain excess water—never shake vigorously as this tears delicate whites. Slide directly onto warm toast or greens. Poached eggs lose their ideal texture after 2 minutes, so have plates preheated and accompaniments ready. For brunch service, cook in batches but keep finished eggs warm in 140°F water for no more than 5 minutes.
Troubleshoot 3 Common Hamilton Beach Egg Cooker Problems
Fix Rubbery Hard-Boiled Egg Whites
Overcooked eggs with chalky whites typically result from incorrect water measurements or delayed cooling. Solution: Strictly use the “Hard 7 eggs” line, and transfer eggs to ice water within 10 seconds of the beep. If using older eggs (more than 2 weeks old), reduce water by 1 tablespoon—they require less cooking time due to larger air pockets.
Prevent Sticking to Poaching Compartments
Stuck eggs usually indicate residue buildup or using metal utensils. Immediate fix: Run cold water over the compartment for 30 seconds post-cooking—this contracts egg proteins for easy release. For prevention, clean compartments after every use with non-abrasive sponges (steel wool scratches coatings). Never use cooking spray; it creates a sticky film that worsens with each use.
Eliminate Mineral Buildup in Water Reservoir
White crusty deposits from hard water reduce steam efficiency, causing undercooked eggs. Monthly maintenance: Fill the reservoir with undiluted white vinegar, let sit 30 minutes, then rinse thoroughly with cold water. For severe buildup, repeat with a 50/50 vinegar-water solution. Always use filtered water for cooking to extend intervals between deep cleans.
Clean and Maintain Your Egg Cooker in 5 Minutes
Post-Use Cleaning Protocol
Clean while components are still warm (not hot)—residue wipes away effortlessly. Wash the egg holder and lid in warm, soapy water immediately after use; dried egg becomes stubborn. Critical step: wipe the base unit’s heating element with a vinegar-dampened cloth to dissolve mineral deposits before they harden. Never immerse the base or use abrasive cleaners—this voids warranties and damages sensors.
Storage Techniques That Prevent Odors
Store with the lid slightly ajar to prevent trapped moisture from causing musty smells. Place the measuring cup inside the egg holder to keep components together. Pro tip: leave a silica gel packet in the base unit to absorb ambient humidity—this prevents mold in the water reservoir during storage.
Meal Prep Like a Pro with Your Egg Cooker
Sunday Hard-Boiled Egg Batch
Cook seven hard-boiled eggs weekly for grab-and-go protein. Cool completely in ice water, store unpeeled in airtight containers, and enjoy all week: slice for salads Monday, mash for sandwiches Tuesday, or halve for avocado toast Wednesday. Time-saving hack: peel 2-3 eggs at a time under running water—the stream helps separate membrane from white.
Holiday Cooking Solutions
For Easter, cook perfect dye-ready eggs in one 15-minute batch—no more cracked shells from boiling. When hosting brunch, run hard-boiled eggs for deviled appetizers while simultaneously poaching eggs for Benedict; the compact footprint allows dual cooking without counter clutter. Easter tip: add 1 tablespoon vinegar to water before cooking—it strengthens shells against cracking during handling.
Expert Tricks for Perfect Results Every Time
Room Temperature Is Non-Negotiable
Cold eggs cause two critical failures: cracking from thermal shock and uneven cooking. Always remove eggs from the fridge 15-20 minutes pre-cooking. In a hurry? Submerge cold eggs in warm (not hot) water for 5 minutes—this mimics room temperature safely.
Seasoning Secrets Most Cooks Miss
Salt hard-boiled eggs only after peeling—adding it to cooking water makes whites rubbery. For poached eggs, add 1/4 teaspoon salt to the water reservoir; this firms whites without making eggs salty. Flavor boost: sprinkle everything bagel seasoning over poached eggs just before serving—it sticks perfectly to the damp surface.
Double Batches Without Waiting
Need 14 hard-boiled eggs? Cook two back-to-back batches using fresh water each time—the base unit cools sufficiently during the 5-minute ice bath. Never reuse water; mineral content changes after first evaporation, altering cooking chemistry. Always dry the base completely between batches to prevent electrical issues.
Your Hamilton Beach egg cooker transforms the most temperamental breakfast ingredient into your most reliable one. Master these precise water measurements and timing techniques, and you’ll consistently produce perfect eggs while reclaiming precious morning minutes. Whether fueling a hectic workweek or impressing weekend guests, this countertop marvel delivers restaurant results with foolproof simplicity—proving that great mornings start with knowing exactly how to use Hamilton Beach egg cooker.


