
Getting perfect eggs every morning feels impossible—until you discover the Elite Gourmet egg cooker. This compact countertop appliance transforms your egg routine from guesswork into consistent results, whether you’re craving soft-boiled eggs for breakfast or need a dozen hard-boiled eggs for meal prep. With just a few simple steps, you’ll master everything from poached eggs to fluffy omelets without watching pots or timing water boils.
The beauty lies in its simplicity. Using the power of steam and precise water measurements, this cooker eliminates the variables that ruin eggs. No more green-ringed yolks, cracked shells from boiling mishaps, or undercooked centers. By the end of this guide, you’ll know exactly how to get your desired doneness every single time, plus troubleshooting tips for common hiccups.
Identifying Your Elite Gourmet Egg Cooker Components
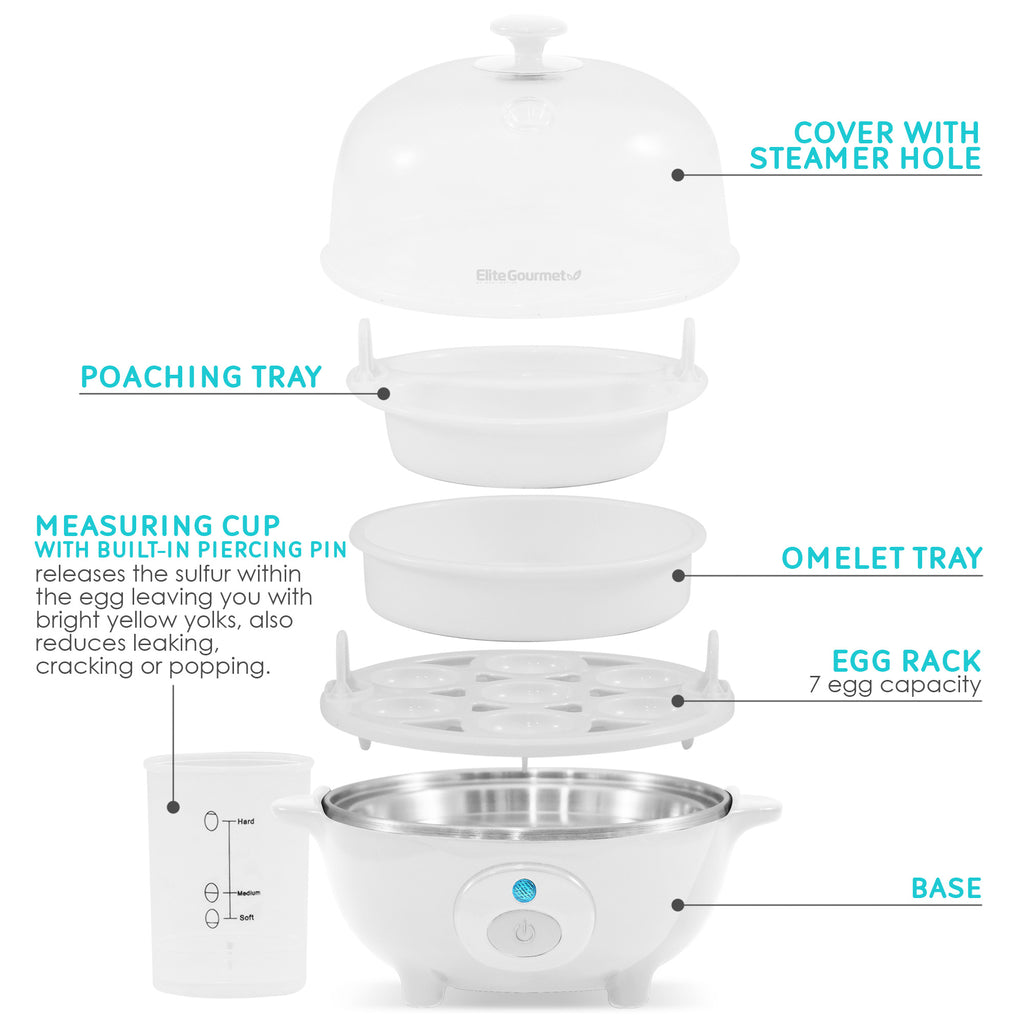
Before making your first batch, understand each part’s specific function. The base unit contains the heating element that converts water to steam—never submerge this portion in water. The transparent lid features a built-in steam vent that regulates pressure during cooking. The removable egg tray holds seven standard-sized eggs in individual cradles, while the included measuring cup serves dual purposes as your water gauge and egg piercer.
Your Elite Gourmet egg cooker also includes specialty trays: the poaching tray creates restaurant-quality poached eggs without vinegar swirls, and the omelet tray produces perfectly folded omelets without flipping. Keep all components organized together so you’re ready for any egg preparation method.
Water Measurement System Explained
The measuring cup’s precision markings create the exact steam environment needed for perfect results. For soft-boiled eggs with runny yolks, fill to the “Soft” line (approximately 25ml). Medium-boiled eggs with slightly firm yolks require the “Medium” line (about 35ml), while fully hard-boiled eggs need the “Max” line (roughly 50ml). These measurements work for seven standard large eggs—adjust slightly for different quantities.
Never estimate water levels. Too little water causes premature shutoff and undercooked eggs, while too much extends cooking time and risks overcooking. The measuring cup’s clear markings eliminate guesswork, ensuring consistent results batch after batch.
Maximum Egg Capacity Guidelines
The standard tray comfortably holds seven large chicken eggs. For smaller eggs like bantams, you can fit eight or nine by arranging them in a circular pattern. Extra-large or jumbo eggs may only accommodate six—never force eggs into the tray as this can cause cracking during cooking. Always position eggs with the pointed end down and the wider end up for optimal steam circulation.
When cooking fewer than seven eggs, fill empty slots with water to maintain proper steam distribution. This simple trick prevents uneven cooking and ensures every egg reaches your desired doneness simultaneously.
First-Time Setup for Flawless Operation
Wash all removable parts in warm, soapy water before your initial use—this removes manufacturing residues that could affect taste. Hand-dry components thoroughly to prevent water spots on the transparent lid. Wipe the heating plate with a damp microfiber cloth, then dry completely—moisture left on the heating element can cause sputtering during first use.
Position your Elite Gourmet egg cooker on a stable, heat-resistant surface with at least four inches of clearance around all sides. This allows proper airflow and prevents steam damage to nearby cabinets. Test the unit with a single egg before attempting full batches—this confirms proper function and familiarizes you with the cooking cycle.
Critical Safety Positioning Requirements
Place your egg cooker away from sink splashes and countertop edges—steam and water don’t mix safely near electrical components. Ensure the steam vent faces away from walls or cabinets to prevent moisture damage. Keep the power cord neatly arranged and clear of walkways to avoid tripping hazards.
Never operate the cooker without water in the base, and always unplug it immediately after use. Allow the unit to cool completely before cleaning—rushing this step risks burns from residual heat in the heating plate. These precautions extend your cooker’s lifespan and keep your kitchen safe.
Complete Elite Gourmet Egg Cooker Operating Procedure
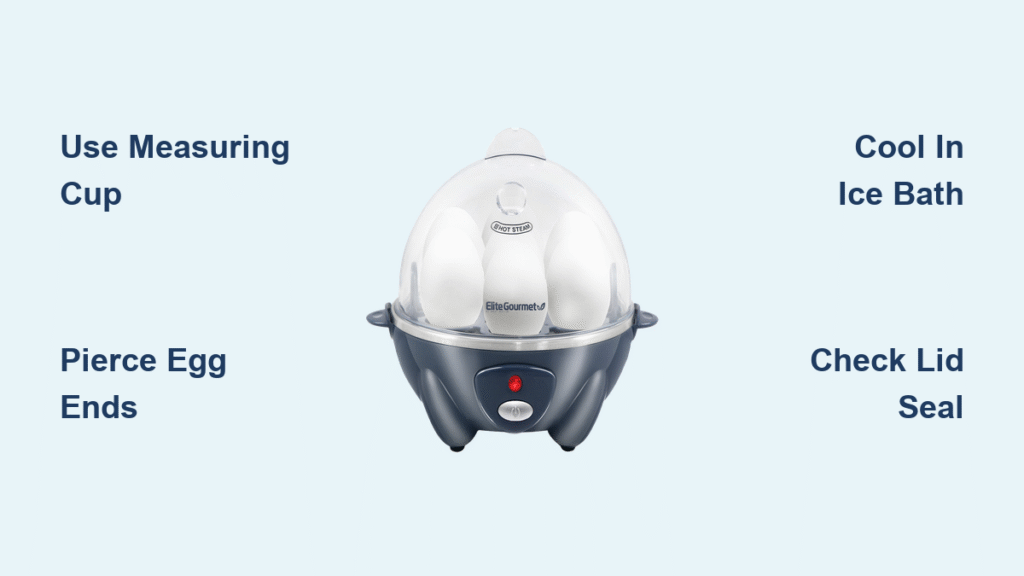
Start with room-temperature eggs for the most consistent results—they’re less likely to crack from thermal shock. If using refrigerated eggs, let them sit out for 15 minutes before cooking. Pierce the wider end of each egg using the pin on your measuring cup; this tiny hole prevents cracking by releasing internal pressure during heating.
Pour the precisely measured water into the heating plate, then place your pierced eggs in the tray with the pierced ends facing up. Cover with the lid, ensuring it clicks securely into place. Plug in the unit—the indicator light confirms power—and wait for the automatic shutoff. Timing begins when you plug in the unit, not when steam appears.
Soft-Boiled Egg Perfecting Technique
For runny-yolk soft-boiled eggs, use the “Soft” water line and cook for 6-7 minutes total. When the indicator light turns off, immediately transfer eggs to an ice bath for 30 seconds. This stops the cooking process and creates the ideal texture—set whites with liquid yolks perfect for dipping toast soldiers.
Timing matters more with soft-boiled eggs than any other preparation. Remove them just as the light turns off for true soft-boiled perfection. If you prefer slightly firmer yolks while still maintaining a creamy center, let them rest under the lid for 30-60 seconds after the light turns off.
Foolproof Hard-Boiled Egg Method
Fill to the “Max” water line for fully set hard-boiled eggs with vibrant yellow yolks. Cook for 12-14 minutes until the indicator light turns off, then immediately plunge eggs into ice water for five minutes. This rapid cooling creates a clean separation between the shell and membrane, making peeling effortless.
For meal prep, cook a full batch of seven hard-boiled eggs at once. Store them unpeeled in the refrigerator for up to one week—peeling just before eating maintains maximum freshness. When peeling, start at the wider end where you pierced the egg; the shell should come off in large, satisfying pieces.
Professional-Grade Poached Eggs Without the Hassle
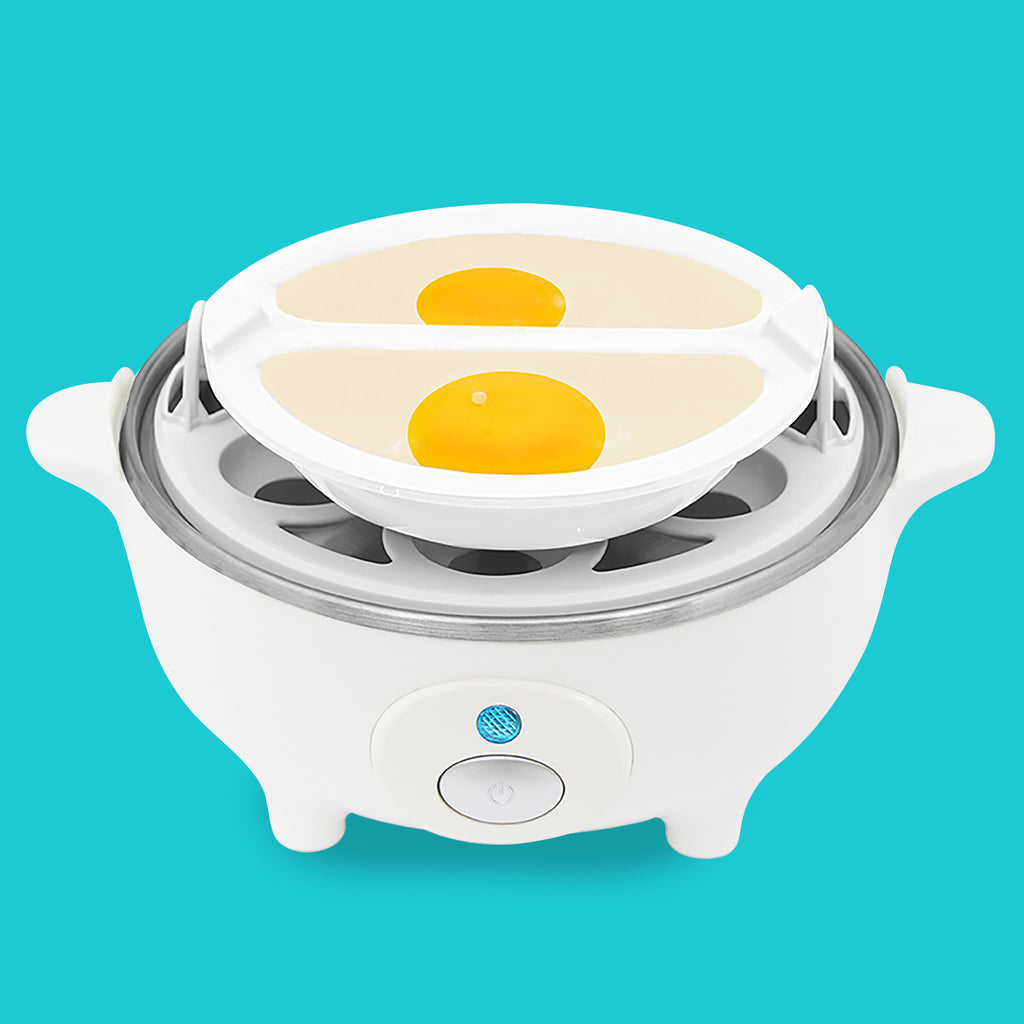
Replace the standard egg tray with the poaching tray for perfect poached eggs every time. Lightly grease each cup with butter or non-stick spray—this prevents sticking and creates restaurant-quality presentation. Crack one fresh, cold egg per cup, being careful not to break the yolk.
Use the “Medium” water line for traditional runny-yolk poached eggs, or “Max” for firmer centers. Cook for 7-9 minutes with the transparent lid in place so you can monitor doneness without losing steam. The eggs are ready when whites are completely set but yolks still jiggle slightly when gently shaken.
Customizing Poached Egg Doneness
For extra-runny poached eggs perfect for eggs Benedict, use the “Soft” water line and check at six minutes. If you prefer firmer yolks for salads or sandwiches, extend cooking by one minute beyond the standard time. Always run a silicone spatula around each cup’s edge before removing eggs—this ensures clean release without tearing the delicate whites.
Restaurant-Style Omelets with Zero Effort

Prepare your omelet by whisking two to three eggs with one tablespoon of milk or water for maximum fluffiness. Lightly grease the omelet tray, then pour in your egg mixture. Add pre-cooked fillings like sautéed vegetables, cooked meats, or cheese—never add raw ingredients as they won’t cook properly.
Use the “Max” water line for a full three-egg omelet, cooking for 10-12 minutes until completely set. The non-stick surface allows effortless release when inverted onto a plate. For best results, fold your omelet in half immediately after cooking and serve while hot.
Smart Filling Strategies for Perfect Omelets
Pre-cook vegetables thoroughly to remove excess moisture that would make your omelet soggy. Use 1/4 cup of fillings per two eggs to maintain proper cooking ratios—overfilling prevents the omelet from setting properly. Add cheese last so it melts evenly throughout the egg mixture rather than sinking to the bottom.
Fixing Common Elite Gourmet Egg Cooker Problems
Eggs cracking during cooking: Check your piercing technique—holes should be pin-sized, not large punctures. Use room-temperature eggs when possible, as cold eggs are more prone to cracking. Ensure eggs aren’t touching the heating plate directly.
Undercooked centers: Increase water by 5ml for your next batch or let eggs rest two additional minutes after cooking with the lid on. For very large eggs, fill slightly above the “Max” line to extend cooking time.
Overcooked or green-ringed yolks: Reduce water by 5ml or remove eggs immediately when the light turns off. Green rings form from iron sulfide compounds created by overcooking—perfectly avoidable with precise timing.
Solving Steam Leakage Issues
If steam escapes excessively around the lid, check for proper lid placement and ensure no food debris blocks the seal. The lid should sit flat and even with no gaps. Replace damaged or warped lids immediately—contact Elite Gourmet customer service for replacement parts to maintain optimal performance.
Proper Cleaning and Long-Term Maintenance
Unplug and let your Elite Gourmet egg cooker cool completely before cleaning—rushing this step risks burns from residual heat. All removable parts are dishwasher-safe on the top rack, but hand-washing with a soft sponge extends their lifespan. Never use abrasive scrubbers that damage the non-stick coating.
Wipe the heating plate with a damp cloth after each use to remove mineral deposits that affect performance. For stubborn residue, make a paste with baking soda and water, apply for five minutes, then wipe clean. Never use metal utensils on non-stick surfaces—silicone or plastic tools only.
Monthly Descaling Routine for Peak Performance
If you notice white mineral deposits on the heating plate, descale monthly using equal parts water and white vinegar. Fill to the “Max” line with this solution, run a complete cycle, then rinse thoroughly with clean water. This maintenance step preserves heating efficiency and prevents off-flavors from transferring to your eggs.
Mastering your Elite Gourmet egg cooker takes just a few practice runs. Start with the basics—perfect a soft-boiled egg, then experiment with poaching and omelets. Within a week, you’ll develop muscle memory for your family’s preferences. The consistent results will revolutionize your breakfast routine, making healthy, protein-rich meals as effortless as pressing a button. Keep this guide handy for the first few weeks, and soon you’ll be the household egg expert everyone relies on for perfect eggs every time.


