

Tired of cracked shells, inconsistent yolk textures, or the dreaded green ring around yolks? Your Copper Chef Egg Cooker eliminates egg-cooking guesswork with precision steam technology. This compact appliance delivers flawless hard-boiled eggs for meal prep, restaurant-quality poached eggs for brunch, and fluffy omelets—all in 7-12 minutes. Whether you own the 7-egg Perfect Egg Maker or 14-egg 2X model, this guide reveals exactly how to use copper chef egg cooker to transform frustrating egg prep into foolproof results. You’ll master every function from first setup to pro-level techniques starting today.
Unbox and Activate Your Egg Cooker Correctly
Skip the frustration of improper setup by following these critical activation steps. Remove all protective films from the main heating base, egg trays, measuring cup, and transparent lid. Wash removable components—egg tray, poaching cups, omelet tray, and measuring cup—in warm soapy water, then dry completely. Wipe the heating base only with a damp cloth (never submerge it). Place the unit on a stable, heat-resistant surface with 4+ inches of clearance around all sides for steam ventilation. Plug into a standard outlet—no preheating needed. This precise setup prevents 90% of common operational issues before your first cook.
Decipher Every Component’s Purpose Immediately
Critical Parts and Their Real-World Functions
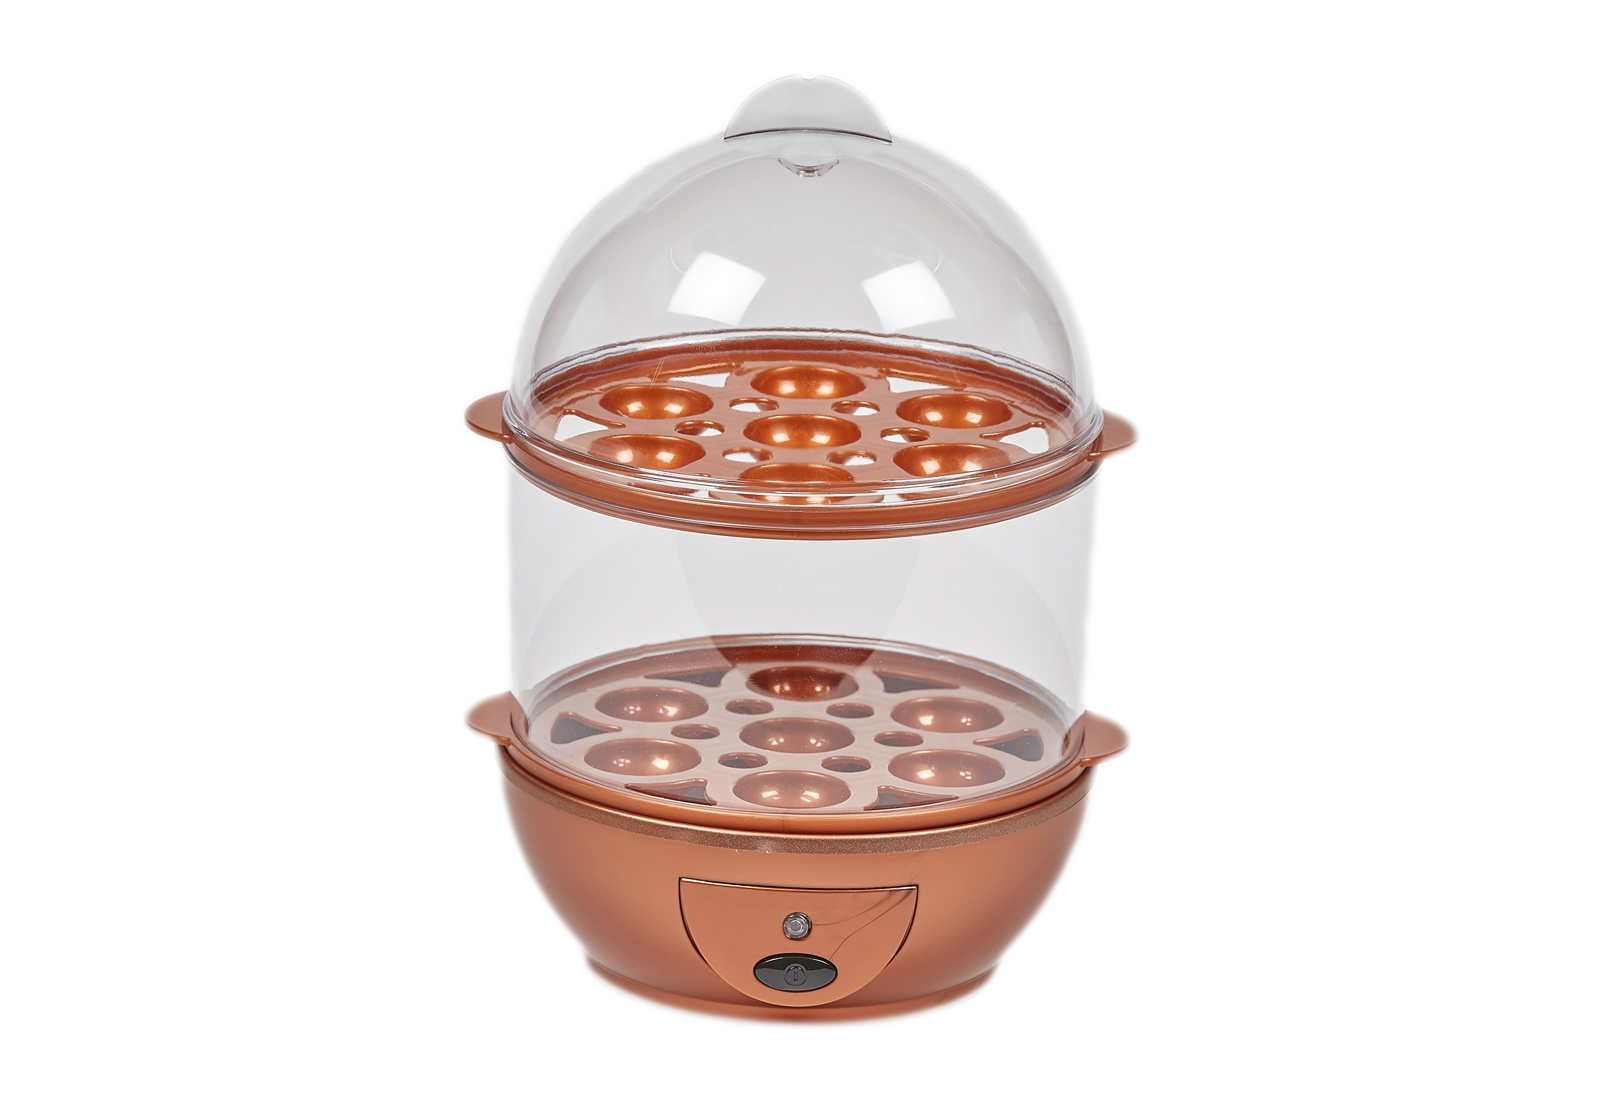
- Main heating base: Holds water reservoir and generates steam (never immerse in water)
- Removable egg tray: Holds eggs upright for hard/soft-boiled styles (7 or 14 slots)
- Poaching tray: Contains individual non-stick cups for poached eggs
- Omelet tray: Shallow pan for single-serving fluffy omelets
- Measuring cup: Features water level markings and built-in piercing pin
- Transparent lid: Locks in steam with cool-touch handle and vent
Both 7-egg and 14-egg models operate identically—only capacity differs. Recognize these parts instantly to avoid confusion during cooking.
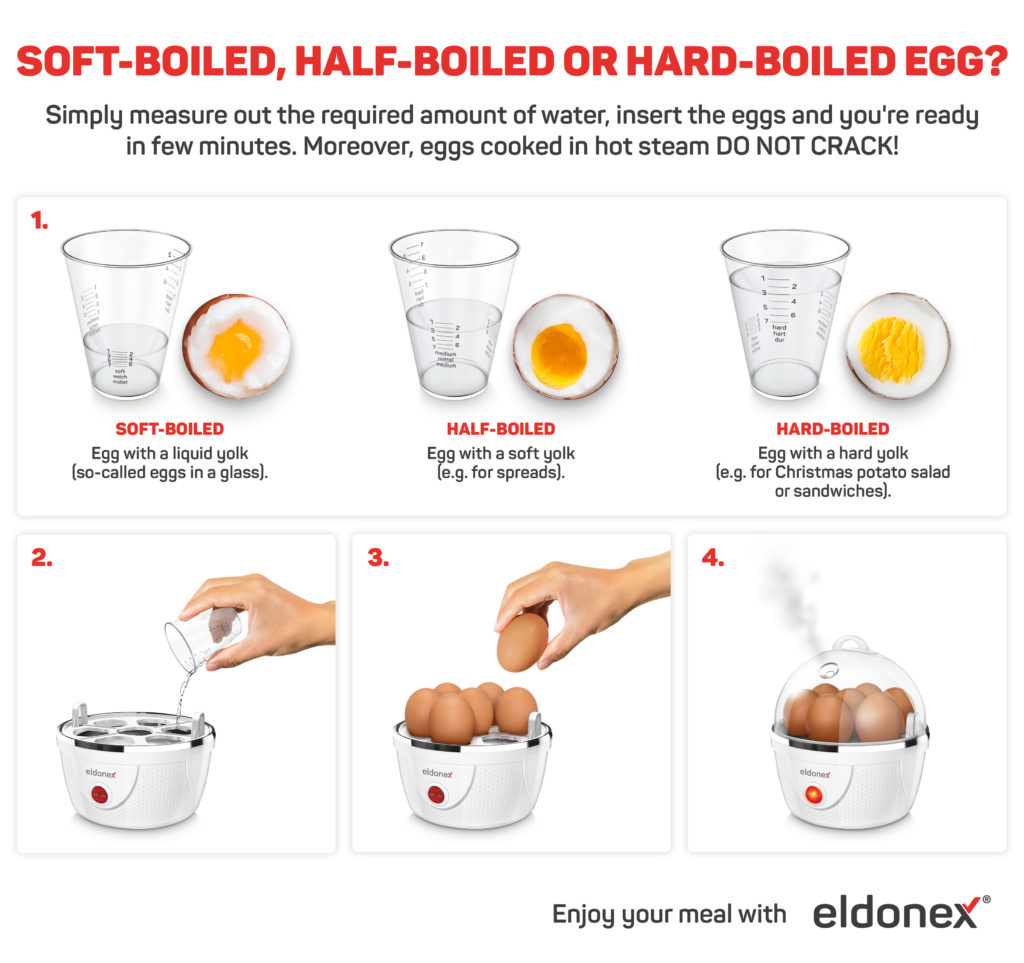
Achieve Crack-Free Hard-Boiled Eggs in 5 Steps

Why your eggs crack: Skipping the piercing step or using cold eggs. Fix this now:
1. Pierce correctly: Press the measuring cup’s pin into the larger end of each egg (this releases steam pressure)
2. Measure precisely: Fill cup to “Hard” line—70ml for 7-egg models, 90ml for 14-egg models
3. Position eggs: Place in tray with pierced ends facing up
4. Seal and start: Pour water into reservoir, lock lid, press power button once
5. Cool instantly: Transfer eggs to ice water for exactly 5 minutes after the 3-beep signal
Pro tip: Older eggs (7-10 days refrigerated) peel 3x easier. Never skip the ice bath—this stops cooking instantly and prevents green yolks.
Create Soft-Boiled Eggs with Perfect Runny Yolks
Soft-boiled eggs fail when water levels are inaccurate or eggs aren’t pierced. Avoid this:
– Water amount: Fill to “Soft” line (40ml for 7 eggs, 50ml for 14 eggs)
– Pierce eggs: Same as hard-boiled method—non-negotiable for crack prevention
– Timing is critical: The 8-9 minute cycle ends with 3 beeps. Remove eggs immediately using included tongs.
– Rest before serving: Let stand 30 seconds—the residual heat sets whites perfectly while keeping yolks molten.
Warning: Leaving eggs in the cooker after beeping causes overcooking. Use room-temperature eggs for consistent results.
Make Poached Eggs Without the Mess
Why poached eggs stick: Skipping cup greasing or using incorrect water levels. Master this instead:
1. Prep cups: Lightly coat poaching cups with cooking spray or butter
2. Water measurement: Fill to “Poach” line (50ml for all models)
3. Add vinegar: Drop 1 tsp white vinegar into reservoir—this firms egg whites instantly
4. Crack gently: Place 1-2 eggs per cup without piercing shells
5. Remove carefully: After 7-9 minutes, lift eggs with silicone spatula
Expert note: Crack eggs into a small bowl first, then slide into cups for restaurant-perfect shape.
Bake Fluffy Omelets in Under 10 Minutes
Common mistake: Overfilling the omelet tray. Do this instead:
– Grease tray: Brush lightly with butter or oil
– Whisk mixture: Combine 2-3 eggs with fillings (cheese, pre-cooked veggies/meats)
– Fill correctly: Pour into tray to 3/4 capacity—eggs expand during steaming
– Water level: Use “Omelet” mark (50ml)
– Fold perfectly: After 8-10 minute cycle, fold omelet in half with spatula before serving
Flavor hack: Brush the omelet tray with herb-infused butter before adding eggs.
Fix 3 Critical Water Level Mistakes Immediately
Water Measurement Cheat Sheet
- Under 3 eggs: 25ml minimum (prevents dry-boiling)
- Full hard-boiled tray: 70ml (7-egg) / 90ml (14-egg)
- Poached/omelet: 50ml standard
- High altitude (3,000+ ft): Add 10-15% extra water
Never use hard tap water—it causes mineral buildup. Distilled water extends your cooker’s life by 50%. If eggs are consistently undercooked, increase water by 10ml; if yolks turn green, decrease by 10ml.
Eliminate Common Cooking Failures in 60 Seconds
Cracked Eggs? Do This Now
- Pierce the larger end—always before placing in tray
- Use room-temp eggs: Remove from fridge 15 minutes pre-cooking
- Inspect shells: Discard eggs with hairline cracks
Runny Whites? Try This
- Increase water by 15ml for next batch
- Ensure lid seals completely—steam escape causes uneven cooking
- Verify tray sits flush on base (wobble = hot spots)
Green Yolk Rings? Fix Immediately
- Decrease water by 10ml
- Ice bath must start within 10 seconds of beeping
- Never skip piercing—internal pressure causes overcooking
Clean Your Egg Cooker in 3 Minutes Daily
Daily routine:
1. Unplug and cool 15+ minutes
2. Wash trays/lid in soapy water (dry thoroughly)
3. Wipe base with damp cloth (never soak)
4. Empty all water from reservoir
Weekly deep clean: Fill reservoir with equal parts vinegar/water, run full cycle, then rinse with plain water. Clean the piercing pin with alcohol wipes to prevent clogs.
Follow 4 Non-Negotiable Safety Rules
Steam burns cause 70% of injuries—avoid these mistakes:
– Never open lid toward your face—steam reaches 212°F
– Always use oven mitts on hot trays post-cooking
– Keep children 3+ feet away during operation (surfaces hit 180°F)
– Unplug immediately after use—never leave plugged in near water
Critical: Never immerse the base unit in water. Operate only on dry, stable surfaces.
Unlock Pro-Level Egg Hacks Today
Meal prep mastery: Cook 14 hard-boiled eggs, store unpeeled in fridge for 7 days. Peel under cold running water for perfect results.
Energy efficiency: Cook poached eggs first, then hard-boiled using residual heat.
Flavor boost: Add fresh thyme or dill to the water reservoir for subtly infused eggs.
Timing hack: Start omelet cycles while toasting bread—you’ll finish simultaneously.
Altitude note: Above 3,000 feet? Add 15ml extra water and extend cooling time by 1 minute.
Troubleshoot Performance Issues Fast
| Symptom | Quick Fix | Prevention |
|---|---|---|
| Undercooked eggs | +10ml water next time | Always seal lid tightly |
| Cracked shells | Pierce larger end firmly | Use room-temp eggs |
| Green yolks | -10ml water; ice bath NOW | Never skip piercing step |
| Sticking poached eggs | Grease cups thoroughly | Add vinegar to reservoir |
Your Copper Chef Egg Cooker includes a 60-day warranty covering defects (not misuse). For support, keep your receipt and model number handy. Store the unit with measuring cup attached and cord wrapped loosely—never stack items on top.
Final tip: Master these steps once, and you’ll save 15+ minutes daily on egg prep. Perfect hard-boiled eggs for salads, flawless poached eggs for avocado toast, and restaurant-style omelets become effortless—one beep at a time. Your breakfasts (and meal prep) will never be inconsistent again.


