
That unopened Sanyo rice cooker gathering dust on your counter could be your ticket to perfect rice every time—but only if you know how to use a Sanyo rice cooker correctly. Many home cooks struggle with crunchy brown rice, boil-overs, or confusing water ratios because they miss critical model-specific steps. Whether you own the ECJ-D55S or ECJ-HC100S, mastering this appliance transforms bland grains into restaurant-quality results with zero guesswork.
The secret lies in understanding your exact model’s quirks and following precise water-to-rice protocols. Skip rinsing or use standard measuring cups, and you’ll battle sticky pots and uneven texture. But get it right? You’ll unlock fluffy jasmine rice for curry, tender brown rice for bowls, and even creamy porridge—all with one-touch simplicity. This guide cuts through the confusion with model-specific instructions, troubleshooting fixes, and pro techniques straight from Sanyo’s engineering specs.
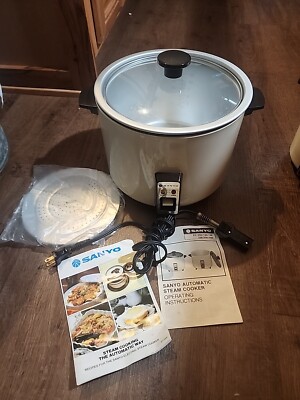
Identify Your Sanyo Model Before Cooking
Your first critical step isn’t adding rice—it’s checking your model number. Sanyo’s ECJ-HC100S requires different handling than the basic EC-310, and using the wrong pot or settings ruins results. Locate your model sticker inside the lid or base:
- MICOM series (ECJ-D55S, ECJ-D100S): Features automatic keep-warm and precise timers
- Pressure models (ECJ-PX50S): Cuts brown rice cooking time by 30%
- Slow-cook hybrids (ECJ-HC100S/H): Include two distinct pots—a marked rice pot and unmarked slow-cook pot
- Compact models (ECJ-S35K/S): Require minimum 1-cup rice quantities
Pro tip: ECJ-HC owners often ruin slow-cook pots by using them for rice. The rice pot has water level lines; the slow-cook pot doesn’t. Mix them up, and your ratios fail instantly.
Why Model Matters for Settings
Your ECJ-F50S won’t have a “Quick Cook” button like the ECJ-D100S. Selecting “Brown Rice” on a basic EC-505 triggers a fixed 90-minute cycle, while MICOM models auto-adjust based on rice quantity. Skip this identification step, and you’ll waste rice fighting incorrect assumptions.
Essential Accessories You Must Use Correctly
That tiny cup in the box isn’t a suggestion—it’s your rice’s lifeline. Sanyo’s included measuring cup holds 180ml (¾ standard cup), and using regular cups throws ratios off by 25%. Verify these items before first use:
- The 180ml measuring cup (non-negotiable for accuracy)
- Non-stick inner pot (water level lines only work here)
- Steaming tray (models like ECJ-D55S)
- Silicone spatula (metal tools scratch non-stick coating)
Critical mistake: 80% of “broken rice cooker” complaints stem from using standard cups. One cup of rice in Sanyo’s cup = 140g; a standard cup = 185g. That 45g difference causes constant boil-overs.
Rinse Rice Until Water Runs Crystal Clear
Never skip rinsing—this takes 90 seconds but prevents 90% of failures. Swirl rice in the inner pot under cold water, draining cloudy liquid until it’s transparent. Why this matters:
- ✅ Removes surface starch that causes boil-overs and gummy texture
- ✅ Washes away milling debris common in imported rice
- ✅ Creates separate, fluffy grains instead of clumpy mush
Exception: Vitamin-enriched rice (like fortified basmati) loses nutrients when rinsed. For these, use the “Rinse-Free” menu setting if available.
Water Ratios That Guarantee Perfect Rice
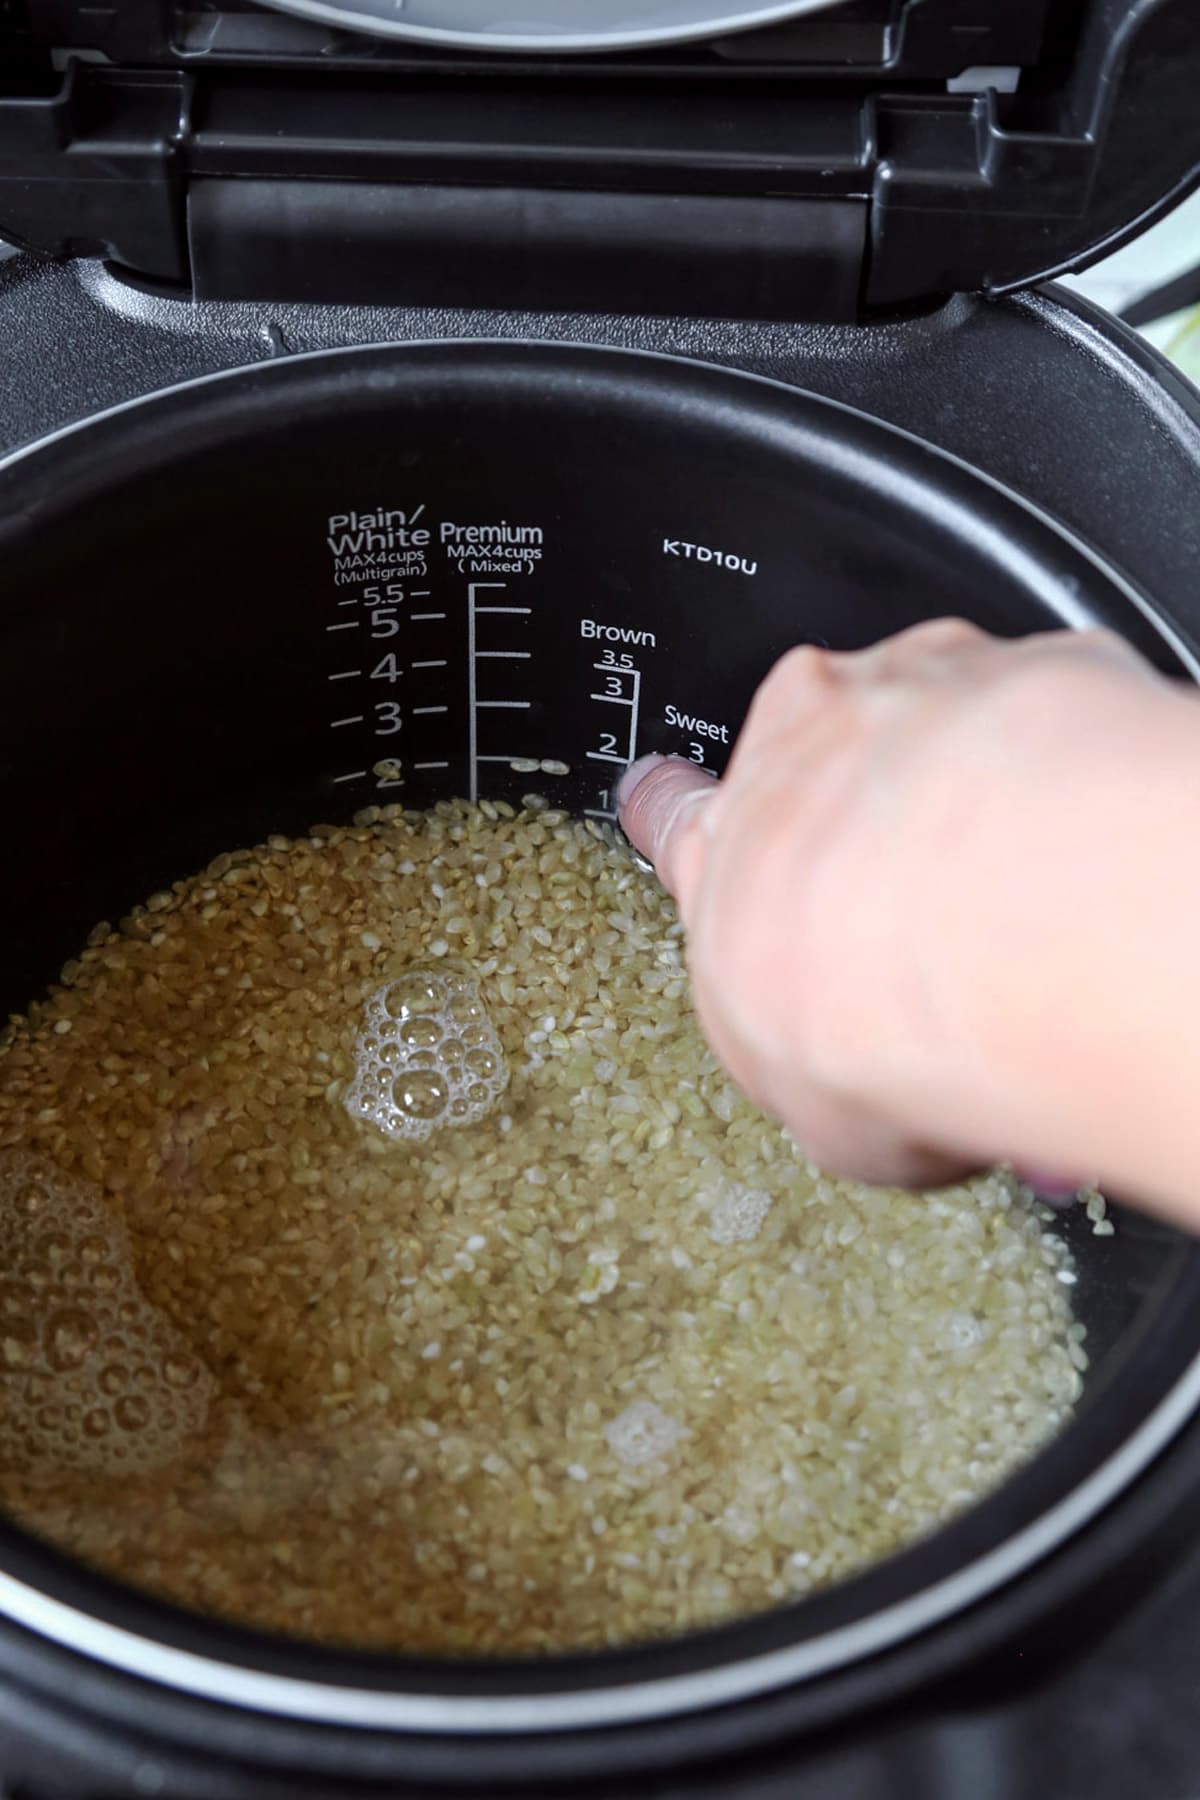
Sanyo’s inner pot has etched water lines—but only if you measure with rice already inside. This is where most tutorials fail. Follow these exact ratios using the 180ml Sanyo cup:
| Rice Type | Dry Rice | Water Level | Result |
|---|---|---|---|
| White rice | 1 cup | Line 1.5 | Fluffy, separate grains |
| Brown rice | 1 cup | Line 2.25-2.5 | Tender, chewy texture |
| Long grain | 1 cup | Line 1.75 | Light, non-sticky |
Visual cue: For 4 cups dry rice in an ECJ-HC100S, water should hit just above the “4” line—not the “8” marking. Overfilling here causes boil-overs.
Brown Rice Success Formula
Brown rice fails happen because users treat it like white rice. For ECJ-D100S or ECJ-PX50S models:
- Never cook under 2 cups dry rice in 10-cup models (crunchy results below this)
- Soak while you prep dinner (1-2 hours in cooking water—no draining needed)
- Use “Brown Rice” setting (MICOM models auto-extend cook time to 90 mins)
- Add ¼ cup extra water if results stay firm
Time hack: Set the timer to soak rice all day while at work—perfect texture awaits when you get home.
Step-by-Step Cooking Process
Basic White Rice in 7 Minutes
- Place inner pot in base (heating element must be dry)
- Add 2 cups rice using Sanyo cup
- Rinse until water clears, then drain completely
- Add water to “2” line with rice already in pot
- Close both lids firmly (steam escape ruins cooking)
- Press “White Rice” → “Cook/Reheat”
- Wait for beep and “Keep Warm” light (45 mins)
Menu Settings Decoded
- “Mixed Rice”: For veggies or meat—never use Keep Warm (causes sogginess)
- “Porridge”: Sets 20% extra water; ideal for congee
- “Quick Cook”: 25% faster but slightly denser texture
- “Sprouted Brown”: Only on ECJ-PX50S; requires pre-soaked grains
Timer Programming for Effortless Meals
Load rice/water before work, then:
1. Press “Timer” until desired start time displays
2. Press “Cook/Reheat” to lock setting
Critical rules:
– ⚠️ Timer won’t engage if “Keep Warm” light is on (unplug to reset)
– Brown rice soaks safely for 8+ hours with timer delay
– Never set timer for >12 hours (safety cutoff triggers)
Keep Warm Function Limits
This feature works only for plain white rice—and maxes out at 12 hours. Beyond that:
- Yellowing rice = bacterial growth (discard immediately)
- Sour odor = spoilage (common with brown/sweet rice)
- Rock-hard texture = moisture loss (irreversible)
Never use Keep Warm for: Mixed rice, bi bim bab, brown rice, or porridge. Transfer these to serving bowls after cooking.
Storage and Reheating Tricks
Refrigerate Within 2 Hours
- Leave rice in inner pot with lid on (prevents drying)
- Never store >3 days (texture degrades)
Perfect Reheating Method
- Level cold rice surface with spatula
- Sprinkle 1 tbsp water per cup of rice
- Press “Cook/Reheat” (not “Keep Warm”)
- Stir immediately after beep for even moisture
Fix Common Problems Fast
Crunchy Brown Rice Fix
- Add ¼ cup water during cooking (pause cycle first)
- Ensure you’re using “Brown Rice” setting—not “White”
- Cook minimum 2 cups dry rice in 10-cup models
Stop Boil-Overs Immediately
- Reduce water 10% next time (e.g., line 1.35 instead of 1.5 for white rice)
- Rinse rice 2 extra times until water is glass-clear
- Never exceed 10-cup mark (foam expands violently)
Clean Like a Pro
Daily Routine
- Wipe heating plate with damp cloth (never immerse base)
- Hand-wash inner pot (dishwashers degrade non-stick coating)
- Remove steam vent cap to rinse debris weekly
Descaling Every 30 Uses
Mineral buildup causes slow cooking. Mix 1 cup vinegar + 2 cups water, run “White Rice” cycle, then rinse 3x.
Quick Reference Cheat Sheet
| Task | White Rice | Brown Rice |
|---|---|---|
| Water Ratio | 1 : 1.5 | 1 : 2.25-2.5 |
| Cook Time | 45 mins | 90 mins |
| Keep Warm Max | 12 hours | ❌ Never |
| Min Quantity | 1 cup | 2 cups |
Master how to use a Sanyo rice cooker by starting with plain white rice—nail the rinse, measure strictly with the 180ml cup, and always check water levels with rice in the pot. Once consistent, experiment with brown rice using the soak-and-timer trick. Remember: Your ECJ-HC100S’s dual pots mean never using the slow-cook pot for rice, while pressure models like ECJ-PX50S cut brown rice time dramatically. Clean the vent after every 5 uses to prevent steam errors, and never ignore the Keep Warm limits. Within a week, you’ll cook perfect rice while troubleshooting issues before they happen—turning that dusty appliance into your most-used kitchen ally.


