
You’re staring at a slow cooker recipe for fall-apart short ribs but realize your countertop appliance is buried in storage. Before ordering takeout, reach for your Dutch oven—it’s not just for stews and bread. This cast-iron workhorse transforms tough cuts into tender masterpieces faster and with richer flavor than any electric slow cooker. The secret? Mastering precise temperature swaps and moisture control. In this guide, you’ll discover exactly how to use a Dutch oven as a slow cooker—including oven settings that cut cooking time by 60%, the searing step that prevents “gray meat syndrome,” and why your Dutch oven actually retains more moisture than advertised slow-cooker models.
Why Your Dutch Oven Beats a Slow Cooker for Braised Dishes
Flavor control separates champions from amateurs. While slow cookers trap steam and dilute sauces, Dutch ovens let you sear proteins directly in the pot, building caramelized fond that electric models can’t replicate. That golden crust on your chuck roast? It stays put instead of washing away into gray sadness. You’ll develop complex layers by deglazing with wine or broth right where the magic happened—no extra pan required.
Speed shocks most home cooks. A 6-hour slow-cooker pot roast finishes in just 2 hours at 300°F. Cast iron’s thermal mass distributes heat evenly while the tight-fitting lid prevents moisture loss. You’re trading countertop real estate for faster results with deeper flavor—and no electricity beyond your existing oven. For weeknight dinners, this means fork-tender pulled pork ready by dinnertime instead of waiting all day.
Dutch Oven to Slow Cooker Time Conversion Chart (Exact Oven Settings)

| Slow Cooker Setting | Dutch Oven Oven Temp | Actual Time | Critical Checkpoint |
|---|---|---|---|
| 8h LOW | 275°F | 2.5-3 hours | Check at 2 hours |
| 6h LOW | 300°F | 2-2.5 hours | Check at 1.5 hours |
| 4h HIGH | 325°F | 1.5-2 hours | Check at 1 hour |
| 3h HIGH | 350°F | 1-1.5 hours | Check at 45 minutes |
Pro tip: Start checking 30 minutes early. Dutch ovens cook faster than expected due to superior heat retention, and you can always simmer longer if needed. Never follow slow-cooker times blindly—your oven’s accuracy and lid seal dramatically impact results.
Essential Equipment Checklist for Dutch Oven Slow Cooking
- 5-7 quart enameled Dutch oven (ideal for 4-6 servings; bare cast iron risks metallic taste with acidic recipes)
- Stainless steel lid knob (replace phenolic knobs before braising above 390°F—they’ll melt)
- Heat diffuser (for stovetop method to prevent scorching on electric coils)
- Long-handled tongs (for safe meat turning without chipping enamel)
- Wooden spoon (metal utensils scratch enamel permanently)
Critical visual cue: Test lid fit by pressing down—it shouldn’t wobble. A loose lid causes 30% more evaporation, turning sauces watery.
Step-by-Step: Converting Slow Cooker Recipes to Dutch Oven
Brown First for Maximum Flavor (Critical Step)
Heat your empty pot over medium-high for 3-4 minutes. Add 1-2 tablespoons oil when a drop of water sizzles instantly. Sear proteins in single-layer batches—crowding steams instead of browns. That crust equals flavor insurance. For chicken thighs, aim for deep golden skin (not pale white). For beef chuck, sear until crust resists lifting with tongs.
Building Layers That Slow Cookers Can’t Match
Scrape up browned bits with onions, garlic, or tomato paste using a wooden spoon. This 90-second step adds umami depth electric slow cookers miss. For beef recipes, deglaze with ¼ cup red wine before adding broth—watch the sizzle as fond dissolves into the liquid.
Strategic Ingredient Layering for Even Cooking
Place root vegetables (carrots, potatoes) on the bottom where they’ll absorb meat juices. Nestle seared proteins on top. Add liquid until it reaches one-third up the sides—usually ½ cup more than slow-cooker recipes specify. For pork shoulder, use only ½ cup liquid; the meat releases ample juices.
Oven Transfer Without Thermal Shock
Preheat oven 25°F higher than your target temperature (ovens lose heat when opened). Place pot on center rack with oven mitts—never lift by the lid knob. Critical safety step: Let the pot rest 5 minutes on a wooden trivet before serving. Sudden temperature changes crack enamel.
Stovetop Slow Cooking Method When Oven Isn’t Available
Bring ingredients to a gentle simmer over medium heat, then cover and reduce burner to lowest setting. Use a heat diffuser if your stove runs hot. Stir every 30 minutes, adjusting heat to maintain the faintest bubble. This method works perfectly for 2-hour braises like chicken curry but risks scorching for 4+ hour recipes. Warning: Never leave unattended—stovetop requires active monitoring unlike electric slow cookers.
Moisture Management: Avoiding Dry or Watery Dishes
When to add liquid: Start with the slow-cooker recipe’s amount, but trust your eyes after 1 hour. Too thick? Add broth in 2-tablespoon increments. Too thin? Simmer uncovered for the final 15 minutes. Steam retention hack: Place a parchment paper round under the lid for extra-moist dishes like beans. Remove it when you want sauce reduction.
The evaporation paradox: Some cooks report Dutch ovens retain more moisture than slow cookers thanks to heavier lids. Others find faster reduction. Your oven’s accuracy and pot seal determine results—adjust based on what you see, not expectations. Key visual cue: Liquid should barely bubble; vigorous boiling means your oven runs hot.
3 Foolproof Dutch Oven Slow Cooker Recipe Conversions

Beef Stew with Red Wine (6-Hour Recipe in 2 Hours)
Brown 2 lbs beef chuck in batches. Sauté onions, carrots, and celery in fond. Deglaze with 1 cup red wine + 2 cups beef broth. Add herbs, cover, and bake at 275°F for 2.5-3 hours. Critical move: Remove lid last 20 minutes for sauce thickening—slow cookers can’t do this!
Pulled Pork Shoulder with Crispy Finish
Rub 4-lb pork shoulder with spice blend. Sear all sides until deeply caramelized. Add ½ cup apple cider vinegar + ½ cup water. Bake covered at 275°F for 3 hours, then uncover for final 30 minutes. Pro tip: Shred meat directly in the pot—enamel protects against scratches from forks.
Weeknight Chicken Curry in 90 Minutes
Brown chicken thighs, remove. Toast 2 tbsp curry paste with onions until fragrant. Add coconut milk, chicken, and vegetables. Bake covered at 300°F for 90 minutes. Flavor boost: Finish with fresh spinach and lime juice—no transferring to another pan needed.
Critical Mistakes That Damage Your Dutch Oven
Thermal shock kills Dutch ovens. Never place a hot pot on a cold surface or run cold water inside. Always use wooden trivets and let cool naturally for 15 minutes. Knob disasters: Those black phenolic knobs melt above 390°F—swap for stainless steel before high-heat braising. Enamel assassins: Metal forks chip coatings permanently; use only wooden spoons and silicone spatulas.
Make-Ahead and Portability Hacks for Potlucks
Overnight prep: Assemble everything, cool completely, refrigerate. Next day, slide straight from fridge to preheated oven (add 15 minutes to total time). Transport trick: Wrap the hot Dutch oven in towels and place in an insulated carrier. Cast iron stays above 140°F for 30-45 minutes—perfect for potlucks. Leftover magic: Cool completely before refrigerating; the heavy lid creates an airtight seal keeping stews fresh for 4-5 days.
Dutch Oven Care After Slow Cooking Sessions
Cleaning protocol: Soak while warm (never cold), then use a nylon scrubber. For stubborn bits, simmer 1 cup water for 5 minutes to loosen debris. Rust prevention: Dry thoroughly, especially the rim. A light oil coating on bare cast iron edges prevents rust during storage. Enamel longevity: Avoid rapid temperature changes—never heat empty enameled pots above 450°F.
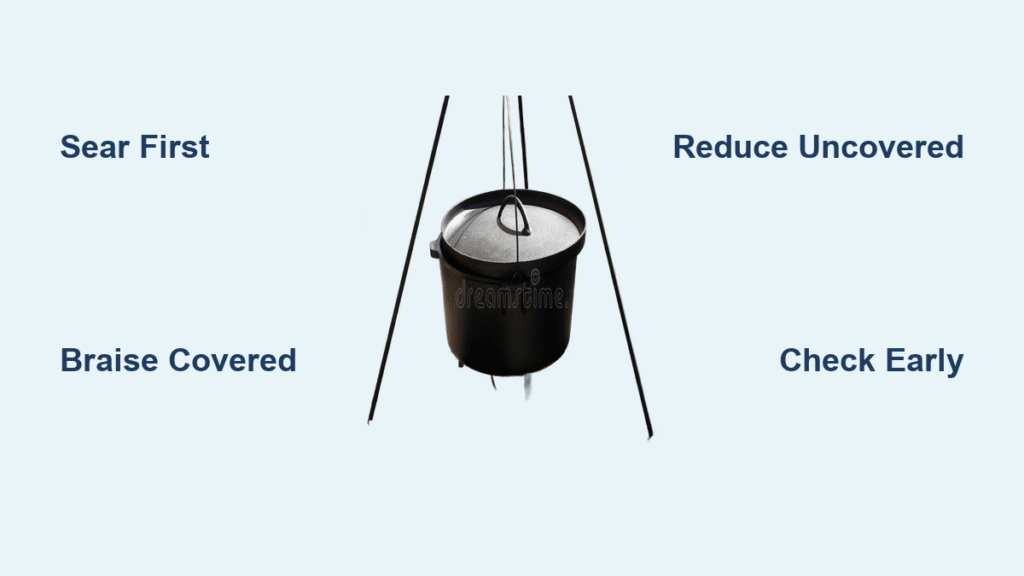
Your Dutch oven isn’t just a slow cooker substitute—it’s the superior choice for slow-cooked dishes. By mastering these how to use a Dutch oven as a slow cooker techniques, you’ll unlock faster cooking times, richer flavors, and countertop freedom. Start with the beef stew conversion tonight, and you’ll question why slow cookers exist at all. For your next potluck, bring that Dutch oven—it stays hotter longer than any electric warmer. Remember the golden rule: sear first, braise covered, reduce uncovered, and always respect your pot’s temperature limits.


