
Your Breville slow cooker sits on the counter, promising fall-apart roasts and hands-off dinners, but those buttons and settings can feel overwhelming. Whether you’re staring at the control panel wondering where to start or you’ve had mixed results with previous attempts, mastering this versatile appliance transforms weeknight cooking. This guide walks you through every step—from searing to serving—using your Breville’s unique features. You’ll learn the exact settings for different meals, why pre-searing matters, and how to avoid the common mistakes that lead to overcooked proteins or watery sauces.
Program Your Breville Slow Cooker Correctly
Set Up Your Counter Space Properly
Before adding ingredients, position your Breville on a stable, heat-resistant surface with at least 6 inches of clearance around all sides. This airflow prevents overheating and ensures optimal performance. Never place it near walls or cabinets that could trap heat. Check that the power cord isn’t draped over hot surfaces or pinched under furniture—this simple step prevents electrical hazards and extends your unit’s lifespan.
Load Ingredients in the Right Order
Bottom layer: Place dense vegetables like potatoes, carrots, and turnips directly on the cooking surface—they need the most heat exposure. Middle layer: Add your proteins and sturdy vegetables like celery or bell peppers. Top layer: Save delicate ingredients like spinach, peas, or herbs for the final 30 minutes. Never fill beyond the ¾ mark—this critical rule prevents boil-overs and ensures proper heat circulation, especially for soups and stews. Overfilling forces liquid out through the lid seal, creating messes and uneven cooking.
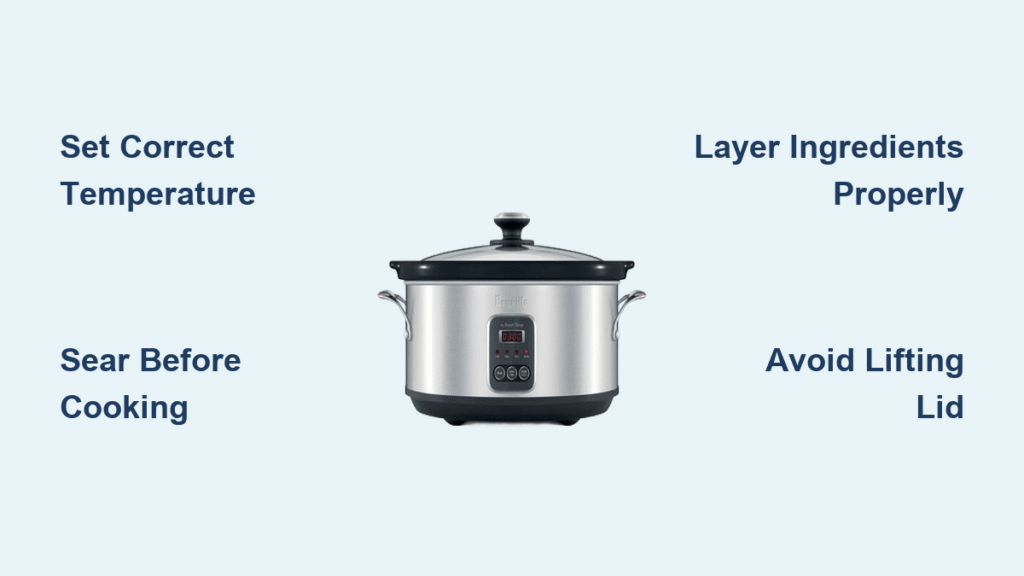
Select the Perfect Temperature Setting
Low setting: Choose this for 8-10 hour cooking sessions when you need dinner ready after work. It’s ideal for tough cuts like chuck roast, pork shoulder, or brisket that require extended collagen breakdown. High setting: Opt for 4-6 hour cooking when you decide at lunch that dinner needs to be ready by 5 PM. This works well for tender cuts or recipes where ingredients are already partially cooked. Keep Warm function: Activates automatically after cooking completes, maintaining food at safe serving temperature for up to 4 hours—perfect for potlucks or when guests arrive late.
Sear Like a Professional Before Slow Cooking
Transfer Pot to Stovetop for Optimal Browning
Your Breville’s removable pot isn’t just for slow cooking—it’s designed for stovetop searing too. Here’s how to maximize flavor:
- Remove the pot from the base unit and place it on a burner set to medium-high
- Heat 2 minutes with just enough oil to coat the bottom
- Sear proteins 2 minutes per side until a deep golden crust forms
- Sauté aromatics like onions and garlic until softened and fragrant
- Deglaze with wine or broth, scraping the browned bits from the bottom
This step builds complex flavors that slow cooking alone cannot achieve. The Maillard reaction creates hundreds of flavor compounds that transform ordinary ingredients into extraordinary meals. Skip searing only for dishes where color doesn’t matter—like chicken adobo or pulled pork where sauce dominates flavor.
Build Flavor with Strategic Ingredient Layering

Create Heat-Conductive Layers for Even Cooking
Heat radiates from the bottom upward in your Breville slow cooker, so strategic layering ensures everything cooks perfectly. Start with dense root vegetables at the bottom since they need the most heat exposure and longest cooking time. Place proteins and sturdy vegetables like celery or bell peppers in the middle layer where they receive moderate heat. Save delicate ingredients like leafy greens, herbs, or seafood for the final 30 minutes—you’ll add these on top just before serving.
Pro tip: Cut vegetables into uniform sizes—about 1-inch cubes—to ensure even cooking. Larger pieces won’t soften properly, while smaller ones turn to mush. For soups and stews, add liquid ingredients last to prevent dilution of the fond created during searing.
Execute Perfect Slow Cooked Meals Every Time
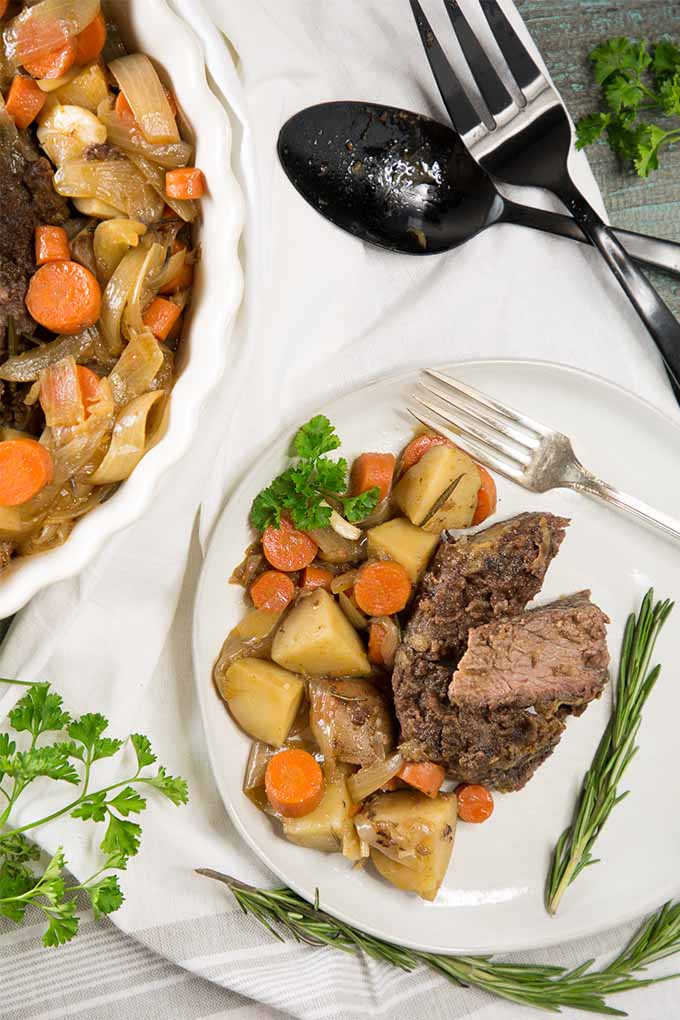
Master the Classic Pot Roast Technique
Ingredients: 1.5 pounds chuck roast, 3 tsp salt, 1 tsp pepper, ¼ cup flour, 1 tbsp oil, onion, carrots, garlic, herbs, 1 cup broth
Process: After searing your seasoned roast and sautéing aromatics, combine everything in the pot. Set to 5-7 hours on high or 9-11 hours on low. The meat should shred easily with a fork, while vegetables remain tender but not mushy. Rest for 10 minutes before slicing against the grain—you’ll notice the connective tissues have fully broken down into rich, gelatinous goodness.
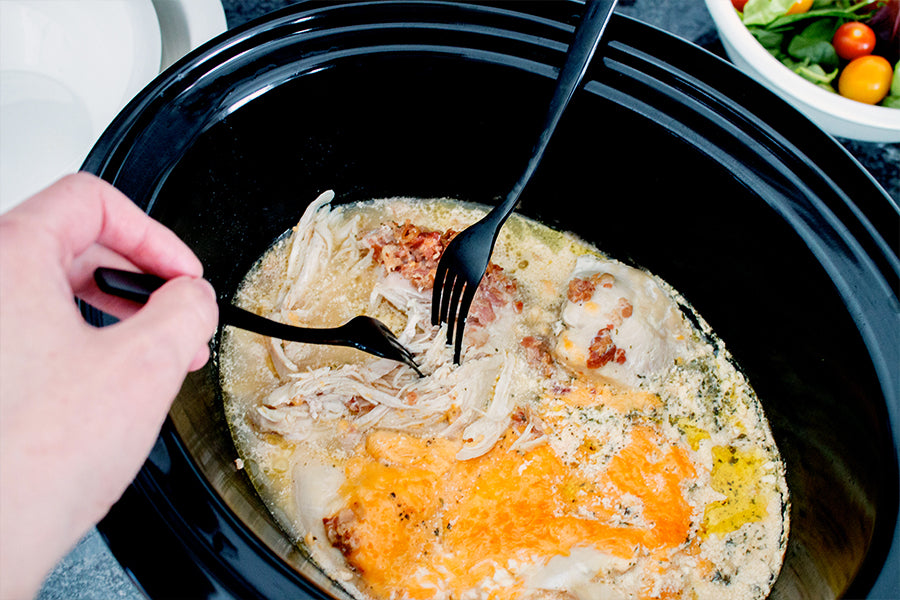
Perfect Your Chicken Adobo Every Time
Ingredients: 2kg bone-in thighs, ¼ cup vinegar, ¼ cup soy sauce, garlic, peppercorns, bay leaves
Timing: 5-7 hours high or 9-11 hours low. Removing the skin before cooking prevents excess fat rendering. The slow cooking process tenderizes the meat while the acidic vinegar and soy sauce penetrate deeply. Rest covered with foil for 10 minutes before serving over steamed rice with green onion garnish—the result should be fall-off-the-bone tender with complex, balanced flavors.
Achieve Restaurant-Quality Pulled Pork
Ingredients: 4-5 pounds pork shoulder, spice rub, sauce mixture (vinegar, broth, ketchup, molasses)
Process: Apply your rub evenly, then optionally sear for enhanced flavor. Pour your sauce mixture over the pork and set to 8-10 hours low or 4-6 hours high. The pork is done when it reaches 145°F internally and shreds effortlessly with forks. Skim fat from the cooking liquid before serving—this step makes the difference between greasy and gourmet pulled pork. Serve on buns, in tacos, or over mashed potatoes for maximum comfort food appeal.
Avoid Common Slow Cooking Mistakes
Stop Lifting the Lid During Cooking
Each time you peek inside, you lose significant heat—adding 15-30 minutes to your total cooking time. The transparent lid exists for a reason: monitor progress without breaking the seal. Trust the process and resist the urge to stir or check. Your patience will reward you with properly tenderized meat and concentrated flavors rather than watery, undercooked results.
Manage Liquid Levels Properly
Unlike stovetop cooking, slow cookers trap moisture, so you need 25% less liquid than conventional recipes. If your dish turns out too watery, remove the lid during the final 30 minutes to allow evaporation. For thicker sauces, mix 1 tablespoon cornstarch with 2 tablespoons cold water and stir in during the last hour of cooking.
Clean Your Breville Slow Cooker Like a Pro
Daily Cleaning That Takes Minutes
After cooking, let the removable pot cool slightly before cleaning. Most Breville pots are dishwasher-safe, but hand-washing with a soft sponge preserves the ceramic coating longer. Focus special attention on the sealing ring—food particles here compromise efficiency and can cause leaks. Wipe the base unit with a damp cloth while it’s still warm (not hot) for easiest cleanup. Never immerse the base in water or run it through the dishwasher.
Eliminate Stubborn Odors and Stains
For persistent garlic or spice odors, fill the pot with ½ cup vinegar + ½ cup baking soda + enough water to cover. Run on low for 1 hour, then cool completely before emptying and wiping clean. For stubborn stains, repeat this process or use a non-abrasive sponge with a paste of baking soda and water. Avoid metal scrubbers that can damage the ceramic surface—your Breville will maintain its like-new appearance with proper care.
Troubleshoot Problems Before They Ruin Your Meal
Fix Watery Dishes Immediately
If your stew seems too thin, remove the lid during the final 30 minutes to allow evaporation. For immediate thickening, mix 1 tablespoon cornstarch with 2 tablespoons cold water and stir in during the last hour. Avoid adding flour directly—it creates lumps that won’t dissolve properly in the slow cooking environment.
Rescue Overcooked Vegetables Next Time
Root vegetables added at the beginning often turn to mush. For perfect texture, add delicate vegetables during the final 2 hours instead of at the start. Carrots and potatoes should go in first, but peas, zucchini, and leafy greens need minimal cooking time. This simple timing adjustment transforms disappointing results into perfectly textured meals.
Maintain Your Breville for Years of Trouble-Free Cooking
Conduct Essential Safety Checks
Before each use, inspect your Breville for potential issues: check the power cord for fraying, ensure the base is completely dry, and verify the lid seal is intact and properly positioned. A compromised seal allows steam to escape, disrupting cooking times and temperatures. During storage, keep the unit in a dry location with the lid slightly ajar to prevent musty odors from developing in the closed environment.
Follow the Maintenance Schedule
After each use: Clean pot, lid, and sealing ring thoroughly
Weekly: Inspect power cord and sealing ring for damage
Monthly: Run the vinegar-baking soda cleaning cycle
Annually: Replace the sealing ring if it shows cracks or doesn’t create a tight seal
Your Breville slow cooker rewards patience with restaurant-quality results. Master these fundamentals, then experiment with your favorite recipes using the same timing and layering principles. The appliance handles the rest while you reclaim your afternoon—no more last-minute dinner stress or complicated cooking techniques. Whether you’re preparing a simple weeknight meal or an elaborate weekend feast, your Breville becomes the workhorse of your kitchen when you know exactly how to use a Breville slow cooker to its full potential.


