
That frustrating pool of water on your perfectly seasoned stew? When condensation drips from your slow cooker lid, it doesn’t just annoy—it actively ruins your meal by diluting flavors, thinning sauces, and sabotaging textures you carefully built over hours. You’ve followed the recipe exactly, only to serve a watery version of what should be a rich, concentrated dish. The good news is you can stop slow cooker condensation with simple, proven techniques that take seconds to implement and transform your results immediately.
Whether you’re making a 4-hour chicken curry or an overnight breakfast casserole, uncontrolled condensation turns your slow cooker from a kitchen hero into a flavor-washing villain. This guide delivers specific, actionable solutions you can implement today to ensure your meals emerge exactly as intended—thick, flavorful, and perfectly textured without watery disappointment.
Why Your Slow Cooker Lid Creates Watery Disasters
Condensation forms when steam generated during cooking hits your cooler lid surface and transforms back into liquid. This water then drips directly onto your carefully prepared food, creating three major problems: diluted flavors, ruined textures, and inconsistent cooking results. The temperature difference between your hot cooking environment (typically 170-280°F) and the cooler lid (often 50-100°F cooler) creates this moisture nightmare—especially problematic with glass lids that transfer heat poorly.
Your slow cooker’s tight seal, designed to trap heat efficiently, ironically traps too much steam inside, giving moisture nowhere to escape except back onto your food. Long cooking times on low settings make the problem exponentially worse—each hour allows more water to accumulate and drip, washing away concentrated flavors and turning hearty stews into thin soups. Understanding this physics is your first step to taking control.
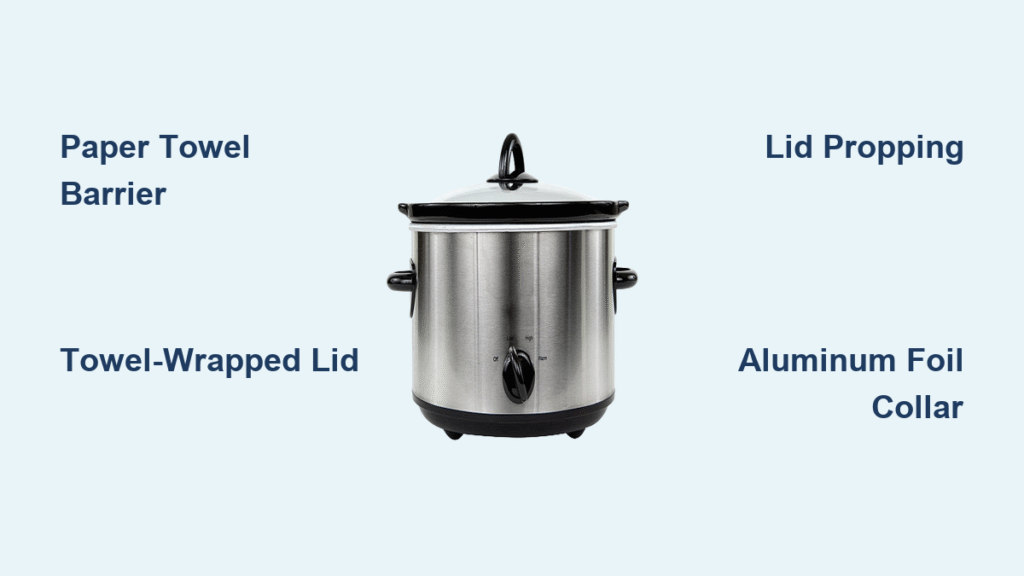
Paper Towel Barrier: The 30-Second Fix That Works Immediately
Skip complicated modifications and implement this instant solution that requires nothing but paper towels already in your kitchen.
How to Apply Paper Towels Correctly
Place one or two folded paper towels across the slow cooker rim before securing the lid. This creates a dual-action defense: the towels absorb moisture as it forms on the lid underside while creating a slight gap that allows controlled steam release without significant heat loss. For best results, replace towels every 4-6 hours during extended cooking sessions—this simple refresh maintains absorption capacity and prevents saturation.
Critical tip: Double-layer your paper towels for 8+ hour cooks. This extra thickness catches more moisture while maintaining the perfect micro-gap for steam ventilation. You’ll see immediate results—no more water droplets forming on your food’s surface.
Towel-Wrapped Lid Technique for Serious Condensation Control
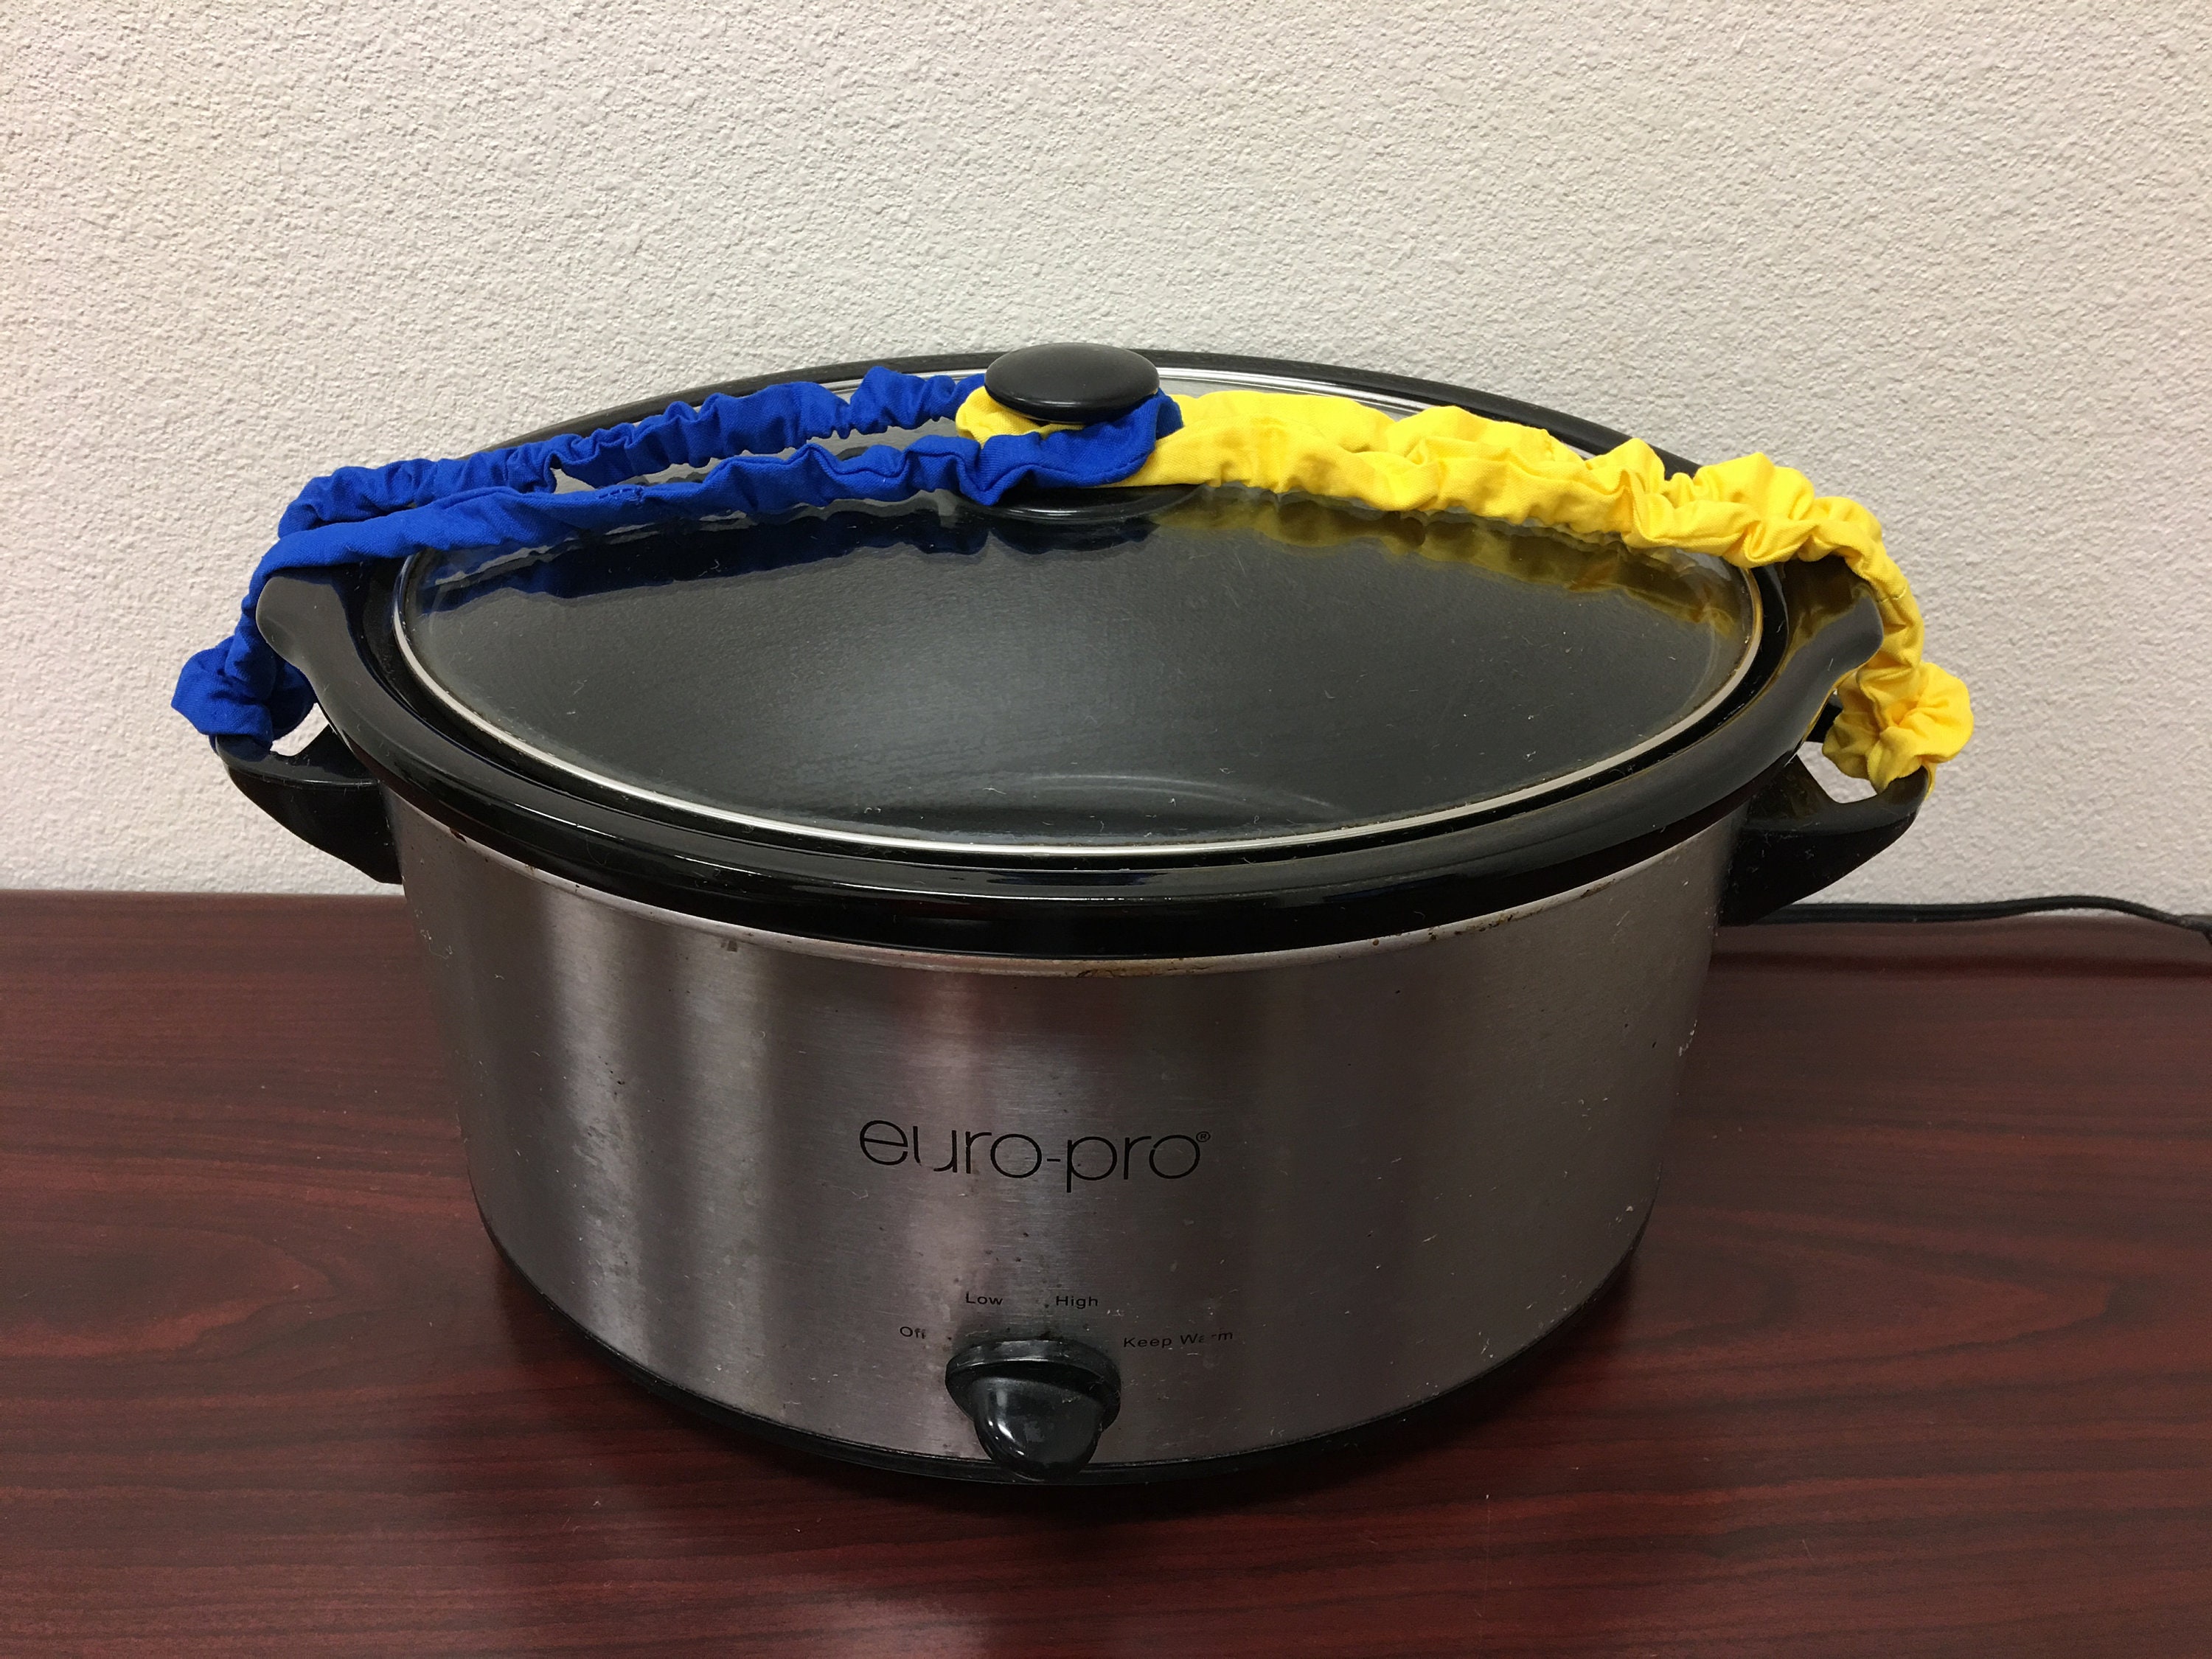
Transform your slow cooker’s performance with a single kitchen towel—the ultimate DIY condensation solution for all-day cooks.
Step-by-Step Towel Application
Fold a clean cotton kitchen towel lengthwise into a 2-inch wide strip, wrap it completely around the lid’s circumference, and secure with rubber bands or kitchen string. This insulation technique warms the lid surface, dramatically reducing the temperature differential that causes condensation. The towel creates a buffer that allows just enough steam to escape while maintaining cooking temperature—perfect for thick sauces and braises that demand concentrated flavors.
Safety warning: Never use synthetic towels—they can melt near heating elements. Stick with 100% cotton kitchen towels rated for high-heat use, and ensure no fabric hangs over edges where it could contact electrical components.
Lid Propping Strategy: The Controlled Venting Method

Sometimes the simplest approach delivers the most reliable results—strategically propping your lid creates the perfect steam release channel.
Precision Propping Technique
Place a wooden spoon handle or thick chopstick between the lid and slow cooker rim at the back of the unit, creating a 1/4 to 1/2 inch gap. This controlled vent releases excess steam while maintaining cooking temperature—critical for recipes that typically turn watery. Rotate the prop position every 2-3 hours to ensure even cooking and prevent localized drying.
Troubleshooting tip: If you notice food beginning to dry out, reduce the gap size immediately. Your goal is a slight tilt, not a large opening that loses too much heat. Check after the first hour—early adjustment prevents cooking disasters.
Aluminum Foil Collar: Customizable Steam Control

Create a reusable condensation solution with heavy-duty aluminum foil that gives you precise control over steam release.
Building Your Adjustable Collar
Take an 18-inch strip of heavy-duty foil, fold it lengthwise twice to create a quadruple-thick 1-inch wide strip, then wrap it around the lid edge leaving 1/8-inch gaps every 2-3 inches. This semi-permanent collar provides adjustable venting—more gaps for recipes needing maximum moisture control, fewer gaps when you want to retain some steam. After first use, the foil molds perfectly to your lid shape for instant reapplication.
Pro adjustment guide: During cooking, monitor condensation levels and gently squeeze the foil gaps narrower or wider as needed. This real-time control beats permanent modifications while delivering restaurant-quality results.
Temperature Tactics That Prevent Condensation Before It Starts
Smart temperature choices eliminate condensation problems at the source—before water droplets even form.
Strategic Temperature Management
Start your slow cooker on HIGH for the first 1-2 hours to quickly bring ingredients to temperature, then switch to LOW for the remainder of cooking. This hybrid approach reduces total steam generation during the critical early phase when most condensation forms. For recipes requiring 8+ hours, combine this temperature strategy with the paper towel method for double protection against watery results.
Expert insight: Monitor through the first hour—if you see heavy condensation building on the lid, implement your chosen control method immediately. Waiting allows flavors to dilute beyond recovery, while early intervention preserves your dish’s integrity.
Recipe-Specific Fixes for Watery Nightmares
Thick Stews and Chili Rescue Plan
Reduce initial liquid by 15% when using any condensation control method. Your moisture management techniques will prevent the typical watery buildup that ruins thick textures. Add a cornstarch slurry in the final 30 minutes if additional thickening is needed—this timing ensures perfect consistency without gummy texture.
Roast Revival Technique
Pat meat completely dry before seasoning—excess surface moisture combines with condensation to create steaming instead of proper slow cooking. Use the towel-wrapped lid method for these longer cooks to maintain temperature while preventing moisture from washing away your beautiful sear. Finish with the lid propped open for the last 30 minutes to firm up textures.
Troubleshooting When Your Food Gets Too Dry
If your condensation control methods cause excessive drying, immediately add 1/4 cup of liquid and slightly reduce your venting. Check for damaged lid seals that might be leaking too much steam—replace worn gaskets to restore proper heat retention. For critical recipes, use a food thermometer to verify your slow cooker maintains 140°F+ for food safety while preventing over-drying.
Safety Essentials You Must Never Ignore
Electrical hazard alert: Never let towels or paper products contact heating elements or electrical connections. Keep all condensation control materials clear of vents and temperature controls—replace any materials showing scorch marks immediately. Your safety must always outweigh cooking perfection.
Food safety checkpoint: Maintain internal food temperature above 140°F throughout cooking. Use a food thermometer to verify safety, especially when adjusting venting. Never leave food in the “danger zone” (40-140°F) for more than 2 hours—when in doubt, discard rather than risk illness.
Final Pro Tips for Condensation-Free Success
Implement your chosen condensation control method within the first hour of cooking—waiting until problems appear means flavors are already diluted beyond recovery. For stubborn recipes, combine methods: use paper towels plus slight lid propping for 8-hour cooks. Trust your senses—if food looks watery or smells less intense than expected, act immediately. Your slow cooker should enhance flavors, not dilute them. With these proven techniques, condensation becomes a solved problem rather than an inevitable frustration—ensuring every meal emerges exactly as you intended.


