
The sweet aroma of perfectly cooked pulled pork greeting you when you walk through the door after work—that’s the magic of mastering your Crock-Pot timer. But if you’ve ever returned to overcooked chili or underdone stew, you know timing makes all the difference. Learning exactly how to set timer on Crock-Pot slow cooker transforms your appliance from a simple pot into a meal-planning powerhouse that delivers restaurant-quality results precisely when you need them.
This guide cuts through the confusion with model-specific instructions for every Crock-Pot timer type, from basic rotary dials to Wi-Fi-enabled units. You’ll discover the exact steps to program your device correctly, avoid dangerous food safety pitfalls, and troubleshoot common timing issues before they ruin your meal. Whether you’re prepping for a busy workday or planning a weekend feast, these techniques ensure your slow cooker becomes your most reliable kitchen ally.
Digital Crock-Pot Timer Programming Steps

Power Up Your Programmable Model Correctly
Begin by positioning your Crock-Pot on a stable, heat-resistant surface away from cabinet edges and walls. Plug directly into a grounded wall outlet—extension cords can cause power fluctuations that disrupt timer functions. Press the power button firmly; some models require a 2-second hold to activate the display. If nothing appears, test the outlet with another appliance to rule out electrical issues before contacting Crock-Pot support.
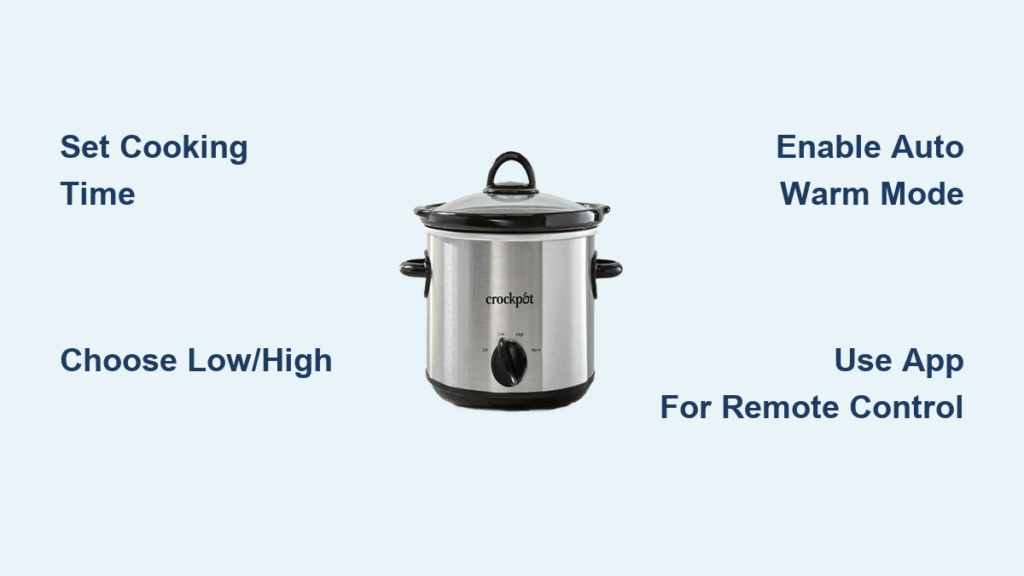
Set Your Cooking Duration with Precision
Choose your temperature setting first by pressing Low or High—this determines your cooking intensity. Then use the + and – buttons to scroll through 30-minute increments, typically ranging from 30 minutes to 20 hours. For an 8-hour workday, set 7.5 hours to allow the automatic transition to Warm mode. Remember that the display shows remaining time, not elapsed time—when it reads “7:30,” your meal finishes in 7.5 hours, not that it’s been cooking that long.
Pro tip: For recipes requiring both high and low settings, program the initial high-heat phase first (usually 1-2 hours), then let the unit automatically switch to low for the remainder of the cooking time.
Confirm Timer Activation with Visual Cues
Look for a blinking colon or countdown display to verify your timer is active. Most models emit a soft beep when programming completes. If the display shows static numbers without blinking, press Start to initiate the countdown. The unit will automatically switch to Warm mode when cooking finishes, usually indicated by a symbol change or blinking light—never leave food on Warm for more than 2 hours to maintain food safety.
Manual Dial Models Without Built-In Timers
Create Your Own Reliable Timing System
Turn your rotary dial to Low or High to begin immediate cooking—these basic models lack digital timers, so you’ll need external tracking. Set your smartphone alarm, kitchen timer, or smart speaker for your desired cooking duration. For a 6-hour Low cook, set your alarm for 5.5 hours to give yourself time to switch to Warm mode before serving.
Example: When preparing beef stew on Low, set phone alarms at 4 hours (check tenderness), 5.5 hours (switch to Warm), and 6 hours (serve)—this prevents overcooking while accommodating unexpected delays.
Watch for Critical Visual Timing Cues
Monitor these signs to determine when manual models need attention:
– Condensation patterns: Heavy droplets on the lid indicate active cooking phase
– Aroma intensity: Strong, developed smells signal food is nearly finished
– Bubbling behavior: Vigorous bubbling around edges means switch to Warm soon
– Steam release: Increased steam when lifting the lid shows cooking is complete
Wi-Fi Model Timer Control Made Simple
Connect Your Smart Crock-Pot Successfully
Download the official Crock-Pot app and create an account before your first cook. Ensure your home Wi-Fi network uses 2.4GHz frequency (most smart appliances don’t support 5GHz). During setup, place your phone within 3 feet of the unit and follow the app’s step-by-step pairing instructions. Test the connection by remotely turning your Crock-Pot on and off before scheduling important meals.
Program Remote Timers with Confidence
Open the app and select your Crock-Pot from the device list. Tap Set Timer and slide the duration selector to your desired cooking time—most models allow 30-minute increments up to 20 hours. The app displays exact start and finish times based on your device’s clock. Enable push notifications to receive alerts when cooking completes or if power interruptions occur.
Smart scheduling: Program tonight’s dinner while at work by setting your Crock-Pot to start automatically at 4:00 PM. The app accounts for your current location and time zone, making meal planning effortless even when you’re away from home.
External Timer Safety Guidelines You Must Know
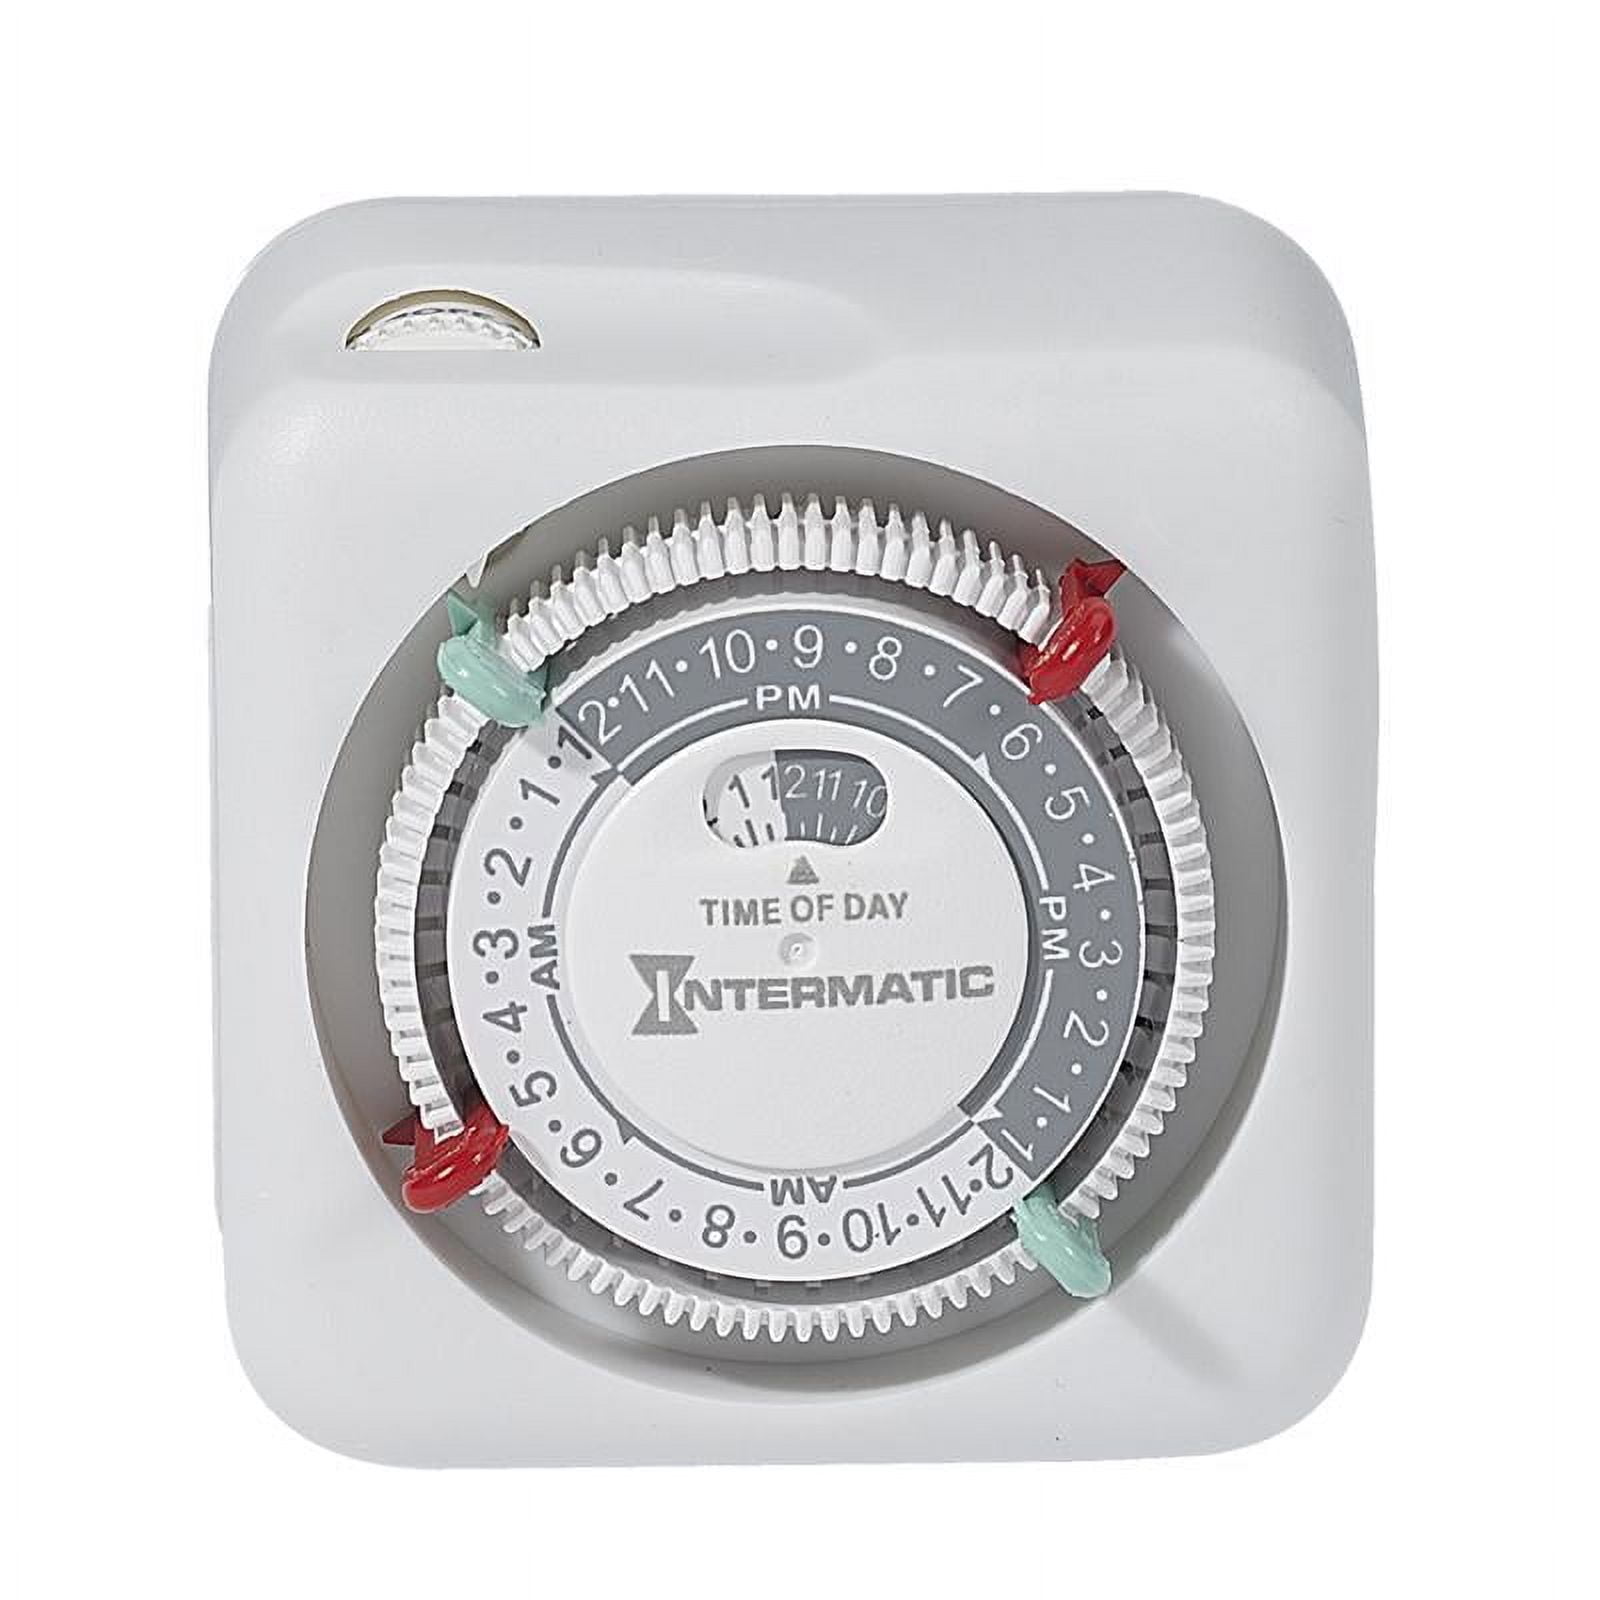
Why Built-In Timers Are Safer Than Plug-In Alternatives
External delay timers create dangerous food safety risks for Crock-Pot users. These devices can fail mechanically, leaving raw food in the bacterial “danger zone” (40°F to 140°F) for hours. Your slow cooker’s high power draw (200-400 watts) may also overload cheap timers, causing electrical fires or tripped breakers that interrupt cooking.
If You Must Use External Timing Solutions
Purchase only heavy-duty appliance timers rated for 15 amps minimum with a manual override switch. Test the timer with your empty Crock-Pot first—run through a complete cycle while monitoring for excessive heat or electrical issues. Never use external timers with recipes containing poultry, seafood, or dairy until you’ve verified safe operation.
Critical warning: If the timer feels hot to the touch, lights flicker, or your Crock-Pot makes unusual buzzing noises during testing, discontinue use immediately—these indicate dangerous electrical issues.
Food Safety Timing Rules Every Cook Must Follow
Pre-Cooking Window Limits for Safe Meal Prep
Assemble ingredients the night before and store them in the ceramic insert in your refrigerator—never let raw ingredients sit at room temperature longer than 2 hours before starting the timer. For poultry or seafood dishes, reduce this window to 1 hour maximum. Always layer ingredients properly: dense vegetables on bottom, meat in the middle, and liquids poured last to prevent bacterial growth in protein-rich layers.
Temperature check: Use an instant-read thermometer to verify ingredients stay below 40°F before cooking begins. If the ceramic insert feels warm to the touch after refrigeration, discard ingredients and start fresh.
Post-Cook Holding Times to Prevent Foodborne Illness
Your Crock-Pot’s Warm setting safely maintains food above 140°F for 1-2 hours maximum. After this window, bacteria can multiply rapidly even though the food appears hot. If dinner plans change unexpectedly, transfer leftovers to shallow containers and refrigerate within 2 hours. Always verify food temperature with a thermometer—finished dishes should read 165°F or higher before switching to Warm mode.
Troubleshooting Timer Problems Effectively

Timer Won’t Start Countdown: Quick Fixes
First, ensure your unit is firmly plugged into a working outlet—test with another appliance. Press the power button firmly for 2 seconds, as some models require this to activate. Check for error codes on the display (like “E1” for power issues). If problems persist, unplug the Crock-Pot for 30 seconds to reset the electronics, then restart the programming sequence.
Critical step: Verify your power source isn’t on a GFCI outlet that may have tripped—these are common in kitchens but can cause intermittent power issues with appliances.
Timer Completes Too Early: Preventative Measures
Frequent lid lifting adds 20-30 minutes to cooking time per peek—resist checking progress to maintain accurate timing. Voltage fluctuations in your home’s electrical system can also accelerate cooking; use a surge protector rated for appliances to stabilize power. If food finishes early, immediately switch to Warm mode—most dishes actually benefit from this resting period as flavors continue to meld.
Pro tip: For recipes prone to early completion (like soups and stews), set your timer for 15-30 minutes less than required, then verify doneness with a thermometer before serving.
Optimal Timing Strategies by Meal Type
Weekday Work Meals with Perfect Timing
Set your timer for Low at 7-8 hours when leaving for work to accommodate standard 9-5 schedules. This allows dense vegetables like potatoes and carrots to become fork-tender while proteins stay moist. Always include a 30-minute buffer for the automatic transition to Warm mode—your meal should finish cooking 30 minutes before you plan to eat.
Weekend Entertaining Made Easy
Use High setting with 3-4 hour timers for party foods like buffalo chicken dip or queso fundido. This allows same-day preparation while you handle other hosting duties. Most appetizers reach perfect serving consistency in 3 hours on High—set your timer to complete 15 minutes before guests arrive for optimal temperature.
Overnight Breakfast Cooking
For steel-cut oats or breakfast casseroles, set Low for 6-7 hours starting at bedtime. Always use a programmable model for overnight safety—never rely on manual timers for unattended cooking. Wake up to fully cooked, ready-to-serve meals with incredible aromas filling your home.
Mastering your Crock-Pot timer turns meal planning from stressful guesswork into reliable, delicious results that fit your schedule perfectly. Whether you’re programming a digital model for tomorrow’s dinner or setting phone reminders for your manual unit, these timing strategies ensure perfectly cooked meals every time. Remember: your Crock-Pot’s timer isn’t just a convenience—it’s your secret weapon for consistently amazing slow-cooked dishes that transform everyday ingredients into extraordinary meals with minimal effort.


