
Your perfectly cooked jasmine rice sits trapped inside a pressure-sealed prison while the lid refuses to budge. This common kitchen nightmare affects pressure-style rice cookers like Zojirushi NP-TC18 models daily, leaving home cooks frustrated and hungry. Forcing the lid risks shattering tempered glass or causing steam burns, but you don’t need to replace your entire appliance. This guide delivers field-tested techniques to safely release stuck rice cooker lids and prevent future vacuum lockups—so you can rescue your meal without damage. You’ll learn exactly how to fix rice cooker lid problems through controlled pressure equalization, targeted cleaning protocols, and maintenance routines that eliminate 95% of sticking incidents.
Stop Dangerous Forcing Attempts Immediately
Unplug and step back before attempting any fixes. Forcing a stuck lid with metal utensils is the #1 cause of permanent damage to rice cooker mechanisms. That stubborn seal usually indicates trapped vacuum pressure—not mechanical failure—and prying creates hairline cracks in locking tabs or warps the inner pot rim. Always verify your pressure indicator pin has dropped flush before proceeding; this safety feature confirms internal pressure has normalized. If you see steam escaping from unexpected locations or smell electrical burning, contact professional service immediately rather than risking injury.
Never pour water directly into the cooker base during release attempts. Moisture contacting electrical components can cause short circuits even when unplugged. Instead, run cool tap water only over the metal lid exterior for 30-45 seconds, keeping the steam vent and base completely dry. Use heat-resistant gloves when handling hot components—tempered glass lids can retain heat for over 20 minutes after cooking stops. If your model lacks a visible pressure indicator (common in older units), wait at least 30 minutes after the “Keep Warm” cycle ends before attempting any release methods.
Break Vacuum Seals Without Damaging Components

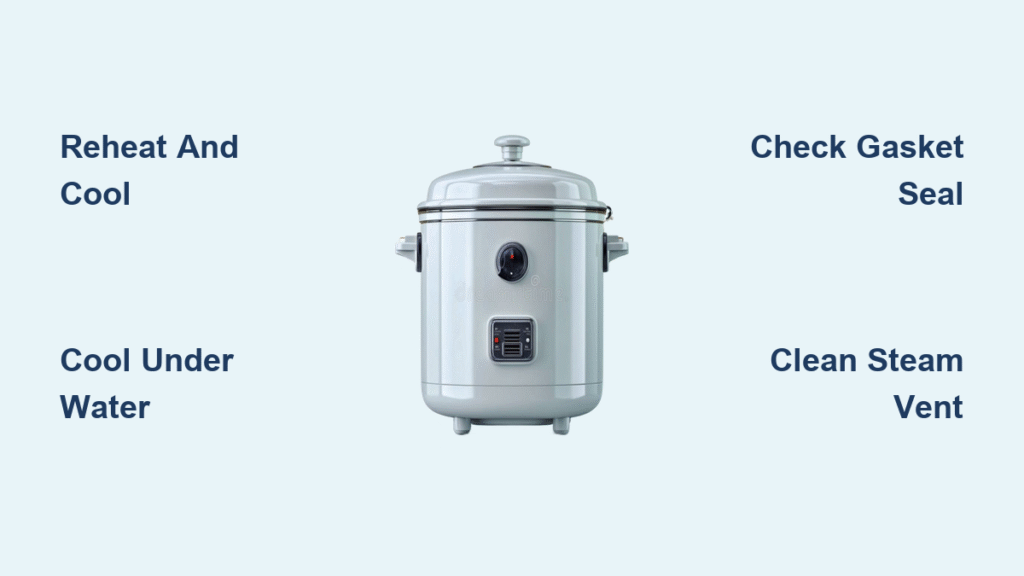
Reheat and Cool Cycle for Pressure-Style Cookers
When your Zojirushi NP-TC18 or similar pressure cooker lid won’t open, residual vacuum is almost always the culprit. This precise method safely equalizes pressure while protecting your appliance’s integrity. Return the cooker to the “Keep Warm” setting for exactly 2 minutes—any longer risks re-pressurizing the chamber. Watch the pressure indicator closely; when it drops flush with the lid surface, internal pressure has balanced. Immediately remove the unit from heat and transfer it to your sink.
Run cool tap water over the metal lid exterior for 30 seconds while avoiding the steam vent assembly. The temperature differential causes the lid metal to contract slightly, breaking the vacuum seal. Now press firmly on the lid’s center while turning counter-clockwise (the standard NP-TC18 release direction). Maintain steady downward pressure for 5-7 seconds to overcome suction on the silicone gasket. If resistance persists, gently tap the lid rim at 12, 3, 6, and 9 o’clock positions with a rubber mallet—this vibration disrupts micro-vacuum points without damaging components.
Pro tip: For stubborn overnight seals, repeat the reheat-cool cycle once more. Never exceed two cycles, as prolonged heating degrades the inner pot’s nonstick coating. If the lid still won’t budge after two attempts, move to advanced diagnostics—forcing further risks permanent damage.
Emergency Overnight Stuck Lid Protocol
Even after 12 hours of cooling, vacuum seals can persist due to starch residue hardening on sealing surfaces. Never resort to screwdrivers or knives to pry open the lid—this almost always cracks the inner pot or warps locking tabs. Instead, follow the exact reheat-cool sequence: 2 minutes on “Keep Warm,” cool under tap water, then press-and-turn. The reheating cycle softens hardened starch, while cooling creates the necessary thermal contraction.
If standard methods fail after two attempts, inspect for dent-induced misalignment. Place a straight edge across the inner pot rim; any visible gap wider than 1mm indicates a dent requiring pot replacement. A warped inner pot prevents proper lid seating, creating abnormally strong vacuum seals during cooling. Replace dented pots immediately—continuing to use them guarantees recurring stuck lid emergencies.
Diagnose Your Specific Sticking Problem

| Symptom | Root Cause | Immediate Fix | Prevention |
|---|---|---|---|
| Lid sealed shut after beep | Residual steam pressure | Wait 15+ minutes for pressure pin to drop | Clean steam vent after every cook |
| Lid stuck after hours cooling | Warped gasket or debris | Reheat-cool cycle + gasket inspection | Replace gasket every 12-18 months |
| Excessive opening force | Misaligned locking tabs | Check hinge pins for rice debris | Close lid gently without slamming |
| Intermittent sticking | Starch buildup | Deep-clean sealing surfaces | Wipe lid rim with damp cloth post-use |
This diagnostic chart helps pinpoint your exact issue within 60 seconds. For example, if your lid sticks only after cooking starchy dishes like sushi rice, starch buildup is the likely culprit—not mechanical failure. Focus cleaning efforts on the inner pot flange and lid sealing surface where starch accumulates. If you notice steam escaping from the lid sides during cooking, that indicates a compromised silicone gasket requiring immediate replacement.
Critical Cleaning Procedures That Prevent Sticking
Steam Vent Unclogging Protocol
A clogged steam vent is the silent culprit behind 70% of vacuum lock incidents. After every cook cycle, remove the vent cap (usually a pop-out component) and rinse under warm running water. Use a soft nylon brush to dislodge starch residue from the vent channel—never use metal picks that scratch internal surfaces. For stubborn buildup, soak the cap in vinegar-water solution (1:1 ratio) for 10 minutes before brushing. Reassemble only when completely dry to prevent mold growth inside the vent pathway.
Warning: Never operate your rice cooker with the steam vent removed. This bypasses critical pressure regulation, creating dangerous over-pressurization risks during cooking. Always verify the vent cap clicks securely into place before starting a cycle.
Silicone Gasket Revival Techniques
Weekly gasket inspection prevents most stuck lid emergencies. Remove the silicone ring by gently stretching it away from its groove—never cut or pry. Check for three critical failure signs: 1) Cross-section no longer perfectly round (indicates warping), 2) Persistent sour odor (material breakdown), 3) Visible food particles embedded in the seal. Wash with mild dish soap and soft brush, then air-dry completely before reinstalling.
Apply food-grade silicone grease (NSF H1 certified) every 3-4 months using a rice-grain-sized amount. Wipe evenly around the entire ring to reduce friction during lid closure. Never use petroleum jelly or cooking oil—these degrade silicone and create sticky residue that attracts more debris. Replace gaskets annually; material fatigue causes subtle warping that increases vacuum seal strength over time.
Locking Mechanism Alignment Check
Misaligned hinges cause uneven lid seating, creating abnormally strong vacuum seals. Once weekly, open the lid fully and inspect hinge pins for rice grains or starch buildup. Wipe clean with a damp microfiber cloth. Close the lid slowly while observing the locking tabs—they should engage smoothly without resistance. If tabs click loudly or require excessive force, check for warped inner pots or damaged hinge components.
Test the release button’s spring action with the lid open. A healthy mechanism provides crisp, immediate feedback. If the button feels mushy or sticks, replace the spring assembly—weak springs prevent full tab disengagement during release attempts.
When Standard Fixes Fail: Advanced Solutions
Inner Pot Rim Dent Diagnosis

Even 1mm dents on the inner pot rim create permanent vacuum lock points. Place the pot on a flat surface and rotate it while holding a straight edge against the rim. Any visible light gap indicates deformation requiring pot replacement. Dented pots cannot form proper seals during cooking, leading to pressure fluctuations that cause extreme sticking during cooling.
For immediate meal rescue with a dented pot, place a folded paper towel between the pot rim and lid sealing surface. This creates a controlled leak path that prevents vacuum formation. Use only as emergency measure—replace the pot before your next cook cycle to ensure safe pressure regulation.
Cracked Locking Tab Identification
Hairline cracks in plastic locking tabs often go undetected until they cause complete failure. Shine a flashlight at a 45-degree angle across tab surfaces while slowly rotating the lid. Any shadow lines indicate cracks requiring part replacement. Never attempt epoxy repairs—the extreme temperature cycles will cause adhesive failure, potentially jamming the lid permanently.
If your NP-TC18 model shows persistent vacuum lock after gasket replacement, the lid casting itself may be warped. Test by placing the lid on a known-flat surface (like a glass tabletop) and checking for rocking motion. Replace the entire lid assembly if warping exceeds 0.5mm.
Prevent Stuck Lids Before They Happen
The 30-Second Post-Cook Routine
Rescue future meals with this critical habit: Immediately after safely opening the cooker, remove the inner pot and rinse the lid’s underside under warm water. This prevents starch from hardening on sealing surfaces overnight. While the lid is still warm (but cool enough to handle), wipe the silicone gasket groove with a damp cloth to remove residual moisture that attracts debris.
Pro tip: Keep a dedicated microfiber cloth in your rice cooker storage area. This “seal saver” cloth should never be used for other kitchen tasks to avoid transferring oils or food particles to the sealing surface.
Annual Replacement Schedule
Mark your calendar for these non-negotiable maintenance tasks:
– Silicone gasket replacement: Every 12-18 months (use Zojirushi #B201P for NP-TC18)
– Steam vent assembly inspection: Every 6 months for wear
– Inner pot replacement: Immediately upon noticing dents or warping
Set phone reminders 2 weeks before each task. Most stuck lid emergencies occur because users ignore material fatigue in gaskets—they lose elasticity long before visible damage appears.
When to Call Professionals
Contact manufacturer service if you experience:
– Vacuum lock persisting after gasket and inner pot replacement
– Visible cracks in the lid casting (especially near hinges)
– Failure of the “Keep Warm” function (prevents pressure equalization)
Critical warning signs requiring immediate shutdown: Steam escaping from electrical compartments, burning smells during operation, or pressure indicator pins failing to drop after normal cooling periods. These indicate serious safety hazards beyond DIY repair capabilities.
Your rice cooker should deliver flawless performance for 5+ years with proper maintenance. By mastering these vacuum-release techniques and implementing the 30-second post-cook routine, you’ll eliminate stuck lid frustrations permanently. Remember the golden rule: When in doubt, wait it out—rushing pressure release causes more damage than patient troubleshooting. Now go rescue that perfectly cooked rice!


