
That sinking feeling when you lift the lid to reveal a crusty, baked-on disaster after hours of slow cooking? You’re not alone. Knowing how to clean a slow cooker properly transforms post-meal chaos into a five-minute task while extending your appliance’s lifespan by years. Whether battling last night’s chili overflow or years of accumulated residue, this guide reveals professional-grade techniques that dissolve stubborn grime without damaging your ceramic insert. Skip the harsh chemicals and hours of scrubbing—discover the vinegar-baking soda magic endorsed by Crock-Pot engineers and the lemon-salt trick grandmothers swear by.
Most people make one critical mistake: attacking the mess while the slow cooker is still hot. This guide prevents costly errors like electrical damage from water exposure or ceramic cracks from thermal shock. By following these steps, you’ll maintain peak performance for decades—because a clean slow cooker cooks more evenly, prevents flavor cross-contamination, and saves you from replacing a $30 appliance prematurely. Let’s dive into methods that make cleanup as effortless as the cooking itself.
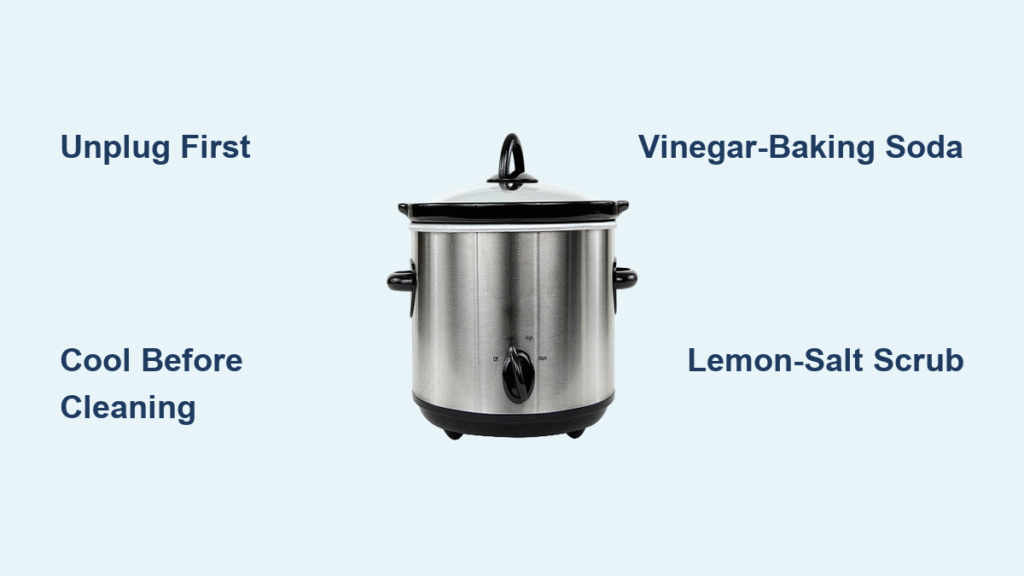
Stop Before You Scrub: Critical Safety Steps
Ignoring these protocols risks appliance destruction or electrical hazards. Always unplug the unit before any cleaning attempt—no exceptions. Then wait 45-60 minutes for the ceramic insert to cool; it retains heat far longer than you expect. Test by lightly touching the base; if it feels warm, wait longer. Crucially, never submerge the electrical base in water or run it under the tap. Water seeping into heating elements causes permanent short circuits and shock risks. These steps aren’t suggestions—they’re non-negotiable requirements straight from manufacturer safety guidelines.
When to Skip Hand Cleaning Entirely
If your slow cooker shows visible cracks in the ceramic, stop immediately. Thermal stress from hot-to-cold transitions can shatter damaged inserts. Similarly, if the base has frayed cords or exposed wires, discontinue use. Safety trumps convenience—replace compromised units before attempting cleanup.
5-Minute Daily Cleaning Routine That Prevents Buildup
Post-meal maintenance takes less time than loading your dishwasher. Remove the ceramic insert and glass lid while they’re still slightly warm (but not hot)—this softens residue for easier removal. For hand washing, use hot water, mild dish soap, and a soft sponge. Focus on the rim where spills accumulate, then rinse twice to eliminate soap traces that alter future meal flavors. Dishwasher users: place both components on the top rack only to prevent chipping. Always air-dry upside down on a towel—trapped moisture breeds mold in the lid’s steam vent.
Why Warm Beats Cold for Cleaning
Cleaning while slightly warm leverages residual heat to loosen stuck-on bits. Cold water on hot ceramic causes thermal shock, risking cracks. But wait too long, and residue hardens into concrete-like layers. The sweet spot? Clean within 20 minutes of turning off the unit—when it’s warm enough to help but cool enough to handle safely.
Vinegar-Baking Soda Deep Clean: Crock-Pot’s Official Method
When chili stains laugh at your sponge, this chemical-free technique dissolves years of grime. Fill the ceramic insert with water just covering the residue line (about 1 inch deep). For 3-quart models, add ½ cup distilled white vinegar; for 6-quart, use 1 cup. Stir gently, then slowly sprinkle baking soda—½ cup for small units, 1 cup for large. Expect violent bubbling; wait 30 seconds for it to subside before adding more. Cover and set to LOW for 1 hour (extend to 4 hours for extreme cases). After unplugging, cool 30 minutes, then wipe away residue with zero scrubbing. Rinse until water runs clear.
Troubleshooting the Bubbling Reaction
If the fizzing stops prematurely, add another tablespoon of baking soda—it reactivates the cleaning action. Never use apple cider vinegar; its sugars create sticky residue. And crucially: always add vinegar before baking soda. Reversing the order causes explosive overflow that wastes your cleaning solution.
Lemon-Salt Scrub for Stains & Odors Without Chemicals

This kitchen-tradition method tackles discoloration that vinegar can’t touch. Halve a lemon, remove seeds, and squeeze juice into a bowl. Mix in 2 tablespoons coarse salt (kosher or sea salt) to form a gritty paste. Apply directly to stained areas and scrub for 90 seconds with the rough sponge side. The citric acid lifts tannins from coffee or tomato sauces, while salt acts as a gentle abrasive. Rinse immediately—prolonged acid exposure etches ceramic over time.
When to Choose Lemon Over Vinegar
Opt for this method on yellowish stains from turmeric or curry, or if lingering odors persist after vinegar cleaning. It’s also ideal for light daily maintenance since it requires no heating. Avoid using on deep scratches where acid could trap in grooves.
Cleaning the Electrical Base Without Water Damage
The base demands surgical precision. Unplug and remove the ceramic insert first. Dampen a microfiber cloth with 1 teaspoon water mixed with mild soap—wring until almost dry. Wipe the interior, focusing on the heating element groove where food splatters hide. Use cotton swabs to extract crumbs from tight corners. Never spray liquid directly onto the base; dip swabs in your solution instead. Finish by drying 10 minutes with a towel, then air-dry upright for 30 minutes before reassembly.
Danger Zones You Must Avoid
Never immerse the base, even partially. Avoid bleach or abrasive pads that scratch surfaces and expose electrical components. If you spot white mineral deposits (common in hard water areas), wipe with a vinegar-dampened swab—never submerge.
Prevent Messes Before They Happen
Smart habits eliminate 80% of deep cleaning needs. Line your slow cooker with Crock-Pot™ liners before adding ingredients—they fit 3-8 quart models and lift out entire messes. But note: these single-use plastics aren’t recyclable, so balance convenience with sustainability. Never fill beyond ⅔ capacity; this prevents boil-overs that bake onto the lid. Before placing the lid, wipe the ceramic rim with a damp cloth to seal out steam. Stir once mid-cooking if recipes allow—it stops bottom burning without disrupting slow cooking.
The Fill Level Sweet Spot
Underfilling (below ⅓) causes uneven cooking and scorching. Overfilling risks spills that harden on electrical components. For perfect results: measure liquids precisely per recipes—too little liquid creates “burn” errors, while excess dilutes flavors.
Monthly Maintenance That Extends Lifespan
Weekly: Wipe the exterior with a vinegar-water mix (1:1) to remove grease splatters. Check the lid’s rubber seal for cracks where bacteria hide. Monthly: Run the vinegar-baking soda cycle even if the insert looks clean—it removes invisible mineral deposits. Quarterly: Inspect the ceramic for hairline cracks (shine a flashlight sideways across the surface) and test heating accuracy by timing how long water takes to simmer.
Signs You Need Immediate Deep Cleaning
Persistent stew smells after washing? Discolored patches that won’t lift? Reduced heating efficiency? These indicate residue buildup in the base unit. Don’t wait—perform the vinegar cycle now before odors permanently set in.
Fix Stubborn Problems in Minutes

For Cement-Like Residue
Extend the vinegar soak to 8 hours unplugged (overnight). Use a nylon scraper—never metal—to lift softened chunks. Repeat the cycle if needed; decade-old buildup rarely vanishes in one pass.
Erasing Lingering Odors
Fill the insert with water, add 2 tablespoons baking soda, and run on LOW for 30 minutes. For stubborn smells, place dry coffee grounds inside overnight—they absorb odors like a sponge.
Discoloration Reality Check
Brown spots from tomato sauces usually vanish with vinegar. Yellow curry stains often require the lemon-salt method. Accept that some aging discoloration is normal—it doesn’t affect performance unless accompanied by cracks.
Storage Secrets for Longevity
Always store completely dry—moisture causes mold between the lid and base. Leave the lid ajar by 1 inch when storing to prevent musty smells. For long-term storage (over 3 months), place a paper towel between insert and base to absorb ambient humidity. Wrap the cord loosely—tight coils damage internal wires.
When to Retire Your Slow Cooker
Replace immediately if:
– Ceramic has any cracks (thermal shock risk during heating)
– The base shows sparks or burning smells
– Heating takes 2x longer than when new
Consider replacement if:
– Odors persist after 3 deep cleans
– The lid doesn’t seal properly due to warping
– Scratches expose the ceramic’s underlying material
Final Takeaway: Mastering how to clean a slow cooker starts with daily 5-minute wipe-downs while components are warm—not waiting for disasters. The vinegar-baking soda method solves 95% of deep cleaning needs, but keep lemon-salt paste ready for stubborn stains. By preventing residue buildup through proper fill levels and liners, you’ll avoid the scrubbing nightmares that make people abandon these appliances. A well-maintained slow cooker can last 15+ years—making today’s 10-minute cleaning investment repay you in hundreds of effortless, delicious meals. Remember: the secret isn’t elbow grease; it’s using heat, chemistry, and timing to let your appliance clean itself.


