
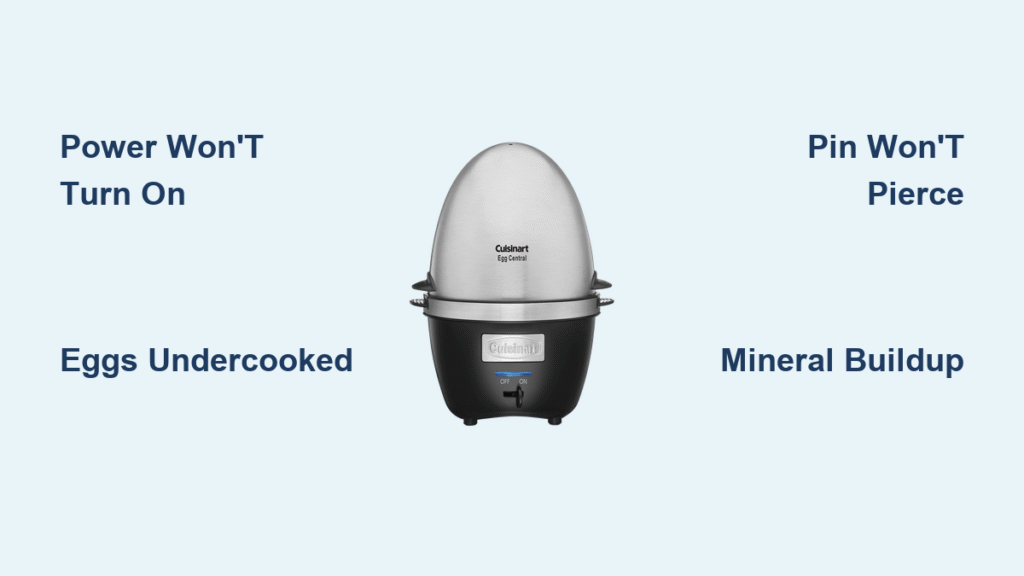
Your Cuisinart egg cooker should deliver perfectly cooked eggs with minimal effort, but when it starts malfunctioning, your morning routine hits a wall. Nothing disrupts your day like a steaming appliance that won’t power on, eggs that consistently turn out rubbery, or mysterious beeping that leaves you guessing whether your breakfast is done. These compact countertop heroes develop frustrating issues that transform what should be a 10-minute task into a culinary headache.
This Cuisinart egg cooker troubleshooting guide delivers immediate solutions to the most frequent problems users face. You’ll discover how to diagnose issues through simple visual inspections and quick tests that require no special tools. Whether you’re dealing with power failures, inconsistent cooking results, or persistent mineral buildup, these practical fixes restore your appliance’s performance without sending it to the landfill. Learn to troubleshoot like a pro and reclaim those perfectly cooked eggs you’ve been missing.
Power Problems Solved

Device Won’t Turn On
When your Cuisinart egg cooker refuses to power up, systematic troubleshooting saves time and frustration. Start by unplugging the unit and conducting a thorough visual inspection of the power cord. Carefully examine the entire length for cuts, kinks, or fraying, paying special attention to areas near the plug and where the cord enters the base. Gently flex the cord while watching for intermittent connections—these often reveal internal breaks that require replacement rather than repair.
Test your electrical outlet by plugging in another small appliance like a phone charger or lamp. Kitchen circuits frequently include GFCI outlets that trip without obvious visual indicators, silently cutting power to your egg cooker. Locate the reset button on your outlet face (usually between the plug slots) and press firmly until it clicks back into place if your circuit has tripped.
Examine the heating plate contacts for corrosion or accumulated food debris. Even microscopic particles can prevent proper electrical connection between the base and heating element, causing complete power failure. Using a dry cotton swab, gently clean the metal contact points while avoiding excessive pressure that might bend or damage these delicate components. Proper contact alignment is essential for consistent power delivery to the heating element.
Intermittent Power Loss During Cooking
If your egg cooker powers up but shuts down unexpectedly mid-cycle, thermal overload protection is likely activating. These safety mechanisms automatically cut power when internal temperatures exceed safe limits, typically caused by blocked ventilation or significant mineral deposits on the heating plate. To verify this issue, run a test cycle while monitoring the base temperature—the housing should feel warm but never uncomfortably hot to the touch.
Feel around the base perimeter for excessive heat buildup, which indicates restricted airflow. Your Cuisinart requires proper ventilation to operate safely—ensure it sits on a flat, open surface at least two inches away from walls or other appliances. Countertop clutter or positioning near heat sources like stovetops exacerbates overheating problems.
Listen carefully for rapid clicking sounds during operation, which signal the thermostat struggling to maintain proper temperature. This cycling behavior often stems from scale buildup creating inconsistent heat transfer between the heating element and water reservoir. The thermostat detects temperature fluctuations it can’t regulate, triggering repeated power interruptions that disrupt cooking.
Water and Steam Issues Resolved
Eggs Consistently Undercooked
When your eggs emerge runny despite following instructions, water measurement errors are usually to blame. Always use the manufacturer-provided measuring cup rather than standard kitchen utensils—the fill lines correspond precisely to specific doneness levels based on scientific steam calculations. Even slight measurement variations dramatically affect cooking results due to the appliance’s precise engineering.
Check the heating plate for white, chalky mineral deposits that act as thermal insulation. These layers prevent efficient heat transfer to the water, reducing steam generation below required levels. Hold the base at an angle under bright light to spot thin, translucent buildup that might be invisible under normal lighting conditions.
Inspect the lid seal for cracks or warping that compromise the cooking chamber’s integrity. Run your finger along the entire rubber gasket circumference, feeling for gaps, hardened sections, or areas where the seal doesn’t make complete contact. A compromised seal allows critical steam to escape, lowering internal temperature and extending cooking time beyond manufacturer specifications.
Excessive Steam or Cracked Shells
Overfilled water reservoirs create dangerous pressure buildup that cracks shells and overcooks eggs. The Cuisinart’s engineering requires exact water measurements—exceeding the recommended fill line by even a tablespoon generates excessive steam pressure. Always measure at eye level with the cup on a flat surface to ensure accuracy, as angled measurements create significant volume errors.
Verify your piercing technique using the built-in pin mechanism. Apply firm, straight-down pressure through the shell’s broader end to create a clean, circular hole that releases pressure without damaging the inner membrane. Many users apply sideways pressure, creating oval holes that weaken shell structure and cause premature cracking during cooking.
Check for proper rack placement—eggs should rest securely in individual depressions without touching each other or the unit’s walls. Contact points create concentrated heat zones that stress shells unevenly. Gently shake the loaded rack before starting your cycle; eggs should remain stable without rolling or shifting position.
Piercing Problems Fixed

Pin Won’t Pierce Shells Effectively
When the piercing pin fails to penetrate shells, examine it under bright light for bending or blunting. The pin should taper to a sharp point—if the tip appears flattened, bent sideways, or shows visible wear, replacement becomes necessary for proper function. Hold the pin assembly steady while inspecting to avoid accidental injury from the sharp point.
Apply steady, perpendicular pressure rather than an angled approach when piercing. Many users tilt the pin mechanism, creating oval holes that compromise shell integrity and lead to cracking. Practice your technique on a spare egg over the sink to perfect consistent, straight-down pressure before cooking your actual meal.
Consider shell thickness variations based on egg source and freshness. Older eggs develop thinner shells requiring gentler pressure, while fresh farm eggs might need slightly more force due to thicker, stronger shells. Adjust your technique according to egg type—organic or free-range varieties often have different shell characteristics than standard grocery store eggs.
Shells Crack Despite Proper Piercing
If you’re piercing correctly but still experiencing cracked shells, check egg temperature before cooking. Cold eggs straight from the refrigerator experience thermal shock when exposed to sudden steam, making them significantly more prone to cracking. Let eggs sit at room temperature for 10-15 minutes before cooking to minimize temperature differentials.
Reduce water levels slightly when working with particularly thin-shelled eggs. The standard measurements assume average grocery store egg thickness—organic or free-range varieties sometimes require 10% less water to prevent excessive pressure buildup. Start with half a teaspoon less water and adjust based on results.
Examine the cooking rack for rough spots or manufacturing burrs that stress shells during heating. Run your finger along all contact points where eggs rest, feeling for raised edges that create pressure points. Gently smooth any problematic areas with fine-grit sandpaper (220+ grit) using circular motions to avoid creating new imperfections.
Cleaning and Maintenance Essentials
White Mineral Deposits Removal
Hard water leaves stubborn calcium deposits that severely impact performance. Create a 50/50 solution of white vinegar and water, filling the reservoir to the maximum line. Run a complete cycle without eggs, then rinse thoroughly with fresh water. The acetic acid in vinegar dissolves mineral bonds, restoring proper heat transfer to the water.
For severe buildup, let the vinegar solution sit in the reservoir for 30 minutes before running the cleaning cycle. This extended contact time allows the acid to penetrate deep into deposits, making them easier to remove with a soft cloth. Never use abrasive cleaners or metal scrubbers that scratch the heating plate surface.
Establish a cleaning schedule based on your water hardness. Soft water areas typically need monthly cleaning, while hard water regions benefit from weekly vinegar treatments. Keep a maintenance log noting cleaning dates and results to track buildup patterns and optimize your schedule.
Persistent Odors After Cleaning
Lingering smells indicate organic material trapped in hard-to-reach crevices. Disassemble the unit completely, removing the lid, tray, and piercing pin assembly for thorough cleaning. Pay special attention to the piercing pin housing where egg residue accumulates and bakes onto surfaces during operation.
Soak removable parts in hot, soapy water for 20 minutes before scrubbing with a soft brush. Focus on textured surfaces and connection points where residue hides. Use an old toothbrush to access tight spaces around the piercing mechanism and under the tray support arms.
Run a final rinse cycle with fresh water and a tablespoon of baking soda to neutralize any remaining odors. The alkaline solution breaks down residual proteins causing unpleasant smells while leaving a neutral pH environment that prevents future odor development.
Prevent Future Problems
Daily Maintenance Habits
Empty and rinse the base after every use—never let water sit in the reservoir overnight. Standing water accelerates mineral deposits and creates bacterial growth that affects food safety and performance. Wipe the heating plate while still slightly warm (not hot) to prevent residue from hardening into difficult-to-remove deposits.
Store the unit completely dry with the lid slightly ajar to prevent trapped moisture from corroding electrical contacts. In humid environments, place a silica gel packet inside the storage container to absorb ambient moisture and protect sensitive components.
Document your successful settings by noting water levels, egg quantities, and cooking times that produce perfect results. These personal reference points eliminate guesswork and reduce trial-and-error failures, especially when using different egg types or adjusting for altitude.
When persistent issues resist these troubleshooting steps, consult your warranty documentation or contact Cuisinart customer service for professional repairs—particularly for electrical problems beyond basic cleaning and adjustment. Most common egg cooker failures stem from simple maintenance oversights rather than permanent damage, so regular care keeps your appliance delivering perfect eggs for years.


