
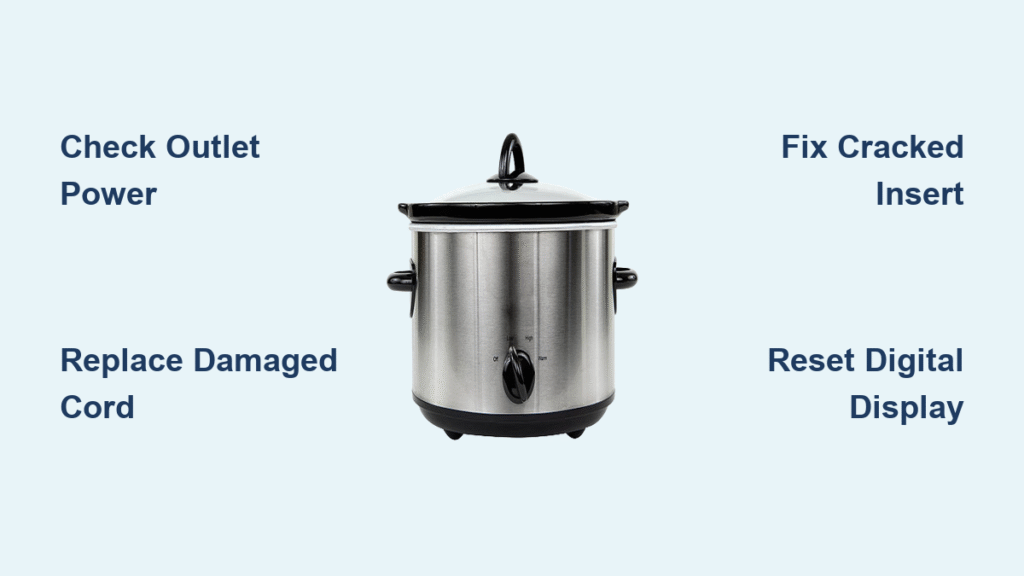
Your slow cooker just died mid-recipe, leaving you with half-cooked chili and a growing panic. Before you toss it out or waste money on a replacement, know this: 90% of Crock Pot failures are easily fixable with basic tools and the right guidance. Whether you’re dealing with a vintage Rival Crock Pot 3120 or the latest Express Crock Multi-Cooker, most issues can be resolved in under 30 minutes—saving you $40-120 on a new unit. This comprehensive crock pot slow cooker repair guide walks you through diagnosing and fixing every common problem, from power failures to cracked inserts.
Don’t let a simple malfunction ruin your meal prep routine. With the systematic approach outlined here, you’ll transform from appliance victim to DIY repair expert. We’ll cover exact steps for restoring functionality to traditional slow cookers and digital multi-cookers alike—no prior electrical knowledge required.
Why Your Crock Pot Won’t Power On (And How to Fix It)
Check Outlet and Circuit Breaker First
Start with the simplest solution—your wall outlet. Plug in a phone charger or lamp to verify power. If nothing works, check your home’s circuit breaker; slow cookers draw 200-300 watts, frequently tripping breakers when multiple appliances share a circuit. Critical mistake to avoid: Never assume the slow cooker is dead before verifying power source functionality.
Identify Damaged Power Cord Issues
Unplug your unit and inspect the entire cord length for:
– Fraying where the cord meets the appliance body
– Sharp bends that break internal wires
– Melted sections from heat exposure
– Exposed copper indicating electrical hazard
Warning: Damaged cords require immediate replacement—never use electrical tape as a permanent fix. Replacement cords cost $10-15 and install in minutes.
Replace Blown Thermal Fuse

Most Crock Pot models contain an internal thermal fuse that fails when overheated. You’ll need: Phillips screwdriver, replacement thermal fuse (match voltage/amp rating), wire strippers.
Repair steps:
1. Remove bottom screws and lift off base plate
2. Locate the small cylindrical fuse near power input
3. Test with multimeter—no continuity confirms blown fuse
4. Cut old fuse leads, strip wires, install new fuse
5. Reassemble and test functionality
This $5 part takes 15 minutes to replace and resolves most “dead appliance” scenarios.
Stop Using Cracked Stoneware Immediately
Why Hairline Cracks Are Dangerous
Microscopic cracks in ceramic inserts create serious hazards:
– Bacterial breeding grounds in invisible crevices
– Sudden shattering during temperature changes
– Lead leaching from compromised glaze
– Electrical shorts from moisture reaching heating elements
Critical action: Discontinue use immediately if any crack is visible—even tiny “crazing” (fine surface cracks) requires replacement.
Find Exact Replacement Inserts

Match these specifications precisely:
– Model number from bottom label (e.g., SCCPMD3-CH)
– Capacity (1.5 qt to 8 qt options)
– Shape (round vs oval)
– Rim style (notched for lid vs smooth)
Pro tip: Measure your old insert’s diameter and depth—manufacturers sometimes change dimensions between model years. Authentic Crock-Pot inserts ($25-45) guarantee proper fit and food-safe materials versus generic alternatives ($15-25) that may heat unevenly.
Fix Inconsistent Heating Problems

Diagnose Thermostat Failure
Symptom checklist:
– Food stays lukewarm after 2 hours on HIGH
– Boiling on LOW setting (thermostat stuck closed)
– No temperature difference between settings
– Uneven cooking with cold spots
Verification test: Fill your Crock Pot 2/3 with water. After 1 hour on LOW, temperature should read 180-200°F. HIGH should reach 280-300°F. Significant deviations indicate thermostat failure.
Replace Faulty Temperature Control
Required tools: Phillips screwdriver, needle-nose pliers, model-specific thermostat
Repair process:
1. Unplug unit and let cool completely
2. Remove bottom cover (4-6 screws)
3. Locate round thermostat near heating element
4. Disconnect wire leads (photograph connections first)
5. Remove mounting screws and old thermostat
6. Install new unit, reconnect wires exactly
7. Test with water batch before food use
This 20-minute repair restores precise temperature control to most traditional slow cookers.
Restore Digital Display Functionality
Fix Blank Express Crock Screens
The SCCPPC600-V1 digital display commonly shows:
– Blank screen (loose ribbon cable)
– Flashing error codes (sensor failure)
– Unresponsive buttons (control board failure)
First-aid fix: Unplug for 30 seconds, press and hold any button while unplugged, then reconnect. This resets the control board in 60% of cases.
Reseat Control Board Connections
Tools needed: Small Phillips screwdriver, plastic spudger
Steps:
1. Remove 4 screws from back panel
2. Gently lift control panel (connected by ribbon cable)
3. Flip up brown locking tab on cable connector
4. Remove and reinsert ribbon cable firmly
5. Close locking tab and reassemble
This simple procedure resolves most digital display issues without part replacement.
Replace Broken Handles and Fix Steam Leaks
Secure Handle Replacement
Rival 33551 and similar models use screw-on handles that crack with age.
Materials: Replacement handle kit ($8-12), Phillips screwdriver
Process:
1. Remove old handle screws from lid
2. Clean screw holes thoroughly
3. Position new handle and insert screws
4. Tighten firmly but don’t overtighten
5. Test lid fit and handle strength
Seal Lid Steam Leaks
Warped lids cause extended cooking times. Quick fixes:
– Minor warping: Place lid upside-down on flat surface overnight with weight
– Sealing ring replacement: Soak new ring in warm water 5 minutes for flexibility before installation
– Complete lid replacement: Required if warping exceeds 1/8 inch
Prevent Future Crock Pot Failures
2-Minute Weekly Maintenance Routine
Inspection checklist:
– [ ] Power cord shows no damage
– [ ] Stoneware insert sits evenly
– [ ] Lid seals properly all around
– [ ] Digital display responds normally
– [ ] No unusual odors when heating
Smart Storage Practices
Never store with lid locked—trapped moisture damages electronics. Instead, place paper towel between lid and base to absorb condensation. Wrap cords loosely around the base to prevent internal wire breaks from sharp bends.
Repair vs Replace Cost Analysis
DIY Repair Budget Breakdown
Typical costs:
– Power cord: $10-15
– Thermostat: $15-25
– Stoneware insert: $25-45
– Digital control board: $35-60
– Complete handle/lid set: $20-35
Decision rule: If repair costs exceed 50% of new unit price (typically $40-120), consider replacement—especially for units over 7 years old. Skip professional repair for basic models; labor costs ($75-100/hour) usually exceed replacement value.
Final Verification Test Protocol
Post-Repair Water Test
Verification method:
1. Fill 2/3 with water
2. Run on HIGH for 1 hour
3. Temperature should reach 280-300°F
4. No unusual smells or sounds
5. Digital controls respond normally (if applicable)
After successful completion, your Crock Pot is ready for your favorite recipes. Start with forgiving dishes like chili or stew for your first food test.
Bottom line: Most crock pot slow cooker repair scenarios require just basic tools and $15-40 in parts. The key is systematic diagnosis—start simple with outlet and cord checks, then methodically work through heating elements and controls. Your well-loved slow cooker can serve another decade with the right fixes and preventive care, saving you money while keeping appliances out of landfills. When you encounter your next slow cooker malfunction, remember: what seems like a death sentence is usually just a blown fuse or cracked insert waiting for your repair expertise.


