Your Aroma rice cooker powers on but the heating plate stays cold—leaving you with crunchy rice and cold water. This common failure turns dinner prep into frustration, especially when you’re counting on that perfect batch of fluffy rice. Before you abandon your cooker, know that 90% of Aroma rice cooker not heating issues stem from just five fixable components. This guide walks you through pinpointing the exact cause and getting your cooker steaming again with basic tools and under $20 in parts.
Pinpoint Your Exact No-Heat Failure
Power On But Stone-Cold Plate After 10 Minutes
When your cooker’s LED glows but steam never appears, your heating element has almost certainly failed. This resistive coil fractures internally after thousands of heating cycles due to thermal degradation. Grab your multimeter and test the terminals—you’ll read infinite resistance instead of the normal 20-60 ohms. Critical warning: White mineral buildup on the element surface creates hot spots that accelerate burnout, so descaling alone won’t fix a completely dead element.
Total Darkness: No LED, No Heat Whatsoever
A completely dead unit points to upstream electrical failure. First, test the outlet with another appliance. If the outlet works, your thermal fuse likely blew during a previous boil-dry incident. This one-shot safety device permanently opens at 172°C to prevent fires. Unlike replaceable fuses, thermal fuses require replacement after identifying what caused the overheat—simply swapping it without fixing the root cause guarantees repeat failure.
Blinking Display With Zero Heat Production
Digital models showing error codes or flashing LEDs signal control board problems. Steam corrosion creates electrical paths that confuse the microcontroller. You’ll often spot green corrosion around the heating relay or burnt components on the PCB. Pro tip: Press “Cook” and listen—the absence of a relay’s clicking sound confirms circuit board failure rather than element issues.
Your Essential Diagnostic Toolkit
5-Minute Visual Inspection Protocol
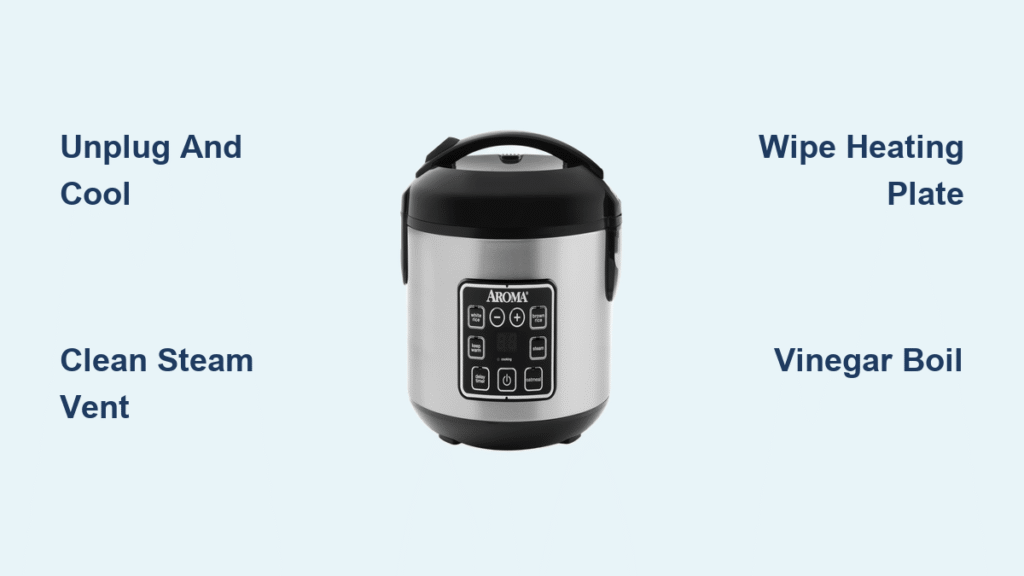
Unplug your Aroma rice cooker and let it cool for 30 minutes before starting. Remove the inner pot and sniff the base—burnt electronics smell indicates PCB failure. Immediately check for:
– White crust on heating element terminals (mineral scale)
– Melted plastic near the base (overheating evidence)
– Green corrosion on wire connections (steam damage)
– Swollen thermal fuse (looks like a small ceramic cylinder)
Multimeter Testing Simplified for Beginners
Set your meter to continuity mode (beep symbol) and test these unplugged components:
1. Power cord prongs: Should beep (0.1-0.5 ohms)
2. Thermal fuse: Must beep (<1 ohm)
3. Heating element: Should show 20-60 ohms resistance
4. Thermostat (cold): Should beep (closed circuit)
Critical mistake to avoid: Testing the NTC sensor? At room temperature, expect 50-100k ohms—readings outside this range cause the microcontroller to disable heating.
Replace the Heating Element in 4 Steps

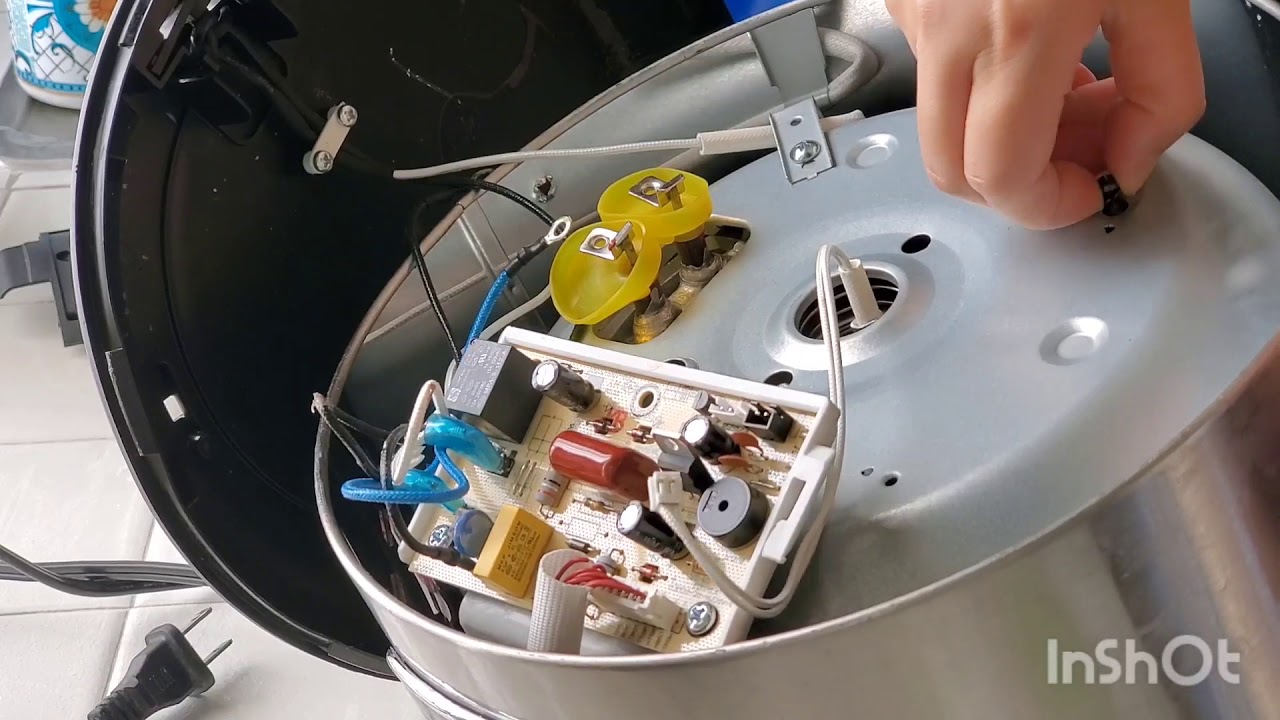
Safe Disassembly Without Damage
Flip your Aroma cooker upside down and remove the bottom cover screws (usually Torx T15 or Phillips #2). Take photos of all wire connections before disconnecting anything. The element mounts with 4-6 screws into an aluminum heat spreader—these often seize from heating cycles. Apply penetrating oil if screws won’t budge, but never force them to prevent warping the spreader.
Element Replacement Checklist
- Disconnect spade terminals by pulling straight off (polarity doesn’t matter for resistive elements)
- Remove mounting screws evenly in a star pattern to avoid warping
- Clean mating surfaces with vinegar to remove mineral deposits
- Torque new screws to 15 in-lbs using a star pattern for even contact
Time-saver: New elements cost $12-18 (search Aroma part # ending in “-H”). Test your replacement element—it should read within 5 ohms of the original specification (27Ω for 700W models, 32Ω for 450W).
Fix Thermostat and Sensor Failures
Thermostat Replacement Made Foolproof
Aroma uses either snap-disc thermostats or integrated sensor probes. For snap-disc types:
– Pry out carefully from mounting clips—never bend the disc
– Match cut-in (95°C) and cut-out (80°C) temperatures exactly
For models like the ARC-914SBD where the thermostat integrates with the sensor probe, replace the entire assembly. Never skip calibration: After installation, run a water-only cycle—water should reach 212°F before shutoff. Premature cycling means your thermostat is miscalibrated.
NTC Sensor Troubleshooting Shortcuts
The copper bulb sensor feeds temperature data to the control board. At 75°F room temperature:
– Good sensor: 75k ohms resistance
– Failed sensor: Below 5k ohms or infinite resistance
Clean mineral deposits from the sensor tip with isopropyl alcohol using a cotton swab. If resistance remains out of spec, replace the sensor—most cost $6-10. Warning: “Sensor Error” displays on digital models specifically indicate NTC thermistor failure.
Control Board and Wiring Emergency Fixes
PCB Repair Without Soldering Skills
Blown SMD fuses (marked F1/F2) can be replaced with 250mA fast-blow fuses using needle-nose pliers. For burnt relays:
– Match specs: 12VDC coil voltage, 10A @ 250VAC contact rating
– Apply fresh heat sink compound during installation
Quick fix for corrosion: Scrape green residue off PCB traces with a toothbrush, then coat connections with dielectric grease to prevent recurrence.
Wiring Harness Inspection Hotspots
Check these three critical failure points:
1. Heating element spade terminals—green corrosion increases resistance causing wire melt
2. Thermal fuse leads—fractured solder joints from thermal cycling
3. Power cord entry point—internal breaks where cord bends
Preventative step: Replace cracked cords immediately with high-temp 16 AWG silicone wire—it withstands heat better than standard PVC.
Stop Future Heat Failures Before They Start
Monthly Descaling That Actually Works
Mineral deposits insulate the heating element, creating destructive hot spots. Do this:
– Run 1:1 water/vinegar cycle monthly (never exceed 50% vinegar)
– Rinse thoroughly with 3 water cycles—vinegar residue corrodes aluminum
– Wipe element terminals dry after each use
Critical Boil-Dry Prevention Tactics
Always maintain the minimum water level marked inside the pot. If you hear sizzling:
1. Immediately unplug the cooker
2. Let it cool completely for 30+ minutes
3. Never restart until fully cooled—thermal fuses blow instantly during dry runs
Power Cord Lifespan Extension
Inspect cords monthly for:
– Cracked insulation near strain reliefs
– Exposed copper strands
– Stiffness (indicates heat damage)
Replace at first sign of wear—frayed cords cause 30% of electrical failures.
Repair vs Replace: The $20 Decision Guide
DIY repairs pay off when:
– Heating element fails ($18 part, 30 minutes)
– Thermal fuse blows ($4 part, 15 minutes)
– Thermostat sticks ($10 part, 20 minutes)
Replace immediately when:
– Control board fails ($35 part, 45 minutes)
– Multiple components fail simultaneously
– Repairs exceed 60% of new unit cost ($30-50 for 6-cup models)
Real-world example: Fixing a blown thermal fuse on an ARC-914SBD costs $2 and 15 minutes—cheaper and faster than buying new. But replacing a fried control board on an older model often isn’t economical.
Model-Specific Fixes for Popular Aroma Cookers

ARC-150SB (20-Cup Models)
These use a 700W band-type element secured by 6 screws. Critical step: Always replace the silicone gasket if torn—moisture ingress from a damaged gasket destroys new elements in weeks. Test resistance at 27Ω; readings above 32Ω indicate imminent failure.
ARC-914SBD (8-Cup Digital Models)
The 450W element integrates with the thermostat sensor. When you see “Sensor Error”:
1. Unplug for 10 minutes to reset the microcontroller
2. If error persists, replace the entire sensor probe assembly
3. Verify new element resistance at 32Ω (±5Ω tolerance)
Pro tip: Frequent “Mason jar sterilization” use accelerates element fatigue—inspect after 200 cycles.
Bottom line: When your Aroma rice cooker not heating leaves dinner in ruins, focus on these five culprits: heating element, thermal fuse, thermostat, sensor, or wiring. With basic tools and 30 minutes, you can diagnose and fix 80% of no-heat failures for under $20. Always address the root cause—replacing a blown thermal fuse without fixing the boil-dry condition guarantees repeat failure. For models under 3 years old, repairs usually make sense; for older units with multiple failures, replacement becomes the smarter choice. Keep this guide handy, and your Aroma cooker will deliver perfect rice for years to come.