
You’re staring at a pot of boiling water, nervously timing eggs while breakfast burns. Sound familiar? The Parini egg cooker eliminates this daily kitchen battle with precision steam cooking—but only if you master its unique requirements. Most users toss it in a cupboard after one failed attempt with rubbery yolks or cracked shells. The culprit? Skipping the critical egg-piercing step or misjudging the exact water measurement.
This compact countertop hero transforms raw eggs into consistently flawless results in under 15 minutes. Forget guesswork: the magic lies in the precise 75ml water ratio and strategic steam control. Whether you just unboxed your first Parini or resurrected one from the back of your cabinet, this guide reveals the exact techniques professionals use. You’ll learn why room-temperature eggs prevent cracks, how altitude changes your water needs, and the piercing trick that stops explosive shell fractures.
Locate Every Component in Your Parini Egg Cooker Box
Before cooking, verify these six parts are present—second-hand units often lose critical pieces. Missing the measuring cup? Any 75ml kitchen tool works, but the egg-shaped handle is non-negotiable for safe prep.
Essential Parts Checklist with Visual Cues
- Heating base: Identify the circular reservoir (holds water) and coil indicator light
- Egg holder: Look for 7 cup-shaped depressions—each must cradle eggs without wobbling
- Lid: Check the steam vent hole on top (blocked vents cause uneven cooking)
- Measuring cup: Typically marked at 75ml—substitute with a tablespoon (5 Tbsp + 1 tsp)
- Piercing pin: A thin metal spike stored in the lid’s compartment
- Egg-shaped handle: Holds one egg during piercing (prevents overcrowding the tray)
Missing Part Emergency Fixes
If your unit lacks accessories:
– No piercing pin? Sterilize a thumbtack with rubbing alcohol
– Lost measuring cup? Mark 75ml on a shot glass with permanent marker
– Missing handle? Pierce eggs over the sink using a spoon to steady them
Stop Cracked Eggs: The Piercing Method That Works

Skipping this 5-second step causes 90% of Parini failures. Cold eggs plunged into steam build pressure until shells violently fracture—yolks spatter inside your cooker, creating a cleanup nightmare. The piercing pin creates a microscopic pressure valve.
Exact Piercing Technique for Zero Cracks
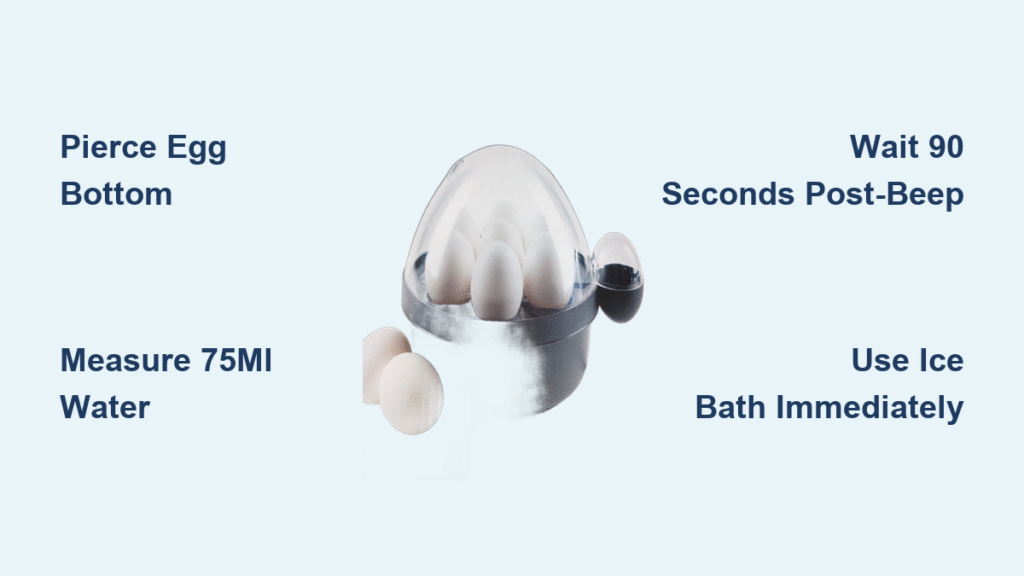
Why the bottom end? The air pocket sits at the larger end—piercing here releases steam without damaging the yolk. Follow these steps:
1. Hold the egg-shaped handle in your non-dominant hand
2. Place the second-to-last egg here while preparing the final egg
3. Angle the pin downward at 45 degrees into the blunt end
4. Apply light pressure until you feel a slight “give” (no force needed)
Pro tip: Pierce eggs before loading the tray. If shells crack during prep, discard those eggs—cracks compromise the pressure seal.
Measure Water Like a Lab Technician (Not a Guesswork Cook)

The Parini’s genius—and frustration—lies in its water-to-steam conversion. Too little water? Runny yolks. Too much? Overcooked, green-ringed disasters. The 75ml measurement isn’t arbitrary—it’s the exact volume needed to generate 13 minutes of perfect steam for 7 large eggs.
Hard-Boiled Egg Water Formula
| Egg Doneness | Water Amount | Result Time |
|---|---|---|
| Hard-boiled | 75ml | Fully set yolk (13 min) |
| Medium | 65ml | Jammy center (11 min) |
| Soft | 55ml | Runny yolk (9 min) |
Critical adjustments:
– Jumbo eggs? Add 5ml water per egg
– High altitude? Increase by 10ml above 3,000 feet
– Cold eggs? Reduce water by 5ml (they absorb more steam)
Kitchen hack: No measuring cup? Fill a standard tablespoon 5 times plus 1 teaspoon. Mark the level on a glass with tape for future batches.
Execute the 7-Step Cooking Cycle Without Errors
Most users ruin eggs by opening the lid too early or skipping the cooldown. Steam loss mid-cycle alters cooking chemistry—yolks turn rubbery, whites stay slimy. Follow this military-precise sequence:
Parini Egg Cooker Operation Sequence
- Pour water into the base reservoir (never directly onto the heating element)
- Place egg holder—ensure it clicks fully onto the base
- Load eggs with pierced ends facing up (steam rises from below)
- Lock lid until it snaps shut (listen for the click)
- Plug in unit—heating starts instantly; no buttons needed
- Wait for the beep (≈13 min)—do not lift the lid
- Wait 90 seconds post-beep for residual steam to dissipate
Why the wait? Residual steam continues cooking eggs. Opening early causes temperature shock—yolks develop gray rings.
Rescue Overcooked Eggs With the Ice Bath Protocol

That distinctive beep means all water evaporated—your eggs are technically done. But pulling them out immediately guarantees stuck shells and overcooking. The ice bath isn’t optional; it’s a chemical reaction stopper.
Perfect Peeling Cooling Process
- Fill a bowl with ice + cold water (ratio: 1 cup ice to 2 cups water)
- Using tongs, transfer eggs immediately after the 90-second rest
- Swirl gently for 30 seconds to crack shells
- Soak for 5+ minutes (longer = easier peeling)
- Start peeling at the pierced end—the hole creates a natural separation point
Warning: Skipping this step traps heat inside. Your “hard-boiled” eggs will keep cooking for 8+ minutes, turning yolks chalky.
Fix These 4 Parini Egg Cooker Failures Immediately
Why Your Eggs Are Rubbery or Runny
- Rubbery whites? → You used >80ml water. Steam saturation toughens proteins.
- Runny yolks? → Water was under 70ml OR eggs were cold.
- Cracked shells? → Piercing hole was too small or missing.
- Uneven cooking? → Eggs tilted in the holder—reposition for flat contact.
Missing Accessory Workarounds That Actually Work
- No measuring cup? Use a medicine syringe (75ml = 75cc)
- Broken lid? Cover with foil—but steam vents are critical, so replace ASAP
- No piercing pin? Use a needle heated over a flame (sterilizes instantly)
Clean Without Damaging Your Parini Egg Cooker
Never submerge the base unit—water destroys the heating element. Mineral deposits from hard water cause 70% of premature failures. Descale monthly:
3-Step Maintenance Routine
- Daily: Wipe base with vinegar-dampened cloth (1:1 vinegar/water)
- Weekly: Soak holder/lid in warm soapy water 10 minutes
- Monthly: Run a descaling cycle—fill reservoir with 50% white vinegar, 50% water. Let it cool, then rinse 3x.
Critical note: Hard water users must descale every 8-10 uses. Look for white crust inside the reservoir—that’s calcium blocking steam flow.
Avoid These 3 Dangerous Mistakes
Steam Explosion Hazard
Opening the lid toward your face causes 2nd-degree burns. Always:
– Turn unit away from you
– Lift lid straight up (not tilted)
– Wait 90 seconds post-beep before handling
Electrical Safety Blind Spots
- Never operate near sinks—water splashes cause short circuits
- Unplug immediately if water spills on the base
- Dry hands only—condensation builds on the unit during cooking
Master Advanced Techniques for Perfect Results
Batch Cooking Without Overheating
Running back-to-back batches melts internal components. Allow:
– 10 minutes cooling time between batches
– Wipe base dry with microfiber cloth
– Reduce second-batch water by 5ml (residual heat compensates)
Altitude Adjustment Cheat Sheet
| Elevation | Water Adjustment |
|---|---|
| Sea level | 75ml (standard) |
| 3,000 ft | +5ml |
| 6,000 ft | +10ml |
| 9,000+ ft | +15ml + 2 extra minutes |
Pro insight: At high elevations, water boils below 212°F—extra water extends steam duration to compensate.
Your Parini egg cooker delivers cafe-quality eggs in 15 minutes when you respect its precision engineering. The 75ml water rule, bottom-end piercing, and mandatory ice bath aren’t suggestions—they’re non-negotiable for perfect results. Start with hard-boiled eggs using exact measurements, then tweak for soft yolks. Track your adjustments: “65ml = perfect medium at sea level” becomes your personal cheat sheet.
Within one week, you’ll never boil eggs on the stove again. That Sunday morning scramble? Replaced by consistent, peel-in-seconds eggs while you sip coffee. The real secret isn’t the appliance—it’s understanding that steam is a measurable force, not magic. Master these steps, and your Parini transforms from dusty gadget to indispensable kitchen ally. Your first flawless batch starts now: grab 7 room-temperature eggs, pierce the blunt ends, and measure 75ml like your breakfast depends on it—because it does.


