
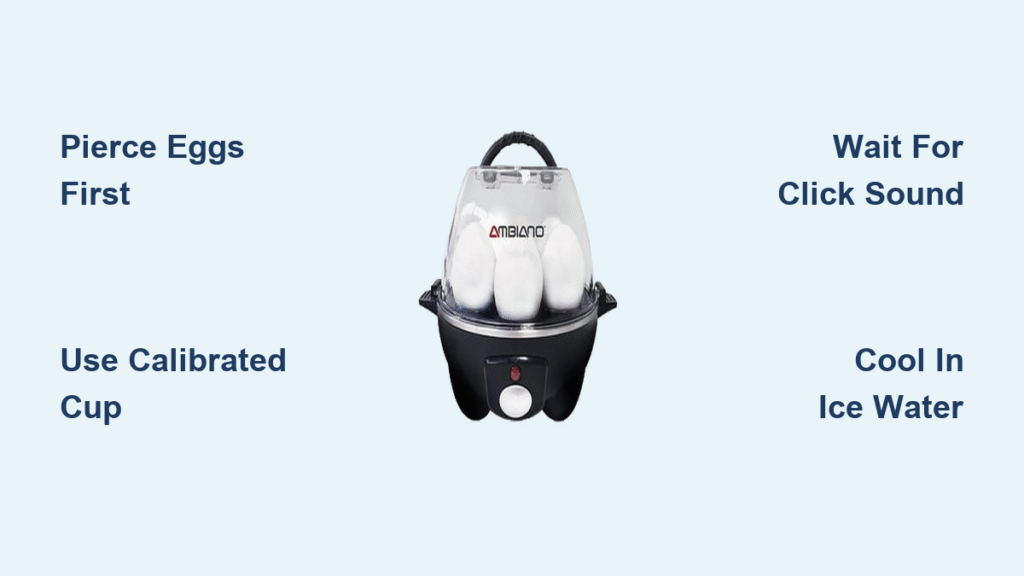
Tired of guessing whether your eggs will turn out rubbery or undercooked? The Ambiano Egg Cooker eliminates stove-top uncertainty with precision steam technology that delivers flawless results—whether you want runny yolks for dippy toast or firm centers for egg salad. This compact countertop hero transforms raw eggs into breakfast perfection without constant monitoring, saving you time and kitchen stress. Today, you’ll master exactly how to use Ambiano egg cooker for consistent results every single time.
Unlike traditional boiling methods that risk cracked shells and uneven cooking, this device uses calibrated steam cycles to gently cook eggs from all sides. Within minutes, you’ll have beautifully cooked eggs ready for peeling or serving—no more timing nightmares or murky water. Follow these proven techniques to unlock your cooker’s full potential and never waste another egg again.
Essential Components Checklist
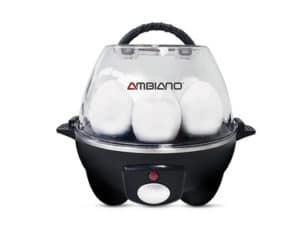
Your Ambiano Egg Cooker arrives with six precision-engineered pieces that work in harmony. The base unit houses the heating element and water reservoir—this is where the magic happens. A perforated egg tray securely holds up to seven eggs upright, ensuring even steam exposure. The calibrated measuring cup features three critical markings for soft, medium, and hard-boiled results. Attached to this cup is the sharp piercing pin—your secret weapon against cracked shells. A transparent lid traps steam while letting you monitor progress, and a simple power button with indicator light controls the entire operation.
Missing any component compromises performance. Without the piercing pin, pressure buildup cracks shells. An ill-fitting lid causes steam leaks that extend cooking time. Always verify these pieces are present and undamaged before your first use—especially checking that the piercing pin moves freely in its holder.
Quick Setup Before First Use
New appliances require proper preparation to prevent damage. Start by removing all plastic films from the lid and base unit, then wash the egg tray, measuring cup, and lid in warm, soapy water. Rinse thoroughly to eliminate soap residue that could affect taste, and dry completely with a soft towel. Wipe the base unit with a damp cloth only—never submerge it in water or run it under the tap.
Place your cooker on a heat-resistant countertop with at least four inches of clearance on all sides. This prevents steam damage to cabinets and ensures proper ventilation. Confirm the power cord reaches your outlet without stretching or creating tripping hazards—coil excess cord neatly underneath the unit. Never operate on uneven surfaces, as this causes water pooling and inconsistent cooking.
How to Use Ambiano Egg Cooker: Water Measurement Guide
Soft-Boiled Eggs (Runny Yolks)
Fill the calibrated cup to the “Soft” line (25ml) for delicate soft-boiled eggs with liquid centers. Pour cold tap water directly into the reservoir’s center—hot water evaporates too quickly, leading to undercooked whites. This precise amount creates gentle steam that sets whites while preserving that perfect runny yolk.
Medium-Boiled Eggs (Slightly Firm Yolks)
For creamy, sliceable yolks ideal for deviled eggs, fill to the “Medium” marking (35ml). This extra 10ml of water extends steam exposure just enough to thicken yolks without drying them out. Always measure using the provided cup—not kitchen spoons—as even 5ml variance affects results.
Hard-Boiled Eggs (Fully Set Centers)
Achieve crack-free hard-boiled eggs by filling to the “Hard” line (50ml). This maximum water volume generates sustained steam for 12-13 minutes, fully setting yolks without the dreaded green ring. Never exceed the 50ml mark—overflowing water causes messy spills and inconsistent cooking.
How to Use Ambiano Egg Cooker: Egg Preparation Steps

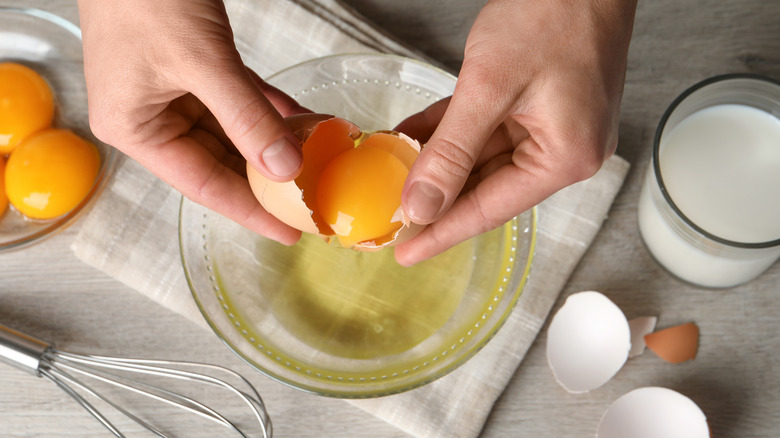
Room temperature eggs cook more evenly than cold refrigerated ones. If you’re in a hurry, place eggs in warm (not hot) water for 3-4 minutes to take the chill off—this prevents thermal shock that cracks shells. Now for the critical step: piercing each egg. Hold an egg firmly at the large end (where the air pocket sits), then gently insert the piercing pin 2-3mm deep. This tiny vent releases pressure during cooking, preventing explosive cracks.
Place pierced eggs large-end down in the tray’s recesses—they should sit snugly without wobbling. If eggs shift, adjust their position; unstable eggs cook unevenly. For best results, choose similarly sized eggs (all medium or all large) and inspect for hairline cracks before loading—damaged shells will likely split during cooking.
Activate Cooking Cycle
Assembly takes seconds but must be precise. Position the filled egg tray onto the base unit, aligning the positioning tabs until it clicks securely into place. Place the transparent lid on top, ensuring it sits flush all around—any gap allows steam to escape, extending cooking time. Plug into a grounded outlet, then press the power button. The indicator light glows immediately, signaling the cycle has begun.
Never add water after placing eggs, and avoid lifting the lid during cooking. Steam loss resets the timer, resulting in undercooked eggs. If the light doesn’t illuminate, check that the outlet works and the water reservoir isn’t empty—both are common oversights.
Timing for Each Doneness Level
The cooker automatically shuts off when water fully evaporates, signaled by an audible click. Soft-boiled eggs finish in 6-7 minutes—perfect timing while your coffee brews. Medium-boiled eggs require 9-10 minutes, ideal for lunch prep. Hard-boiled eggs complete in 12-13 minutes, giving you time to slice avocado or toast bread.
Altitude affects results: above 3,000 feet, add 5ml extra water; above 5,000 feet, add 10ml and reduce time by 1-2 minutes. In cold kitchens (<60°F), add 1 minute; in hot kitchens (>80°F), reduce by 1 minute. Always note the click—it means cooking is complete, but resist lifting the lid immediately.
Post-Cooking Handling Tips
Let eggs rest 1-2 minutes after the click before removing the lid. This pause stabilizes internal temperatures, preventing overcooking from residual heat. Use tongs or oven mitts to transfer hot eggs to a bowl of ice water—this stops cooking instantly and creates a crucial air gap between shell and membrane for effortless peeling.
Soak in the cold bath for 30-60 seconds, then gently tap eggs on the counter and roll to crack shells. Start peeling at the large end where you pierced the shell—this is always the easiest entry point. Refrigerate cooked eggs within 2 hours; hard-boiled varieties stay fresh 5-7 days, while soft-boiled must be eaten immediately.
Master Advanced Cooking Methods
Poached Eggs Without the Hassle
Lightly grease the poaching cups (if included) with butter or oil spray. Crack one egg per cup, then add 50ml water to the base regardless of your usual preference. The 8-9 minute cycle creates restaurant-quality poached eggs with tender whites and molten yolks. Remove gently with a silicone spatula—no vinegar or swirling water needed.
Foolproof Omelets in Minutes
Beat 2-3 eggs with fillings (cheese, herbs, veggies), then pour into the omelet tray. Use 50ml water and select the hard-boiled setting. After the 10-12 minute cycle, let the omelet stand 2 minutes before sliding out—it firms up perfectly during this rest. For fluffier results, add a splash of milk to the egg mixture before cooking.
Solve Common Egg Problems
Cracked Shells During Cooking
This almost always means you skipped piercing or used cold eggs straight from the fridge. Always pierce the large end, and warm refrigerated eggs in water for 3-4 minutes first. Also check for hairline cracks before loading—discard any damaged eggs.
Uneven Doneness in Same Batch
Verify you’re using the calibrated cup, not kitchen measuring tools—small errors compound with multiple eggs. Ensure all eggs are similar size and temperature, and confirm the unit sits perfectly level on your counter. Mineral buildup on the heating element also causes inconsistencies—descale monthly.
Water Overflowing During Cycle
Never fill beyond the “Hard” line (50ml), and ensure eggs sit securely upright in the tray. If overflow persists, inspect the egg tray for warping—replace if damaged. Also confirm the lid is properly aligned; steam escaping through gaps causes water to bubble violently.
Safety Guidelines for Every Use
The base unit surface reaches 212°F during operation—always use oven mitts when handling hot components. Keep children at least 3 feet away during cooking cycles, as steam vents can cause severe burns. Never operate with a frayed power cord, and unplug immediately after use. If the indicator light fails to illuminate despite proper setup, contact customer support—do not attempt DIY repairs.
Performance Optimization Strategies
For easier peeling, choose eggs 7-10 days old (not supermarket-fresh). Cook the full seven-egg capacity for maximum efficiency—smaller batches cook unevenly. When preparing multiple batches, plunge cooked eggs into ice water immediately to maintain consistent starting temperatures for the next cycle. Test doneness by spinning a cooked egg; hard-boiled eggs spin smoothly while soft-boiled wobble.
Warranty and Support Essentials
Your Ambiano Egg Cooker includes a 1-year limited warranty covering manufacturing defects. Keep your receipt handy for claims, and locate the model number on the unit’s bottom when contacting support. Replacement parts like trays and lids are available through authorized service centers—never use third-party components as they void warranty coverage.
Final Pro Tips for Egg Excellence: Refrigerate hard-boiled eggs with shells intact—they peel easier after chilling. For soft-boiled eggs, set a timer for 30 seconds after the click to stop residual cooking. Always descale monthly with vinegar solution to maintain heating efficiency. With these techniques mastered, your how to use Ambiano egg cooker journey ends with perfect eggs every morning—no pot-watching required.


