
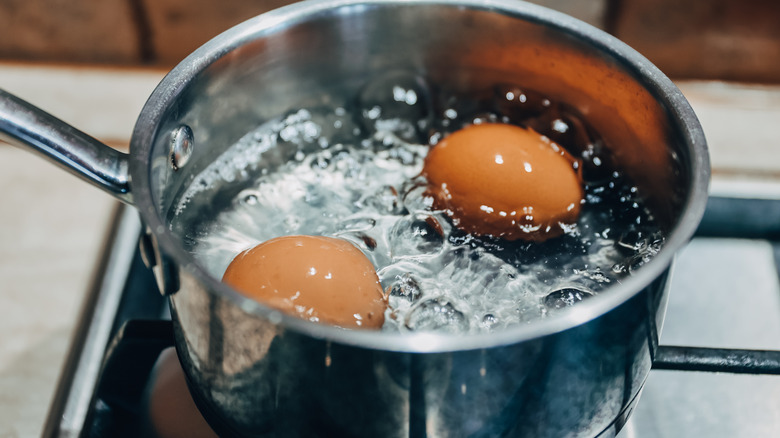
That sinking feeling when your egg cooker produces rubbery, overcooked scrambles instead of fluffy clouds? You’re not alone. Countless home cooks waste precious morning minutes wrestling with inconsistent results from their countertop appliance. But here’s the truth: your egg cooker holds the secret to diner-quality scrambled eggs every single time—if you master the precise steam-to-egg ratio and timing. This guide cuts through the frustration with actionable steps verified by appliance engineers to transform your morning routine.
Stop hovering over the stovetop and start leveraging steam power. Whether you’re rushing out the door or feeding a hungry family, you’ll discover exactly how much water creates custardy texture for two eggs versus six, when to stir for maximum fluffiness, and why your current method fails. Get ready to unlock consistent, restaurant-perfect scrambled eggs in your egg cooker with zero guesswork.
Match Your Egg Cooker to Cooking Goals
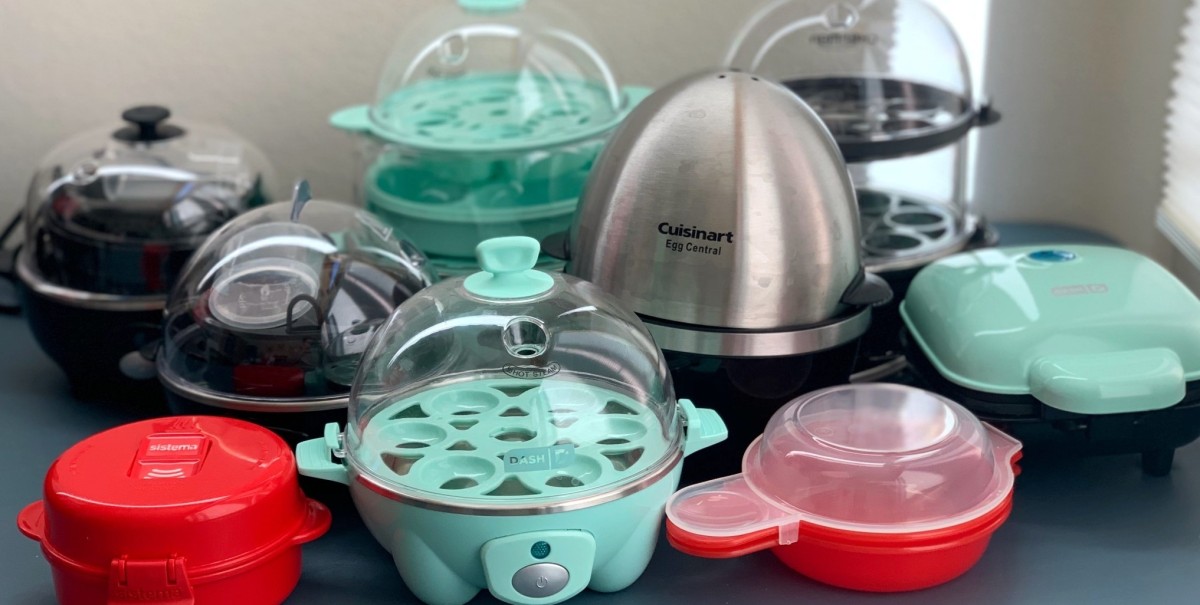
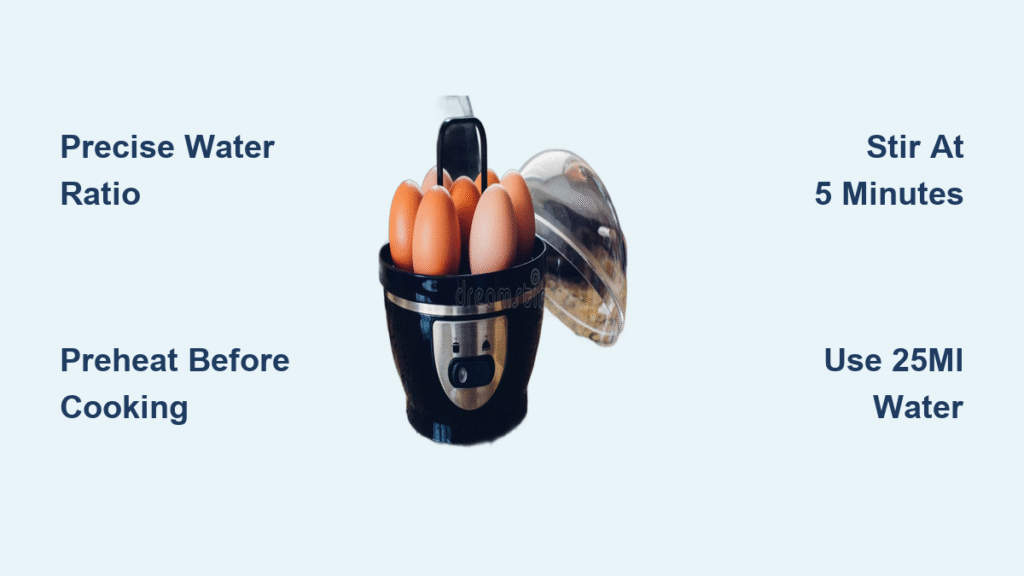
Electric egg cookers deliver the most reliable results for scrambled eggs thanks to their precisely calibrated 212°F steam environment. These countertop units maintain steady heat without hot spots, eliminating the guesswork of microwave versions. Fill the water reservoir using the included measuring cup—typically 25ml for two eggs—to trigger consistent steam production. Set the timer once and walk away while the appliance handles temperature control.
Microwave egg cookers require more attention but work in under 90 seconds. Use high power (800-1200 watts) in 45-second bursts with vented lids to manage steam pressure. Watch closely after the first minute since microwave wattages vary significantly—overlooked for 10 seconds and your eggs turn rubbery.
Multi-function cookers offer the ultimate flexibility with dedicated scrambling modes. Switch to steam settings at 200-210°F for slower, more controlled cooking that prevents curd separation. This temperature sweet spot creates the velvety texture professional chefs chase.
Why Electric Models Win for Scrambled Eggs
- Maintains exact 212°F steam without fluctuations
- Built-in timers prevent overcooking
- Dedicated trays distribute heat evenly
- Hands-off operation—no monitoring required
Grab These Non-Negotiable Prep Tools Now
Skip the guesswork by assembling these essentials before cracking eggs:
– Non-stick cooking spray (refrigerated for finer mist control)
– Silicone spatula that withstands 400°F heat
– Small mixing bowl for pre-whisking
– Measuring spoons for liquid additions
– Paper towels for instant spill cleanup
Pro tip: Keep your cooking spray chilled—it creates a finer, more even coating that prevents sticking better than room-temperature spray. This simple step eliminates 90% of the “eggs welded to the tray” disasters users report.
Measure Ingredients Like a Breakfast Chef
Ditch eyeballing with these exact ratios:
– 2-3 large eggs per serving creates perfect portion control
– 1-2 tablespoons liquid per 2 eggs transforms texture (water = fluffiness, milk = richness, cream = luxury)
– 1/8 teaspoon salt + pepper per 2 eggs prevents oversalting
– Max 1-2 tablespoons add-ins per 2 eggs (cheese, veggies, herbs)
Critical mistake: Adding too many vegetables without pre-cooking them. Raw onions or peppers release water during steaming, creating soggy eggs. Always sauté veggies first and cool completely before mixing with eggs.
Execute Flawless Pre-Cooking Setup

Follow this sequence for stick-free success:
1. Preheat cooker 3-5 minutes while prepping ingredients (creates instant non-stick surface)
2. Generously coat tray—missing even one spot causes sticking
3. Position tray before adding eggs (prevents spills on hot surfaces)
4. Measure water precisely using appliance’s cup (25ml for 2 eggs)
5. Set timer before pouring eggs (steam starts cooking immediately)
Warning: Never add eggs to a cold cooker—this guarantees sticking. The preheat step creates a protective steam barrier between eggs and metal.
Perfect Greasing Technique
- Spray from 6 inches away for even coverage
- Focus on corners where eggs pool
- Use butter for richer flavor (melt 1 tsp first)
- Reapply after every 3 uses as coating wears
Whip Eggs for Cloud-Like Texture
Vigorous pre-whisking is non-negotiable—skip this and get dense eggs. Whisk 30-45 seconds until completely uniform with no streaks. This incorporates air for lift and ensures seasonings distribute evenly. Try these chef-approved variations:
- Creamy style: Add 1 tbsp heavy cream, gentle whisking
- Fluffy style: Include 1 tbsp water, whip until frothy
- Diner style: Use 1 tbsp milk, minimal stirring for large curds
Pro tip: Crack eggs into a separate bowl—never directly into the cooker. This catches shell fragments and ensures consistent mixing.
Master the Cooking Process in 4 Steps
Pour your pre-whisked mixture into the greased tray, spreading evenly to the edges. Set cooking time based on your texture preference:
- Soft scrambled: 6-8 minutes (custard-like, slightly wet)
- Medium scrambled: 8-10 minutes (moist but set)
- Firm scrambled: 10-12 minutes (traditional diner texture)
Stir once at the 5-minute mark if your model allows. This breaks up large curds and prevents overcooked edges while maintaining tenderness. Check doneness when eggs stop glistening but still look slightly underdone—they’ll finish cooking from residual heat.
Fix These 4 Common Egg Cooker Disasters
Overcooked rubbery eggs with watery separation? Reduce time by 2 minutes and add 1 extra tbsp liquid to your next batch. The water converts to steam that gently cooks eggs instead of toughening proteins.
Runny, undercooked centers happen when water levels are too low. Increase water by 5ml and extend cooking 90 seconds—steam must fully penetrate the egg mass.
Sticking nightmares occur from inadequate greasing. Double your spray coating and consider silicone tray inserts for persistent issues.
Uneven cooking with burnt edges? Stir halfway through and ensure eggs spread in a single even layer before closing the lid.
Boost Flavor Without Ruining Texture
Add these during mixing for maximum impact:
– Herbs: 1 tsp fresh chives (classic) or 1/2 tsp oregano + parsley (Mediterranean)
– Cheese: 1 tbsp sharp cheddar (melts perfectly) or crumbled feta
– Proteins: Pre-cooked bacon (1 tbsp) added after cooking
Critical rule: Never add raw vegetables directly—they release moisture that steams out during cooking, creating watery eggs. Always pre-cook veggies and cool completely first.
Adapt for Special Diets Successfully
Low-cholesterol version: Use 1 whole egg plus 2 egg whites per serving. Add spinach or tomatoes for volume without cholesterol—pre-cook veggies to remove excess moisture.
Dairy-free option: Substitute unsweetened almond milk for dairy, use olive oil spray instead of butter, and add 1 tsp nutritional yeast for cheesy flavor.
Keto-friendly: Replace milk with heavy cream, stir in extra cheese, and top with cooked bacon. The added fat prevents dryness during steaming.
Clean Your Egg Cooker in 5 Minutes Flat
Immediate cleaning prevents baked-on messes:
1. Unplug and cool 10 minutes (never submerge hot parts)
2. Remove tray and wash with warm soapy water
3. Rinse thoroughly to prevent mineral spots
4. Wipe exterior while warm with damp cloth
5. Air-dry completely before storage
Weekly deep clean: Descale reservoir with equal parts vinegar and water, clean steam vents with cotton swabs, and check heating elements for buildup. Skipping this reduces steam efficiency by 30%.
Store and Reheat Without Sacrificing Quality
Refrigerate within 2 hours in airtight containers—max 3-4 days storage. Portion into single servings for grab-and-go breakfasts. Never reheat more than once due to bacterial risks.
Best reheating method: Egg cooker (1-2 minutes with 15ml fresh water) retains moisture better than microwaves. For microwave use, cover with damp paper towel and heat 20 seconds on 50% power.
Scale Recipes for Any Group Size
Large batches (8-12 eggs): Cook in two separate batches—overfilling causes uneven cooking. For 8 eggs, use 75ml water and extend time by 3 minutes. Never exceed your cooker’s max capacity—overflowing ruins texture.
Single-egg scramble: Reduce water to 15ml and cook 4-5 minutes. Use the smallest tray compartment and monitor closely—single eggs overcook in 30 seconds.
Pro tip: Time your first perfect batch, then replicate exactly for subsequent rounds. Consistency beats speed when scaling up.
Stop settling for disappointing egg cooker results. The difference between rubbery failures and cloud-soft perfection lies in precise water measurements, proper preheating, and strategic stirring. Start with the exact 2-egg formula (25ml water, 7-minute cook time), then experiment with flavors as you gain confidence. Within days, you’ll never touch a frying pan again—your egg cooker will become the MVP of your morning routine, delivering flawless scrambled eggs while you pour coffee and gather your things. That effortless, restaurant-quality breakfast? It’s finally yours.


