
Your Hamilton Beach egg cooker can deliver restaurant-quality eggs in minutes—but only if you get the water measurements exactly right. Too little water leaves eggs undercooked with watery whites, while too much creates rubbery, overcooked results with that dreaded green yolk ring. The secret to perfectly cooked eggs every time lies in understanding your cooker’s precise water requirements, which directly control steam generation and cooking time.
Unlike traditional stovetop methods where timing is everything, your Hamilton Beach appliance relies on specific water amounts to create the perfect steam environment. This guide reveals the exact measurements you need for soft, medium, hard, and poached eggs—plus altitude adjustments, troubleshooting tips, and maintenance tricks professionals use. You’ll never waste another batch of eggs once you master these precise water measurements.
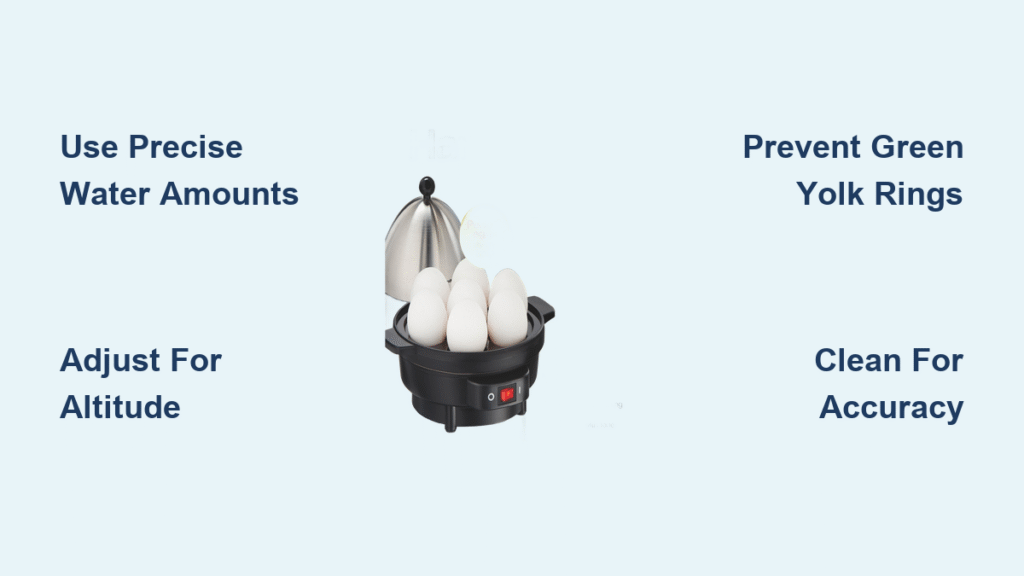
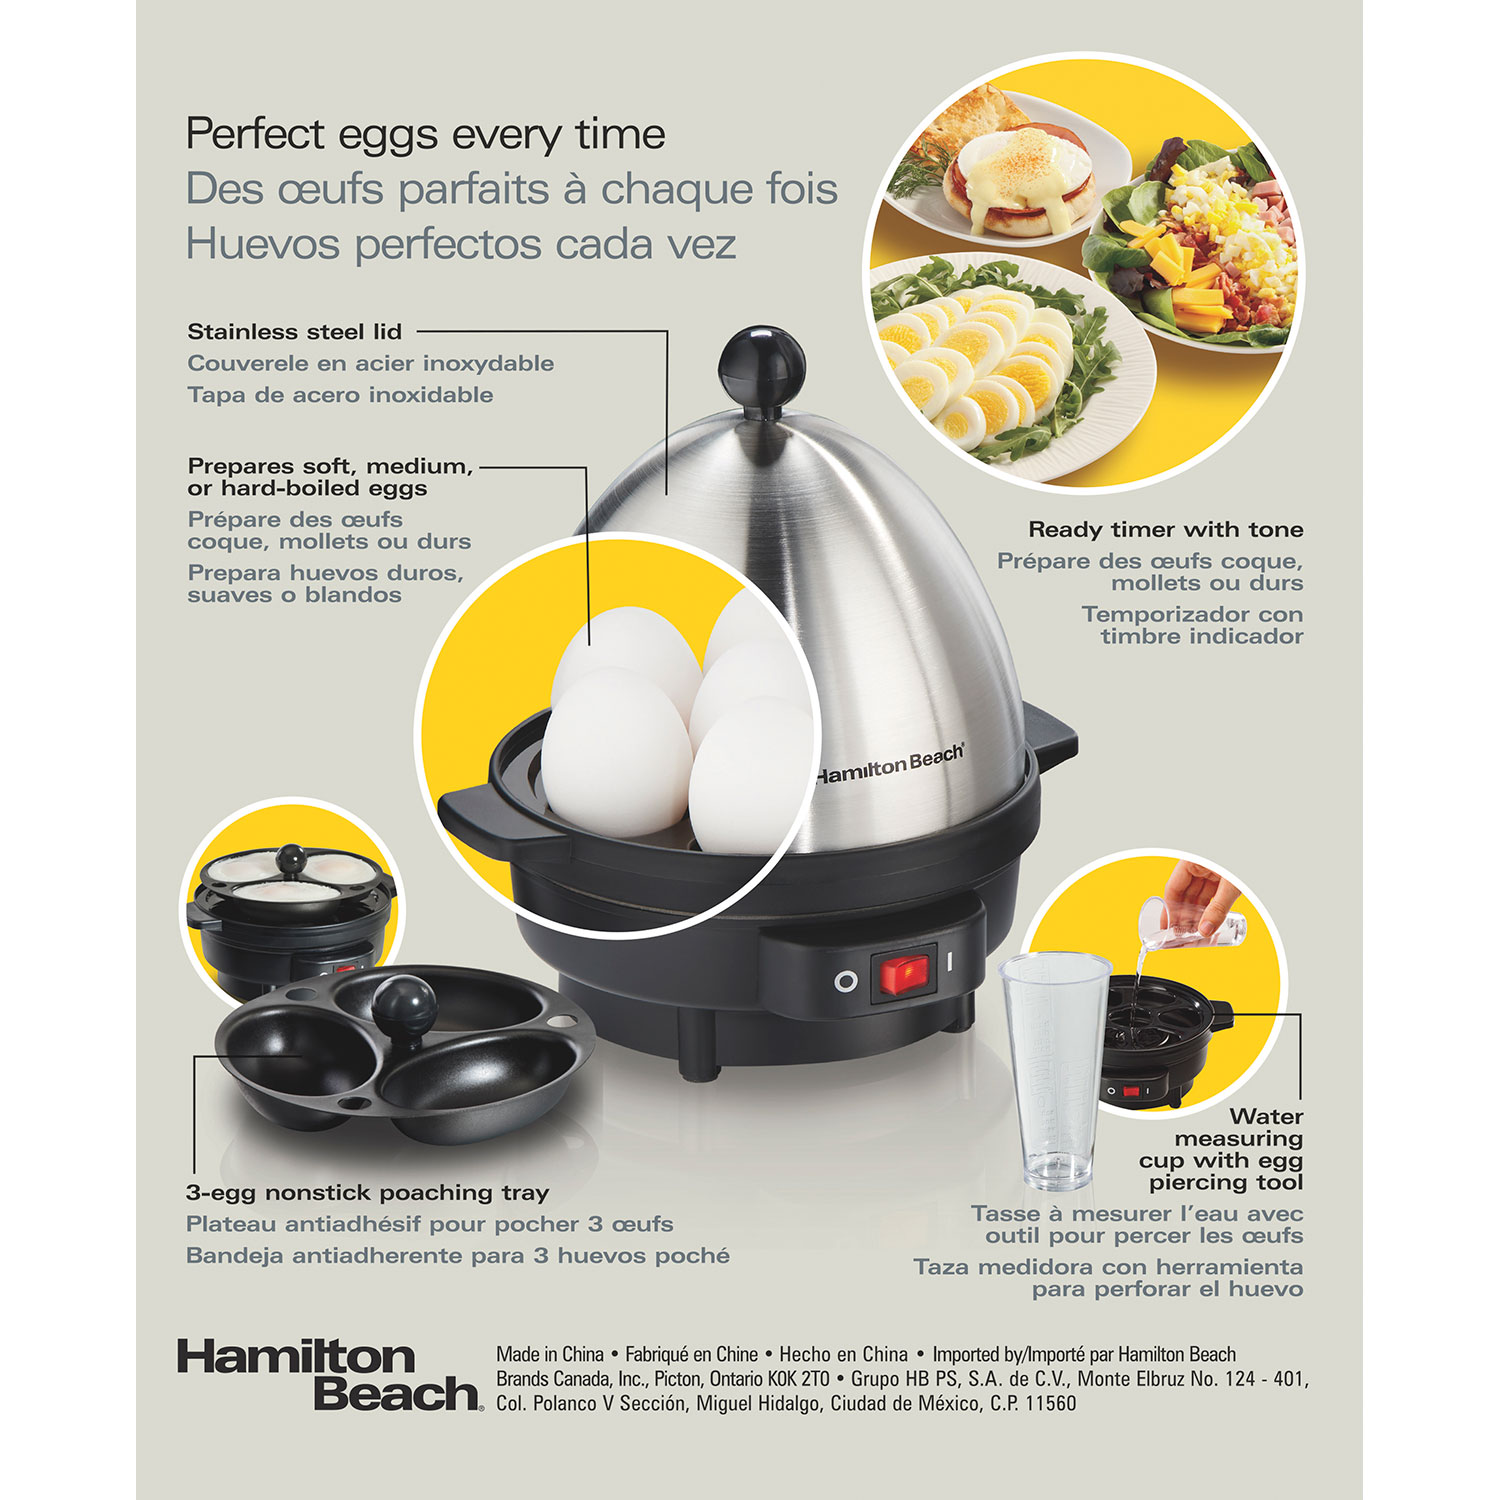
Use the Precision Measuring Cup Correctly
Your Hamilton Beach egg cooker includes a specialized measuring cup engineered specifically for its steam chamber capacity. This isn’t a standard measuring tool—you must use it properly to achieve consistent results. The cup features distinct markings corresponding to different egg textures, and using it correctly eliminates guesswork from the cooking process.
Critical measurements to memorize:
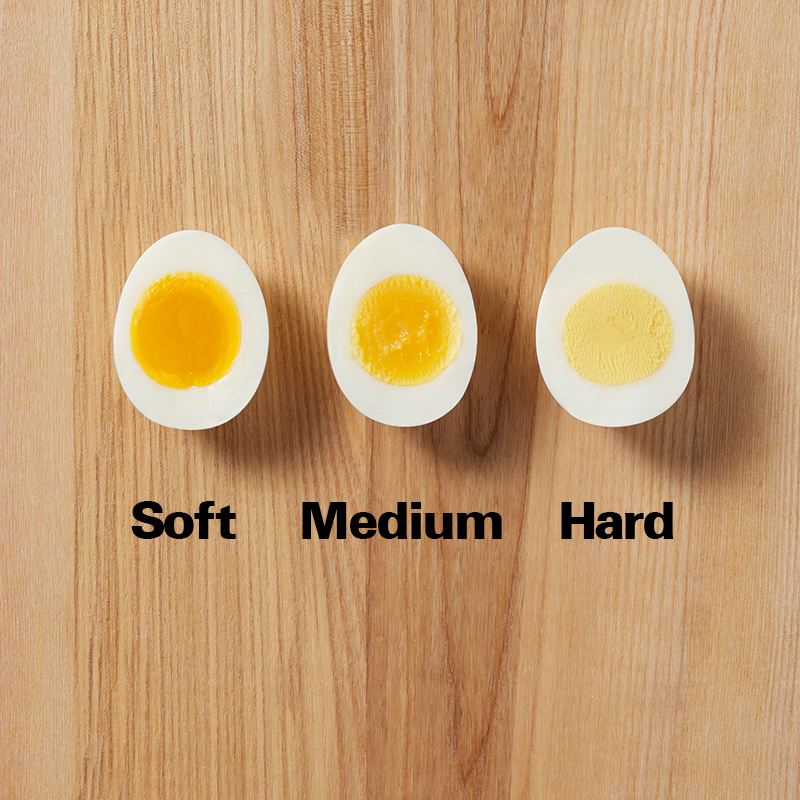
– Soft: 2 tablespoons (30ml) – creates just enough steam for 6-7 minutes of cooking
– Medium: 3 tablespoons (45ml) – extends cooking to approximately 9 minutes
– Hard: 4.5 tablespoons (67ml) – provides 12-13 minutes of steam cooking
– Poached: Fill to “POACHED” line (about 3.5 tablespoons)
Many users make the critical mistake of prioritizing the egg quantity lines over the doneness markings. Always select your water level based on desired texture first—the egg count lines are secondary references. For best accuracy, place the measuring cup on a flat surface and fill to the exact line at eye level. Viewing from above creates optical distortion that can add ½ tablespoon extra—enough to overcook delicate soft-boiled eggs.
Avoid the Measuring Cup Illusion
The transparent plastic of your measuring cup creates a meniscus curve that tricks your eye when viewed from above. This common error adds excess water that extends cooking time beyond specifications. To prevent this, place the cup on your counter, bend down to view the markings at eye level, and fill until the bottom of the water curve aligns perfectly with your desired line. For soft-boiled eggs where precision matters most, consider using a small syringe to add the final few drops for absolute accuracy.
Troubleshoot Water-Related Egg Failures Immediately
When your eggs don’t turn out right, the problem almost always traces back to water measurement errors. These specific fixes address the most common issues Hamilton Beach users encounter.
Why Your Eggs Remain Runny Despite Following Instructions
If your whites stay translucent or yolks remain completely liquid even after a full cycle, you’re likely using too little water. Add 1-2 teaspoons beyond your target measurement—the extra water creates additional steam that extends cooking time. Also verify you’re using the correct side of the measuring cup; some models feature both metric and imperial markings that can cause confusion. The imperial side (tablespoons) is standard for U.S. models, while metric (milliliters) appears on export versions.
Eliminate Green Yolks Permanently
That unsightly green-gray ring around your hard-boiled yolks indicates overcooking caused by excess water. Reduce your measurement by 1 teaspoon from the “HARD” line to prevent this chemical reaction between iron and sulfur in the yolk. Also check that your cooker sits perfectly level—any tilt causes uneven water distribution that creates localized hot spots. Place a small bubble level on top during operation to verify proper positioning.
Adjust Water for Altitude and Environmental Factors
Your geographic location significantly impacts how water behaves in your egg cooker. These precise adjustments ensure consistent results regardless of where you live.
High Altitude Water Compensation Formula
Above 3,000 feet, water boils at lower temperatures, requiring strategic water increases. Use this exact formula: Add 1 teaspoon per 1,000 feet elevation. For example:
– At 5,280 feet (Denver): Add 2.5 teaspoons to your standard measurement
– At 6,500 feet: Add 3 teaspoons extra
– At 8,000+ feet: Add 4 teaspoons regardless of egg type
These adjustments compensate for reduced atmospheric pressure that lowers boiling points. Without them, high-altitude users consistently produce undercooked eggs even when following standard measurements.
Climate and Seasonal Water Tweaks
Environmental humidity dramatically affects evaporation rates inside your cooker. During dry winter months or in air-conditioned kitchens, add ½ teaspoon to prevent premature water evaporation that stops cooking too early. Conversely, in humid summer conditions, reduce water by ½ teaspoon to avoid extended steam time that overcooks yolks. For critical batches like soft-boiled eggs, keep a kitchen hygrometer nearby to monitor exact humidity levels and adjust accordingly.
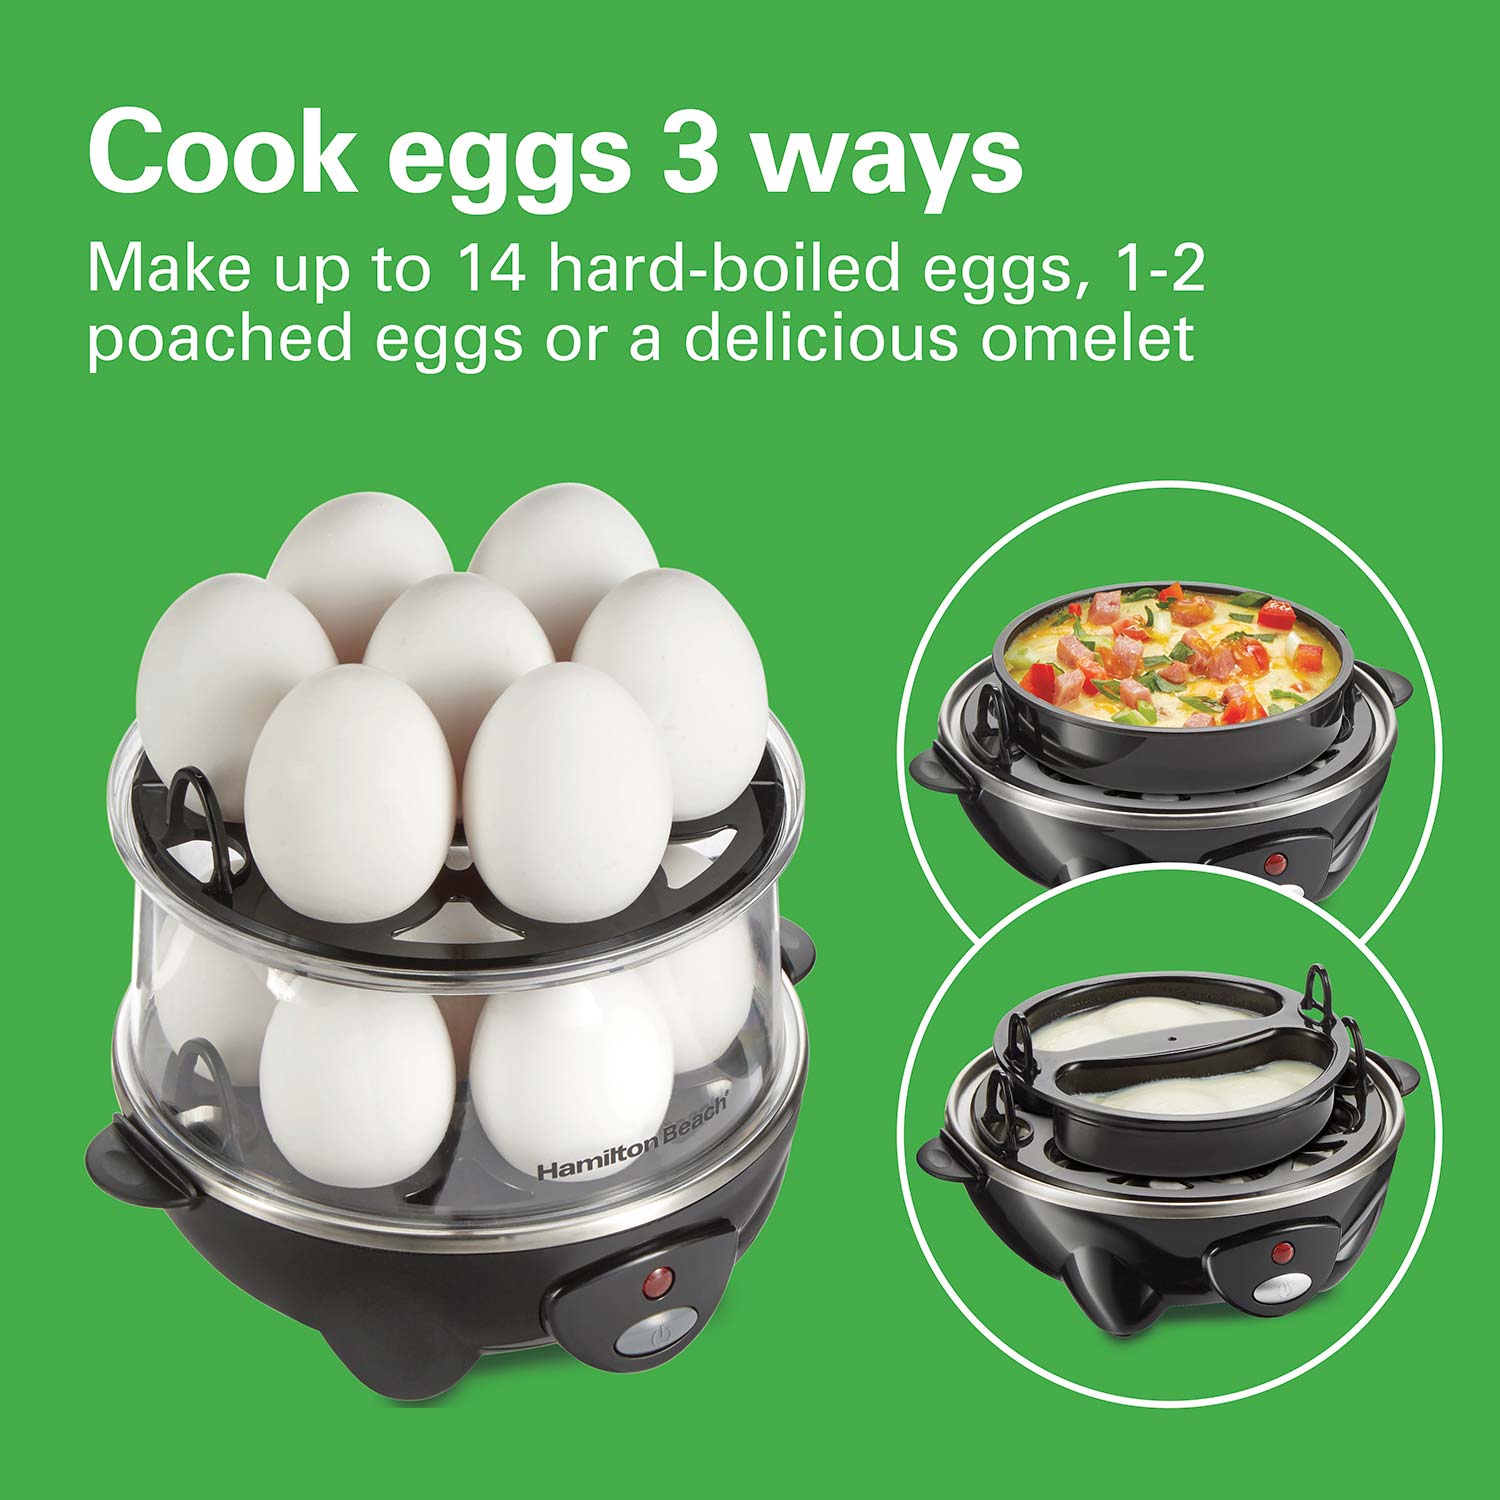
Master Poached Egg Water Precision
Poached eggs require different water measurements than boiled eggs—the same amount that creates perfect hard-boiled results will ruin delicate poached eggs. This precise method ensures restaurant-quality poached eggs every time.
Why Multiple Poached Eggs Need the Same Water Amount
When cooking 2-4 poached eggs simultaneously, do not increase water beyond the “POACHED” line (3.5 tablespoons). Adding extra water creates aggressive steam that breaks fragile egg whites. The cooker’s steam chamber is designed so this precise amount gently cooks multiple eggs without overcrowding. Always spray the poaching tray with non-stick cooking spray before adding cracked eggs—this prevents sticking without affecting water measurements.
The Warm Water Shortcut for Faster Poached Eggs
For poached eggs in under 7 minutes, start with warm tap water (100°F) instead of cold. This reduces initial heating time by 2-3 minutes while maintaining perfect texture because the cooker still generates the same total steam volume. Test with a thermometer to ensure water doesn’t exceed 110°F—too warm and the whites begin cooking before the cycle completes.
Prevent Mineral Buildup That Skews Measurements
Hard water deposits silently sabotage your water measurements by insulating the heating element, effectively changing how much steam your specified water amount produces. This monthly maintenance routine keeps your measurements accurate.
Critical descaling procedure:
1. Mix equal parts white vinegar and water in the measuring cup
2. Pour into the heating chamber and run a full cycle
3. Let sit for 30 minutes after completion
4. Rinse thoroughly with clean water
Visible white crust on the heating plate or longer cooking times with standard measurements indicate severe mineral buildup. If your tap water registers above 120 ppm hardness, use distilled water for all soft-boiled egg batches—this prevents the slight measurement variations that ruin delicate runny yolks.
Advanced Water Measurement Techniques for Perfect Results
Once you’ve mastered the basics, these professional techniques fine-tune results for specific preferences and conditions.
Egg Size Water Adjustments You Must Know
Large eggs (standard): Use markings as labeled
Extra-large eggs: Add ½ teaspoon extra water
Medium eggs: Reduce water by ½ teaspoon
Jumbo eggs: Add 1 teaspoon extra
Many users don’t realize egg size significantly impacts water requirements. Larger eggs absorb more heat, requiring additional steam time to cook properly. Keep a kitchen scale nearby—when eggs average 2.5 ounces each (XL), apply the ½ teaspoon adjustment.
Room Temperature Egg Water Compensation
Starting with room temperature eggs? Reduce all water measurements by 1 teaspoon to prevent overcooking. Cold eggs from the refrigerator absorb heat more slowly, while room-temperature eggs cook approximately 15% faster. This adjustment is crucial when preparing multiple batches back-to-back, as residual heat in the cooker compounds the effect.
Quick Reference Water Measurement Chart
| Doneness | Water Amount | Cooking Time | Visual Result |
|---|---|---|---|
| Soft | 2 tbsp (30ml) | 6-7 min | Liquid center, tender white |
| Medium | 3 tbsp (45ml) | 9 min | Creamy yolk, firm white |
| Hard | 4.5 tbsp (67ml) | 12-13 min | Fully set yolk, no green ring |
| Poached | 3.5 tbsp (52ml) | 8-9 min | Runny yolk, intact white |
Essential Maintenance for Measurement Accuracy
Your cooker’s water measurements stay accurate only with proper care. Neglecting these steps causes gradual measurement drift that ruins results over time.
Weekly check:
– Wipe the heating plate dry after each use to prevent mineral accumulation
– Verify measuring cup markings haven’t faded (replace if unclear)
– Store the cup inside the cooker to prevent accidental replacement with standard cups
When your cooker requires more than 15 minutes for hard-boiled eggs with standard measurements, it’s time for a deep clean. Mineral deposits insulate the heating element, requiring more water to generate sufficient steam—a clear sign your measurements have become unreliable.
By following these precise water measurements and adjustments, you’ll transform your Hamilton Beach egg cooker into a perfectly reliable kitchen tool. Remember that while the manufacturer’s system provides excellent baseline measurements, your personal preferences and environmental factors may require slight tweaks—track your ideal measurements in a kitchen notebook for consistently perfect eggs every time.


