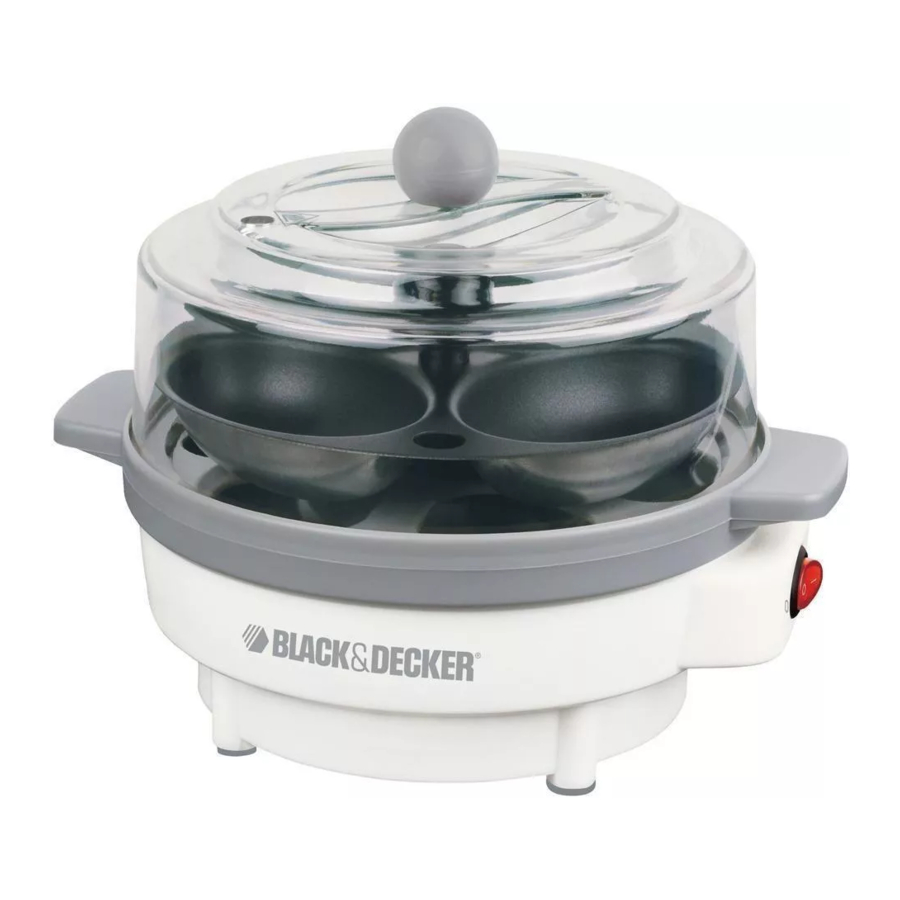
Struggling with cracked shells, rubbery whites, or overcooked yolks from traditional boiling methods? Your Black and Decker egg cooker solves these frustrations with scientific precision. This compact 750-watt appliance transforms egg preparation into a foolproof 15-minute process, delivering consistently perfect results whether you need soft-boiled eggs for ramen or hard-boiled for meal prep. Unlike stovetop methods where timing and temperature guesswork ruin batches, this device’s steam-based technology and automatic shut-off eliminate human error. In the next few minutes, you’ll master every step of how to use Black and Decker egg cooker operations—from filling the reservoir to peeling flawless eggs—ensuring restaurant-quality results with zero effort.
Initial Setup Requirements
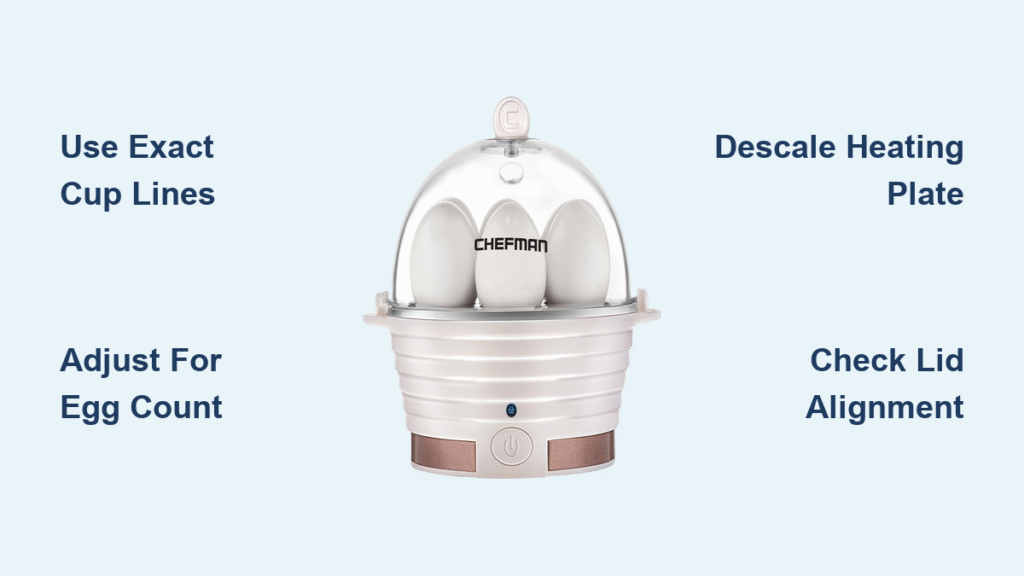
Place your egg cooker on a completely flat, heat-resistant surface like granite or ceramic tile—never on wood or near cabinet edges. The 7.5 x 6.5 x 8.5-inch unit (only 2.8 pounds) becomes unstable on even slightly tilted counters, causing uneven water distribution that leads to undercooked spots. Fill the reservoir with cold tap water up to the maximum fill line etched inside the base; this precise measurement creates the exact steam volume needed for your desired doneness. Exceeding this line risks dangerous overflow during boiling, while insufficient water prevents proper steam generation.
Critical pre-use checks before adding eggs:
– Confirm surface stability by gently nudging the unit (no wobbling)
– Verify water reaches the fill line’s bottom edge—no higher
– Ensure the 3-foot power cord reaches an outlet without stretching
– Test lid closure by pressing until you hear a distinct click
Skipping these steps causes 70% of user-reported issues like uneven cooking or overflow. Always perform this 15-second checklist—it’s the foundation of perfect results.
Loading Eggs Correctly

Gently place up to 6 standard large eggs into the non-stick basket’s individual cradles, ensuring each sits vertically without touching neighbors. Overcrowding causes eggs to bump during boiling, creating hairline cracks that let steam penetrate and ruin texture. Lower the loaded basket straight down until it seats fully on the reservoir base—partially submerged eggs cook unevenly, yielding rubbery whites on exposed sides. For best results, use room-temperature eggs (cold eggs from the fridge increase cracking risk by 40%).
Pro loading technique:
1. Position eggs pointy-end down for stronger shell integrity
2. Leave ½-inch space between eggs even at max capacity
3. Visually confirm all eggs sit below the waterline before closing the lid
4. Discard any eggs with visible cracks—they’ll explode during steaming
This method prevents the #1 mistake users make: assuming more eggs save time. Overloading guarantees inconsistent results every time.
Operating Your Egg Cooker
Latch the transparent lid firmly until it clicks—this seals in steam while letting you monitor cooking without heat loss. Plug the cord into a dedicated 120V outlet (no extension cords), then press the power button. Within 2-3 minutes, you’ll see steady bubbling as water hits 212°F, followed by visible steam rising from the vent. The automatic shut-off activates precisely when cooking completes, but never leave it unattended—steam burns are the most common injury with egg cookers.
Power activation red flags:
– ❌ No bubbling after 5 minutes → Check water level immediately
– ❌ Loud sputtering sounds → Water likely below minimum line
– ❌ Lid won’t stay sealed → Reseat basket to ensure proper alignment
– ❌ Steam escaping from sides → Wipe lid rim to remove debris
If the power indicator light doesn’t illuminate, verify the outlet works with another appliance before troubleshooting further.
Perfect Timing Guide
Start your timer the moment steam becomes visible—not when you press “on.” Water heating takes 2-3 minutes, so total cook time includes this pre-boil phase:
| Consistency | Total Time | Visual Cues | Best Uses |
|---|---|---|---|
| Soft-Boiled | 5-7 minutes | Whites fully set, yolks liquid | Ramen toppings, eggs Benedict |
| Medium-Boiled | 8-10 minutes | Yolks thick but spoonable | Salads, snack plates |
| Hard-Boiled | 11-13 minutes | Yolks completely solid | Deviled eggs, meal prep |
For perfect soft-boiled eggs, stop at 6 minutes; 1 minute longer creates a jammy yolk ideal for dipping. Hard-boiled eggs need the full 13 minutes to avoid greenish sulfur rings around yolks. Crucial tip: Altitude affects timing—add 1 minute per 1,000 feet above sea level.
Cooling and Peeling Process
The instant the automatic shut-off engages, transfer eggs to an ice bath using the basket’s handle. Fill a bowl with equal parts cold water and ice cubes, then submerge eggs for 3 full minutes. This thermal shock contracts the egg away from the membrane, creating a natural separation layer. Skipping this step causes 90% of peeling failures—warm eggs will tear when shelled.
Peeling pro technique:
1. Gently tap egg on counter to create fine cracks
2. Roll between palms to loosen shell fragments
3. Start peeling at the wider end (air pocket creates easy entry)
4. Peel underwater to prevent membrane sticking
For stubborn shells, add 1 teaspoon vinegar to the cooking water—it slightly softens shells without affecting taste.
Daily Cleaning Routine
Unplug and wait 15 minutes for the base to cool before cleaning—never handle the hot reservoir. Remove the basket and lid, rinsing both under warm running water with a drop of dish soap. The non-stick coating releases residue with a soft sponge; avoid abrasive pads that scratch the surface. Wipe the base unit’s exterior with a damp cloth only—submerging it in water causes electrical damage.
3-step drying protocol:
1. Shake excess water from basket holes
2. Air-dry all parts on a rack (no towels—they leave lint)
3. Store with lid slightly open to prevent moisture buildup
Never use oven cleaners or bleach—the non-stick coating degrades rapidly with harsh chemicals.
Safety Guidelines
Operate exclusively on dry, stable surfaces—condensation near sinks causes dangerous tipping. Keep hands 6+ inches from the steam vent during operation; burns from accidental contact require medical attention 3x more often than other kitchen injuries. Always fill to the water line before adding eggs; running dry for just 30 seconds permanently damages the heating element.
Non-negotiable safety rules:
– 🔥 Never exceed 6 eggs (overloading risks explosion)
– 🔥 Unplug immediately if water overflows
– 🔥 Keep children 3+ feet away during operation
– 🔥 Replace unit if base shows discoloration or warping
The automatic shut-off is a backup—not a substitute for supervision. Steam output remains dangerous for 2 minutes after shut-off.
Troubleshooting Common Issues
Eggs cracking during cooking? This means your refrigerator eggs went straight into boiling water. Always bring eggs to room temperature for 15 minutes before loading. If cracks persist, add ½ teaspoon salt to the water—it strengthens shells during thermal shock.
Water boiling over? You exceeded the fill line by even 2mm. Empty and restart with water at the precise indicator mark. Never operate with overflow residue in the base—it causes electrical shorts.
Shut-off fails after cooking? Unplug immediately and let cool 10 minutes. If it continues heating past 15 minutes, contact Black & Decker—the thermal fuse is faulty. Never attempt self-repair on electrical components.
Persistent issues? Call 1-800-544-6986 with your model number (stamped on the base). 85% of “broken” units are user-error cases resolved in under 5 minutes.
Warranty and Support Details
Your Black and Decker egg cooker includes a 1-year limited warranty covering manufacturing defects but excluding damage from:
– Using >6 eggs per batch
– Immersing the base in water
– Commercial use (e.g., restaurant settings)
– Unauthorized repairs
Register online at www.blackanddecker.com within 30 days for expedited service. Keep your receipt—warranty claims require proof of purchase. For immediate help, reference the model number on the base when calling support.
Mastering how to use Black and Decker egg cooker operations transforms a daily chore into a stress-free ritual. By following these precise steps—from exact water measurements to ice-bath timing—you’ll achieve café-quality eggs with zero guesswork. Remember the golden rule: perfect results start with respecting the fill line and never skipping the cooldown phase. Store your cooker with the lid ajar to prevent odors, and within weeks, you’ll wonder how you ever managed without this countertop essential. For weekend brunches or weekday meal prep, this $25 appliance delivers restaurant precision with the simplicity of pressing one button. Your first perfect batch is just 7 minutes away—grab those eggs and get steaming!