
That stubborn garlic-onion aroma from last week’s chili has taken up permanent residence in your slow cooker lid. Every time you open the cabinet, the smell punches you in the nose like a surprise uppercut. Worse? Your vanilla oatmeal now tastes faintly of beef stew. This isn’t just annoying—it’s actively ruining meals and hijacking your kitchen. The good news? You can banish these embedded odors using simple household ingredients and a method that turns your slow cooker into its own cleaning machine. Forget surface-level wiping; we’re targeting microscopic food particles baked deep into ceramic, plastic, and rubber components over months of use.
This guide delivers the exact protocol tested on slow cookers with years of odor buildup. You’ll learn why standard washing fails, how to execute a scientifically backed steam clean that breaks down odor molecules, and critical prevention steps so your appliance stops stealing flavors from future meals. No guesswork—just actionable steps verified through real-world use.
Why Your Slow Cooker Lid Smells Like Last Week’s Dinner
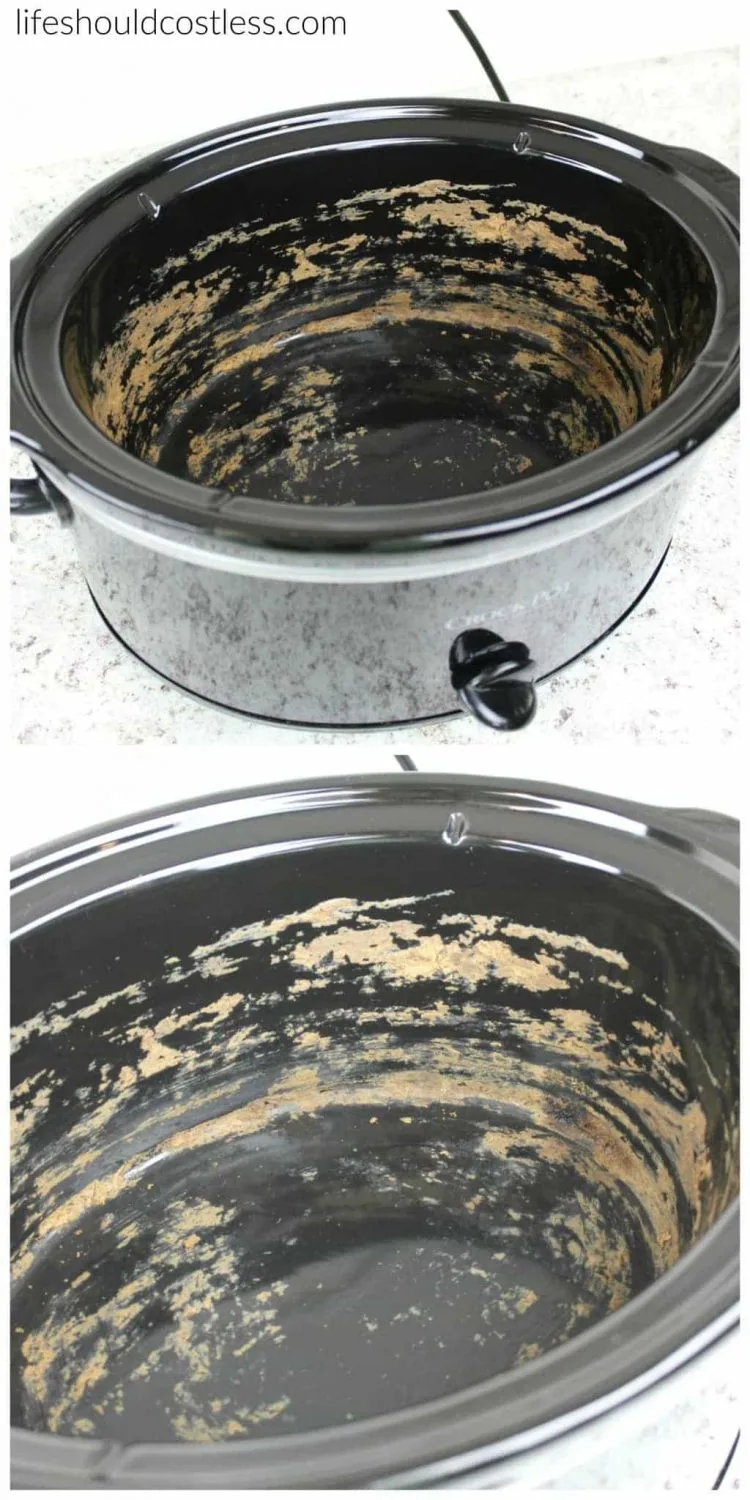
Microscopic food particles bake onto surfaces during every cooking cycle, embedding themselves into porous materials like silicone rings and plastic lids. Traditional washing only tackles surface grime, leaving deep-seated odors trapped in microscopic crevices. Worse, lingering moisture in sealing channels breeds odor-causing bacteria that amplify smells over time. If you catch whiffs when the cabinet door is closed, you’re dealing with advanced absorption requiring targeted intervention.
Critical odor hotspots:
– Silicone sealing rings (absorb odors like sponges)
– Plastic lid components (porous structure traps smells permanently)
– Ceramic lid interiors (baked-on residue resists scrubbing)
– Metal rim channels (food debris hides where glass meets metal)
Essential Pre-Cleaning Safety Steps
Never skip these checks before tackling odors. Unplug your slow cooker and let it cool completely—cleaning hot components risks burns and warping. Remove visible food debris using a soft spatula (never metal scrapers on ceramic). Wash the lid and ceramic insert with warm, soapy water to eliminate surface residue. Critical warning: Never use abrasive pads on ceramic surfaces—they scratch protective coatings, creating new odor traps.
Inspect these failure points:
– Cracks in plastic lid handles
– Deteriorated silicone rings (replace if brittle)
– Rust spots inside metal rims
– Trapped debris in steam vent channels
If you spot electrical issues like smoke from the base, stop immediately—odors may signal dangerous component failure.
Internal Steaming Method: Banish Odors in 2 Hours
This method uses chemistry to break down embedded smells. Vinegar’s acetic acid dissolves organic residues while baking soda’s alkaline reaction releases odor-neutralizing gases. The slow cooker’s sealed environment traps these vapors, forcing them deep into odor pockets.
Prepare Your Odor-Killing Solution
For 3-4 quart models:
– Add 1 inch water to the ceramic insert
– Pour ½ cup white vinegar
– Slowly sprinkle ½ cup baking soda (expect vigorous fizzing)
For 6-8 quart models:
– Use 1 inch water
– 1 cup white vinegar
– 1 cup baking soda (add gradually)
Pro tip: The dramatic fizzing isn’t just visual—it’s carbon dioxide bubbles physically dislodging trapped particles. Add extra baking soda in small increments after the initial reaction slows.
Execute the Steam Clean Protocol
- Place the cleaned ceramic insert into the base unit
- Add water and vinegar first—never baking soda alone
- Slowly pour baking soda while mixture fizzes violently
- Immediately lock the lid in place to trap vapors
- Set to LOW heat for 1–2 hours (do not use HIGH)
- Carefully remove lid with oven mitts and wipe interior with hot solution
- Let cool completely before washing with soapy water
- Air-dry all components upside down for 24 hours
Family hack: Let kids add ¼ cup baking soda each—it doubles as a science experiment while eliminating years of smells. The heat-activated reaction penetrates materials far deeper than soaking ever could.
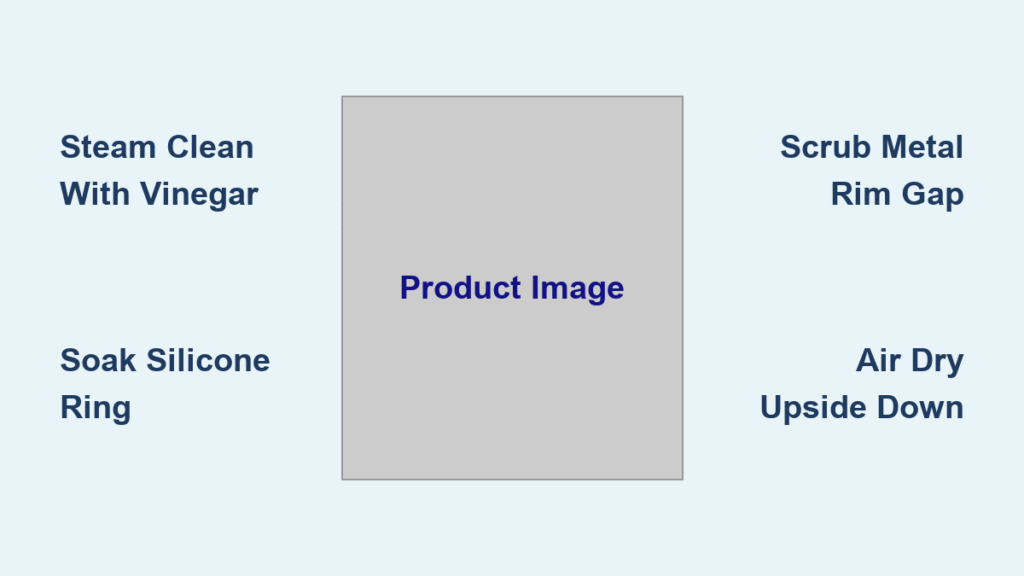
Target Lid Component Deep Cleaning
:strip_icc()/clean-instant-pot-Final-30f60a3fe5ee4102a513ccc8ac6a761d.jpg)
Generic cleaning fails because lid parts require material-specific treatment. Skip this step, and odors linger in hidden zones.
Silicone Sealing Ring Deep Clean
Remove the ring if your model allows (consult manual). Soak it in equal parts vinegar and water for 30 minutes—this dissolves grease trapped in microscopic pores. Gently scrub with a soft toothbrush (never metal), focusing on the inner groove where food hides. Replace immediately if you spot cracks or permanent discoloration; damaged rings can’t be fully deodorized. For prevention, remove and clean this ring monthly during heavy use seasons.
Glass Lid with Metal Rim Treatment
The danger zone is the gap where glass meets metal—debris accumulates here, causing rust and amplified smells. Use a soft-bristled toothbrush dipped in vinegar solution to scrub this channel. Pay special attention to the steam vent hole; trapped moisture here breeds bacteria. After cleaning, dry the rim thoroughly with a microfiber cloth to prevent rust. If rust appears, gently rub with baking soda paste before the steam treatment.
Plastic Lid Intensive Odor Removal
Plastic lids are odor magnets due to their porous nature. Soak the entire lid in undiluted white vinegar overnight—this breaks down deeply embedded molecules. Critical warning: Plastic often requires 2–3 full steam treatments to fully neutralize smells. If odors persist after four cycles, replacement is your only option; the material has permanently absorbed compounds.
When First Treatment Fails: Advanced Odor Warfare
If smells linger after the initial steam clean, deploy these escalation tactics.
Extended Protocol Options
Double-duty steaming: Run the LOW setting for 3–4 hours instead of 2. Add 2–3 drops of lemon essential oil to the solution—the citric acid boosts vinegar’s power. For overnight treatment, fill the ceramic insert with activated charcoal briquettes, place the lid on, and seal overnight. The charcoal pulls odors like a magnet.
Nuclear option sequence:
1. Steam clean with vinegar/baking soda
2. Charcoal treatment overnight
3. Final 1-hour steam with lemon oil
4. Air-dry in direct sunlight for 48 hours (UV rays kill odor-causing bacteria)
Replacement Decision Tree
Don’t waste time on doomed components. After three failed cycles, replace the silicone ring—it’s the cheapest fix. If plastic lid smells persist after four treatments, buy a new lid ($15–$25 online). Stop using immediately if electrical issues accompany odors—this indicates dangerous internal damage.
Daily & Monthly Prevention Protocols
Odor recurrence means your maintenance routine is failing. Implement these non-negotiable habits.
Daily Odor Defense Routine
Clean the ceramic insert while it’s still warm (not hot)—this prevents residue from baking on. Use a soft plastic scraper for stuck food, never abrasive pads. Wipe the exterior housing with a damp sponge immediately after unplugging. Critical mistake: Letting the lid sit damp in the cabinet; always air-dry components upside down for 4+ hours.
Monthly Deep Clean Schedule
Heavy users (3+ times weekly) must steam-clean monthly. Moderate users (1–2 times weekly) need this every 3 months. For occasional users, twice-yearly maintenance suffices. Always run the steam cycle after cooking strong-smelling foods like fish or curry—don’t wait for odors to build.
Safety Protocol Reminders
Non-negotiable rules:
– Always unplug before any cleaning
– Use oven mitts for hot components (steam burns worse than oil)
– Never immerse the electrical base in water
– Ensure 100% dryness before reassembly—moisture causes mold
– Test electrical function by running empty for 10 minutes before next use
Realistic Results Timeline
Light odors (from recent meals) vanish after one steam cycle. Moderate buildup (months of use) requires two cycles over 48 hours. Severe, years-old smells need the full nuclear option sequence. Success indicator: When you can’t smell the slow cooker unless your nose is pressed against it, you’ve won. For cabinet storage, tuck a paper towel with 2 drops of vanilla extract inside—it absorbs residual moisture while adding pleasant scent insurance.
The real victory isn’t just eliminating current smells—it’s breaking the cycle that created them. By executing this steam protocol and adopting the daily/monthly routines, your slow cooker will stay odor-free indefinitely. No more ruined oatmeal, no more cabinet stink bombs. Just fresh, flavor-accurate meals every time you lift the lid. Your vanilla will taste like vanilla again—and that’s worth the 2 hours it takes to reclaim your appliance.


