
Converting your favorite recipes from stovetop or oven cooking to a Crock-Pot can transform meal prep from stressful to effortless. Whether you’re adapting Grandma’s beef stew or your go-to chicken chili, understanding the precise timing and technique adjustments ensures your dishes emerge perfectly cooked every time. This slow cooker to crock pot conversion guide delivers the exact data you need to transform any recipe successfully, plus troubleshooting tips for when things don’t go as planned. Stop wondering how to adjust cooking times or liquid ratios—these proven methods work for every dish you want to simplify.
Oven to Crock-Pot Time Conversion Chart
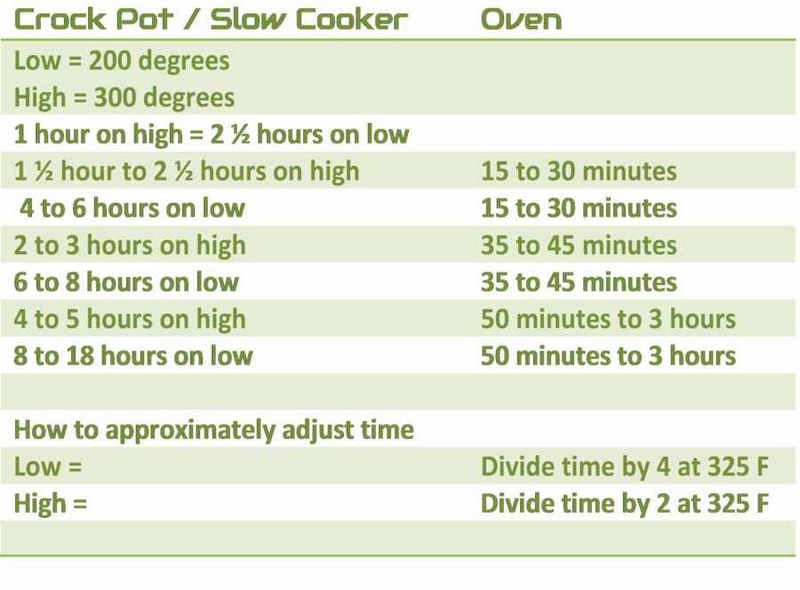
Transform conventional recipes using this precise time matrix that accounts for your Crock-Pot’s unique moisture retention and gentle heat distribution. The conversion isn’t linear—slow cooking requires strategic adjustments to yield results that match traditional methods.
| Traditional Cooking Time | Crock-Pot Low Setting | Crock-Pot High Setting |
|---|---|---|
| 15–30 minutes | 4–6 hours | 1½–2½ hours |
| 35–45 minutes | 6–8 hours | 3–4 hours |
| 50 minutes–3 hours | 8–10 hours | 4–6 hours |
Why Time Conversion Isn’t Simple Math
Slow cookers operate at lower temperatures than conventional ovens (about 200°F on low versus 350°F+ in ovens), creating fundamentally different cooking dynamics. The gentle, moist heat penetrates food gradually, requiring extended timeframes to achieve similar results. Critical mistake to avoid: Simply dividing oven time by two won’t work—this ignores the non-linear relationship between temperature and cooking time.
When to Choose Low vs. High Setting
- Low setting: Best for tougher cuts like chuck roast or pork shoulder that need collagen breakdown (8+ hours)
- High setting: Suitable for leaner proteins like chicken breasts or pre-cooked ingredients (3-4 hours)
- Never switch settings mid-cook: This disrupts the precise thermal progression needed for proper conversion
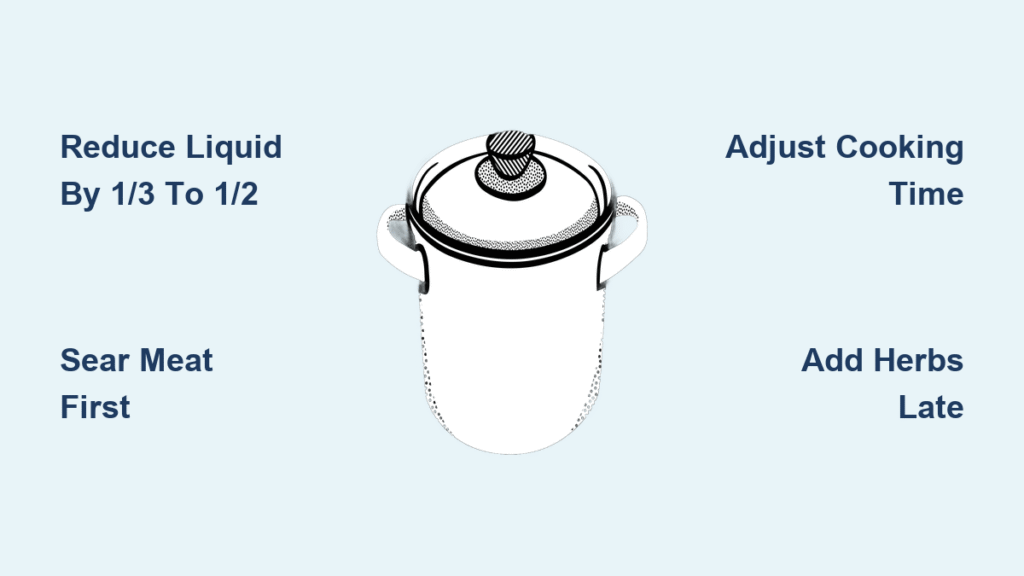
Moisture Management for Crock-Pot Success
Crock-Pots create internal moisture through condensation, requiring strategic liquid reductions to prevent watery results. Reduce original recipe liquids by one-third to one-half when converting to maintain proper sauce consistency.
Liquid Adjustment Protocol
- Calculate minimum liquid: Always add 1–2 cups to cover ingredients and prevent scorching
- Account for ingredient moisture: Vegetables like tomatoes and zucchini release significant water during cooking
- Thickening techniques: Remove lid for final 30 minutes to reduce liquid, or create cornstarch slurry (1 tbsp cornstarch + 2 tbsp cold water per cup of liquid)
- Dairy addition timing: Add milk, cream, or cheese during last 30 minutes only to prevent curdling
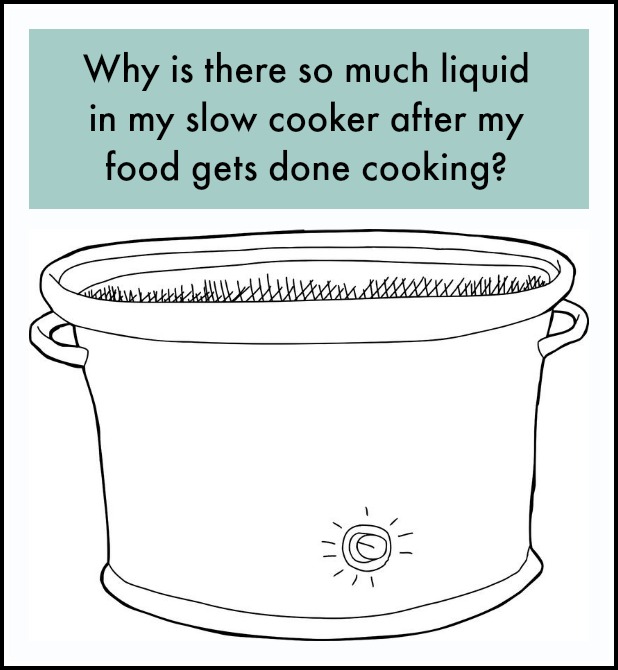
Critical Moisture Mistake to Avoid
Many home cooks make the error of adding the full liquid amount from stovetop recipes, resulting in soupy dishes. Your slow cooker to crock pot conversion must account for the appliance’s sealed environment that traps all moisture—unlike open pots that allow evaporation.
Model-Specific Conversion Adjustments
Different Crock-Pot models significantly impact cooking results. Know your unit’s characteristics for accurate slow cooker to crock pot conversion.
Essential Model Performance Guide
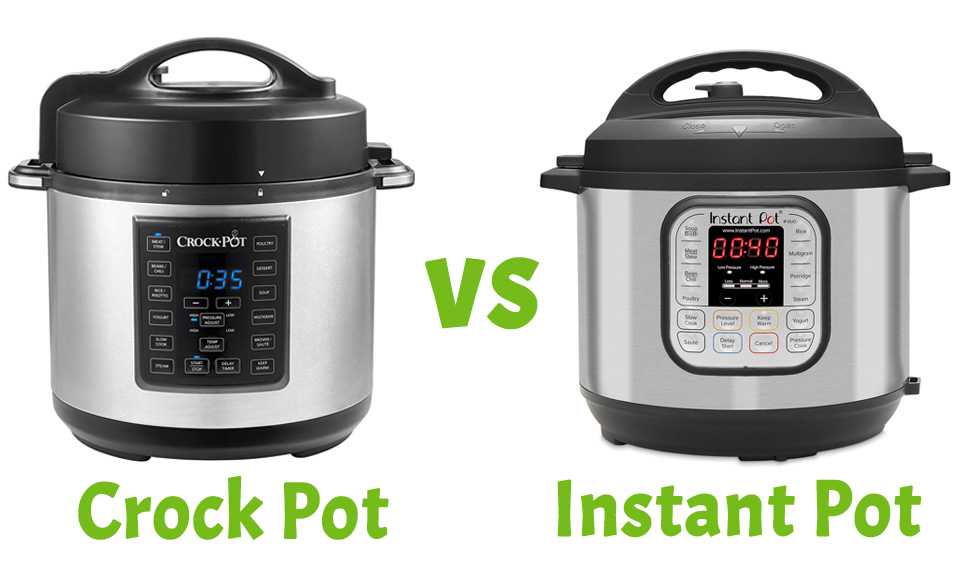
- Crock-Pot Express: Multi-function unit that requires different conversion rules when using pressure cooking versus slow cooking modes
- Crock-Pot Select: Digital controls allow precise temperature management but may cook slightly hotter than analog models
- 6-Quart Round: Best for 4–6 person meals but may require 15-20% longer cooking times than smaller models
- 4-Quart Oval: Ideal for 2–3 portions with more even heat distribution for smaller batches
Setting Duration Verification
Before converting recipes, verify your model’s actual cooking temperatures with an oven thermometer:
– Low setting should read 190-200°F after 2 hours of preheating
– High setting should reach 280-300°F after 2 hours
– Warm setting maintains 165-175°F for safe holding
Pre-Cooking Ingredient Preparation Protocol
Proper preparation prevents common conversion failures. Follow these steps before starting any adapted recipe.
Strategic Layering Technique
- Bottom layer: Place root vegetables (potatoes, carrots, parsnips) directly above heating element
- Middle layer: Position proteins and aromatics (onions, garlic) for optimal flavor transfer
- Top layer: Add quick-cooking vegetables (zucchini, peas) and delicate herbs during final hour
Protein Browning Imperative
Always sear meats before slow cooking—this crucial step develops complex flavors through the Maillard reaction that slow cooking alone cannot achieve. For best results:
– Pat proteins dry before browning
– Use high heat with minimal oil
– Deglaze pan with ¼ cup liquid to capture flavorful fond
– Transfer all browned bits to Crock-Pot
Troubleshooting Common Conversion Failures
Identify and fix problems with this diagnostic approach for slow cooker to crock pot conversion issues.
Undercooked Food Recovery
Symptom: Meat still tough or vegetables not fork-tender at expected time
Cause: Incorrect time conversion or insufficient liquid for heat transfer
Solution:
– Verify internal temperature (beef/pork should reach 145°F, poultry 165°F)
– Add ½ cup liquid if ingredients appear dry
– Extend cooking time in 30-minute increments
– Never increase temperature setting mid-cook
Watery Dish Fix
Symptom: Sauce or broth excessively thin despite following recipe
Cause: Failure to reduce original recipe liquids by one-third to one-half
Solution:
– Remove lid for final 30-60 minutes to allow evaporation
– Create cornstarch slurry (1 tbsp cornstarch + 2 tbsp cold water per cup of liquid)
– Add instant potato flakes (2 tbsp) for subtle thickening without altering flavor
Flavor Enhancement Strategies for Converted Recipes
Slow cooking intensifies flavors differently than conventional methods, requiring strategic adjustments.
Herb and Spice Modification Rules
- Reduce dried herbs by 50%: Slow cooking concentrates dried herb flavors significantly
- Double fresh herbs: Add delicate herbs like basil and cilantro during final 30 minutes
- Salt strategically: Add ⅔ of salt at beginning, remaining ⅓ before serving
- Acid balance: Finish with 1-2 tsp vinegar or lemon juice to brighten flavors
Texture Preservation Techniques
- Pasta and rice: Add during last 30-45 minutes to prevent mushiness
- Delicate vegetables: Add carrots and potatoes at start, but zucchini and bell peppers in final hour
- Leafy greens: Stir in spinach or kale during last 15 minutes for vibrant color
Safety Verification Protocol for Converted Recipes
Never serve undercooked food. Implement these verification methods for every slow cooker to crock pot conversion.
Temperature Testing Procedure
- Test multiple locations: Check 2-3 spots in large cuts of meat
- Avoid bone contact: Insert thermometer into thickest portion away from bone
- Wait for stabilization: Hold thermometer steady until reading stops climbing
- Rest before serving: Allow 3-5 minutes for temperature equalization
Visual Doneness Indicators
- Meats: Should pull apart easily with forks, not slice cleanly
- Vegetables: Fork should slide in with no resistance
- Sauces: Should coat back of spoon rather than run off immediately
- Fats: Should appear rendered and slightly translucent
Maintenance Checklist for Reliable Conversions
Keep your Crock-Pot performing optimally to ensure consistent slow cooker to crock pot conversion results.
Monthly Performance Verification
- Heating element inspection: Check for food buildup that insulates heating elements
- Seal integrity test: Place lid on dry insert, press center—if it wobbles, replace seal
- Temperature calibration: Use oven thermometer to verify actual cooking temperatures
Storage Best Practices
- Store ceramic insert separately from base unit to prevent thermal shock
- Keep rubber gasket lubricated with food-safe mineral oil if your model has one
- Never stack heavy items on ceramic inserts to avoid hairline cracks
Master Slow Cooker to Crock Pot Conversion Formula
Follow this systematic approach for any recipe adaptation:
- Identify original cooking time and temperature (e.g., “simmer 2 hours on medium-low”)
- Apply time conversion using the precise chart based on actual stovetop/oven duration
- Reduce liquid by 33-50% while maintaining minimum 1-2 cups coverage
- Adjust seasonings (cut dried herbs/spices by half, add delicate ingredients late)
- Stratify ingredient addition based on required cooking time
- Verify doneness with thermometer and visual cues before serving
Converting recipes to Crock-Pot cooking unlocks effortless meal possibilities while preserving the flavors you love. Start with these proven slow cooker to crock pot conversion principles for your favorite dishes, then apply the framework to transform your entire recipe collection. Remember: when adapting recipes, always err on the side of longer cooking times on low rather than rushing on high for the most tender, flavorful results. With these techniques mastered, you’ll consistently achieve perfect conversions that make weeknight dinners stress-free and delicious.


